manuals.online logo
Brands
  1. Home
  2. •
  3. Brands
  4. •
  5. PacLights
  6. •
  7. Lighting Equipment
  8. •
  9. PacLights FFHS/3 Series User manual

PacLights FFHS/3 Series User manual

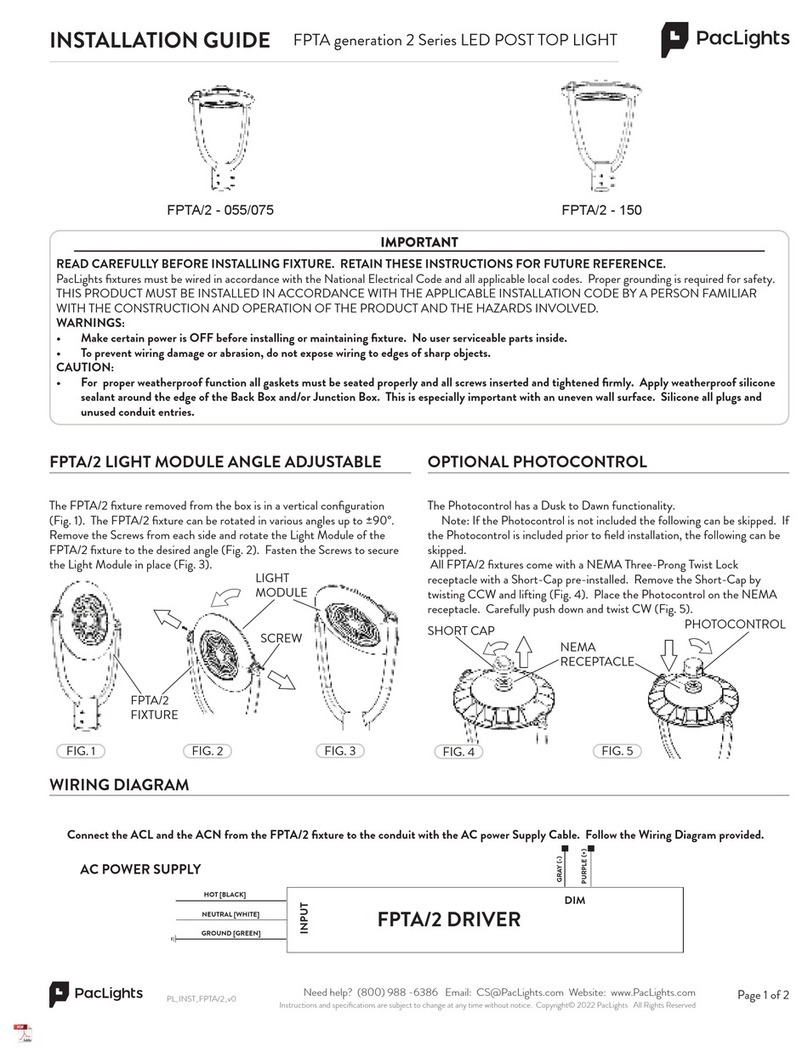
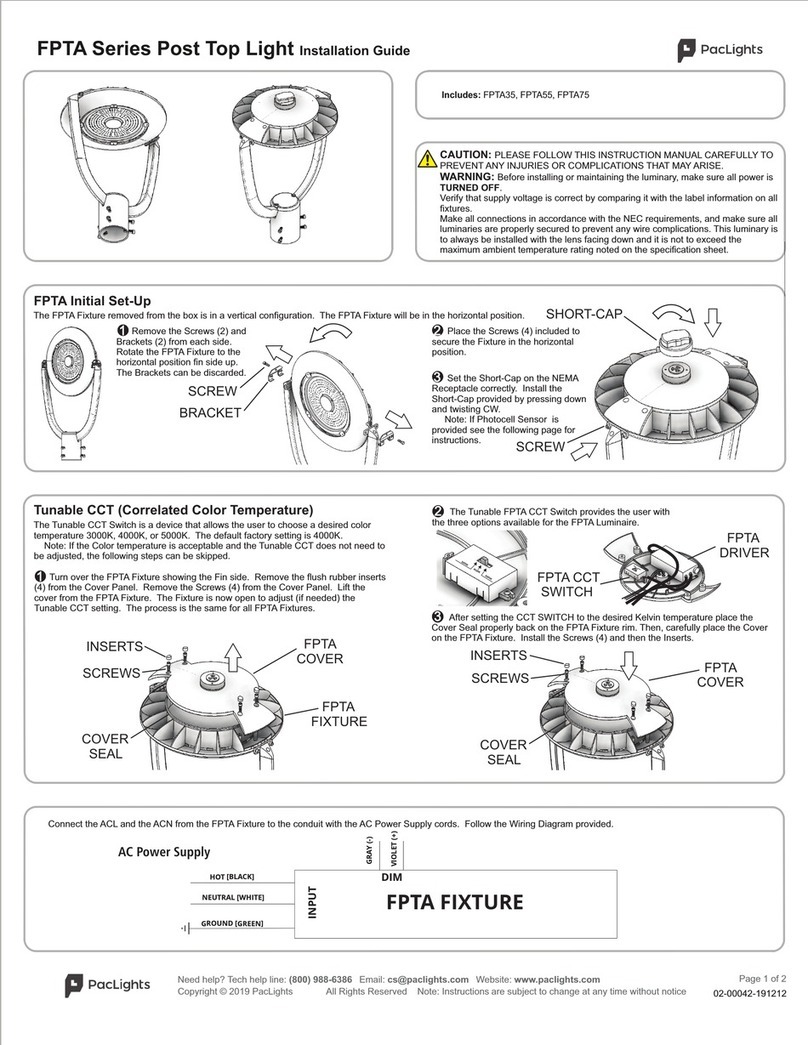
INSTALLATION GUIDE FFHS/3 Series LED Sports Light
Instructions and specifications are subject to change at any time without notice. Copyright© 2022 PacLights All Rights Reserved Page 1 of 2
Need help? (800) 988 -6386 Email: CS@PacLights.com Website: www.PacLights.com
PL-INST-FFHS/3-v0
IMPORTANT
READ CAREFULLY BEFORE INSTALLING FIXTURE. RETAIN THESE INSTRUCTIONS FOR FUTURE REFERENCE.
PacLights fixtures must be wired in accordance with the National Electrical Code and all applicable local codes. Proper grounding is required for safety.
THIS PRODUCT MUST BE INSTALLED IN ACCORDANCE WITH THE APPLICABLE INSTALLATION CODE BY A PERSON FAMILIAR
WITH THE CONSTRUCTION AND OPERATION OF THE PRODUCT AND THE HAZARDS INVOLVED.
WARNINGS:
• Make certain power is OFF before installing or maintaining fixture. No user serviceable parts inside.
• To prevent wiring damage or abrasion, do not expose wiring to edges of sharp objects.
CAUTION:
• For proper weatherproof function all gaskets must be seated properly and all screws inserted and tightened firmly. Apply weatherproof silicone
sealant around the edge of the Back Box and/or Junction Box. This is especially important with an uneven wall surface. Silicone all plugs and
unused conduit entries.
FFHS/3-400/500 FFHS/3-600/750 FFHS/3-1000/1200
Connect the ACL and the ACN from the FFHS/3 Fixture to the conduit with the AC power Supply Cable. Follow the Wiring Diagram provided.
AC POWER SUPPLY
FFHS/3 DRIVER
GRAY (-)
PINK (+)
HOT [BLACK]
NEUTRAL [WHITE]
GROUND [GREEN]
WIRING DIAGRAM
DIMMING
INPUT
FFHS/3 INITIAL SET-UP
FIG. 1
Install the Shorting Cap on the NEMA 7-pin twist-lock Control Receptacle
by carefully aligning and pressing down the plug into the socket and twisting
CW (Fig. 1). Note: If the Photocontrol is provided see the following for
instructions.
SHORTING CAP
FFHS/3 FIXTURE
RECEPTACLE
OPTIONAL PHOTOCONTROL
FIG. 2
The Photocontrol can be installed easily on all FFHS/3 Receptacles by
carefully aligning and pressing down the plug into the socket and twisting
CW (Fig. 2). Note: If the Photocontrol is not included this step can be
skipped. If the Photocontrol is included prior to field installation the Initial
Set-Up can be skipped.
PHOTOCONTROL
RECEPTACLE
FFHS/3 FIXTURE
INSTALLATION GUIDE FFHS/3 Series LED Sports Light
Instructions and specifications are subject to change at any time without notice. Copyright© 2022 PacLights All Rights Reserved Page 2 of 2
Need help? (800) 988 -6386 Email: CS@PacLights.com Website: www.PacLights.com
PL-INST-FFHS/3-v0
The Slipfitter can be mounted easily to the FFHS/3 fixture (Fig. 3).
Carefully slide the Fixture Cable through the Slipfitter and fasten the
Slipfitter to the FFHS/3 fixture.
1
OPTIONAL ADJUSTABLE SLIPFITTER MOUNT
FIG. 3
2
FIG. 5
3
FIXTURE CABLE
FIG. 4
WASHERS
BOLTS
SLIPFITTER
The FFHS/3 fixture can be rotated by adjusting the Slipfitter angle.
Loosen the Bolt or remove if necessary (Fig. 5). Set the adjustable
Angle (0°-90°, up or down) on the side of the Slipfitter, then fasten
the Bolt to secure the Slipfitter in place (Fig. 6).
POLE
BOLTS
POWER CABLE
LOCK WASHERS
FFHS/3 FIXTURE
The Slipfitter (inside diameter 2 3/8”) can be mounted to fit 2”
Nominal Round Poles. Loosen the Slipfitter Bolts or remove if
needed. Attach the Power Cable to the Fixture Cable and install the
FFHS/3 fixture with the Slipfitter onto the Pole (Fig. 4). Tighten the
bolts to secure the Slipfitter to the Pole.
FIXTURE CABLE
FFHS/3 FIXTURE
FFHS/3 FIXTURE
SLIPFITTER
SLIPFITTER
BOLT ANGLES
FIG. 6
CROSSBAR MOUNT
The drilling template for the FFHS/3 Crossbar Mount is shown below for
each Model (Fig. 11).
FIG. 11
FFHS/3-600/750
FFHS/3-400/500
FFHS/3-1000/1200
ADJUSTABLE PROJECTION ANGLE
The FFHS/3 fixture has an adjustable Projection Angle located at the sides
of the fixture. Loosen the Screws with a Hex wrench (Fig. 7). Rotate the
Housing down (Fig. 8). Rotate the Housing up (Fig. 9).
FIG. 7
FIG. 8 FIG. 9
SCREW PROJECTION ANGLE
SCREWS
FIG. 10
The Optional Glare Shield provides a restriction for excess glare of light
pollution and light trespass by the FFHS/3 fixture. Align the Glare Shield
to the front of the FFHS/3 fixture holes along the rim. Fasten the Glare
Shield to the fixture with the Screws (Fig. 10).
OPTIONAL GLARE SHIELD
GLARE SHIELD
This manual suits for next models

6

Other PacLights Lighting Equipment manuals

PacLights FPTA Series User manual

PacLights

PacLights FPTA Series User manual

PacLights FSLN Series User manual

PacLights

PacLights FSLN Series User manual

PacLights FSTA/2 Series User manual

PacLights

PacLights FSTA/2 Series User manual

PacLights FALC Series User manual

PacLights

PacLights FALC Series User manual

PacLights FPTA/2 - 055/075 User manual

PacLights

PacLights FPTA/2 - 055/075 User manual

PacLights FFHL Series User manual

PacLights

PacLights FFHL Series User manual

PacLights FCPC Series User manual

PacLights

PacLights FCPC Series User manual

PacLights FPNN Series User manual

PacLights

PacLights FPNN Series User manual

Popular Lighting Equipment manuals by other brands

Tronix 580-032 quick start guide

Tronix

Tronix 580-032 quick start guide

GARANT 081448 200 user guide

GARANT

GARANT 081448 200 user guide

Aervoe 1146 operating instructions

Aervoe

Aervoe 1146 operating instructions

Mega LED Lighting LED ZOOM PAR COB -200 user manual

Mega LED Lighting

Mega LED Lighting LED ZOOM PAR COB -200 user manual

Federal Signal Corporation Electraray 225 instruction manual

Federal Signal Corporation

Federal Signal Corporation Electraray 225 instruction manual

ADJ SWEEPER BEAM QUAD LED User instructions

ADJ

ADJ SWEEPER BEAM QUAD LED User instructions

Federal Signal Corporation Valor VALR44 Installation maintenance and service manual

Federal Signal Corporation

Federal Signal Corporation Valor VALR44 Installation maintenance and service manual

Inivos ULTRA-V User instruction manual

Inivos

Inivos ULTRA-V User instruction manual

Eaton FlexiTech AT L Series manual

Eaton

Eaton FlexiTech AT L Series manual

INNOVAPLAS BILTMOR DECK 5005 manual

INNOVAPLAS

INNOVAPLAS BILTMOR DECK 5005 manual

olympia electronics OLY-1004/LT/WP installation instructions

olympia electronics

olympia electronics OLY-1004/LT/WP installation instructions

Catellani & Smith Albero della Luce Assembly instructions

Catellani & Smith

Catellani & Smith Albero della Luce Assembly instructions

American DJ Roto Balls Tri LED User instructions

American DJ

American DJ Roto Balls Tri LED User instructions

Hama 00176635 quick start guide

Hama

Hama 00176635 quick start guide

LED World KIT-LVHS-RGB-103-12V Important instructions

LED World

LED World KIT-LVHS-RGB-103-12V Important instructions

XanLite LAPRVBM user manual

XanLite

XanLite LAPRVBM user manual

Robus RHA28405FTV2-24 quick start guide

Robus

Robus RHA28405FTV2-24 quick start guide

Grace BALANCE installation manual

Grace

Grace BALANCE installation manual

manuals.online logo
manuals.online logoBrands
  • About & Mission
  • Contact us
  • Privacy Policy
  • Terms and Conditions

Copyright 2025 Manuals.Online. All Rights Reserved.