manuals.online logo
Brands
  1. Home
  2. •
  3. Brands
  4. •
  5. Panasonic
  6. •
  7. Projector Accessories
  8. •
  9. Panasonic ET-LAD7700 Guide

Panasonic ET-LAD7700 Guide

1
Read these instructions
completely before replacing
Lamp unit.
Replacement Instructions
Lamp unit for DLP™ Projector Commercial Use
TQZH 596-4
Model No. ET-LAD7700 (1 pc)
ET-LAD7700W (2 pcs)
Replacement Lamp Unit
Model No. ET-LAD7700L (1 pc)
ET-LAD7700LW (2 pcs)
Long Life Lamp Unit
Information for Users on Collection and Disposal of Old Equipment and used Batteries
These symbols on the products, packaging, and/or accompanying documents mean that used electrical and electronic products
and batteries should not be mixed with general household waste.
For proper treatment, recovery and recycling of old products and used batteries, please take them to applicable collection points,
in accordance with your national legislation and the Directives 2002/96/EC and 2006/66/EC.
By disposing of these products and batteries correctly, you will help to save valuable resources and prevent any potential negative
effects on human health and the environment which could otherwise arise from inappropriate waste handling.
For more information about collection and recycling of old products and batteries, please contact your local municipality, your
waste disposal service or the point of sale where you purchased the items.
Penalties may be applicable for incorrect disposal of this waste, in accordance with national legislation.
For business users in the European Union
If you wish to discard electrical and electronic equipment, please contact your dealer or supplier for further information.
[Information on Disposal in other Countries outside the European Union]
These symbols are only valid in the European Union. If you wish to discard these items, please contact your local authorities or
dealer and ask for the correct method of disposal.
Note for the battery symbol (bottom two symbol examples):
This symbol might be used in combination with a chemical symbol. In this case it complies with the requirement set by the
Directive for the chemical involved.
Cd
TQZH596-6
3
3
2. Using a Philips screwdriver, remove
the 7 screws on the lamp unit cover
located on the rear of the projector.
4. Use a Phillips screwdriver to loosen
each of the two lamp unit fixing screws
until the screws turn freely.
Then hold the handle of the lamp unit
and gently pull it out from the projector.
5. Install the new lamp unit.
6. Use a Phillips screwdriver to securely tighten the two lamp unit fixing screws for
each lamp unit.
7. Install the lamp unit cover, and then use
a Phillips screwdriver to securely
tighten the lamp unit cover fixing 7
screws.
• Firmly install the lamp unit and lamp unit cover.
If not installed firmly, a protection circuit will
function and the power will not be turned on.
8.
Insert the power cord plug into the wall outlet and then press the MAIN POWER switch
.
9. Press the “ ” button so that a picture is projected onto the screen.
3. Remove the lamp unit cover.
• If the power does not turn on (power indicator lamp (red) does not turn on) even after turning the MAIN
POWER switch “ ”, turn the MAIN POWER “ ”, confirm that the lamp unit and door are installed
correctly, and turn on again.
Caution
Caution
The lamp unit will be hot after it has been used.
You might get burned if you touch it while it is still hot
.
Caution
2
Precautions with regard to safety
Caution
The lamp cover will be hot after use.
• Burns may result if you touch the lamp cover while it is hot.
Notes on replacing the lamp unit
• Take extreme care when handling the removed lamp unit, as it contains gas under high pressure and can easily
become damaged if it is struck against hard objects or dropped.
• The old lamp unit may shatter if it is handled roughly after removal. Ask an Authorized Waste Disposal Agency to
dispose of the old lamp unit.
• A Phillips screwdriver is necessary for removing the lamp unit. Make sure that your hands are not slippery when
using the screwdriver.
• Be sure to use the same type of lamp units together. If both the Replacement Lamp Unit and Long Life Lamp Unit
are used together, only one lamp will turn on.
Replacing the lamp unit
• If the projector is operating, turn off the power by the following procedure and wait for the lamp unit to cool down
before carrying out replacement.
1.
If the lamp monitor (LAMP 1 or LAMP 2) is illuminated, if it is necessary to replace the associated lamp.
2. Press the “ ” button.
3.
Select “Execute” with or button and press the ENTER button. (or press the “ ” button again.)
The projection of the image stops, and the power indicator lamp of the main unit lights up orange. (The
cooling fan keeps running.)
4. Wait until the power indicator lamp of the main unit turns to red (i.e., until the cooling fan
stops). (Approx. 4 minutes)
While the cooling fan is still running, never turn off the MAIN POWER switch, nor unplug the projector from the outlet.
5.
Press the “ ” marked side of the MAIN POWER switch to remove all power from the projector.
Lamp unit replacement procedure
• After 1500 hours (4000 hours when Long Life Lamp Unit are used) of operating the same lamp, it is only possible to
operate the unit for approximately 10 minutes. Replace the lamp and steps 9 to 15 must be completed within 10
minutes.
Note
Note
2
NOTICE:
For USA only
Hg -LAMP CONTAINS MERCURY,
Manage in Accord with Disposal Laws,
See: www.lamprecycle.org or 1-888-411-1996
1. Make sure that the area around the lamp unit has cooled down.
3
3
2. Using a Philips screwdriver, remove
the 7 screws on the lamp unit cover
located on the rear of the projector.
4. Use a Phillips screwdriver to loosen
each of the two lamp unit fixing screws
until the screws turn freely.
Then hold the handle of the lamp unit
and gently pull it out from the projector.
5. Install the new lamp unit.
6. Use a Phillips screwdriver to securely tighten the two lamp unit fixing screws for
each lamp unit.
7. Install the lamp unit cover, and then use
a Phillips screwdriver to securely
tighten the lamp unit cover fixing 7
screws.
• Firmly install the lamp unit and lamp unit cover.
If not installed firmly, a protection circuit will
function and the power will not be turned on.
8.
Insert the power cord plug into the wall outlet and then press the MAIN POWER switch
.
9. Press the “ ” button so that a picture is projected onto the screen.
3. Remove the lamp unit cover.
• If the power does not turn on (power indicator lamp (red) does not turn on) even after turning the MAIN
POWER switch “ ”, turn the MAIN POWER “ ”, confirm that the lamp unit and door are installed
correctly, and turn on again.
Caution
Caution
The lamp unit will be hot after it has been used.
You might get burned if you touch it while it is still hot
.
Caution
2
Precautions with regard to safety
Caution
The lamp cover will be hot after use.
• Burns may result if you touch the lamp cover while it is hot.
Notes on replacing the lamp unit
• Take extreme care when handling the removed lamp unit, as it contains gas under high pressure and can easily
become damaged if it is struck against hard objects or dropped.
• The old lamp unit may shatter if it is handled roughly after removal. Ask an Authorized Waste Disposal Agency to
dispose of the old lamp unit.
• A Phillips screwdriver is necessary for removing the lamp unit. Make sure that your hands are not slippery when
using the screwdriver.
• Be sure to use the same type of lamp units together. If both the Replacement Lamp Unit and Long Life Lamp Unit
are used together, only one lamp will turn on.
Replacing the lamp unit
• If the projector is operating, turn off the power by the following procedure and wait for the lamp unit to cool down
before carrying out replacement.
1.
If the lamp monitor (LAMP 1 or LAMP 2) is illuminated, if it is necessary to replace the associated lamp.
2. Press the “ ” button.
3.
Select “Execute” with or button and press the ENTER button. (or press the “ ” button again.)
The projection of the image stops, and the power indicator lamp of the main unit lights up orange. (The
cooling fan keeps running.)
4. Wait until the power indicator lamp of the main unit turns to red (i.e., until the cooling fan
stops). (Approx. 4 minutes)
While the cooling fan is still running, never turn off the MAIN POWER switch, nor unplug the projector from the outlet.
5.
Press the “ ” marked side of the MAIN POWER switch to remove all power from the projector.
Lamp unit replacement procedure
• After 1500 hours (4000 hours when Long Life Lamp Unit are used) of operating the same lamp, it is only possible to
operate the unit for approximately 10 minutes. Replace the lamp and steps 9 to 15 must be completed within 10
minutes.
Note
Note
2
NOTICE:
For USA only
Hg -LAMP CONTAINS MERCURY,
Manage in Accord with Disposal Laws,
See: www.lamprecycle.org or 1-888-411-1996
1. Make sure that the area around the lamp unit has cooled down.
4
16. Consult the operating instructions to replace the old air filter.
Accessory Air filter 1
10. Press the “MENU” button to display
the MAIN MENU screen, and then
press the and buttons to move
the cursor to select “OPTION”.
MAIN MENU
PICTURE
POSITION
ADVANCED MENU
LANGUAGE
OPTION
TEST PATTERN
SIGNAL LIST
SECURITY
11. Press the “ENTER” button to display
the “OPTION” screen, and select
“SYSTEM INFORMATION” with the
and buttons.
OPTION
PROJECTOR ID 2
SETTING FRONT-F
LAMP SELECT DUAL
LAMP POWER HIGH
RS232C SETTING
OSD POSITION 2
SYSTEM INFORMATION
COLOR MATCHING 3COLORS
VIDEO SETTING
AUTO SETUP
:MENU SELECT
ENTER:SUB MENU
13. Press and hold the “ENTER” button
on the projector or the remote control
for approximately 3 seconds.
An item “LAMP RESET” will be added.
14. Select the lamp which has been
replaced with the and buttons.
LAMP1: Replace the LAMP UNIT 1
LAMP2: Replace the LAMP UNIT 2
LAMP RESET
LAMP1
LAD7700 1433h
LAD7700L 0h
LAMP2
LAD7700 1100h
LAD7700L 0h
:SELECT
ENTER:EXECUTE
15. Press the “ENTER” button. When
“OK?” is displayed, press the
“ENTER” button.
The used hours of the specified lamp unit will be
reset to zero.
When more than one lamp has been replaced,
repeat the procedure from step 14.
LAMP RESET OK?
LAMP1
LAD7700 1433h
LAD7700L 0h
LAMP2
LAD7700 1100h
LAD7700L 0h
ENTER:EXECUTE MENU:ESC
12. Press the “ENTER” button.
The SYSTEM INFORMATION screen will be displayed.
Printed in Japan
M0804-4059
SYSTEM INFORMATION
ROM VERSION: 1.00
SET RUNTIME: 1433h
LAMP1 TYPE: LAD7700
LOW: 0h
HIGH: 1433h
TOTAL: 1433h
LAMP2 TYPE: LAD7700
LOW: 0h
HIGH: 1100h
TOTAL: 1100h
SS0804AM6047 -PS
https://panasonic.net/cns/projector/

This manual suits for next models

3

Other Panasonic Projector Accessories manuals

Panasonic ET-LAA410 User manual

Panasonic

Panasonic ET-LAA410 User manual

Panasonic Panaboard KX-BP535 User manual

Panasonic

Panasonic Panaboard KX-BP535 User manual

Panasonic ET-SFR330 User manual

Panasonic

Panasonic ET-SFR330 User manual

Panasonic ET-MD77NT User manual

Panasonic

Panasonic ET-MD77NT User manual

Panasonic TY-WPR1 Operating instructions

Panasonic

Panasonic TY-WPR1 Operating instructions

Panasonic ET-LAD10000 User manual

Panasonic

Panasonic ET-LAD10000 User manual

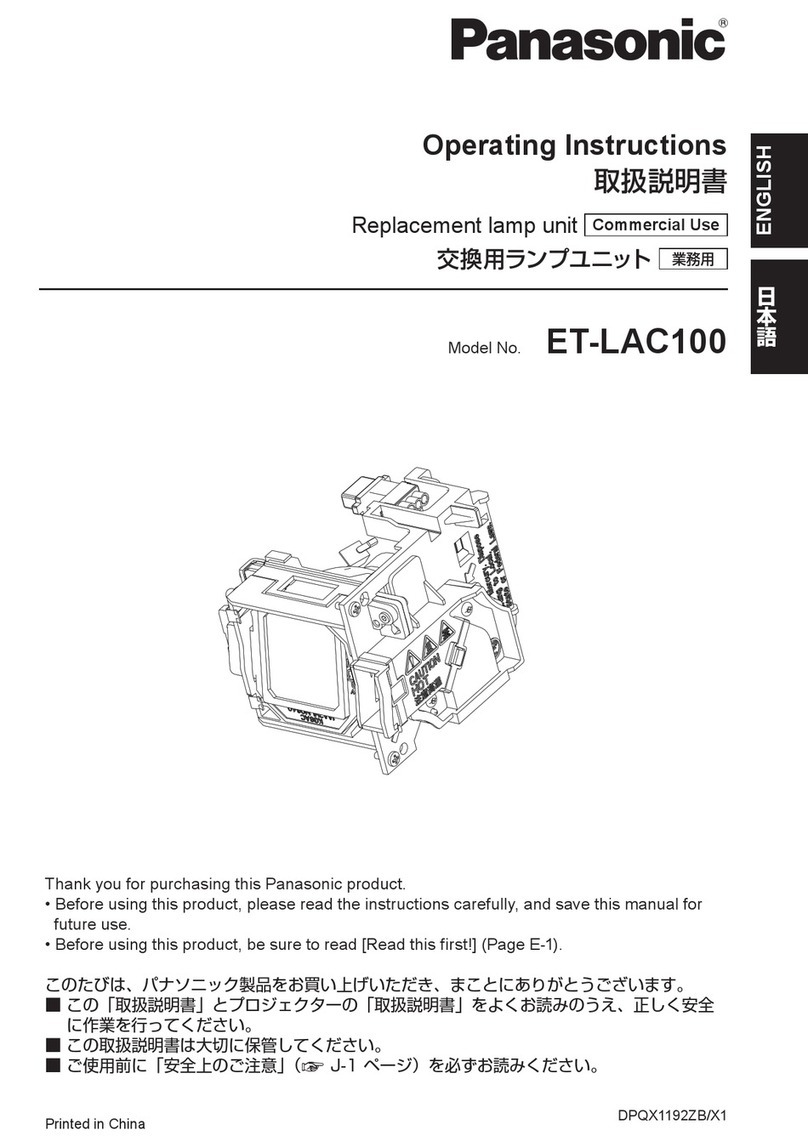
Panasonic ET-LAC100 User manual

Panasonic

Panasonic ET-LAC100 User manual

Panasonic ET-LAV200C User manual

Panasonic

Panasonic ET-LAV200C User manual

Panasonic ET-EMF510C User manual

Panasonic

Panasonic ET-EMF510C User manual

Panasonic ET-LAL331 User manual

Panasonic

Panasonic ET-LAL331 User manual

Panasonic ET-LAD510 User manual

Panasonic

Panasonic ET-LAD510 User manual

Panasonic ET-SFD310 User manual

Panasonic

Panasonic ET-SFD310 User manual

Panasonic ET-EMF330C User manual

Panasonic

Panasonic ET-EMF330C User manual

Panasonic ET-LAL510 User manual

Panasonic

Panasonic ET-LAL510 User manual

Panasonic ET-DLE020 User manual

Panasonic

Panasonic ET-DLE020 User manual

Panasonic ET-RFF100 Guide

Panasonic

Panasonic ET-RFF100 Guide

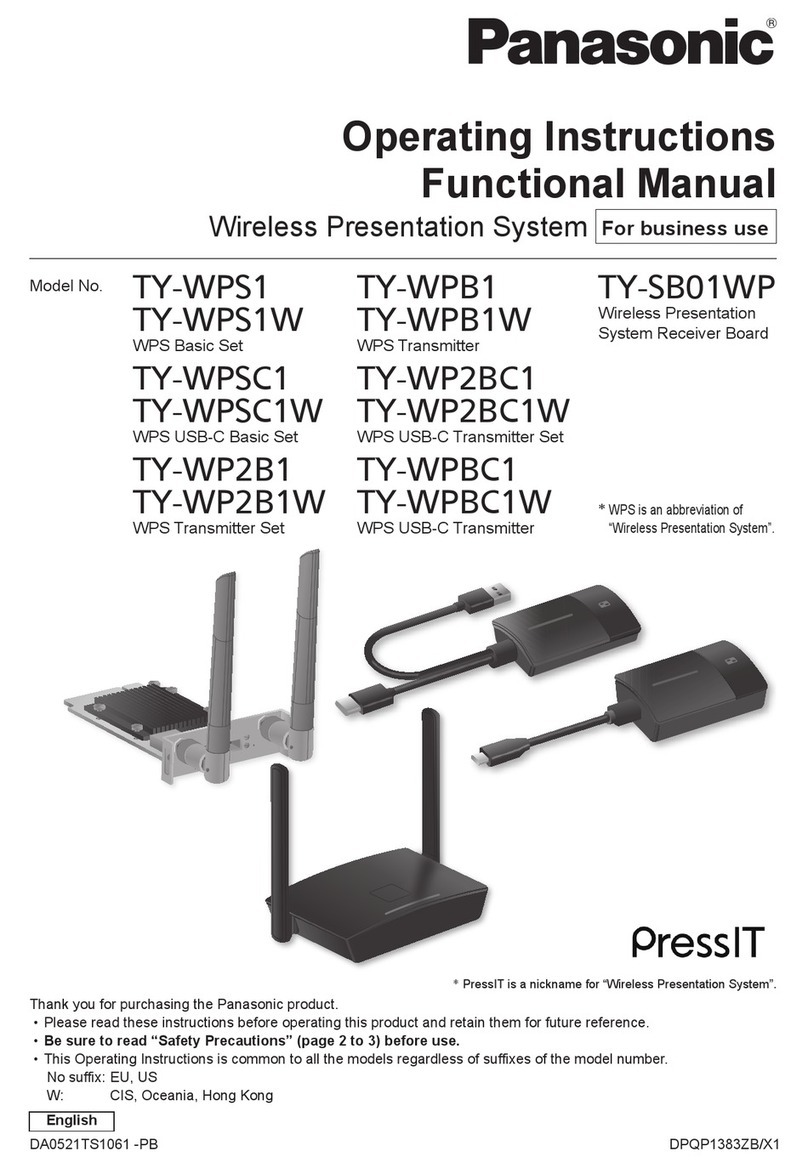
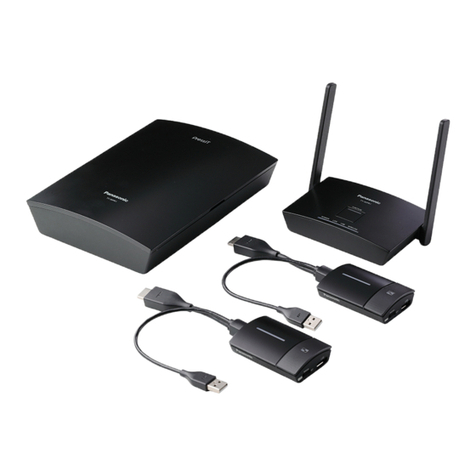
Panasonic PressIT TY-WPS1W Operating instructions

Panasonic

Panasonic PressIT TY-WPS1W Operating instructions

Panasonic ET-LAE200C User manual

Panasonic

Panasonic ET-LAE200C User manual

Panasonic ET-EMF510 User manual

Panasonic

Panasonic ET-EMF510 User manual

Panasonic TY-FB10WPE User manual

Panasonic

Panasonic TY-FB10WPE User manual

Panasonic ET-LAEF100C User manual

Panasonic

Panasonic ET-LAEF100C User manual

Panasonic ET-D3LEU100 User manual

Panasonic

Panasonic ET-D3LEU100 User manual

Panasonic ET-PFD560 User manual

Panasonic

Panasonic ET-PFD560 User manual

Panasonic ET-LAE200 User manual

Panasonic

Panasonic ET-LAE200 User manual

Popular Projector Accessories manuals by other brands

Crestron IntelliClass IC-300-CSP-P quick start guide

Crestron

Crestron IntelliClass IC-300-CSP-P quick start guide

Cisco Telepresence MX800 installation guide

Cisco

Cisco Telepresence MX800 installation guide

Yealink WPP20 quick start guide

Yealink

Yealink WPP20 quick start guide

Epson ELPHB800 installation instructions

Epson

Epson ELPHB800 installation instructions

Barco ClickShare Update guide

Barco

Barco ClickShare Update guide

CHIEF PL-1 installation instructions

CHIEF

CHIEF PL-1 installation instructions

NOBOCOOL Kapture manual

NOBOCOOL

NOBOCOOL Kapture manual

Da-Lite Multi Format Imager Instruction book

Da-Lite

Da-Lite Multi Format Imager Instruction book

Epson EpiqVision Ultra LS500 quick start guide

Epson

Epson EpiqVision Ultra LS500 quick start guide

IOGear Duplicast Wireless Screen Mirroring Kit quick start guide

IOGear

IOGear Duplicast Wireless Screen Mirroring Kit quick start guide

Sony PSS-H10 Installation manual for Dealers

Sony

Sony PSS-H10 Installation manual for Dealers

Elite Screens Manual Tab-Tension 2 Series user guide

Elite Screens

Elite Screens Manual Tab-Tension 2 Series user guide

Sanyo LNS LNS-W03 Installation procedures

Sanyo

Sanyo LNS LNS-W03 Installation procedures

LDI Spaces SAFCO Scoot 8945 Assembly instructions

LDI Spaces

LDI Spaces SAFCO Scoot 8945 Assembly instructions

Christie ChristieNet Wireless Presentation Portal Technical manual

Christie

Christie ChristieNet Wireless Presentation Portal Technical manual

Sanyo LNS-M01 Replacement procedure

Sanyo

Sanyo LNS-M01 Replacement procedure

Cisco TelePresence Profile Series user guide

Cisco

Cisco TelePresence Profile Series user guide

EPV EDGE FREE Sonic AT8 ISF eFinity Series user guide

EPV

EPV EDGE FREE Sonic AT8 ISF eFinity Series user guide

manuals.online logo
manuals.online logoBrands
  • About & Mission
  • Contact us
  • Privacy Policy
  • Terms and Conditions

Copyright 2025 Manuals.Online. All Rights Reserved.