manuals.online logo
Brands
  1. Home
  2. •
  3. Brands
  4. •
  5. Panasonic
  6. •
  7. Projector Accessories
  8. •
  9. Panasonic ET-LAB50 Guide

Panasonic ET-LAB50 Guide

TQZH747-6
ET-LAB50
Model No.
Read these instructions completely before replacement.
Information for Users on Collection and Disposal of Old Equipment and
used Batteries
These symbols on the products, packaging, and/or accompanying
documents mean that used electrical and electronic products and
batteries should not be mixed with general household waste.
For proper treatment, recovery and recycling of old products and
used batteries, please take them to applicable collection points,
in accordance with your national legislation and the Directives
2002/96/EC and 2006/66/EC.
By disposing of these products and batteries correctly, you
will help to save valuable resources and prevent any potential
negative effects on human health and the environment which
could otherwise arise from inappropriate waste handling.
For more information about collection and recycling of old products
and batteries, please contact your local municipality, your waste
disposal service or the point of sale where you purchased the items.
Penalties may be applicable for incorrect disposal of this waste,
in accordance with national legislation.
For business users in the European Union
If you wish to discard electrical and electronic equipment, please
contact your dealer or supplier for further information.
[Information on Disposal in other Countries outside the European Union]
These symbols are only valid in the European Union. If you wish
to discard these items, please contact your local authorities or
dealer and ask for the correct method of disposal.
Note for the battery symbol (bottom two symbol examples):
This symbol might be used in combination with a chemical
symbol. In this case it complies with the requirement set by the
Directive for the chemical involved.
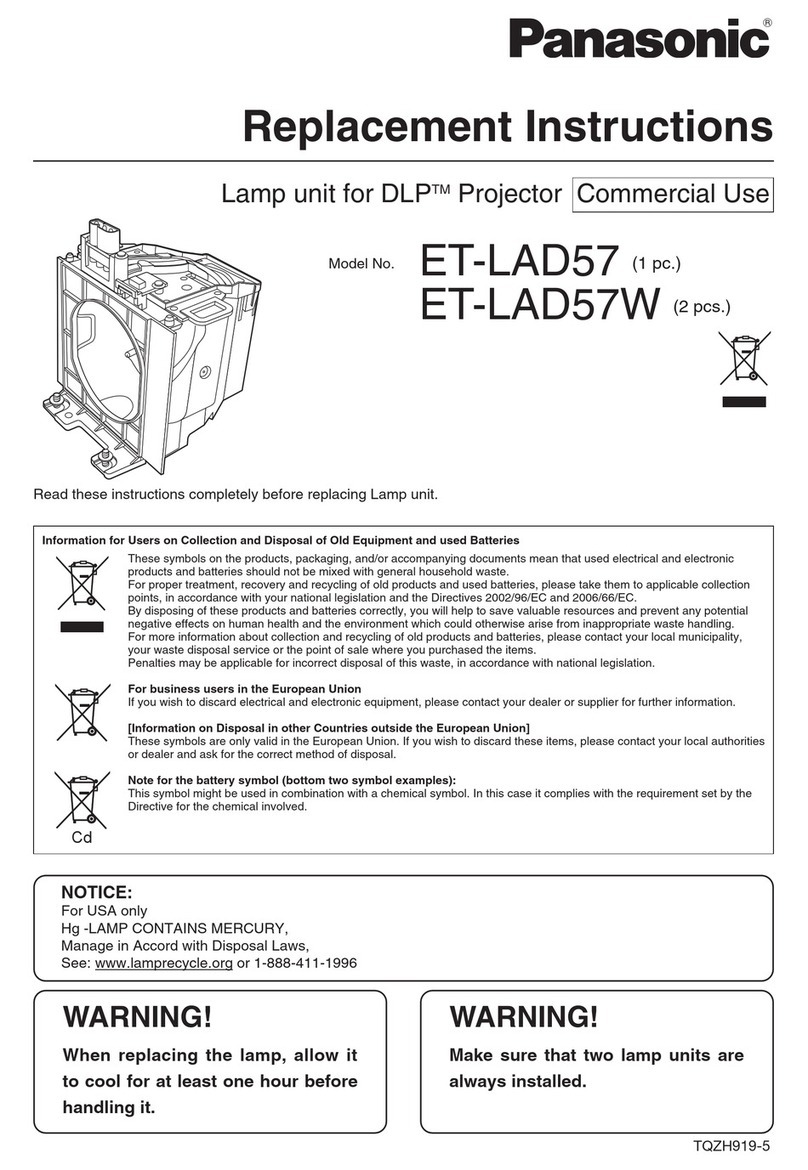
Lamp unit for LCD Projector
Replacement Instructions
2-ENGLISH
Precautions with regard to safety
Replacing the lamp unit
WARNING
The lamp unit should only be replaced by a qualified
technician.
When replacing the lamp, allow it to cool for at least one hour
before handling it.
• Thelampcovergetsveryhot,andcontactwithitcancauseburns.
Notes on replacing the lamp unit
• Thelightgeneratinglampismadeofglass,sodroppingitorallowingittohithardobjectsmay
causeittoburst.Becarefulwhenhandlingthelamp.
• Disposeoftheremovedtheoldlampwiththesamecarethatwouldbetakenwithafluorescent
light.
• APhillipsscrewdriverisnecessaryforremovingthelampunit.
NOTICE:
ForUSAonly
Hg-LAMPCONTAINSMERCURY,ManageinAccordwithDisposalLaws,
See: www.lamprecycle.org or 1-888-411-1996
NOTE:
• Ifthelampusagetimehaspassed2000hours(when“LAMPPOWER”hasbeenset
to“STANDARD”andwhen“AI”hasbeensetto“OFF”),theprojectorwillswitchto
standbymodeafterapproximately10minutesofoperation.Thesteps 7to
12
after the
replacementofthelampunitshouldthusbecompletedwithin10minutes.
• IftheLCDprojectorisoperating,turnoffthepowerbythefollowingprocedureandwait
forthelampunittocooldownbeforecarryingoutreplacement.
(1) HolddownthePOWERbuttonforatleast0.5secondsorpressthePOWERbutton
twicetoturnoffthepower.(ThePOWERbuttonontheprojectorwillilluminateorange
whilethecoolingfanisstilloperating.)
(2)DisconnectthepowercordafterthePOWERbuttonontheprojectorilluminatesred.
If the lamp has broken, ventilate the room immediately. Do not
touch or bring your face close to the broken pieces.
• Failuretoobservethismaycausetheusertoabsorbthegaswhichwasreleasedwhenthe
lampbrokeandwhichcontainsnearlythesameamountofmercuryasfluorescentlamps,and
thebrokenpiecesmaycauseinjury.
• Ifyoubelievethatyouhaveabsorbedthegasorthatthegashasgotintoyoureyesormouth,
seekmedicaladviceimmediately.
• Askyourdealertoreplacethelampunitandchecktheinsideoftheprojector.
Caution
ENGLISH-3
Lamp unit replacement procedure
Lampunitcover
Lampunitcoverfixingscrews
Lampunitfixingscrews
4Insert the new lamp unit
while making sure that
the direction of insertion
is correct, and then use
a Phillips screwdriver to
securely tighten the lamp
unit fixing screws.
•Wheninsertingthenewlamp
unit,besuretopushitinat
the point Ⓐand Ⓑ.
1Check that the area around
the lamp unit has cooled
down.
2Use a Phillips screwdriver
to turn the lamp unit cover
fixing screws at the bottom
of the projector, and then
remove the lamp unit cover.
3Use a Phillips screwdriver
to loosen the two lamp unit
fixing screws until the screws
turn freely. Then hold the
handles of the lamp unit and
gently pull the lamp unit out
from the projector.
Handles
ⒶⒷ
NOTE:
• Besuretoinstallthelampunitandthe
lampunitcoversecurely.
5Install the lamp unit cover,
and then use a Phillips
screwdriver to securely
tighten the lamp unit cover
fixing screws.
6Connect the mains lead.
NOTE:
• If“DIRECTPOWERON”inthe
“OPTION”menuhasbeensetto“ON”,
projectionwillstartafterthemainslead
is connected.
7Press the POWER button so
that a picture is projected
onto the screen.
9Press the ENTER button, and
then press the ▲or ▼button
to select “LAMP RUNTIME”.
10
Press and hold the ENTER
button for approximately 3
seconds.
•The “LAMP TIME RESET”
screen will be displayed.
8Press the MENU button to
display the menu screen, and
then press the ▲or ▼button
to select the “OPTION”
menu.
11
Press the POWER button to
turn off the power.
•Disconnect the mains lead
after the POWER button on
the projector illuminates red.
12
This will reset the cumulative
usage time for the lamp unit
to “0”.
NOTE:
•Press any button other than the POWER
button to cancel the “LAMP RUNTIME
RESET” screen.
Accessory
•Air lter: 1
Printed in Japan
NOTE:
•Replace the air lter with the new lter
which is supplied as an accessory, while
referring to the replacement procedure
which appears in the Operating
Instructions for the LCD projector.
Web Site : https://panasonic.net/cns/projector/

Other Panasonic Projector Accessories manuals
Panasonic ET-PKD75 User manual

Panasonic

Panasonic ET-PKD75 User manual

Panasonic ET-LAEF100C User manual

Panasonic

Panasonic ET-LAEF100C User manual

Panasonic ET-SFD310 User manual

Panasonic

Panasonic ET-SFD310 User manual

Panasonic ET-LAD510 User manual

Panasonic

Panasonic ET-LAD510 User manual

Panasonic ET-ELT20 User manual

Panasonic

Panasonic ET-ELT20 User manual

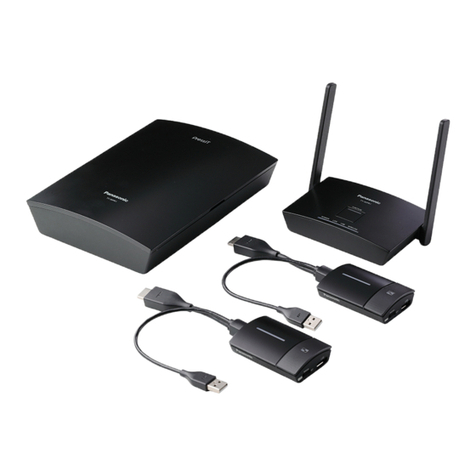
Panasonic PressIT TY-WPSC1 User manual

Panasonic

Panasonic PressIT TY-WPSC1 User manual

Panasonic ET-RFL100 User manual

Panasonic

Panasonic ET-RFL100 User manual

Panasonic ET-LAV100 User manual

Panasonic

Panasonic ET-LAV100 User manual

Panasonic ET-LAD7700 Guide

Panasonic

Panasonic ET-LAD7700 Guide

Panasonic ET-PFD560 User manual

Panasonic

Panasonic ET-PFD560 User manual

Panasonic ET-PKD130B User manual

Panasonic

Panasonic ET-PKD130B User manual

Panasonic PressIT TY-WP2B1W Operating instructions

Panasonic

Panasonic PressIT TY-WP2B1W Operating instructions

Panasonic ET-LAD10000 User manual

Panasonic

Panasonic ET-LAD10000 User manual

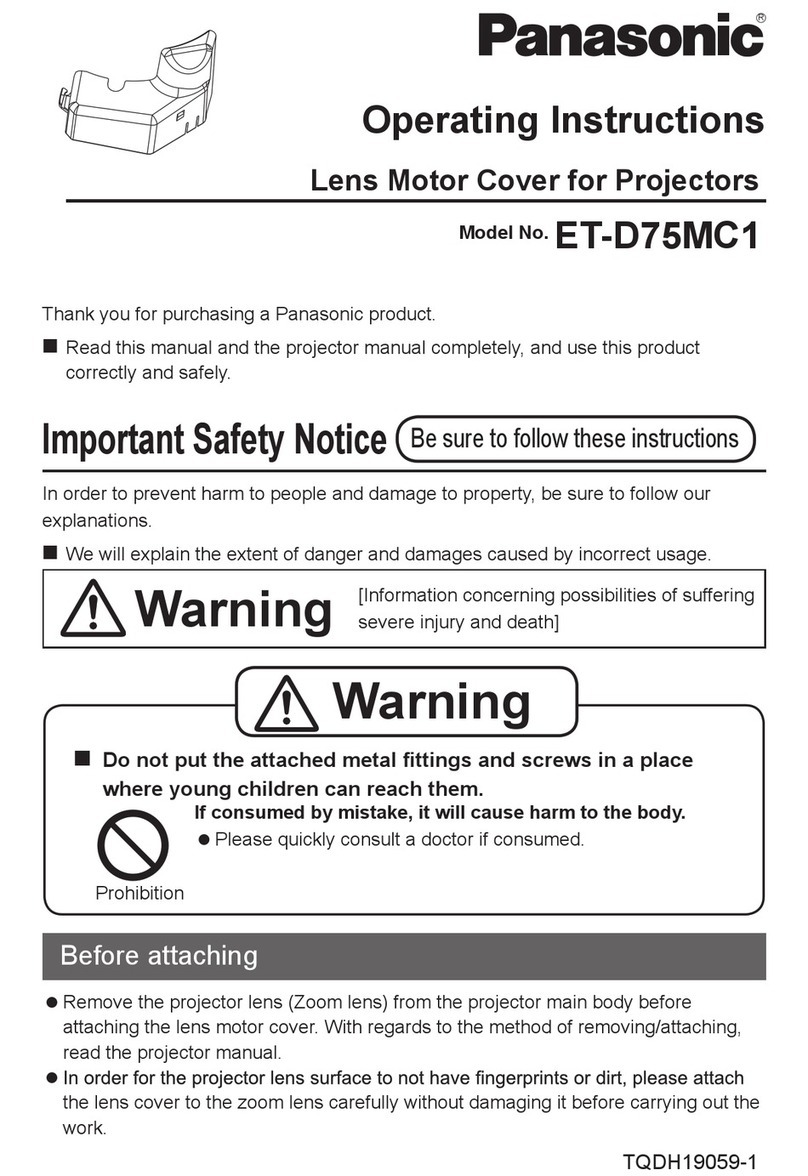
Panasonic ET-D75MC1 User manual

Panasonic

Panasonic ET-D75MC1 User manual

Panasonic PressIT TY-WPS1W Operating instructions

Panasonic

Panasonic PressIT TY-WPS1W Operating instructions

Panasonic ET-DLE020 User manual

Panasonic

Panasonic ET-DLE020 User manual

Panasonic ET-DLE050 System manual

Panasonic

Panasonic ET-DLE050 System manual

Panasonic ET-LAV200 User manual

Panasonic

Panasonic ET-LAV200 User manual

Panasonic ET-PAD310 User manual

Panasonic

Panasonic ET-PAD310 User manual

Panasonic ET-D75MRS10 User manual

Panasonic

Panasonic ET-D75MRS10 User manual

Panasonic ET-EMW200 User manual

Panasonic

Panasonic ET-EMW200 User manual

Panasonic TY-WPR1 Operating instructions

Panasonic

Panasonic TY-WPR1 Operating instructions

Panasonic ET-D3QW200 User manual

Panasonic

Panasonic ET-D3QW200 User manual

Panasonic ET-D75LE6 User manual

Panasonic

Panasonic ET-D75LE6 User manual

Popular Projector Accessories manuals by other brands

Optoma BX-AL133B datasheet

Optoma

Optoma BX-AL133B datasheet

PEERLESS PE 1120 Installation and assembly

PEERLESS

PEERLESS PE 1120 Installation and assembly

Osram SIRIUS HRI Series Directions for use

Osram

Osram SIRIUS HRI Series Directions for use

Presentation Switchers PS111 quick start

Presentation Switchers

Presentation Switchers PS111 quick start

Kramer VIA GO user manual

Kramer

Kramer VIA GO user manual

Yamaha PJL-112 Replacement guide

Yamaha

Yamaha PJL-112 Replacement guide

Mitsubishi Electric 236CB Features

Mitsubishi Electric

Mitsubishi Electric 236CB Features

Epson BrightLink 475Wi user guide

Epson

Epson BrightLink 475Wi user guide

Acer WP100 quick guide

Acer

Acer WP100 quick guide

Biamp Modena Hub Network administrator's guide

Biamp

Biamp Modena Hub Network administrator's guide

Panamorph DCR-S3 installation guide

Panamorph

Panamorph DCR-S3 installation guide

Exact solutions FRAME-EVO-P10 manual

Exact solutions

Exact solutions FRAME-EVO-P10 manual

i3 i3board user manual

i3

i3 i3board user manual

CHIEF VCM103S installation instructions

CHIEF

CHIEF VCM103S installation instructions

InFocus LP70+ Replacement instructions

InFocus

InFocus LP70+ Replacement instructions

Sharp AN-PH20EZ Operation manual

Sharp

Sharp AN-PH20EZ Operation manual

PDR UPM51 product manual

PDR

PDR UPM51 product manual

CHIEF HB-43E installation instructions

CHIEF

CHIEF HB-43E installation instructions

manuals.online logo
manuals.online logoBrands
  • About & Mission
  • Contact us
  • Privacy Policy
  • Terms and Conditions

Copyright 2025 Manuals.Online. All Rights Reserved.