2
General
Information
Attention:
This manual contains important
information for the safe use of
this product. Read this manual
completely before using this
product and refer to it often
for continued safe product use.
Reasonable care and safe methods
should be practiced. Check
local codes and requirements
before installation.
Unpacking Pump:
Remove pump from carton.
When unpacking unit, check
for concealed damage. Claims
for damage must be made at
the receiving end through the
delivery carrier. Damage cannot
be processed from the factory.
WARNING: Before handling
these pumps and controls, always
disconnect the power first. Do not
smoke or use sparkable electrical
devices or flames in a septic
(gaseous) or possible septic sump.
CALIFORNIA PROPOSITION
65 WARNING:
This product
and related accessories contain
chemicals known to the State of
California to cause cancer, birth
defects or other reproductive harm.
Pump
Information
Pump Description:
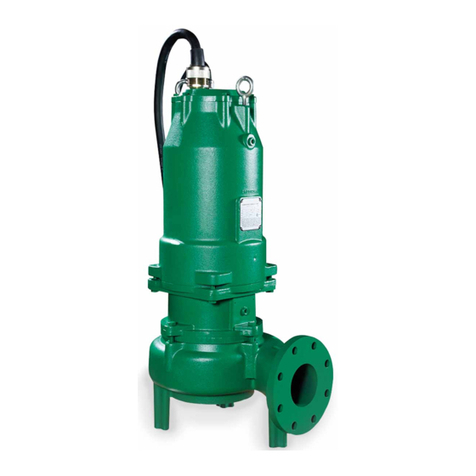
The Hydromatic®pumps
covered by these instructions are
submersible grinder pumps.
The cutter blades are on the
suction side of the centrifugal
pump impeller and discharge
directly into the inlet of the
impeller. The integral stainless
steel pump-motor shaft is sealed
by two mechanical seals with an
oil chamber between the seals
to provide lubrication for both
seal faces.
A radial sleeve bearing, lubricated
by the oil in the seal chamber,
is located between the seals and
takes the radial load from the
pump impeller and cutter blades.
The motor winding, rotor and
ball thrust bearing are mounted
in a housing sealed and filled
with oil to lubricate the bearing
and transmit the heat from motor
winding to outer shell. The ball
thrust bearing is held in a movable
cap so that the axial cutter and
cutter ring clearance can be
adjusted from the outside without
the use of shims.
The power cord is sealed into the
motor housing with a cord grip,
and the individual conductors
are sealed into the cord cap with
epoxy sealing compound.
Application:
These pumps are designed
for either home or industrial
sewage discharge applications
with a pH ranging from 6 to 9,
specific gravities from 0.9 to 1.1,
viscosities ranging from 28 to
35 S.S.U., and temperatures up
to 140°F.
Codes:
All local wiring codes must
be observed. Consult the local
inspector before installation
to avoid costly delays that can
occur due to rejection after job
is finished.
Installation
Instructions
Location:
If pumps are installed in an
existing basin or concrete sump,
the piping can either be connected
permanently or rails and brackets
can be furnished for mounting to
walls of basin. In either case, be
sure that the Hydromatic solids
handling check valve is used and
that the pumps are submerged in
a vertical position. The complete
factory built packaged system
is recommended for the most
satisfactory installation and
generally for the lowest cost
where expensive installation
labor is involved.
Electrical Connections:
Make all connections from motor
to control panel to comply with
local codes.
CAUTION: Be sure ground wire
is connected to a good ground
such as a water pipe. This is
important for safety.
Pump
Operations
Starting the Pump:
To start the pump, perform the
following steps in order:
1. If pump is three phase, the
rotation of the impeller must
first be checked. Lift pump
from sump, lay it down and
quickly turn pump on and
then off. The impeller should
turn counterclockwise when
viewed from the suction. If
rotation is wrong, turn off
main breaker and interchange
any two line leads to
motor to correct rotation.
If the pump is piped-in
permanently and inlet cannot
be observed, rotation will
have to be checked by pump
operation described later.
If pump is single phase, no
rotation check is necessary.
2. Run water into sump until
motor is covered.
