2
INTRODUCTION
Thank-You for choosing the Pequea Turbo Rake. Your rake is the result of years of research and
development work. This Operator’s Manual will familiarize the operator with the safety and op-
eration of the machine. Included are complete instructions for safe and efcient operation, lubri-
cation, and maintenance procedures. Understanding and following these procedures will result
in years of maximum performance from your Pequea Rake.
Read entire manual before operating. Failure to follow the instructions outlined in this
manual may result in personal injury and/or damaged equipment, and could void the war-
ranty.
All pictures and instructions in this manual assume that the right and left side
of the machine are that of someone standing behind the rake facing forward.
SPECIFICATIONS TR8 TR10 TR12
Raking width 16-19’ 18-21’ 20-23’
Windrow width range 2-6’
Number of wheels 8 10 12
Rake wheel diameter 55”
Tines per wheel 40 - .273 (7mm) dia. Tines
Rake wheel hubs & bearings Greasable - Tapered roller bearings
Rake wheel suspension Independent compression spring - 1 per arm
Rake wheel arms Independent arms (1 per wheel) with greasable bushing at pivot
Rake wheel pressure adjustment Tightener bolt (1 per spring)
Wheel arm beam ground clearance 36”
Frame ground clearance 26”
Transport folding control Double hydraulic cylinders
Transport tires 205/75-15 Load Range “D” Tire
Transport width 8’ 9”
Transport height 6’ 8” 7’ 9”
Weight (lbs.) 1150 1315 1490
Specications
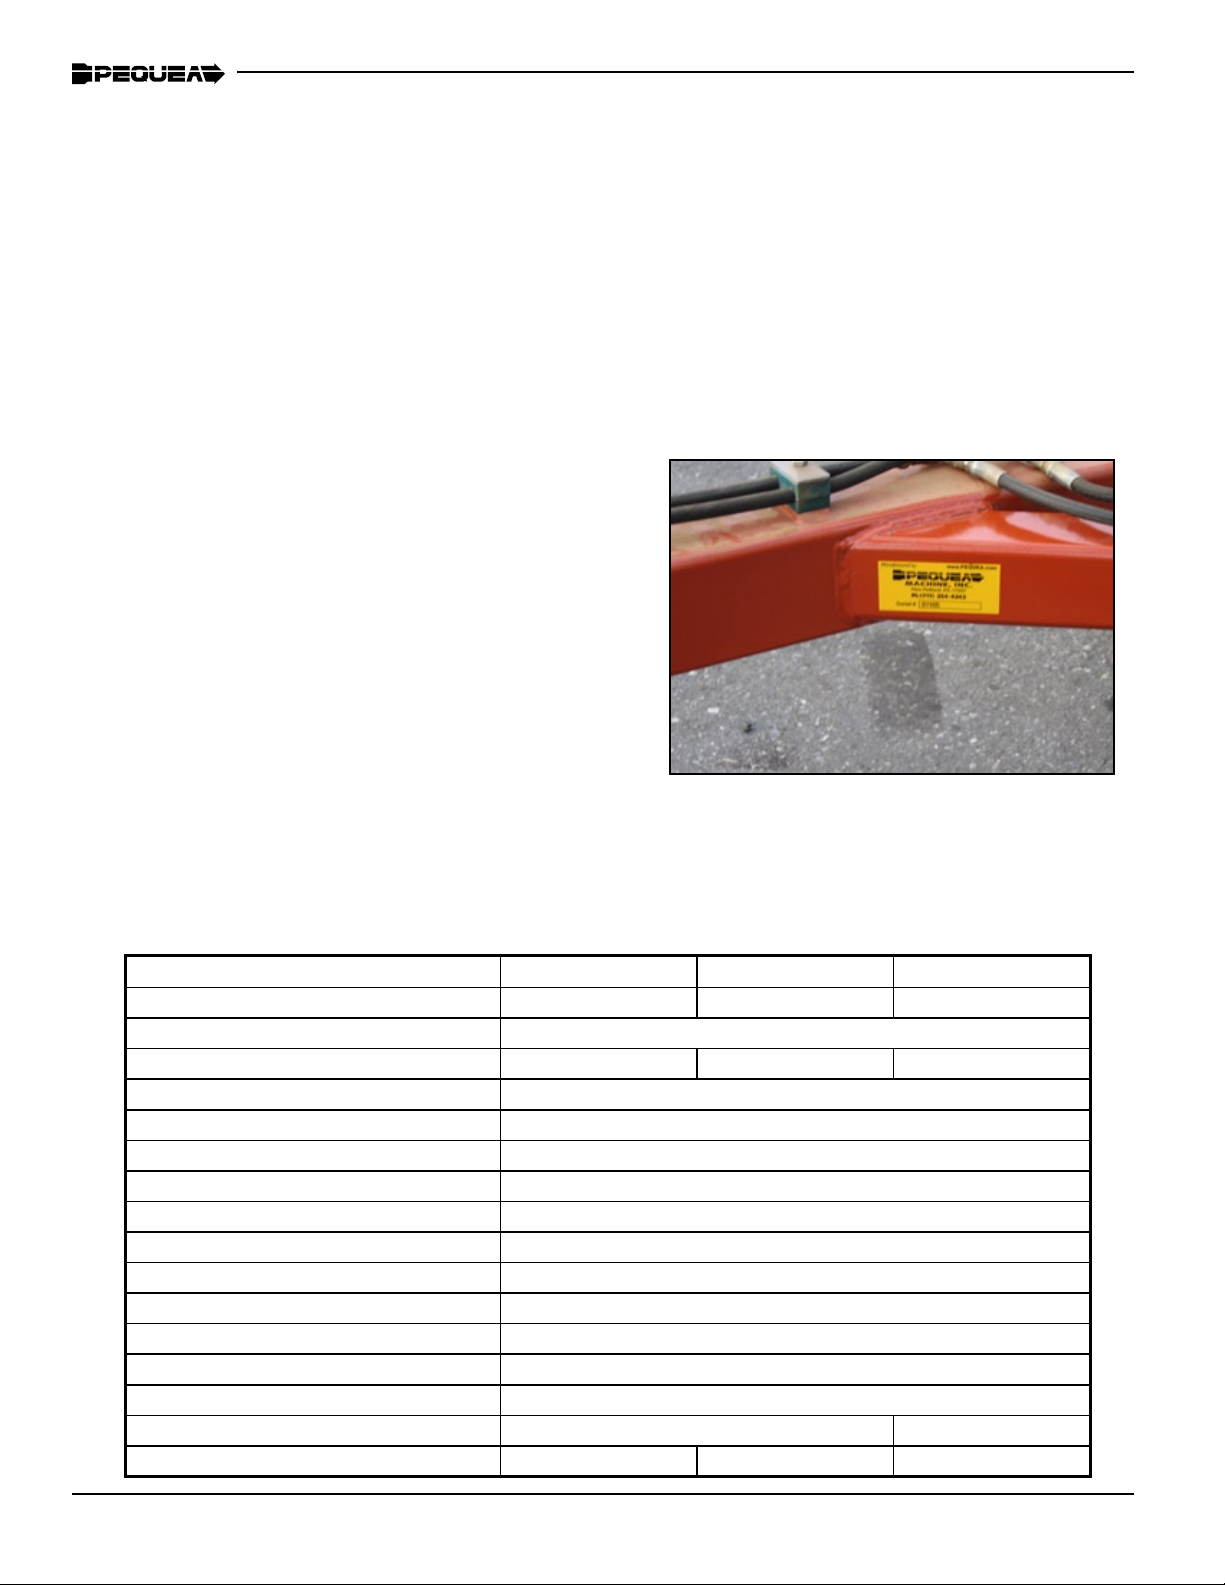
Rake Serial Number
The rake’s serial number can be found on the frame
brace on the left side of the machine. Please use
this number when requesting service, seeking in-
formation, or ordering parts. For the operator’s con-
venience, space to record the serial number, model
number, purchase date, and dealer has been pro-
vided inside the front cover of this manual. A second
serial decal similar to the one pictured is hidden on
the bottom of the main frame tube.