6
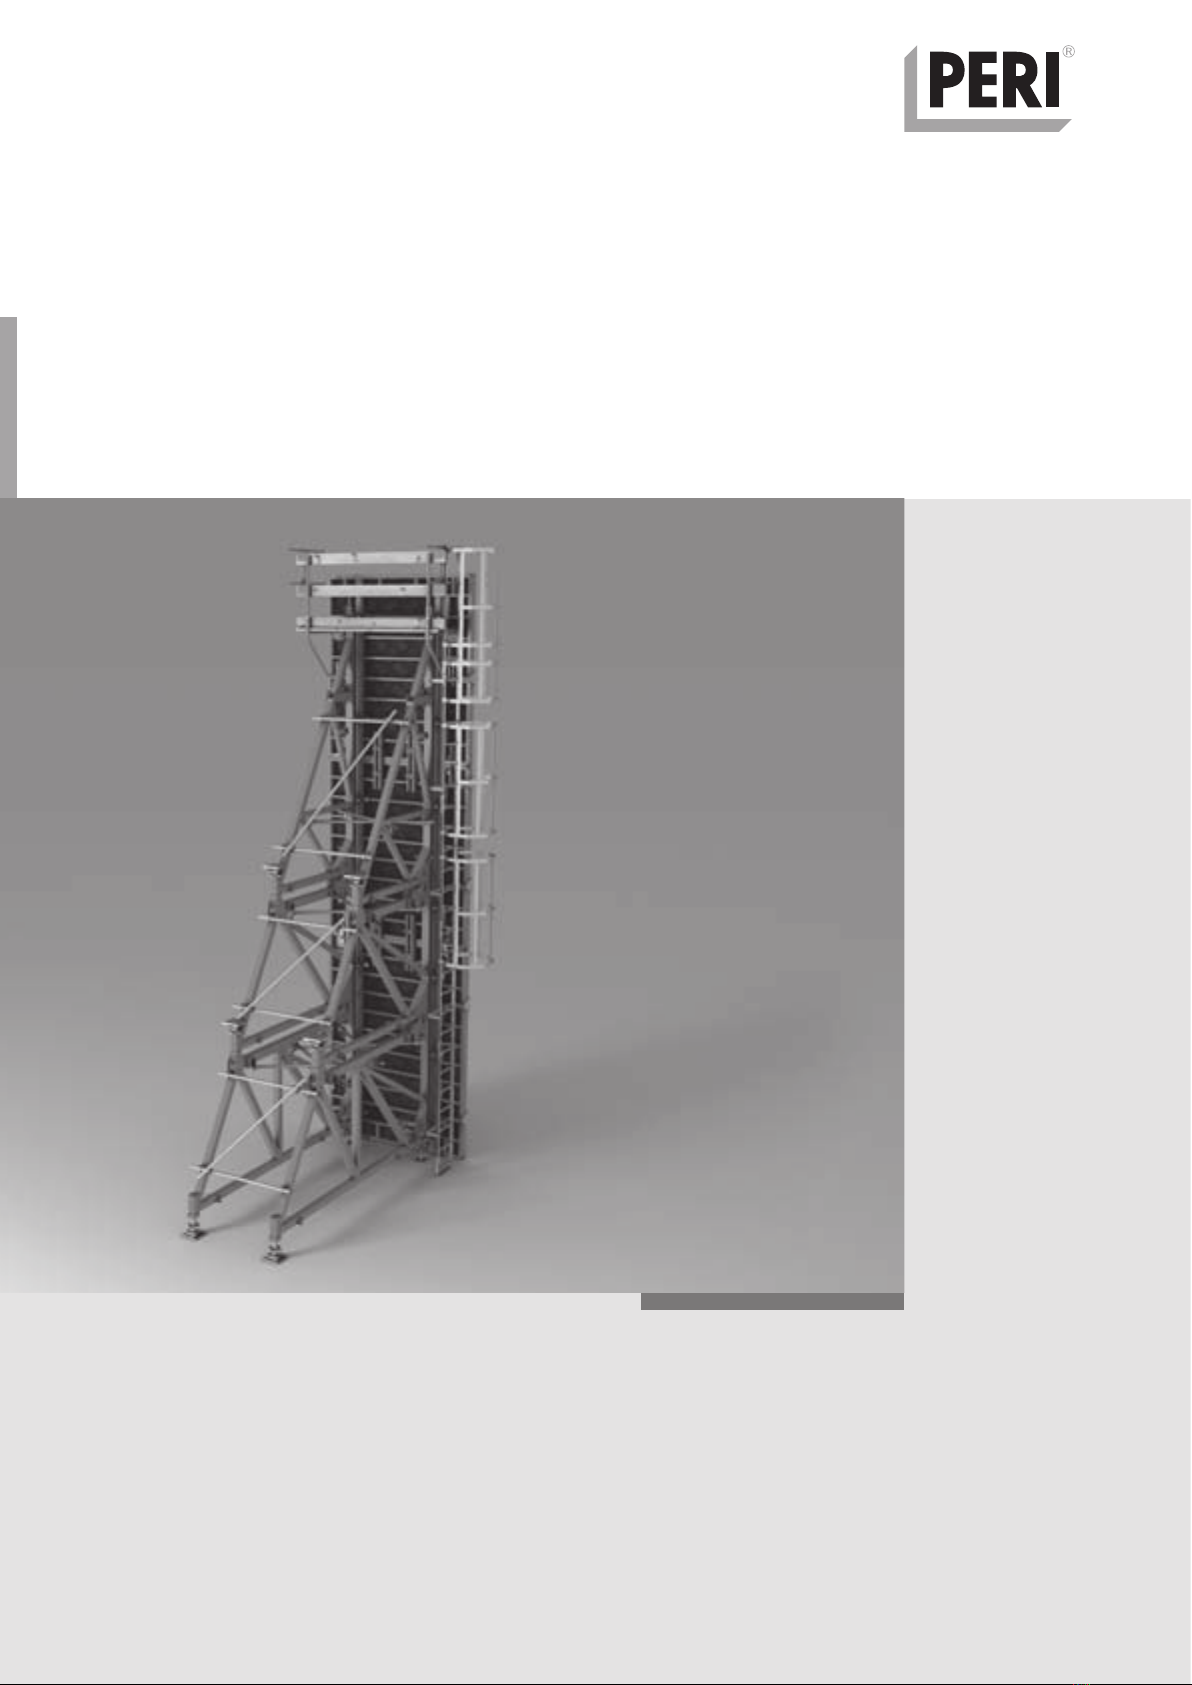
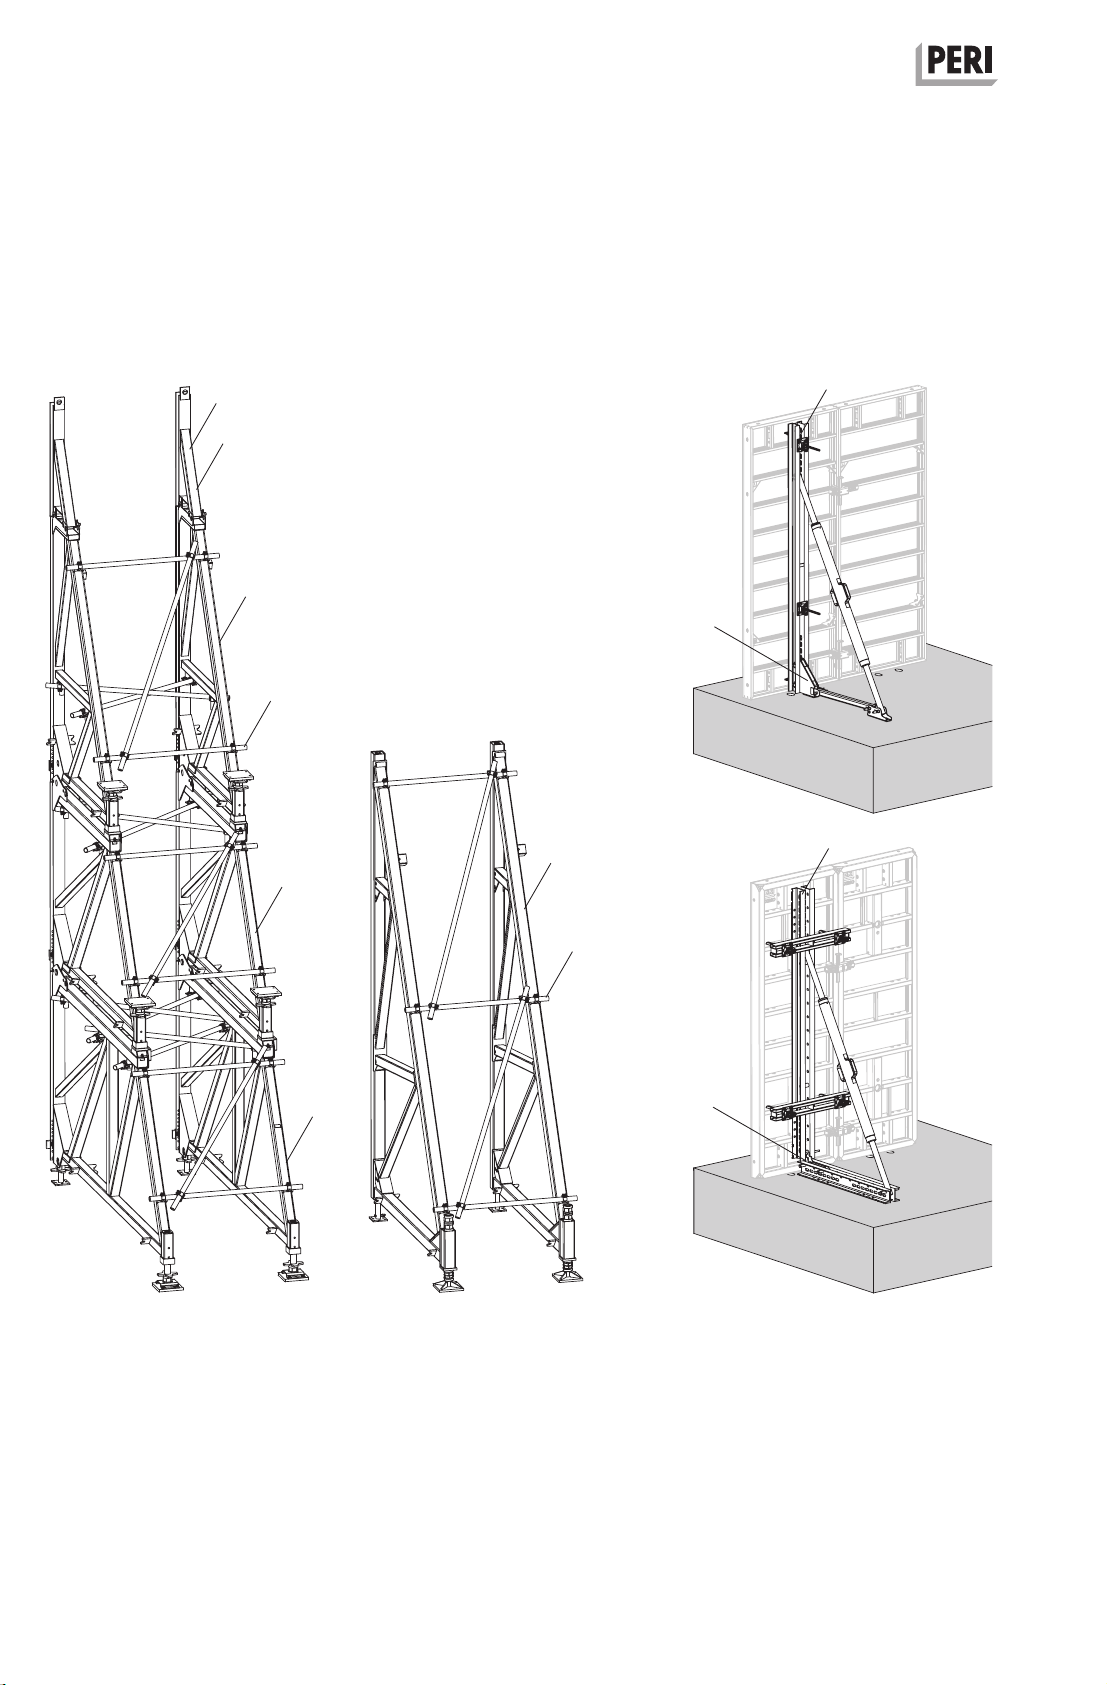
SB Brace Frame for single-sided walls
Instructions for Assembly and Use – Standard Configuration
Safety Instructions
Cross-system
General
The contractor must ensure that the In-
structions for Assembly and Use sup-
plied by PERI are available at all times
and are understood by the site person-
nel.
These Instructions for Assembly and
Use can be used as the basis for creat-
ing a risk assessment. The risk assess-
ment shall be compiled by the contrac-
tor. The Instructions for Assembly and
Use do not replace the risk assessment!
Always take into consideration and com-
ply with the safety instructions and per-
missible loads.
For the application and inspection of
PERI products, the current safety regu-
lations and guidelines must be observed
in the respective countries where they
are being used.
Materials and working areas are to be
inspected on a regular basis especially
before each use and assembly for:
signs of damage,
stability and
functionality.
Damaged components must be ex-
changed immediately on site and may
no longer be used.
Safety components are removed only
when they are no longer required.
Components provided by the contractor
must conform with the characteristics
required in these Instructions for As-
sembly and Use as well as with all valid
construction guidelines and standards.
In particular, the following applies if
nothing else is specified:
timber components: Strength Class
C24 for Solid Wood according to EN
338.
scaffold tubes: galvanised steel tubes
with minimum dimensions of Ø 48.3
x 3.2 mm according to EN 12811-
1:2003 4.2.1.2.
scaffold tube couplings according to
EN 74.
Deviations from the standard configura-
tion are only permitted after a further
risk assessment has been carried out by
the contractor.On the basis of this risk
assessment, determine appropriate
measures for working and operational
safety as well as stability.
Corresponding proof of stability can be
provided by PERI on request if the risk
assessment and resulting measures to
be implemented are available.
Before and after exceptional occurrenc-
es that may have an adverse effect re-
garding the safety of the formwork sys-
tem, the contractor must immediately
create another risk assessment, with
appropriate measures for ensuring
the stability of the formwork system
being carried out based on the re-
sults,
and arrange for an extraordinary in-
spection by a qualified person. The
aim of this inspection is to identify
and rectify any damage in good time
in order to guarantee the safe use of
the formwork system.
Exceptional occurrences can include:
accidents,
longer periods of non-use,
natural events, e.g. heavy rainfall, ic-
ing, heavy snowfall, storms or earth-
quakes.
Assembly, modification and disman-
tling work
Assembly, modification or dismantling
of formwork systems may only be car-
ried out by qualified specialists under
the supervision of an authorized person.
The qualified specialists must have re-
ceived appropriate training for the work
to be carried out with regard to specific
risks and dangers.
On the basis of the risk assessment and
Instructions for Assembly and Use, the
contractor must create installation in-
structions in order to ensure safe as-
sembly, modification and dismantling of
the formwork system.
The contractor must ensure that the
personal protective equipment required
for the assembly, modification or dis-
mantling of the system, e.g.
safety helmet,
safety shoes,
safety gloves,
safety glasses,
is available and used as intended.
If personal protective equipment (PPE)
is required or specified in local regula-
tions, the contractor must determine ap-
propriate load-bearing points on the ba-
sis of the risk assessment.
The personal protective equipment to
be used is determined by the contrac-
tor.
The contractor must
provide safe working areas for site
personnel which are to be reached
through the provision of safe traffic
routes. Areas of risk must be cor-
doned off and clearly marked.
ensure the stability during all stages
of construction, in particular during
assembly, modification and disman-
tling of the formwork.
ensure and prove that all loads are
safely transferred.
Utilization
Every contractor who uses or allows
formwork systems or sections of the
formwork to be used, has the responsi-
bility for ensuring that the equipment is
in good condition.
If the formwork system is used succes-
sively or at the same time by several
contractors, the health and safety coor-
dinator must point out any possible mu-
tual hazards and all work must be then
coordinated.