Elizabethtown College Department of Chemistry Last Updated by KK 1/09
your final samples. Consult the literature and/or the methods manuals to determine the appropriate
absorption wavelengths and standard concentrations for measurement of your metal ion analyte.
a. NOTE: Because this instrument generates an enormous amount of heat in the
burner flame or graphite furnace and a substantial amount of air, acetylene, and/or
argon are required to run the instrument, it is important that you have all standard
and sample solutions and a blank solution ready to analyze and record once you set
up the instrument and start the flame or furnace as described in subsequent steps.
b. ALSO NOTE: Please be reminded that whenever you are using compressed gases
and high temperature flames or furnaces, you must exercise extreme caution.
Proper safety attire (goggles, lab coats, long pants, closed-toed shoes, etc.) must be
worn as always when working in the laboratory. Flame atomic absorption
spectrophotometers can, on rare occasion, flash back through the burner assembly,
so you will wish to pay special attention to the step in which you verify that the
safety interlock pin is latched and the steel cables connected to the burner head are
properly attached. For your safety, you will also wish to locate the nearest fire
extinguisher, fire alarm, and fire exit before proceeding.
3. Assure that the solution collection bottle is empty and that the tubing is placed properly inside of it.
If the solution collection bottle needs to be emptied, notify the instructor. Also, for flame
measurements, place the aspirator tube into a clean beaker containing deionized water in the tray
below the burner head assembly. For graphite furnace measurements, assure that the pipet for the
autosampler is connected to the tubing that flows to an appropriate solvent in the solvent bottle to
the left of the instrument.
4. Under the supervision of or with permission from an instructor, install in the turret the appropriate
hollow cathode lamp (HCL) for the element you wish to analyze. Record the maximum operating
current (somewhere between 3 and 15 mA) that is likely printed on the bottom of the bulb, and
assure that it is not exceeded when powering up the bulb.
a. NOTE: There are two basic HCL designs used in atomic absorption
spectrophotometers—one that is 1.5 inches in diameter and one that is 2.0 inches in
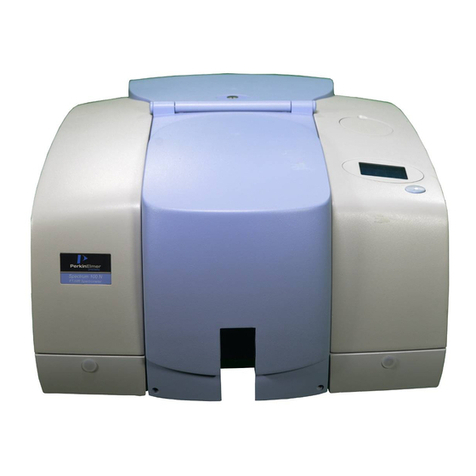
diameter. All of the Perkin-Elmer instruments use the two inch bulbs, and the turret
for the bulbs, located inside the door on the upper right quadrant of the instrument,
is designed to receive only the larger HCLs. There is an adapter available to allow
the PE Aanalyst 300 to use the smaller bulbs, but the instrument detection limits
may not meet specifications if the smaller source is used.
b. Following the installation of the bulb in the holder, plug in the power cable end
fitting into the socket on the turret. If you are using an adapter for the smaller bulbs,
you will need to use an additional adapter cable for the power connection.
5. Turn on the exhaust hood using the VENT FAN SWITCH behind the instrument (to the left) on the
wall, and assure that the cutoff slide is open. Close the two cutoff slides for the exhaust from the
atomic emission spectrometer to the left of the AA. Verify that the air is being pulled into the top
of the cone above the AA before proceeding (i.e., assure that a KimWipe is pulled upward).
6. Power up the computer and monitor. Hit Cancel when prompted for a User Name and Password.
7. Turn on the power to the Aanalyst 300 Spectrometer (on the right-hand side of the instrument).

