Tempsens CALsys 250 User manual

CALsys 250
1 | P a g e
Liquid Temperature Calibrator
CALsys 250
USER MANUAL

CALsys 250
2 | P a g e
Contents
Safety Information....................................................................................................................... 4
3. Introduction…………………………………………………………………………………. 8
3.1 Basic working of CALsys 250...………………………………………………………….. 9
3.2 Dimension……………………………………………………………………………… 10
3.3 Wiring Diagram……………………………………………………………………… 11
4. Technical Specification: ...................................................................................................... 122
5. Installation….…………………………………….……………………………………… 13
5.1 Environmental Condition……………………………………………………………….. 13
6. Unpacking & Initial Inspection………………………………………………………… 14
6.1 Installation……………………………………………………………………………. 15
7. Operating Instruction ............................................................................................................. 16
7.2 Heating up the source .......................................................................................................... 16
7.3 Operating Instruction........................................................................................................... 17
8. Operation Of controller.......................................................................................................... 19
8.1 The Temperature Controller ................................................................................................ 19
8.2 Altering the Set point........................................................................................................... 19
8.3 Monitoring the Controller Status......................................................................................... 20
8.4 Units..................................................................................................................................... 20
8.5 Setting the Input Type ......................................................................................................... 20
10.6 Auto Tune .......................................................................................................................... 21
8.7 Offset: .................................................................................................................................. 22
11. Initial Testing:...................................................................................................................... 30
12. Maintenance & Trouble shooting ........................................................................................ 31
12.1 Routine service .................................................................................................................. 31
12.2 Replace the Controlling Sensor ......................................................................................... 31
12.3 Replace Solid state relay.................................................................................................... 31
13. Troubleshooting................................................................................................................... 34
Recommendation ....................................................................................................................... 36

CALsys 250
3 | P a g e
Preface
Thank you for purchasing High Quality and Efficient CALsys 250.
Please familiarize yourself with the information contained in the safety precautions
sections before using this product.
This user manual contains information about the product and its proper use and should be
kept in a place where it will be easy to access.

CALsys 250
4 | P a g e
Safety Information
This chapter contains important information for the safety. The not observance of these
instructions may result in serious personal injury or can cause serious damage to the unit
and to the components system included. Use the instrument only as specified in this
manual. Otherwise, the protection provided by the instrument may be impaired. Refer to
the safety information below and throughout the manual.
The following definitions apply to the terms “Warning” and “Caution”.
•“Warning” identifies conditions and actions that may pose hazards to the user.
•
“Caution” identifies conditions and actions that may damage the
Instrument being used.
ELECTRICAL SAFETY
To avoid possible electric shock or personal injury, follow these guidelines.
This equipment must be correctly earthed.
A protective earth is used to ensure the conductive parts cannot become live in the
event of a failure of the insulation.
The protective conductor of the flexible mains cable which is colored
green/yellow MUST be connected to a suitable earth.
Warning: Internal mains voltage hazard. Do not remove the panels.

CALsys 250
5 | P a g e
Before connecting to the electricity supply, please familiarize yourself with the
parts of the calibrator with the help of operating manual.
Always replace the fuse with one of the same rating, voltage and type.
Use only the mains power cord and connect or approved for the voltage and plug
Configuration in your country and rated for the Product.
Replace the mains power cord if the insulation is damaged or if the insulation
shows signs of wear.
Connect one end of the supplied ground wire to the protective earth ground
terminal on the rear panel and the other end to an earth ground.
Make sure the ground conductor in the mains power cord is connected to a
protective earth ground. Disruption of the protective earth could put voltage on the
chassis that could cause death.
Do not put the Product where access to the mains power cord is blocked.
Do not use an extension cord or adapter plug.
Do not use the Product if it operates incorrectly.
Make sure the power cord does not touch with hot parts of the Product.
HEALTH AND SAFETY INSTRUCTIONS
Wear appropriate protective clothing.
Operators of this equipment should be adequately trained in the handling of hot
and cold items and liquids.
Do not use the apparatus for jobs other than those for which it was designed, i.e.
the calibration of thermometers.
Do not handle the apparatus when it is hot (or cold), unless wearing the
appropriate protective clothing and having the necessary training.
Do not drill, modify or otherwise change the shape of the apparatus.
Do not use the apparatus outside its recommended temperature range.
If cased, do not return the apparatus to its carrying case until the unit has cooled.

CALsys 250
6 | P a g e
There are no user serviceable parts inside. Contact Tempsens agent for repair.
Ensure materials, especially flammable materials are kept away from hot parts of
the apparatus, to prevent fire risk.
Do not use the Product around explosive gas, vapor, or in damp or wet
environments.
Make sure that the space around the Product meets minimum requirements.
Do not keep the Product in operation and unattended at high temperatures.
Do not set anything on top of the Product. Very high temperatures can cause the
ignition of flammable materials.
BURN HAZARD - DO NOT touch the well access surface of the unit.
DO NOT turn off the unit at temperatures higher than 100°C. This could create a
hazardous situation. Select a set-point less than 100°C and allow the unit to cool
before turning it off.
Materials used in this furnace may be irritating to skin, eyes, and respiratory tract.
Consult the material manufacturer’s MSDS (Material Safety Data Sheet).
HIGH VOLTAGE is used in the operation of this equipment. SEVERE INJURY
OR DEATH may result if personnel fail to observe safety precautions.
The top sheet metal of the furnace may exhibit extreme temperatures for areas
close to the well access.

CALsys 250
7 | P a g e
CAUTIONS
To avoid possible damage to the instrument, follow these guidelines.
DO NOT connect this unit to a non-grounded, non-polarized outlet.
Before working inside the equipment, turn the power off and disconnect the power
cord.
Always replace the fuse with one of the same rating, voltage, and type.
Overhead clearance is required. DO NOT place this instrument under a cabinet or
other structure.
DO NOT turn the unit upside down with the inserts in place; the inserts will fall
out of the unit.
Use of this instrument at HIGH TEMPERATURES for extended periods of time
requires caution.
Completely unattended high temperature operation is not recommended for safety
reasons.
DO NOT plug the unit into 230 V if the heater switches and fuse holder read115 V.
This action will cause the fuses to blow and may damage the instrument.
Components and heater lifetime can be shortened by continuous high temperature
operation.
DO NOT use fluids to clean out the well.
Never introduce foreign material into the probe hole of the insert. Fluids, etc. can
leak into the calibrator causing damage.
DO NOT change the values of the calibration constants from the factory set
values. The correct setting of these parameters is important to the safety and
proper operation of the calibrator.
DO NOT drop or force the probe stems into the well. This type of action can cause
a shock to the sensor and affect the calibration.

CALsys 250
8 | P a g e
3. Introduction:
The ‘CALsys 250’ has been designed to provide stable and accurate
temperature to enable professionals to calibrate Temperature Sensing
Devices by comparison method. The
‘
CALsys 2 5 0’ model has been
designed to be rugged and easily maintained. This model provides an
isothermal enclosure (Aluminium block) in which the thermocouple/RTD
can be calibrated against the temperature of the calibrator. For traceable
calibration a master calibration sensor should be placed into the metal block
alongside the unit under calibration. The method is widely accepted because
the calibrator provides very stable temperature nearing to its controlled
point, the Master Thermocouple / RTD, which is calibrated by independent
Laboratory traceable to National standards, compares the sensor under
calibration.
The ‘CALsys’ models are part of wide range of portable calibrators designed
and made by us.
Please contact us in case you required more information about our other products.

CALsys 250
9 | P a g e
3.1 Basic Working of CALsys 250:
The calibrator controller uses a PT-100 sensor as a controlling sensor and
controls the chamber temperature with Cartridge Heater
.
To obtain and
maintain a required temperature the
controller varies the power to the heater via
solid-state relay
.
There is one electricity driven fan
which is situated under the
heating chamber for cooling the heater. The CALsys 250 Liquid calibrator
was designed for portability, moderate cost and ease of operation. With proper
use the instrument should provide continued accurate calibration of
temperature sensors and devices
.
The user should be familiar with the safety
guidelines and operating procedures of the
calibrator as described in the User’s
Manual.

CALsys 250
10 | P a g e
3.2
Dimension:

CALsys 250
11 | P a g e
3.3 Wiring Diagram:

CALsys 250
12 | P a g e
4. Technical Specification:
Voltage 230 V AC±10
Power 1.5 KW
Supply Frequency 50/60 Hz
Temperature range 50 to 250°C
Resolution 0.1 °C
Stability ± 0.015°C at 50 °C
± 0.025°C at 150 °C
± 0.050°C at 250 °C
Uniformity ± 0.02°C at 50 °C
± 0.04°C at 150 °C
± 0.08°C at 250 °C
Controlling sensor Precision PRT (PT-100)
Time to reach max. Temperature 30 minutes
Operating Temperature 20 to 45 °C
Method of controlling Digital self-tuned PID controller
Heaters Cartridge Heaters
Computer Interface RS-232
Dimensions 360(H) x 185(W) x 285(D) mm
Insert Construction 15mm x 6 Holes of 140 mm
Insert depth.
Weight Approximate 12 Kg

CALsys 250
13 | P a g e
5. Installation:
Place the Calibration Bath on a flat surface with at least 10 inches of free space around
the instrument. Overhead clearance is required. DO NOT Place this unit under a cabinet
or structure. Plug the power cord into a grounded mains outlet located on the controlling
unit rear panel. Observe that the nominal voltage corresponds to that indicated in the
technical specifications in the user’s guide.
5.1 Environmental Conditions:
Although the instrument has been designed for optimum durability and trouble-free
operation, it must be handled with care. The instrument should not be operated in an
excessively dusty or dirty environment. Maintenance and cleaning recommendations can
be found in the Maintenance Section of this manual.
The instrument operates safely under the following conditions:
Temperature range: 5 - 50°C (41 - 122°F)
Ambient relative humidity: 15 - 50%
Pressure: 75kPa - 106kPa
Mains voltage within ± 10% of nominal
Vibrations in the calibration environment should be minimized
Altitude less than 2000 meters

CALsys 250
14 | P a g e
6. Unpacking& Initial Inspection:
Our packing department uses custom designed packaging to send out your unit. You are
advised, after unpacking the unit, to inspect it for any sign of damage, and confirm that
your delivery is in accordance with the packing note. Unpack the Furnace carefully and
inspect. If you find any damage or any item is missing notify us or our agent.
After unpacking you will find the following accessories
CALsys 250………………….....1 No
Power cord ……………………..1 No
RS-232 Cable and Software CD
Manual
Certificates
Ceramic Wool
Silicon Oil (1 Liter)

CALsys 250
15 | P a g e
6.1 Instructions:
1. Please open the carrying case carefully and takeout the operating manual from the
box and read carefully.
2. Take out the Bath carefully and keep it at suitable place.
3. Connect the power plug to the rear power entry and connect the power plug to the
mains.
4. As soon as the power in ON you shall observe display on the controller. It shows
that the bath is ready for use.
5. Keep the switch in the ON position
6. Ensure the metal INSERT is properly inserted in the bath.
7. Let the fan to be in ON position
8. If fan is running and temperature of the furnace is rising, the bath is in healthy
condition.
Note:
1. Please ensure that your unit is correctly connected to the electricity supply.
2. The apparatus must be correctly earthed (Grounded).
3. The unit’s ON/OFF switch is located on the power inlet. Take care NOT to switch
the unit OFF when it is hot – allow cooling first.

CALsys 250
16 | P a g e
7. Operating Instruction:
7.1 Power
Plug the calibration bath power cord into mains outlet of the proper voltage, frequency
and current capability. Typically this will be (230 VAC±10, 50/60 Hz). Turn the
controller using the “Mains” switch located on the controlling section and set the
temperature value in the controller. After this, on the MCB which is provided in back
side of furnace. The black body will turn on and begin to heat the previously programmed
temperature set-point.
7.2 Heating up the source
Press “UP” or “DOWN” key of controller to change the set-point value. When the set-
point temperature is changed the controller will switch the calibrator heater on or off to
raise or lower the temperature. The displayed temperature will gradually change until it
reaches the set-point temperature. The Calibrator may require 20 to 30 minutes to reach
the set-point depending on the span. An another 10 to 15 minutes is required to stabilize
the bath temperature within ± 0.1 Deg C of the set-point.

CALsys 250
17 | P a g e
NOTE:
1. All other controller parameters are company set and locked. It is recommended not
to change them.
2. When the source is operated at any temperature above ambient, the front face and
plate become hot.
3. Always put the fan in “ON” Condition and do not switch the “Mains” off
Directly, First set the controller to 0 Deg C and then wait until the unit is not
cooled below 100 Deg C.
7.3 Operating Instruction:
1. Connect the ‘CALsys 250’ to a suitable power supply.
2. Fill the oil in the bath, up to the marked line, Connect the power Supply to the
heater and stirrer.
3. As soon as the power is ON you shall observe display on the controller.
4. Place the UUC (unit under calibration) & Master sensor into Insert.
5. Set the controller to the required Temperature.
6. If test & master sensor is Thermocouple then always use compensating cable (for
each type like J, K, T, E, N, R, S, B) for interconnection between sensor and
DMM.
7. Keep reference junction at 0 Deg C, if not possible then add mili volt (mV) of
room (ambient) temperature with sensors output mV to compensate the ambient
temperature.
8. When temp of the controller are stable record the reading from DMM with at least
41/2 digit precision which should be calibrated for the measuring range (mV &
ohms measurements).
9. Find out the error by comparison method.

CALsys 250
18 | P a g e
10. Reset the controller and / or repeat the calibration for another calibration point or
for another sensor.
11. When the calibration is completed, reset the controller to 0°C & wait until the
unit has cooled to below 100°C, before moving the ‘CALsys 250’ to new location
the ‘CALsys 250’ must be cooled to below 100°C.
NOTE:
1. Metal Insert should be of required hole size so that the hole size is suitable for
sensor under calibration.
2. Always use a master sensor (master RTD/TC) for comparison calibration method.
3. Place the metal insert first then all sensors and then set controller at desired set
point.
4. Check that all sensors (test & master) are immersed at same depth in insert (metal
block).
5. If sensors are not immersed at same depth than there will be an error in
temperature reading.
6. Always use a metal block calibrator. Metal block calibrator (insert) heat transfer
characteristics should match those of the normal measuring situations.
7. The temperature sensors should be long enough so that immersed a calibration
bath, errors due to stem conduction can be ignored.
8. Do not change the set value again and again, as an example the SV is 100 Deg C
and when it reaches at 80 Deg C now you set 150 Deg C and/or first set 150 Deg
C and when Bath temperature reaches near to 150 Deg C then again set 100 Deg
C, this is not a correct method.
9. Plan the calibration point in increasing way then set the controller accordingly.
This method will save the time.
10.
Take the reading of sensors (master & test) at stable temperature with the help of
Digital Multimeter or by using Tempsens make TEMPMET 08 or TEMPMET 09
for reading RTD or TC sensor.

CALsys 250
19 | P a g e
8. Operation Of controller:
FRONT PANEL LAYOUT
8.1 The Temperature Controller
The controller has a dual display, the upper display indicates the measured temperature,
and the lower display indicates the desired temperature or set point.
8.2 Altering the Set point
To change the set point of the controller simply use the UP and DOWN keys to raise and
lower the set point to the required value. The lower display changes to indicate the new
set point.

CALsys 250
20 | P a g e
8.3 Monitoring the Controller Status
A row of beacons indicate the controllers status as follows,
OP1 Heat Output
OP2 Cool Output (only for models which operate below 0°C)
REM This beacon indicates activity on the PC interface
8.4 Units
Momentary pressing of the Scroll key will show the controller units °C or °F.
8.5 Setting the Input Type
a) Press ‘PAGE key’ for 4-5 sec. The display will show level 3.
b) Then press ▲key, the display will show ‘CONF’. Then release ▲key.
c) The display will ask for ‘CODE’. To enter the code for ‘CONF’ level, use ▼& ▲
key. By default the CODE for ‘CONF’ is 4.
d) Then the display will show ‘INPUT’.
e) Then press scroll key (only once).
f) The 1st term, controller will display is ‘IN.TYP’. Here one can enter the type of
sensor we are using in respective Furnace like: RTD, Thermocouple (R, S, N, K
etc.). To enter the Input type use ▲or ▼key.
g) Press ‘PAGE’ and ‘scroll’ key together to return to ‘HOME’ display.
h) As we were in ‘CONF’, so change the level. Use ▼key and select level 2.
i) After 2-3 second, the display will automatically show the ‘HOME’ display;
means temperature of furnace.
The upper display will show the current set sensor type,
J.tc J thermocouple
K.tc K thermocouple
L.tc L thermocouple
Table of contents
Other Tempsens Measuring Instrument manuals
Tempsens
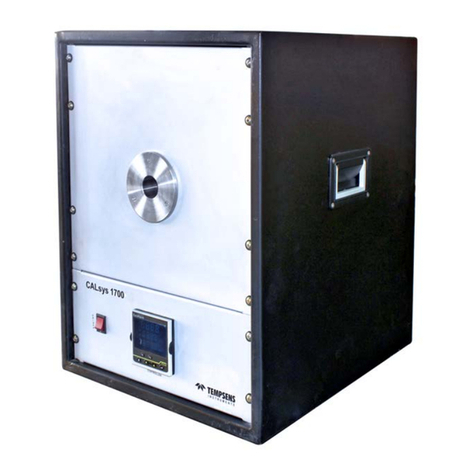
Tempsens CALsys 1700 User manual
Tempsens
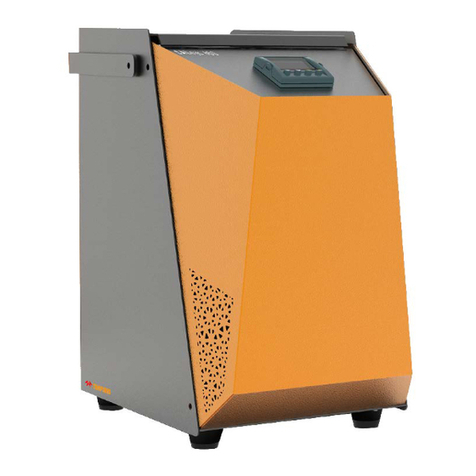
Tempsens CALSYS 650 User manual
Tempsens
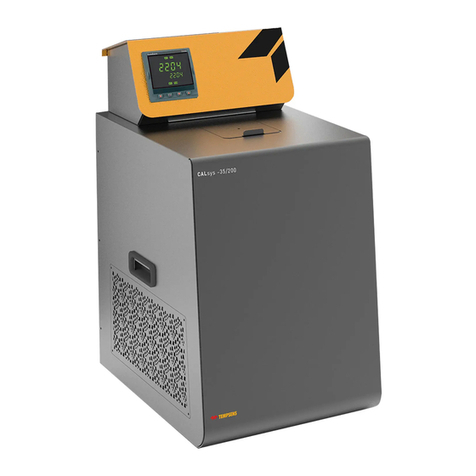
Tempsens CALsys -35/200 User manual
Tempsens
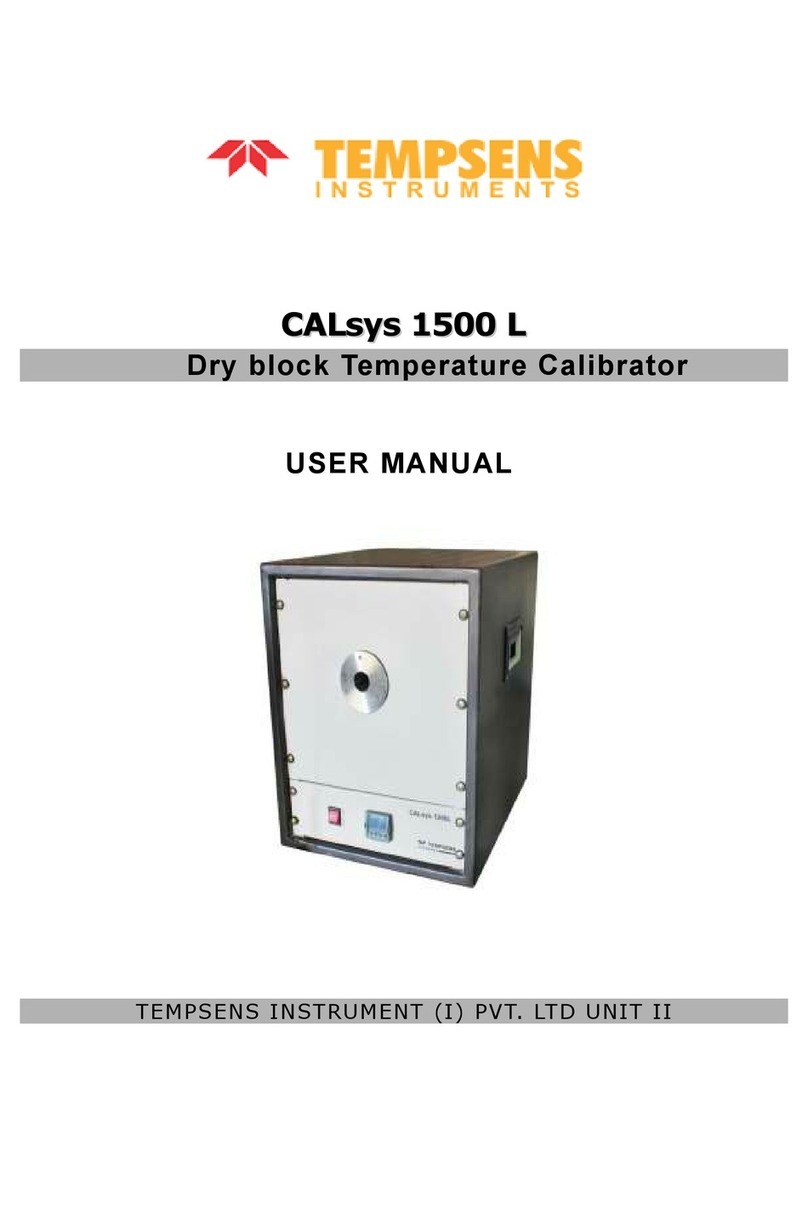
Tempsens CALsys 1500 L User manual

Tempsens
Tempsens CALsys 1200 User manual
Tempsens
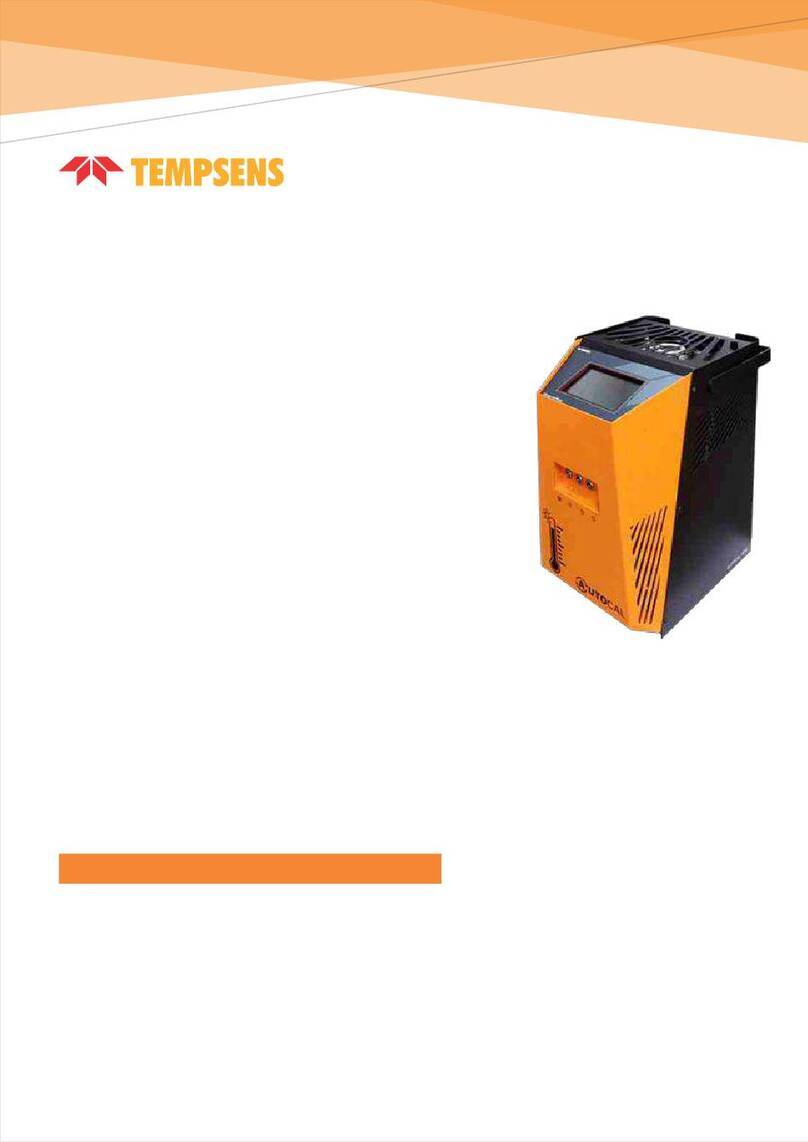
Tempsens CALsys-15/110 Autocal User manual

Tempsens
Tempsens CALsys 1500 BB User manual

Tempsens
Tempsens CALsys 1500 User manual
Popular Measuring Instrument manuals by other brands
Endress+Hauser
Endress+Hauser analytikjena Biometra TOne operating manual
Vanguard Instruments
Vanguard Instruments ATRT-03 Software Operating Guide

PCE Health and Fitness
PCE Health and Fitness PCE-PA6000 Operation manual
Visatron
Visatron VN2020 Maintenance schedules
PASI
PASI Polares 32 user manual
Dedoes
Dedoes MPU02 manual

