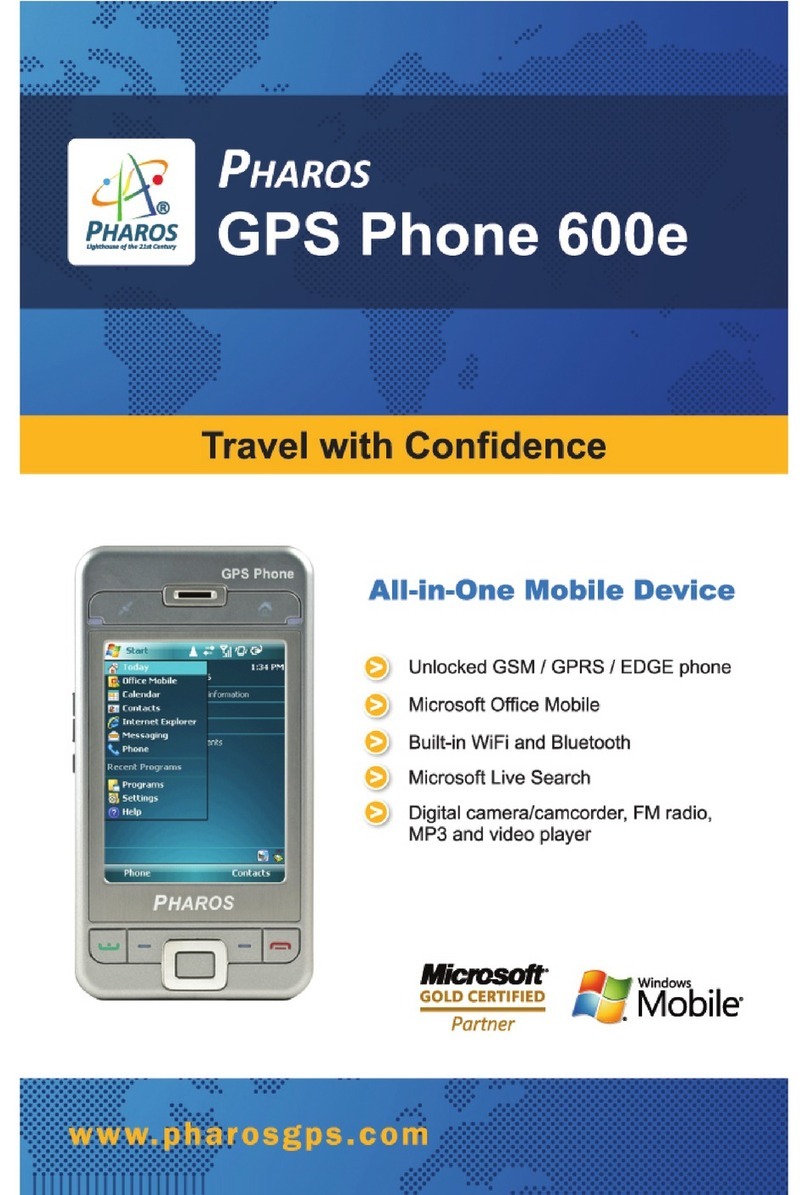
Pharos GPS 600 User manual

R
PHAROS
GPS Phone 600 Series
Hardware Quick Start Guide
Travel with ease and confidence

Pharos GPS Phone 600 Series
Quick Start Guide

GPRS / EDGE Settings for AT&T / Cingular
1. Tap Start, Settings > Connections tab > Connections
> Tasks tab.
Tap Add a new modem connection.
2. Enter a new connection name (i.e. AT&T GPRS).
Select Cellular Line (GPRS).
Tap Next.

GPRS / EDGE Settings for AT&T / Cingular
cont’d
3. Enter Access point name: wap.cingular.
Tap Next.
4. Tap Finish.

GPRS / EDGE Settings for T-Mobile
1. Tap Start, Settings > Connections tab > Connections
> Tasks tab.
Tap Add a new modem connection.
2. Enter a new connection name (i.e. T-Mobile GPRS).
Select Cellular Line (GPRS).
Tap Next.

GPRS / EDGE Settings for T-Mobile cont’d
3. Enter Access point name: wap.voicestream.com.
Tap Next.
4. Tap Finish.

MMS Settings for AT&T / Cingular
1. Tap Start, Programs > Messaging > MMS > Menu
> MMS Settings.
Tap on Profile Cingular MMS.
Tap Edit.
2. Enter Profile Settings:
MMSC: http://mmsc.cingular.com
Data Connection: My ISP
Gateway: WAP 1.0 Gateway
IPAddress: 66.209.11.61
Port: 9201
Tap Done.
Tap Ok.

MMS Settings for T-Mobile
1. Tap Start, Programs > Messaging > MMS > Menu
> MMS Settings.
Tap on Profile T-Mobile MMS.
Tap Edit.
2. Enter Profile Settings:
MMSC: http://216.155.174.84/servlets/mms
Data Connection: My ISP
Gateway: WAP 1.0 Gateway
IPAddress: 216.155.165.50
Port: 9201
Tap Done.
Tap Ok.

What’s in the box?
GPS Phone 600
Battery
CDs
Getting Started Disc
Manuals CD
USB Cable
Quick Reference Guide*
Quick Start Guide
AC Charger
Car Mount
/Holder*
Car Charger*
PHAROS
GPS Phone 600 Series
Hardware Quick Start Guide
Travelwith ease and confidence
Leather
Case
Stereo Earphones
Micro SD Card*
*These items and Ostia navigation software are not included in the 600e package.

Getting to Know Your GPS Phone 600
Speaker
Press for GPS
Navigation*
Bluetooth / WLAN
/ GPS LED Indicator
Start & Status Icons
Tap Start to select Programs,
Settings, and Help. Tap
Status icon to view details or
change options.
Volume Adjust
Screen Orientation
/ Record Key
Left Soft-Key
Zoom-in Key in Ostia.
Talk Key
Dials; answers a call; puts a
call on hold (call waiting);
switches active call and call
on hold
Headset Jack
Today
Returns to the Today screen
Power Button
Power / Cell Phone
Active LED Indicator
Reset Button
Today Screen
Provides information for the day.
Tap an item to view or edit details.
Command Bar
Provides menus and buttons to
perform tasks in programs.
Right Soft-Key
Zoom-out Key in Ostia.
End / Hang Up
Ends calls.
Camera Shutter
Navigator Keypad
Carries out an action similar to
pressing ENTER on a keyboard.
*Not applicable to GPS Phone 600e

Getting Your GPS Phone 600
Ready to Go
1. Insert the SIM card
Turn over the GPS Phone 600 and remove the back cover.
Insert the SIM card in the back of the GPS Phone 600 with
the gold contacts facing down.
2. Insert the battery
Place the battery in the back of the GPS Phone 600, making
sure that the plastic tabs are aligned with the corresponding
holes. Gently insert the battery until it snaps into place.
Remember to lock the battery into place. Then replace the
back cover.
3. Charge the battery
Connect the AC charger to the mini USB port to fully charge
the GPS Phone 600. This will take about 8 hours the first
time. The battery is fully charged when the light on the top
right front of the GPS Phone 600 turns green.
Reset
Reset method: Push in the “Reset Button” located to the
side of the GPS Phone 600 with the tip of the stylus.
Appropirate situation: If the GPS Phone 600 is unable to maintain
normal operation, has no response, or if the screen is frozen.

4. Default Settings
Tap Start > Settings > the System tab > Default Settings.
1. If this application is inadvertently accessed,
please select the to the upper right of the
screen to exit, the system will not be affected.
2. If you are certain that you wish to perform this
action, please select the data input block on
the right and enter the authorized code in the
block to the left. Tap the OK button when
finished.
Result:
This will retain only the Microsoft Windows
and factory pre-installed applications.
Other settings such as user’s input data,
newly installed programs, and user custom
settings will all be cleared.

Charging the Battery
Insert the main battery
Follow the steps 1 and 2 shown
to the left.
Caution:
Make sure the battery is locked before you
use the GPS Phone 600.
Unlock Lock

Connecting the USB Cable or
AC Charger with the GPS Phone 600
PC or Notebook USB Cable
AC Charger
GPS Phone 600
Home or Office Configuration

Vehicle Configuration
Car Charger
GPS Phone 600
Car Mount
Windshield Pedestal
Connecting the Car Charger
to the Car Mount

Important Notes When Using the GPS
When using this device, please use with matching car mount. Affix the device
securely to the car mount. Please be aware that the areas shown below can be
dangerous areas to place the device.
1. Do not place where it will obstruct the driver’s vision
2. Do not place over air bag
3. Do not place where it can not be securely attached
4. Do not place in path of activated airbag
1.
2. 3. 4.

1. Turn on your GPS Phone 600
Disconnect the AC charger from the Mini USB port and
press the Power button.
2. Set the time and date
Adjust the time zone as needed.
Turning on and Customizing
Your GPS Phone 600
Power Button
Tap hours, minutes, seconds, or date and use the arrows to adjust the number.
Tap OK to save your changes.
Tap Start > Settings > System > Clock & Alarms.

Securing Your GPS Phone 600
Secure your phone
Use a personal identification number (PIN) to protect your phone from unauthorized use.
Your first PIN will be given to you by your mobile operator.
From the Phone keypad, tap Menu > Options, then tap the Phone tab.
Select Require PIN when phone is used.
Secure your information
User a password to protect the information on your GPS Phone 600.
Tap Start > Settings, and then tap Lock.
Use a strong password if your GPS Phone 600 is configured to connect to a network.
Select how long your GPS Phone 600 must be turned off before the password is required
to use the device.
Tap the Hint tap to provide a hint in case you forget your password.

Status Indicators
Status indicators are displayed at the top of the screen.
SIM Card unavailable
Phone is powered on
Network is searching or unavailable
Phone connection unavailable or network error
Phone is powered off
Signal strength indicator for phone function
Missed call
Call Forwarding active
Calls are forwarded
Roaming
New e-mail SMS
Voice mail
MMS mail
Active connection to computer
ActiveSync is synchronizing
Speaker is on
Speaker is off or in mute position
GPRS available
GPRS in use
EDGE available
EDGE in use
WLAN active
WLAN data calling
WLAN in use
New instant message
PPT slide show

1. Turn on your GPS Phone 600
Disconnect the AC charger from the Mini USB port and
press the Power button..
2. Make a phone call
Press . On the phone key pad, enter the number
you want to call, and tap Talk or press .
To delete a digit, tap .
Tap and hold to delete all digits.
To end the call, tap End or press .
Making a Phone Call
3. Turn off your GPS Phone 600
Press the Power button.
Power Button
Other manuals for GPS 600
1
This manual suits for next models
2
Table of contents
Other Pharos Cell Phone manuals

Pharos
Pharos Traveler 127 User manual

Pharos
Pharos Traveler 127 Instruction Manual

Pharos
Pharos Traveler 117 Instruction Manual

Pharos
Pharos 585 User manual

Pharos
Pharos 565 Series User manual

Pharos
Pharos Traveler 619 Instruction Manual

Pharos
Pharos Traveler 619 User manual

Pharos
Pharos Traveler 117 User manual

Pharos
Pharos GPS 600e User manual

Pharos
Pharos GPS 600 User manual