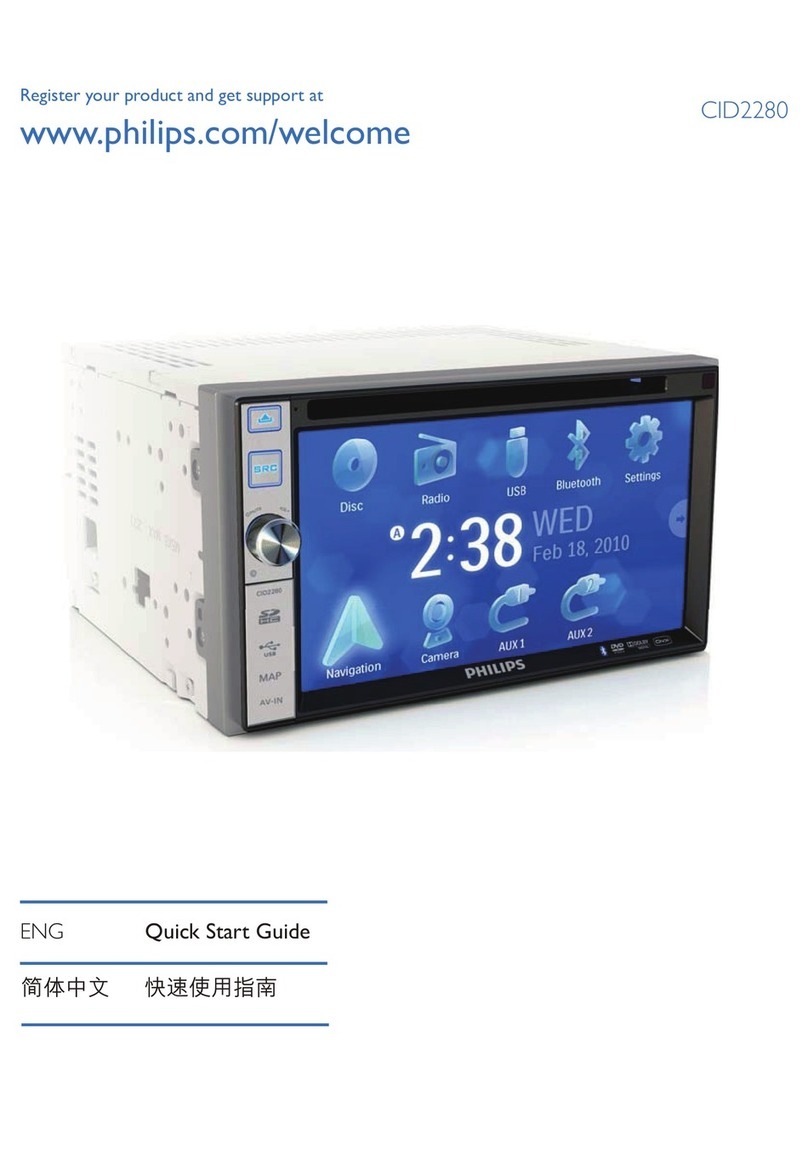
English
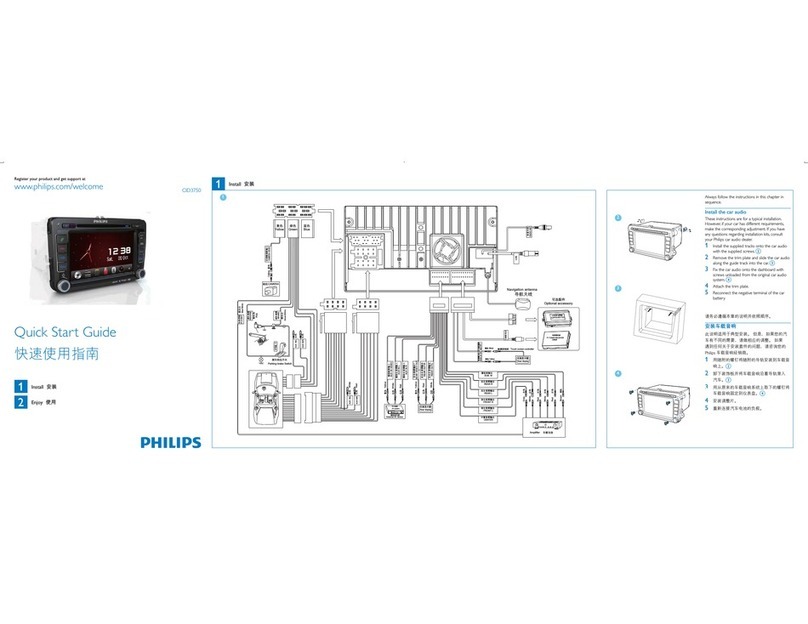
Install the car audio
These instructions are for a typical installation.
However, if your car has different requirements,
make the corresponding adjustment. If you have
any questions regarding installation kits, consult
your Philips car audio dealer.
Connect wires 1
1Pull out the ISO connectors from the car
dashboard and connect them to the bigger
end of the supplied standard connector. a
2Connect the other end of supplied
standard connector to the unit. b
If necessary, connect the following:• c
Connector Connect to/with
1 Blue cable Sub woofer out
2 Green/white
wire
Parking (see ‘Connect
parking brake wire’ on
page 16) switch (see
‘Connect parking brake
wire’)
3 White cable Left front line out
4 Red cable Right front line out
5 White cable Left rear line out
6 Red cable Right rear line out
7 Pink wire Camera
8 Yellow cable Camera in
9 Yellow cable Video in
10 Yellow cable Video out 2
11 Yellow cable Video out 1
12 White cable Left audio in
13 Red cable Right audio in
Mount in the dashboard 2
1If the car does not have an on-board drive
or navigation computer, disconnect the
negative terminal of the car attery.
2Ensure that car dashboard opening is within
these measurements: a
3Remove the two transport screws on the
top of the unit. b
4Remove the mounting sleeve with the
removal keys. c
5Install the sleeve into the dashboard and
bendthetabsoutwardtoxthesleeve. d
6Place the rubber cushion over the end of
the bolt. e
7Slide the unit into the dashboard until a
click sound is heard. f
8Reconnect the negative terminal of the car
battery.
Turn on
1Press to turn on the unit.
The available OSD (On-Screen Display)»
languages display.
2Touch a language to select.
The OSD language changes to the»
selected language immediately.
To turn off the unit, press and hold• for
more than 2 seconds.
Set clock
1Touch to display main menu.
2Touch [Setting] to display setting menu.
3Touch [Time].
4Touch [Clock Mode] to switch between
clock mode options.
5Touch [Set Time].
