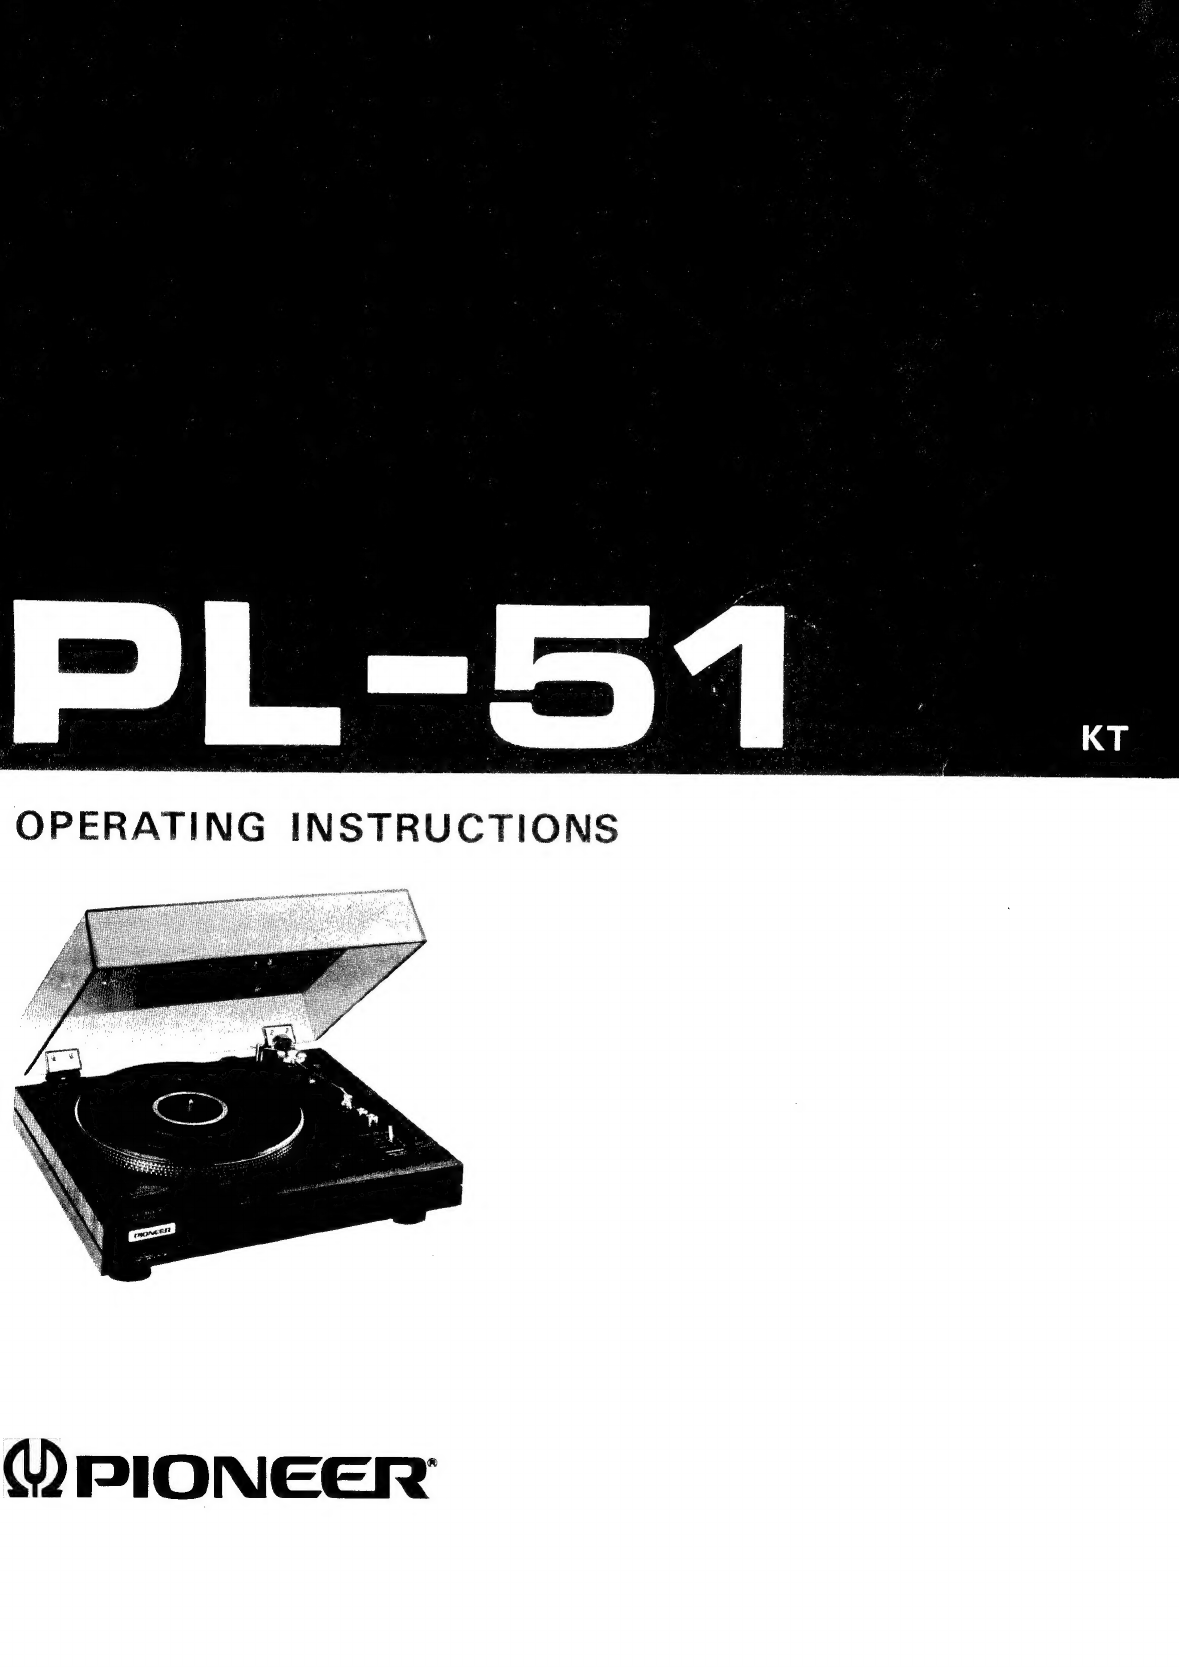
Pioneer PL-51 User manual
Other Pioneer Turntable manuals

Pioneer
Pioneer PL-500 User manual

Pioneer
Pioneer PL-570 User manual

Pioneer
Pioneer AVH-P6500DVD User manual

Pioneer
Pioneer PL-510 User manual

Pioneer
Pioneer PL-200Z User manual

Pioneer
Pioneer PL-12E PV User manual

Pioneer
Pioneer PLX-1000 User manual

Pioneer
Pioneer PL-X505 User manual

Pioneer
Pioneer PL-610 User manual

Pioneer
Pioneer PL-530 User manual

Pioneer
Pioneer PL-44F User manual

Pioneer
Pioneer PL-100 User manual

Pioneer
Pioneer PL-450 User manual

Pioneer
Pioneer PL-560 User manual

Pioneer
Pioneer PL-V70 User manual

Pioneer
Pioneer PL-630 User manual

Pioneer
Pioneer pl-x50 User manual

Pioneer
Pioneer DEH-P6500 User manual

Pioneer
Pioneer PL-200 User manual

Pioneer
Pioneer PL-7 User manual