manuals.online logo
Brands
  1. Home
  2. •
  3. Brands
  4. •
  5. PLANEPRINT
  6. •
  7. Toy
  8. •
  9. PLANEPRINT Swift S1 Programming manual

PLANEPRINT Swift S1 Programming manual

PRINTING & ASSEMBLING MANUAL
www.planeprint.com
the ONLY place where you can get
original Planeprint STL files legally!
Ultra-lightweight indoor and park glider
PRINTING & ASSEMBLING MANUAL
SWIFT S1 2
PRINTING & ASSEMBLING MANUAL
© PLANEPRINT
PLALW-PLA TPU FOAMCARBON
SWIFT S1 3
PRINTING & ASSEMBLING MANUAL
© PLANEPRINT
RC Components
RECEIVER 4 Channel (light indoor receiver)
BATTERY Micro Receiver battery (like E-Akku Team Champion 4 Würfel 4.8/150 Graupner SJ – 18 grams)
SERVOS 4 Micro or Nano Servos (3 without Tow Function)
for example: • Hitec HS 40 Eco Servo 4,8g
• Diamond D47
• PLANET-HOBBY ECO PLUS
• Stemedu Micro 3.7g Servo GH-S37D
• PICCO 8 DIGITAL SERVO
Required accessoires – basic equipment
Links to recommended accessories can be found on
www.planeprint.com/swift (scroll down)
• LW-PLA (cannot be replaced by PLA!), ~100 grams
• PLA or Tough PLA, ~20 grams
• CA super glue (liquid and medium)
• CA activator
• Foam board 3 mm uncoated!*
(or Foam like Depron, Styropor or EPP, you can see how much you need on the next page
–Such boards are also available separately in model shops)
• UHU POR glue (or another glue suitable for Depron)
• Carbon rod Ø1*1000mm, 3 pieces
• Carbon fiber strip (flat profile) 1*5*1000mm, 1 piece
• a few short pieces of thin steel wire, approx. Ø0.6 mm (for the linkages)
• thin smooth nylon silk Ø approx. 0.2 to 0.3 mm (Fishing line)
• Adhesive tape
• Self adhesive velcro tape
* These parts cannot be printed for weight reasons,
LW PLA is much heavier than foam.
• a few short pieces of thin steel wire, approx. Ø0.6 mm (for the linkages)
Cutting template for the Depron parts
Print out these two pages on A4 paper, cut them along the red dotted line and tape the
pages together exactly. Then cut out the templates for the wing, ailerons, elevator and
rudder. Fix them to the Depron board and cut two pieces from each (aileron and wing)
and one rudder and elevator.
IMPORTANT: the print must be set to 100% page size, so that the size fits exactly!
Wing part (twice)
Aileron (twice)
Elevator
Rudder
Wing part (twice)
Aileron (twice)
Elevator
SWIFT S1
6
PRINTING & ASSEMBLING MANUAL
© PLANEPRINT
Printing the parts – Printing profiles
The development of a complex, airworthy RC flight model to express on any stan-
dard 3D printer is a very extensive process. Therefore, we appeal to your fairness
not to forward the STL data you have acquired to third parties.
Thank you for your understanding and have fun with your PLANEPRINT MODEL!
This manual is constantly being improved and supplemented, we recommend
downloading the latest version from our website before building.
To print all PLANEPRINT models you need to set some basic profiles in Cura
(If you use another slicer, please set the same parameters).
You can find the description at www.planeprint.com/print
For this model you need the following profile:
SWIFT S1 7
PRINTING & ASSEMBLING MANUAL
© PLANEPRINT
P2_Parts 1–S1.stl
MATERIAL PLA, Weight: ~ 7 g
ADDITIONAL SETTINGS
None required
P2_Frame–S1.stl
MATERIAL PLA, Weight: ~ 9 g
ADDITIONAL SETTINGS
None required
PROFILE P2_Hollowbody PLA or Tough PLA
The information about the basic settings you can find on our website at PRINT.
Please note the additional settings for the individual parts!
SWIFT S1 8
PRINTING & ASSEMBLING MANUAL
© PLANEPRINT
P2_Parts 2–S1.stl
MATERIAL PLA, Weight: ~ 4 g
ADDITIONAL SETTINGS
None required
PROFILE P2_Hollowbody PLA or Tough PLA
The information about the basic settings you can find on our website at PRINT.
Please note the additional settings for the individual parts!
P2_Servo lever.stl
MATERIAL PLA, Weight: ~ 1 g
ADDITIONAL SETTINGS
None required
SWIFT S1 9
PRINTING & ASSEMBLING MANUAL
© PLANEPRINT
V_C1-2–S1.stl
MATERIAL LW-PLA, ~ 1 g*
*Weighed (approximate guideline)
SETTINGS
• Layer Height: 0.25 mm
• Wall Line Count/Perimeters: 1
• Spiralize Outer Contour (Cura)/
Spiral Vase (Prusa)
• Top and Bottom Layers: 0
• Flow, Temp and Speed suitable for LW PLA
V_C2-3–S1.stl
MATERIAL LW-PLA, ~ 1 g*
*Weighed (approximate guideline)
SETTINGS
• Layer Height: 0.25 mm
• Wall Line Count/Perimeters: 1
• Spiralize Outer Contour (Cura)/
Spiral Vase (Prusa)
• Top and Bottom Layers: 0
• Flow, Temp and Speed suitable for LW PLA
SPIRALIZE/VASE MODE – Light-Weight LW-PLA!
The following parts must be sliced with the Funktion Spiralize Outer Contour (Cura) or Spiral Vase (Prusa Slicer).
For these parts, only the outer wall (1 line/perimeter) is printed without Z-seam, no top and bottom layers.
It is essential to print these parts with LW-PLA!
Basic settings for LW-PLA: Please follow the instructions in our WINGTEST AND CALIBRATION TOOL
on our website for correct adjustment!
SWIFT S1 10
PRINTING & ASSEMBLING MANUAL
© PLANEPRINT
V_C3-4–S1.stl
MATERIAL LW-PLA, ~ 1 g*
*Weighed (approximate guideline)
SETTINGS
• Layer Height: 0.25 mm
• Wall Line Count/Perimeters: 1
• Spiralize Outer Contour (Cura)/
Spiral Vase (Prusa)
• Top and Bottom Layers: 0
• Flow, Temp and Speed suitable for LW PLA
V_C4-5–S1.stl
MATERIAL LW-PLA, ~ 1 g*
*Weighed (approximate guideline)
SETTINGS
• Layer Height: 0.25 mm
• Wall Line Count/Perimeters: 1
• Spiralize Outer Contour (Cura)/
Spiral Vase (Prusa)
• Top and Bottom Layers: 0
• Flow, Temp and Speed suitable for LW PLA
SPIRALIZE/VASE MODE – Light-Weight LW-PLA!
The following parts must be sliced with the Funktion Spiralize Outer Contour (Cura) or Spiral Vase (Prusa Slicer).
For these parts, only the outer wall (1 line/perimeter) is printed without Z-seam, no top and bottom layers.
It is essential to print these parts with LW-PLA!
Basic settings for LW-PLA: Please follow the instructions in our WINGTEST AND CALIBRATION TOOL
on our website for correct adjustment!
SWIFT S1 11
PRINTING & ASSEMBLING MANUAL
© PLANEPRINT
V_Fuselage 1–S1.stl
MATERIAL LW-PLA, ~ 10 g*
*Weighed (approximate guideline)
SETTINGS
• Layer Height: 0.25 mm
• Wall Line Count/Perimeters: 1
• Spiralize Outer Contour (Cura)/
Spiral Vase (Prusa)
• Top and Bottom Layers: 0
• Flow, Temp and Speed suitable for LW PLA
SPIRALIZE/VASE MODE – Light-Weight LW-PLA!
The following parts must be sliced with the Funktion Spiralize Outer Contour (Cura) or Spiral Vase (Prusa Slicer).
For these parts, only the outer wall (1 line/perimeter) is printed without Z-seam, no top and bottom layers.
It is essential to print these parts with LW-PLA!
Basic settings for LW-PLA: Please follow the instructions in our WINGTEST AND CALIBRATION TOOL
on our website for correct adjustment!
V_Fuselage 2–S1.stl
MATERIAL LW-PLA, ~ 13 g*
*Weighed (approximate guideline)
SETTINGS
• Layer Height: 0.25 mm
• Wall Line Count/Perimeters: 1
• Spiralize Outer Contour (Cura)/
Spiral Vase (Prusa)
• Top and Bottom Layers: 0
• Flow, Temp and Speed suitable for LW PLA
SWIFT S1 12
PRINTING & ASSEMBLING MANUAL
© PLANEPRINT
V_Fuselage 3–S1.stl
MATERIAL LW-PLA, ~ 8 g*
*Weighed (approximate guideline)
SETTINGS
• Layer Height: 0.25 mm
• Wall Line Count/Perimeters: 1
• Spiralize Outer Contour (Cura)/
Spiral Vase (Prusa)
• Top and Bottom Layers: 0
• Flow, Temp and Speed suitable for LW PLA
SPIRALIZE/VASE MODE – Light-Weight LW-PLA!
The following parts must be sliced with the Funktion Spiralize Outer Contour (Cura) or Spiral Vase (Prusa Slicer).
For these parts, only the outer wall (1 line/perimeter) is printed without Z-seam, no top and bottom layers.
It is essential to print these parts with LW-PLA!
Basic settings for LW-PLA: Please follow the instructions in our WINGTEST AND CALIBRATION TOOL
on our website for correct adjustment!
V_Fuselage 4–S1.stl
MATERIAL LW-PLA, ~ 6 g*
*Weighed (approximate guideline)
SETTINGS
• Layer Height: 0.25 mm
• Wall Line Count/Perimeters: 1
• Spiralize Outer Contour (Cura)/
Spiral Vase (Prusa)
• Top and Bottom Layers: 0
• Flow, Temp and Speed suitable for LW PLA
SWIFT S1 13
PRINTING & ASSEMBLING MANUAL
© PLANEPRINT
V_Fuselage 5 L–S1.stl and
V_Fuselage 5 R–S1.stl
MATERIAL LW-PLA, ~ 4 g*
*Weighed (approximate guideline)
SETTINGS
• Layer Height: 0.25 mm
• Wall Line Count/Perimeters: 1
• Spiralize Outer Contour (Cura)/
Spiral Vase (Prusa)
• Top and Bottom Layers: 0
• Flow, Temp and Speed suitable for LW PLA
SPIRALIZE/VASE MODE – Light-Weight LW-PLA!
The following parts must be sliced with the Funktion Spiralize Outer Contour (Cura) or Spiral Vase (Prusa Slicer).
For these parts, only the outer wall (1 line/perimeter) is printed without Z-seam, no top and bottom layers.
It is essential to print these parts with LW-PLA!
Basic settings for LW-PLA: Please follow the instructions in our WINGTEST AND CALIBRATION TOOL
on our website for correct adjustment!
Wingconnect–S1.stl
MATERIAL LW-PLA, ~ 1 g*
*Weighed (approximate guideline)
SETTINGS
• Layer Height: 0.25 mm
• Wall Line Count/Perimeters: 1
• Spiralize Outer Contour (Cura)/
Spiral Vase (Prusa)
• Top and Bottom Layers: 0
• Flow, Temp and Speed suitable for LW PLA
SWIFT S1 14
PRINTING & ASSEMBLING MANUAL
© PLANEPRINT
V_Wings 2–S1.stl
MATERIAL LW-PLA, ~ 12 g*
*Weighed (approximate guideline)
SETTINGS
• Layer Height: 0.25 mm
• Wall Line Count/Perimeters: 1
• Spiralize Outer Contour (Cura)/
Spiral Vase (Prusa)
• Top and Bottom Layers: 0
• Flow, Temp and Speed suitable for LW PLA
SPIRALIZE/VASE MODE – Light-Weight LW-PLA!
The following parts must be sliced with the Funktion Spiralize Outer Contour (Cura) or Spiral Vase (Prusa Slicer).
For these parts, only the outer wall (1 line/perimeter) is printed without Z-seam, no top and bottom layers.
It is essential to print these parts with LW-PLA!
Basic settings for LW-PLA: Please follow the instructions in our WINGTEST AND CALIBRATION TOOL
on our website for correct adjustment!
V_Wings 1–S1.stl
MATERIAL LW-PLA, ~ 15 g*
*Weighed (approximate guideline)
SETTINGS
• Layer Height: 0.25 mm
• Wall Line Count/Perimeters: 1
• Spiralize Outer Contour (Cura)/
Spiral Vase (Prusa)
• Top and Bottom Layers: 0
• Flow, Temp and Speed suitable for LW PLA
SWIFT S1 15
PRINTING & ASSEMBLING MANUAL
© PLANEPRINT
V_Wings 4–S1.stl
MATERIAL LW-PLA, ~ 8 g*
*Weighed (approximate guideline)
SETTINGS
• Layer Height: 0.25 mm
• Wall Line Count/Perimeters: 1
• Spiralize Outer Contour (Cura)/
Spiral Vase (Prusa)
• Top and Bottom Layers: 0
• Flow, Temp and Speed suitable for LW PLA
SPIRALIZE/VASE MODE – Light-Weight LW-PLA!
The following parts must be sliced with the Funktion Spiralize Outer Contour (Cura) or Spiral Vase (Prusa Slicer).
For these parts, only the outer wall (1 line/perimeter) is printed without Z-seam, no top and bottom layers.
It is essential to print these parts with LW-PLA!
Basic settings for LW-PLA: Please follow the instructions in our WINGTEST AND CALIBRATION TOOL
on our website for correct adjustment!
V_Wings 3–S1.stl
MATERIAL LW-PLA, ~ 11 g*
*Weighed (approximate guideline)
SETTINGS
• Layer Height: 0.25 mm
• Wall Line Count/Perimeters: 1
• Spiralize Outer Contour (Cura)/
Spiral Vase (Prusa)
• Top and Bottom Layers: 0
• Flow, Temp and Speed suitable for LW PLA
SWIFT S1 16
PRINTING & ASSEMBLING MANUAL
© PLANEPRINT
V_C1-2–S1.stl
V_C2-3–S1.stl
V_Fuselage 2–S1.stl
V_Fuselage 3–S1.stl
Fuselage assembly
medium liquid
First glue the positioning aids to one fuselage part, then
stick the second one on top. Make sure that the parts
are not twisted so that the tailplane is exactly aligned!
V_C4-5–S1.stl
V_Fuselage 5 R–S1.stl
P2_Parts 2–S1.stl
V_Fuselage 5 L–S1.stl
V_C3-4–S1.stl
V_Fuselage 4–S1.stl
Remove support.
Please be careful with the knife!
After you have removed the support,
glue the two fuselage 5 parts together.
Then mount it to the fuselage using the
positioning aid V_C4-5–S1.stl.
Do NOT glue in these two places yet!
Here you can finally align the horizontal
stabilizer exactly parallel to the wing.
SWIFT S1 17
PRINTING & ASSEMBLING MANUAL
© PLANEPRINT
Fuselage assembly
medium liquid P2_Parts 1–S1.stl
P2_Frame–S1.stl
Insert these parts into the fuselage
exactly as shown in the picture. Make sure
that the openings are facing forward!
There are small bars in the fuselage that
serve as a positioning aid.
When all the parts are
correctly positioned,
allow thin CA glue
to run into the gaps
until everything is
well connected over a
large area.
Insert the carbon fiber strip through
fuselage 2, align the horizontal
stabilizer parallel to it and glue the
two struts in place.
STEP 2
STEP 3
STEP 4
STEP 1
Carefully
open the holes
for carbon fiber
strip and
linkage
with the
knife
Carbon fiber strip 1*5*1000mm
SWIFT S1 18
PRINTING & ASSEMBLING MANUAL
© PLANEPRINT
Elevator/Rudder assembly
Cut these two edges at an angle
of about 40°. You can also use
sandpaper for this.
The hinges are simply
made with thin adhesive
tape. To ensure that the
tape holds well, you
should coat the adhesive
area with UHU POR
beforehand. When the
glue is dry, first stick the
tape to the elevator/
rudder, then attach it to
the fuselage.
Leave a small gap so that
the elevator/rudder can
be moved easily.
Rudder
Elevator
STEP 2
STEP 1
SWIFT S1 19
PRINTING & ASSEMBLING MANUAL
© PLANEPRINT
Elevator and rudder linkage
Carbon rods Ø1*60 mm P2_Parts 2–S1.stl
Shrink tubing
or tape
Steel wire Ø0.6 mm
Prepare two linkages as shown here
It is easier to insert the carbon rods
into the fuselage from the front.
Make sure that the rods are guided
through all eyelets!
Glue the control horns to the elevator and
rudder. When positioning the control horn
on the elevator, make sure that it cannot
get caught on the fuselage when the
elevator is moved downwards!
NOTE With Depron you must use UHU POR
(or another glue suitable for Depron). Coat
both sides and allow the glue to dry. Then
position the control horn on the foam part.
SWIFT S1 20
PRINTING & ASSEMBLING MANUAL
© PLANEPRINT
P2_Parts 1–S1.stl
P2_Parts 2–S1.stl
Servo mount
Tow coupling
Mount the servos for the aileron, elevator
and rudder as shown here.
Do not forget to zero the servos first.
Set the servos, elevator and rudder to
neutral, shorten the carbon rods and then
glue in the steel wire for the servo horn.
Adjust the servo travel so that the
wire does not block at the front!
View from the bottom side!
glue in the steel wire for the servo horn.
Shrink tubing or tape
Steel wire Ø0.6 mm
Steel wire Ø0.6 mm
Double-sided tape
or CA glue
TIP The tow rope should be about 5 meters long.

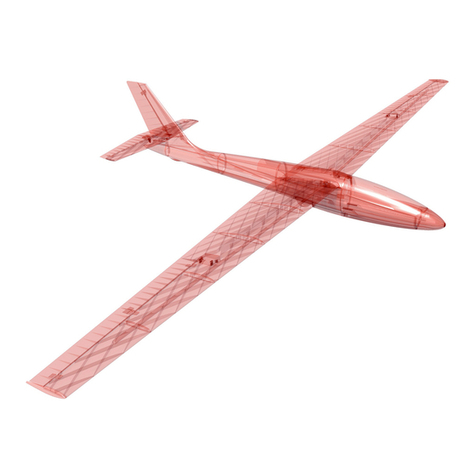
Other PLANEPRINT Toy manuals

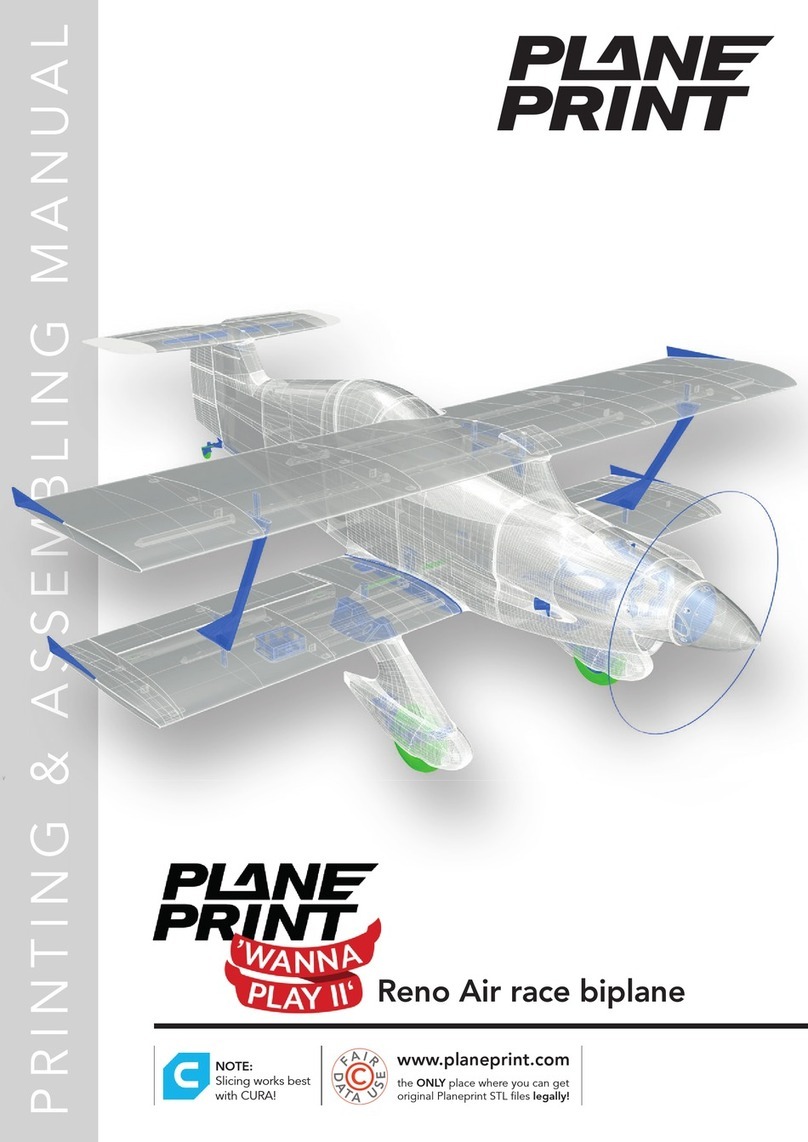
PLANEPRINT WANNA PLAY II Programming manual

PLANEPRINT

PLANEPRINT WANNA PLAY II Programming manual

PLANEPRINT AERON Programming manual

PLANEPRINT

PLANEPRINT AERON Programming manual

PLANEPRINT SEAGULL GLIDER VERSION User manual

PLANEPRINT

PLANEPRINT SEAGULL GLIDER VERSION User manual

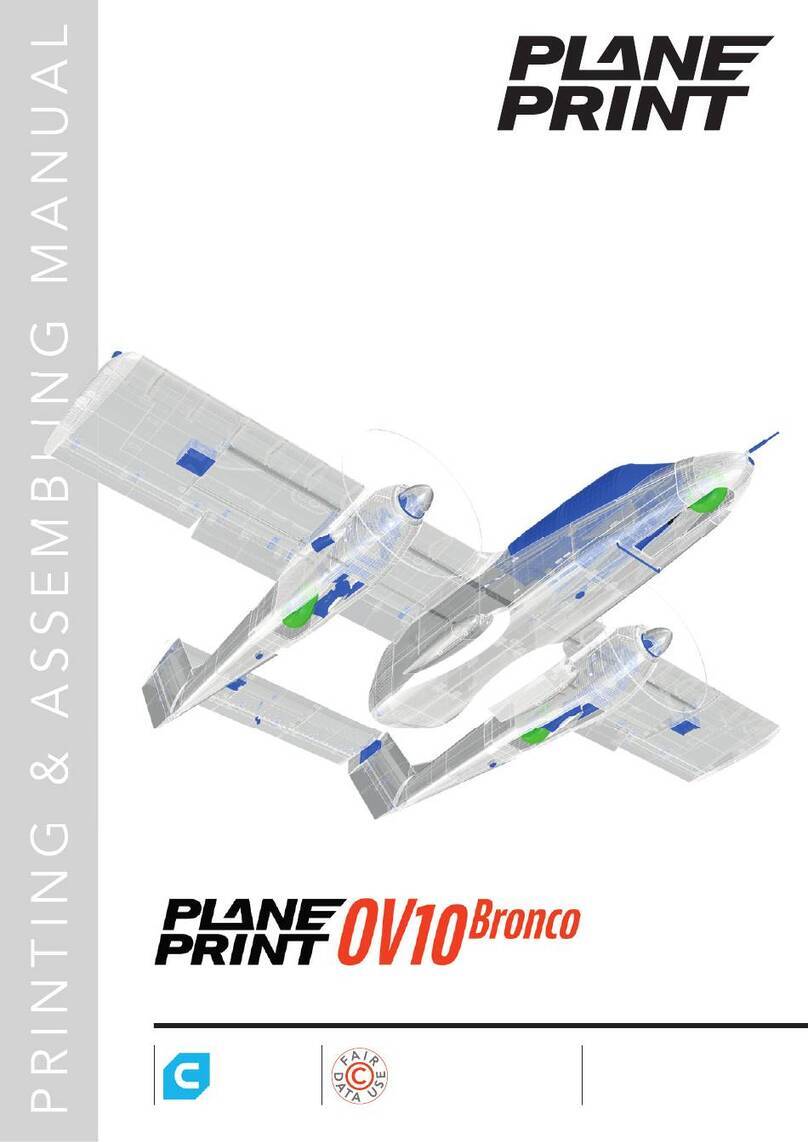
PLANEPRINT OV10 Bronco Programming manual

PLANEPRINT

PLANEPRINT OV10 Bronco Programming manual

PLANEPRINT JETWING User manual

PLANEPRINT

PLANEPRINT JETWING User manual

PLANEPRINT Funbus User manual

PLANEPRINT

PLANEPRINT Funbus User manual

PLANEPRINT paper plane User manual

PLANEPRINT

PLANEPRINT paper plane User manual

PLANEPRINT FEARLESS Programming manual

PLANEPRINT

PLANEPRINT FEARLESS Programming manual

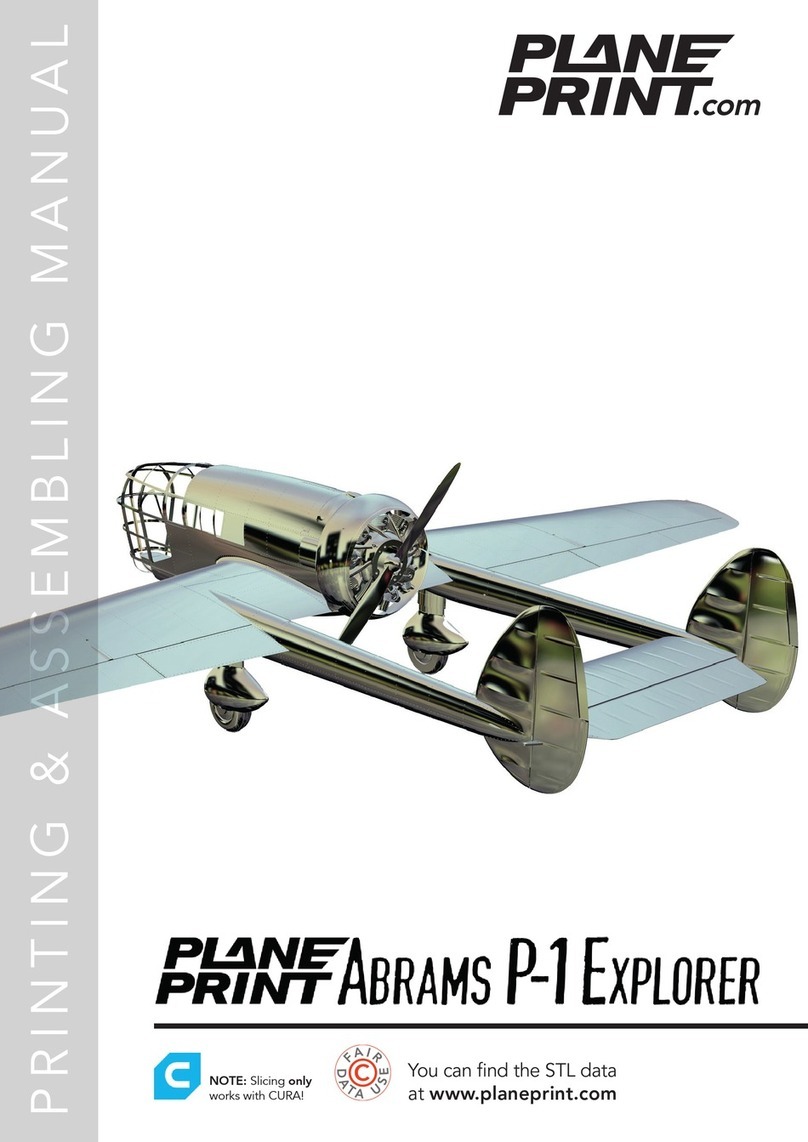
PLANEPRINT Abrams P-1 Explorer User manual

PLANEPRINT

PLANEPRINT Abrams P-1 Explorer User manual

PLANEPRINT BLERIOT XI Programming manual

PLANEPRINT

PLANEPRINT BLERIOT XI Programming manual

PLANEPRINT V-TURN User manual

PLANEPRINT

PLANEPRINT V-TURN User manual

PLANEPRINT SHARD Programming manual

PLANEPRINT

PLANEPRINT SHARD Programming manual

PLANEPRINT NOTOS User manual

PLANEPRINT

PLANEPRINT NOTOS User manual

PLANEPRINT BIG BOBBER User manual

PLANEPRINT

PLANEPRINT BIG BOBBER User manual

PLANEPRINT Foka 4 Instructions for use

PLANEPRINT

PLANEPRINT Foka 4 Instructions for use

PLANEPRINT FOUGA MAGISTER Programming manual

PLANEPRINT

PLANEPRINT FOUGA MAGISTER Programming manual

PLANEPRINT ZLIN SAVAGE BOBBER User manual

PLANEPRINT

PLANEPRINT ZLIN SAVAGE BOBBER User manual

PLANEPRINT Aermacchi MB-339 User manual

PLANEPRINT

PLANEPRINT Aermacchi MB-339 User manual

PLANEPRINT EAGLE User manual

PLANEPRINT

PLANEPRINT EAGLE User manual
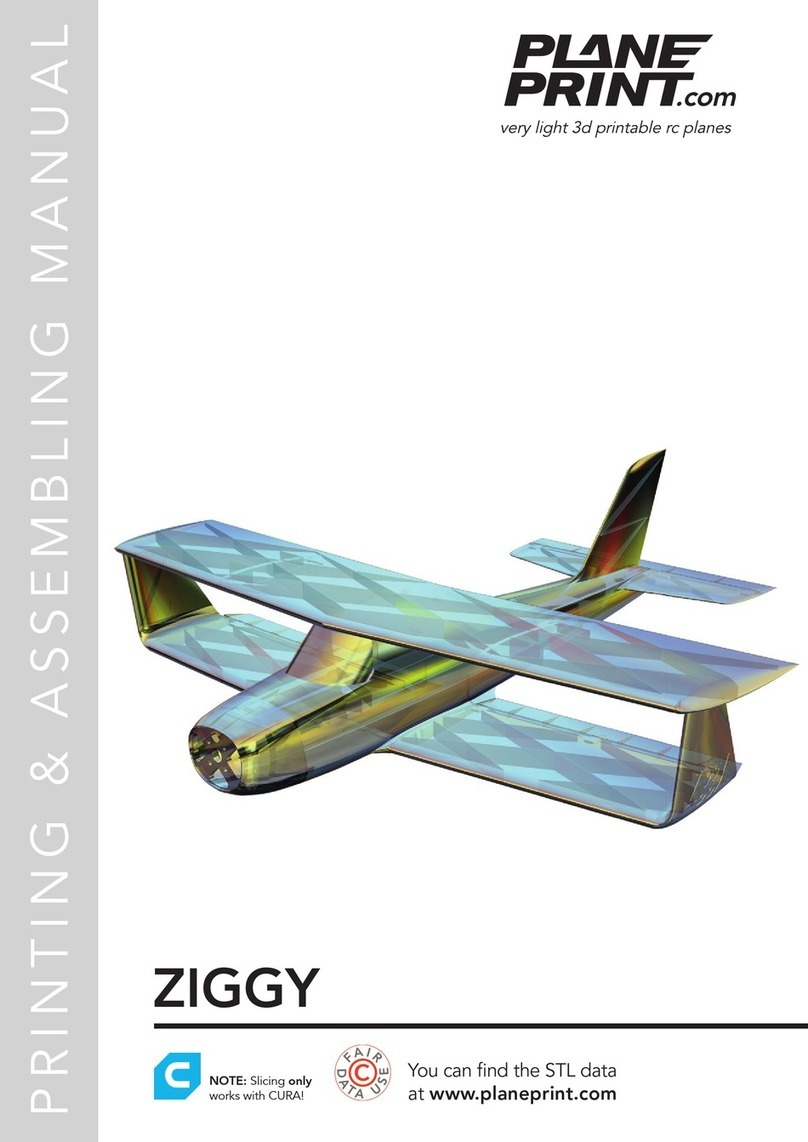
PLANEPRINT ZIGGY Programming manual

PLANEPRINT

PLANEPRINT ZIGGY Programming manual

PLANEPRINT RISE User manual

PLANEPRINT

PLANEPRINT RISE User manual
PLANEPRINT Slingsby T31 Cadet Programming manual
PLANEPRINT

PLANEPRINT Slingsby T31 Cadet Programming manual

Popular Toy manuals by other brands

Kinematics Tinkerbots manual

Kinematics

Kinematics Tinkerbots manual

Viessmann 4174 Operation manual

Viessmann

Viessmann 4174 Operation manual

Lionel AEC - 57 Switcher owner's manual

Lionel

Lionel AEC - 57 Switcher owner's manual

Mattel M8122 instructions

Mattel

Mattel M8122 instructions

Authentic Models ASA107 instructions

Authentic Models

Authentic Models ASA107 instructions

Mattel Barbie GHV80 instructions

Mattel

Mattel Barbie GHV80 instructions

Faller 120268 quick start guide

Faller

Faller 120268 quick start guide

Black Horse Model Edge 540-V3 Instruction manual book

Black Horse Model

Black Horse Model Edge 540-V3 Instruction manual book

Marvel Fantastic Four Silver Surfer Cosmic Cycle... instructions

Marvel

Marvel Fantastic Four Silver Surfer Cosmic Cycle... instructions

Vollmer 45715 Mounting instruction

Vollmer

Vollmer 45715 Mounting instruction

Flitework Midi EDGE 540 instruction manual

Flitework

Flitework Midi EDGE 540 instruction manual

THUNDER TIGER 4578 Assembly manual

THUNDER TIGER

THUNDER TIGER 4578 Assembly manual

Hasbro FurReal Friends Butterscotch Pony 76471 care guide

Hasbro

Hasbro FurReal Friends Butterscotch Pony 76471 care guide

Timeless Wings SLINGSBY DART 17 Construction manual

Timeless Wings

Timeless Wings SLINGSBY DART 17 Construction manual

Hasbro Littlest Pet Shop Light-Up Diorama... instruction manual

Hasbro

Hasbro Littlest Pet Shop Light-Up Diorama... instruction manual

Fisher-Price V7290 Consumer information

Fisher-Price

Fisher-Price V7290 Consumer information

marklin 55563 user guide

marklin

marklin 55563 user guide

GRAUPNER 2155.V2 manual

GRAUPNER

GRAUPNER 2155.V2 manual

manuals.online logo
manuals.online logoBrands
  • About & Mission
  • Contact us
  • Privacy Policy
  • Terms and Conditions

Copyright 2025 Manuals.Online. All Rights Reserved.