manuals.online logo
Brands
  1. Home
  2. •
  3. Brands
  4. •
  5. Planet
  6. •
  7. Wireless Access Point
  8. •
  9. Planet WDAP-850AC User manual

Planet WDAP-850AC User manual

►
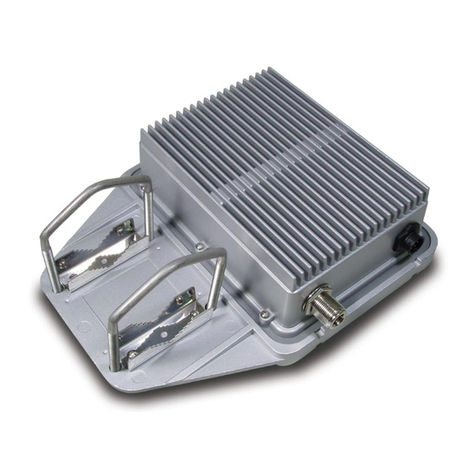
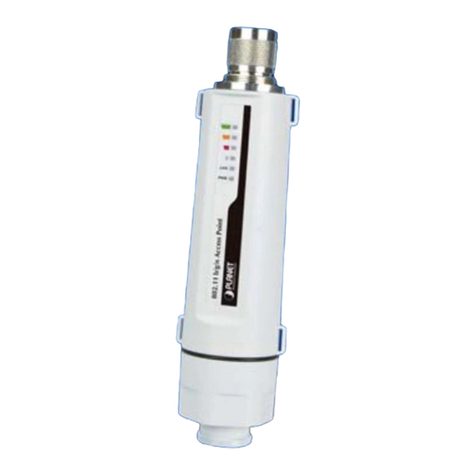
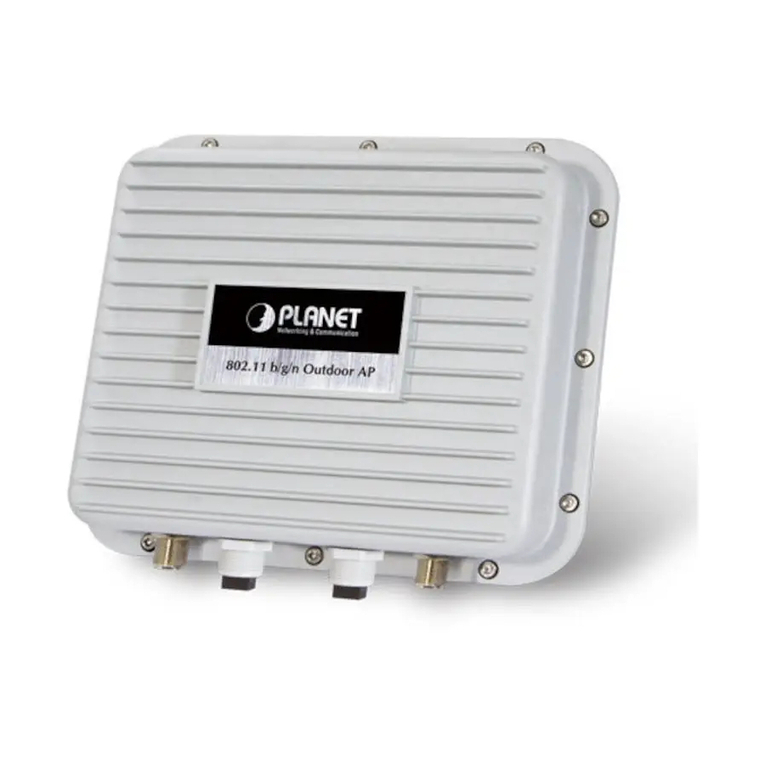
WDAP-850AC
Dual Band 802.11ac 1200Mbps Wave 2
Outdoor Wireless AP
The above steps introduce the simple installations and configurations of
the device. For further configurations, please refer to the user manual,
which can be downloaded from the website.
WDAP-850AC:
https://www.planet.com.tw/en/support/downloads?&method=keywor
d&keyword=WDAP-850AC&view=3#list
If you have further questions, please contact the local dealer or
distributor where you purchased this product.
1. Package Contents
2. Physical Introduction
– 1 – – 2 –
– 3 – – 4 –
3. Hardware Installation
Hardware Description
Step 1: (1) Install the backplane to the back of the AP.
(2) Attach the L-type bracket to the backplane and fasten it.
(3) Place the AP to the pole and fasten it with the U-bolt kit
※ The AP can be mounted on the pole with a diameter of up
to 2.5”.
WDAP-850AC Quick Guide
If there is any item missing or damaged, please contact the
seller immediately.
Thank you for choosing PLANET Outdoor Wireless AP. Before installing,
please verify the contents inside the package box. The device mentioned
herein is the brief name of the "Outdoor Wireless AP".
– 5 – – 6 –
– 7 – – 8 –
4. Web Login
A computer with wired Ethernet connection is required for the first-time
configuration of the device.
1. Click the “Start” button located in the lower-left corner of your
computer.
2. Click “Control Panel”.
3. Double-click the “Network and Sharing Center” icon.
4. Click “Change Adapter Settings”.
5. Double-click “Local Area Connection”.
6. Select “Internet Protocol Version 4 (TCP/IPv4)” and click
“Properties”.
7. Select “Use the following IP address” and then click the “OK”
button twice to save the configuration. For example, you may choose
from 192.168.1.1 to 192.168.1.254 excluding the default IP address
of the device (192.168.1.253).
Further Information:
L-type Bracket x 1 Screw Set x 1U-bolt Kit x 2
Step 1: The Web management allows you to access and manage the
device easily. Launch the Web browser and enter the default IP
address http://192.168.1.253
Step 2: When the login window appears, please enter the password.
The default password is “admin”. Then click the Login button
to continue.
For security reasons, it is recommended to change the password at the
first login and memorize it.
Default IP Address: 192.168.1.253
Default Password: admin
Default 2.4GHz SSID: PLANET_2.4G
Default 5GHz SSID: PLANET_5G
Step 3: For security reasons, it is strongly recommended to go to
Managed to configure the Encryption Method and Passphrase
of your wireless network.
Step 2: (1) Attach the surge arrestors to each antenna connector.
(2) Attach the antenna equipped with N-type (M) connector to
each surge arrestor. Otherwise, connect the antenna
through the N-male (male pin) to N-male (male pin)
cable.
(3) Plug the RJ45 Ethernet cable into the PoE port of the AP
through the waterproof kit, and plug the other side of the
RJ45 cable into the PoE port of the PoE switch to finish the
installation.
※Please remember to finish grounding by consulting the
local electrical experts.
RJ45 Waterproof Kit x 1
IMPORTANT SAFETY PRECAUTIONS:
1) LIVES MAY BE AT RISK! Please be aware of the
electrical wires around. Carefully read the section
"OUTDOOR INSTALLATION WARNING" in the manual
before installation.
2) Users MUST complete grounding wired with the
device; otherwise, a sudden lightning could cause fatal
damage to the device. EMD (Lightning) DAMAGE IS
NOT COVERED UNDER WARRANTY.
3) Users MUST power off the device first before connecting
the antenna to it; otherwise, damage might be caused to
the device itself.
4) The Antenna and Surge Arrestor are required for each
antenna connector, and must be purchased separately.
Note
Energy Saving Note of the Device
This power required device does not support Standby mode operation. For energy savings, please remove the DC plug or slide
the hardware-based Power Switch to the OFF position to disconnect the device from the power circuit. Without removing the DC
plug from or switching off the device, the device will still consume power from the power source. In view of Saving the Energy
and reducing the unnecessary power consumption, it is strongly suggested to power off or to remove the DC plug from the
device if this device is not intended to be active.
PLANET Technology Corp.
2011-E10760-000
10F., No. 96, Minquan Rd., Xindian Dist., New Taipei City 231, Taiwan
Warning:
This device is compliant with Class A of CISPR 32.
In a residential environment this device may cause radio interference.
5GHz N-type (F)
Antenna Connectors
2.4GHz N-type (F)
Antenna Connectors
WAN/PoE Port
Ground Terminal
L-type Bracket
U-bolt Kit
Antenna
Surge Arrestor
To PoE Switch/Injector

Other Planet Wireless Access Point manuals

Planet WDAP-1750AC User manual

Planet

Planet WDAP-1750AC User manual

Planet WAP-4033 User manual

Planet

Planet WAP-4033 User manual

Planet WNAP-6350 User manual

Planet

Planet WNAP-6350 User manual

Planet 802.11n Wireless Access Point WNAP-1120 User manual

Planet

Planet 802.11n Wireless Access Point WNAP-1120 User manual

Planet WAP-6200 User manual

Planet

Planet WAP-6200 User manual

Planet WNAP-1110 User manual

Planet

Planet WNAP-1110 User manual

Planet WDAP-W7200AC User manual

Planet

Planet WDAP-W7200AC User manual

Planet WBS-502AC User manual

Planet

Planet WBS-502AC User manual

Planet Network Device WAP5 User manual

Planet

Planet Network Device WAP5 User manual

Planet WAPC-1232HP User manual

Planet

Planet WAPC-1232HP User manual

Planet RTL8812AU-CG User manual

Planet

Planet RTL8812AU-CG User manual

Planet WAP-4030A User manual

Planet

Planet WAP-4030A User manual

Planet WNAP-1110 User manual

Planet

Planet WNAP-1110 User manual

Planet WAP-7500 User manual

Planet

Planet WAP-7500 User manual

Planet WNAP-1110 User manual

Planet

Planet WNAP-1110 User manual

Planet 802.11n Wireless Access Point WNAP-1120 User manual

Planet

Planet 802.11n Wireless Access Point WNAP-1120 User manual

Planet WNAP-6350 User manual

Planet

Planet WNAP-6350 User manual

Planet WAP-4060PE User manual

Planet

Planet WAP-4060PE User manual

Planet WAP-4035 User manual

Planet

Planet WAP-4035 User manual

Planet WNAP-3000PE User manual

Planet

Planet WNAP-3000PE User manual

Planet WAP-4036 User manual

Planet

Planet WAP-4036 User manual

Planet MAP-3100 Quick start guide

Planet

Planet MAP-3100 Quick start guide

Planet WNAP-7300 User manual

Planet

Planet WNAP-7300 User manual

Planet WNAP-7325 User manual

Planet

Planet WNAP-7325 User manual

Popular Wireless Access Point manuals by other brands

Edge-Core OAP100e quick start guide

Edge-Core

Edge-Core OAP100e quick start guide

Buffalo WLA-G54C user manual

Buffalo

Buffalo WLA-G54C user manual

Fortinet AP400 Series installation guide

Fortinet

Fortinet AP400 Series installation guide

Formosa KWA-O6020-I user manual

Formosa

Formosa KWA-O6020-I user manual

LevelOne WAP-8131 WEB MANAGEMENT GUIDE

LevelOne

LevelOne WAP-8131 WEB MANAGEMENT GUIDE

ORiNG IAP-320+ user manual

ORiNG

ORiNG IAP-320+ user manual

Alcatel-Lucent OmniAccess AP 70 Technical specifications

Alcatel-Lucent

Alcatel-Lucent OmniAccess AP 70 Technical specifications

Sony CarrierGate PCWA-A220 Read this first

Sony

Sony CarrierGate PCWA-A220 Read this first

LEGRAND 033523 manual

LEGRAND

LEGRAND 033523 manual

OBERON 1020 Installation tips

OBERON

OBERON 1020 Installation tips

Buffalo WLI-UTX-AG300 user manual

Buffalo

Buffalo WLI-UTX-AG300 user manual

ZyXEL Communications ARMOR X1 Installation and firmware upgrade instruction

ZyXEL Communications

ZyXEL Communications ARMOR X1 Installation and firmware upgrade instruction

Linksys WAP300N user guide

Linksys

Linksys WAP300N user guide

MikroTik cAP ax quick guide

MikroTik

MikroTik cAP ax quick guide

TRENDnet TEW-453APB - 108Mbps Wireless Super G HotSpot Access... Specifications

TRENDnet

TRENDnet TEW-453APB - 108Mbps Wireless Super G HotSpot Access... Specifications

Hewlett Packard Enterprise Aruba 318 Series Startup guide

Hewlett Packard Enterprise

Hewlett Packard Enterprise Aruba 318 Series Startup guide

Blake UK PROCEPTION PROAPW300L Advanced instructions

Blake UK

Blake UK PROCEPTION PROAPW300L Advanced instructions

TRENDnet TEW-636APB user guide

TRENDnet

TRENDnet TEW-636APB user guide

manuals.online logo
manuals.online logoBrands
  • About & Mission
  • Contact us
  • Privacy Policy
  • Terms and Conditions

Copyright 2025 Manuals.Online. All Rights Reserved.