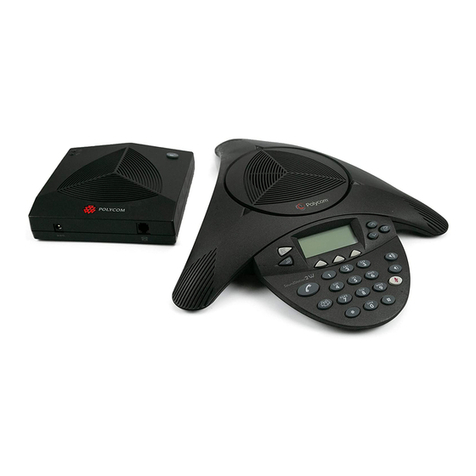
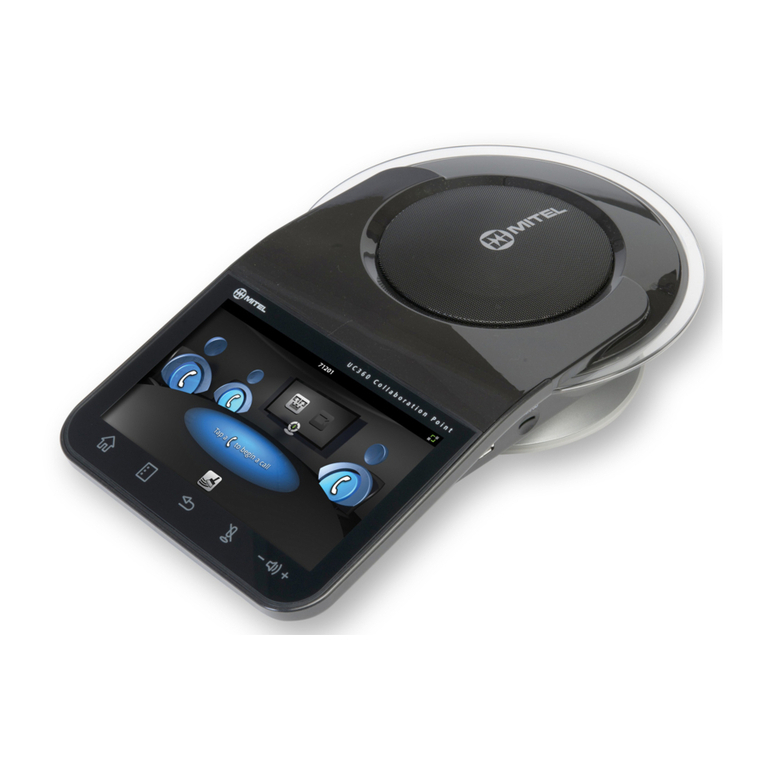
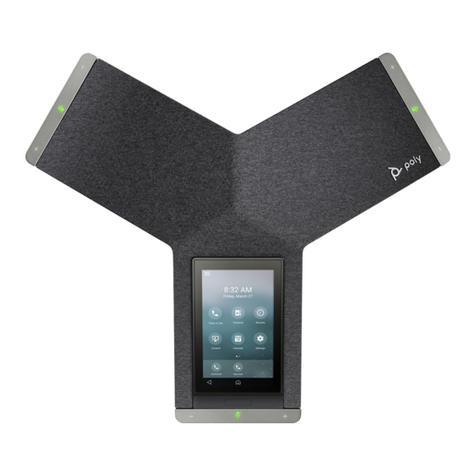
Poly Trio C60 Owner's manual

Trio C60 User Guide
3725-49138-008A
Supplemental User Guide

Before You Begin
The information in this guide applies to the following Poly devices except where noted:
• Poly Trio C60
Audience, Purpose, and Required Skills
This guide is intended for beginning users, as well as intermediate and advanced users who want to learn how to use the
features available with Poly Trio.
Related Poly and Partner Resources
See the following sites for information related to this product.
•Poly Support is the entry point to online product, service, and solution support information. Find product-specific
information such as Knowledge Base articles, Support Videos, Guide & Manuals, and Software Releases on the
Products page, download software for desktop and mobile platforms from Downloads & Apps, and access additional
services.
• The Poly Documentation Library provides support documentation for active products, services, and solutions. The
documentation displays in responsive HTML5 format so that you can easily access and view installation, configuration,
or administration content from any online device.
• The Poly Community provides access to the latest developer and support information. Create an account to access
Poly support personnel and participate in developer and support forums. You can find the latest information on
hardware, software, and partner solutions topics, share ideas, and solve problems with your colleagues.
• The Poly Partner Network is a program where resellers, distributors, solutions providers, and unified communications
providers deliver high-value business solutions that meet critical customer needs, making it easy for you to
communicate face-to-face using the applications and devices you use every day.
•Poly Services help your business succeed and get the most out of your investment through the benefits of
collaboration. Enhance collaboration for your employees by accessing Poly service solutions, including Support
Services, Managed Services, Professional Services, and Training Services.
• With Poly+ you get exclusive premium features, insights and management tools necessary to keep employee devices
up, running, and ready for action.
•Poly Lens enables better collaboration for every user in every workspace. It is designed to spotlight the health and
efficiency of your spaces and devices by providing actionable insights and simplifying device management.
2
Getting Started
Understand Poly Voice Software (PVOS) features and review methods to configure your phones.
Although you can deploy PVOS by configuring individual phones, Poly recommends setting up a provisioning server on
your LAN or the internet for large-scale deployments.
Product Overview of Poly Trio Systems
Poly Trio systems support audio-only conference calls with Microsoft Teams voice platforms or Skype for Business
2013/2015 Server environments along with point-to-point and bridge calls.
Poly Trio systems support the following features in slightly different sets depending on the platform you enable:
• Placing, answering, and managing audio calls
• Switching call applications on the fly
• Initiating, joining, and managing audio conference calls
• Recording audio calls with USB flash drives
• Viewing and joining scheduled calendar meetings
• Managing contacts, call lists, and directories
• Adjusting call and phone settings
• Checking voicemail messages
• Connecting to computers over USB
• Pairing with Bluetooth–enabled devices
• Connecting to wireless networks
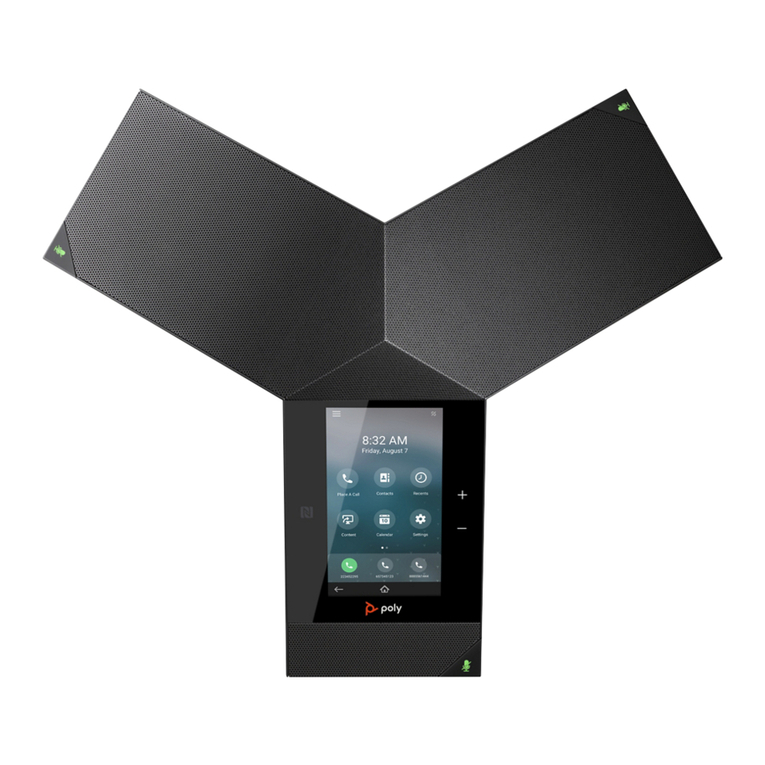
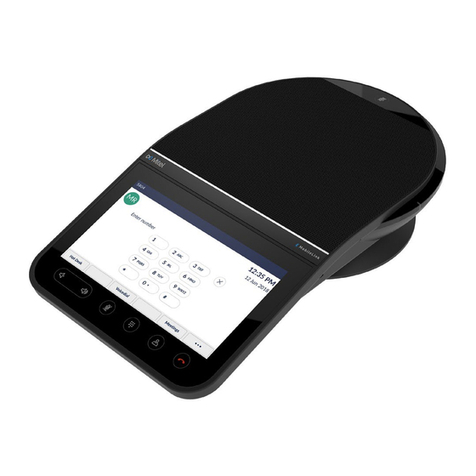
Poly Trio C60 System
The following figure displays the hardware features on Poly Trio C60 systems. The table lists each numbered feature
shown in the figure.
Figure 1: Poly Trio C60 System hardware features
3

System Hardware Feature Descriptions
Reference Number Feature Feature Description
1Volume keys Adjusts the volume of the audio from the
speakerphone and ringer.
2Mute key Mutes the microphones during calls and
conferences. The key glows red when
activated.
3 Proximity sensor Wakes the system when it detects user
movement nearby.
Caution: Don’t press on the proximity
sensor. Doing so may damage the sensor
and the system.
4

Reference Number Feature Feature Description
4 USB ports The USB host port, found on the side of the
phone, enables you to connect a USB flash
drive to record calls.
The USB device port, found on the bottom
of the phone, enables you to connect a
computer using a micro USB cable to use
the system as a speakerphone for calls.
5Touchscreen Select items and navigate menus on the
touch-sensitive screen.
6Speaker and microphones Sends your audio to call participants and
provides audio output for the ringer and
speakerphone.
7Security slot (on back) Attach a universal security cable lock to
your phone so you can secure it to a
desktop.
Navigating Your Phone
Your phone has icons, status indicators, and user screens to help you navigate and understand important information on
the state of your phone.
Accessing Screens on Your Poly Trio Phone
You can access the following screens on your phone:
•Home: Displays your messages, settings, and information.
•Calls: Displays all active and held calls on your line.
•Lines: Displays your phone lines, favorites, and conditional softkeys.
•Active Call: Displays the active call currently in progress.
Access the Home Screen
The Home screen displays icons you can use to access features, settings, additional registered lines, and favorite contacts.
5

6

Figure 2: Home screen
Task
»Do one of the following:
• Select Home .
• Select Menu > Home .
Expand or Contract the Home Screen
You can use the page indicator to control how many icons display on the Home screen.
The page indicator displays on the Home screen beneath the menu options. It indicates which page you’re currently
viewing as a series of dots. The phone uses dots to indicate the number of available screens (pages) and which screen
you're currently on.
Task
»On the Home screen, press and hold the page indicator to switch between large or small menu option icons.
Access the Place a Call Screen
The Place a Call screen on displays when you select Place a Call on the Home screen or when the system is idle (if set by
your administrator).
From the Place a Call screen, you can access the dialpad, Contacts, Recent Calls, and the Calendar.
7

Figure 3: Place a Call screen
Task
»Do one of the following:
• Select Place a Call .
• Select Menu > Place a Call .
Calls Screen Overview
The Calls screen displays automatically when you place a call and when you have an active call in progress.
For active calls, the phone displays the contact’s name, number and the call duration.
Figure 4: Active call on the Calls screen
8

You can also view active and held calls on the phone. If the phone has multiple lines, active and held calls display under the
associated line.
Figure 5: Multiple calls on the Calls screen
9

Poly Controller Screen
The Poly Controller enables you to operate Poly G7500, Poly Studio X50, or Poly Studio X30 systems using your Poly Trio
touchscreen. The Poly Controller is available for Poly Video mode on Trio 8500, Trio 8800, and Trio C60 systems.
10

Poly Controller Screen Feature Descriptions
Reference Number Button Name Description
1Settings Opens the Trio settings menu.
2Back Returns to the connected system’s display
menu.
3Menu Opens the connected system’s menu.
4Keypad Opens the system display and the Trio
dialpad.
5Select Selects a field of displayed data.
6Navigation Keys Navigates through information and menus
on the connected system’s display.
7Call Calls the entered number.
8End Ends the active call.
9Home Returns to the Trio controller’s Home
screen.
10 Previous Returns to the previous Trio settings
menu.
11

Reference Number Button Name Description
11 Volume Keys Controls the device volume or controls the
camera zoom in and out.
12 Mute Mutes the microphones during calls.
Icons and Status Indicators
The following table displays the icons and status indicators that display on your phone.
Icons and Status Indicators
Icon Description
Registered line
Unregistered line
Active call
USB device attached
Missed call
Placed call
Received call
Call Forwarding enabled
Do Not Disturb enabled
Bluetooth
12

Icon Description
Wireless status
(Trio 8800 systems only)
Paired device
Entering Information Using the Onscreen Keyboard
The onscreen keyboard enables you to enter information into text fields using the touchscreen.
The onscreen keyboard displays when a text field displays. When a text field requires only numbers, it displays a numerical
keypad instead.
The following icons also display on the keyboard:
•Letters : Displays alphabetical letters
•Uppercase : Shifts to uppercase letters
•Lowercase : Shifts to lowercase letters
•Numbers and Punctuation : Displays numbers and punctuation marks
•Special characters : Displays special characters
Change the Keyboard Layout
When you set the phone language and country, the phone uses the default keyboard layout for that language. For example,
setting the phone language to French sets the phone to the AZERTY keyboard layout.
You can enable multiple languages for the phone and switch between keyboard layouts.
Task
1On the phone’s keyboard, long-press and release the comma key and choose .
2Select one or more available languages and press the back arrow.
The phone enables each language you select, along with its default keyboard layout. When you enable more than one
language, a globe key displays on the phone keyboard.
3Do one of the following:
• Long-press the globe key to view and choose from a list of enabled languages. The phone uses the default keyboard
layout for the language you choose.
• Short-press the globe key to rotate through enabled languages. The space bar displays the current language and
keyboard layout.
13

Accessibility Features
Poly products include a number of features to accommodate users with disabilities.
Users Who Are Deaf or Hard of Hearing
Poly phones include features that enable users who are deaf or hard of hearing to use the phone.
The following table lists the accessibility features for users who are deaf or hard of hearing.
Accessibility Features for Users Who Are Deaf or Hard of Hearing
Accessibility Feature Description
Visual message indicators Icons on the screen indicate when the system has new messages.
Adjustable ringer and call volume You can change the volume of the ringer to suit your needs. Also,
you can separately control the call audio volume.
Visual notifications Status and icon indicators let you know when you have incoming,
outgoing, active, or held calls. Indicators also alert you of the
device’s status and when features are enabled.
Users with Limited Mobility
Poly phones include features that enable users with limited mobility to use the phone.
The following table lists the accessibility features for users with limited mobility.
Accessibility Features for Users with Limited Mobility
Accessibility Feature Description
Touchscreen The large touchscreen enables you to select, swipe, and press the
screen to perform functions and activate features.
Users Who Are Blind, Have Low Vision, or Have Limited Vision
Poly phones include features that enable users who are blind, have low vision, or have limited vision to use the phone.
The following table lists the accessibility features for users who are blind, have low vision, or have limited vision.
Accessibility Features for Users Who Are Blind, Have Low Vision, or Have Limited Vision
Accessibility Feature Description
Adjustable backlight settings You can change the brightness of the screen by adjusting
backlight intensity settings.
Auto-answering You can enable the phone to auto-answer calls.
Tactile volume keys The volume buttons are raised and discernible to touch.
14

Answer Calls Automatically
You can set up your phone to automatically answer calls using Auto Answer.
When enabled, the phone automatically answers all incoming calls using the speakerphone. Your system administrator
sets how many times the phone rings before it automatically answers the call.
The phone doesn’t automatically answer a call until you place your current call on hold or end it.
Task
1Go to Menu > Settings > Basic > Preferences.
2Select Auto Answer.
3Select Auto Answer SIP Calls and select Yes.
4Select Microphone Muted and choose Yes (the default setting) to mute the microphone for auto-answered calls.
5Select Video Mute and select Yes to mute the video when video calls are auto-answered.
6Select Save.
Set a Ringtone for Incoming Calls
Select unique ringtones for incoming calls on different lines on the phone. The default ringtone is Low Trill.
Task
1Go to Menu > Settings > Basic > Preferences.
2Select Ring Type.
3On the Ring Type screen, select a ringtone.
4Optional: Press the Play softkey to hear the ringtone.
Set the Backlight Intensity
The screen’s backlight intensity settings adjust how bright the screen illuminates while on and while idle.
Set the Backlight On intensity and the Backlight Idle intensity separately, or turn off the backlight entirely. When you
change the Maximum Intensity, you modify the entire backlight intensity scale. For example, if you decrease the
Maximum Intensity, the Low, Medium, and High levels for both Backlight On and Backlight Idle decrease.
Task
1Go to Menu > Settings > Basic.
2Select Backlight Intensity > Backlight On Intensity.
• High
• Medium
• Low
3Select the intensity you want, then select Back.
4On the Backlight Intensity screen, select Backlight Idle Intensity.
5Select the intensity you want, then select Back.
6On the Backlight Intensity screen, select Maximum Intensity.
7Select Up or Down to increase or decrease the maximum intensity.
15

Hardware and Power for Poly Trio Systems
This section provides information on hardware and power for Poly Trio systems and accessories, as well as information on
power management.
Powering the Poly Trio C60
You can power your Poly Trio C60 system with Power over Ethernet (PoE) or PoE+ (IEEE 802.3 at Type 2). When the Poly
Trio system is booting up, an on-screen message indicates the available power supply type.
Poly Trio C60 systems support the following power options, which provide full functionality:
• PoE+
• PoE Class 0
The following features aren’t available on Poly Trio C60 systems when using PoE:
• The system LAN OUT port doesn’t provide PoE+ power.
• You can’t charge USB devices (mobile phones or tablets) connected to the system USB port.
• Maximum peak power to the loudspeaker is limited.
Power the Poly Trio C60 System with the Optional Power Adapter
If your building isn’t equipped with PoE+, you can use the optional power adapter to provide PoE+ power and full
functionality to your Poly Trio C60 system.
Place the power injector in a clean and dry area out of a walkway, and provide sufficient space around the unit for good
ventilation. Do not cover or block airflow to the power injector. Keep the power injector away from heat and humidity and
free from vibration and dust.
Important: When using the power adapter to power your Poly Trio system, you must connect the cables in the following
sequence.
Task
1Plug the AC power cord of the power adapter into the wall and use a network cable to connect the power adapter to
the system.
2Connect the power adapter to the network with a CAT-5E or CAT-6 Ethernet cable.
The power adapter LED glows green when the system is correctly powered.
If the power adapter LED glows yellow, the adapter is bypassed, and the Poly Trio C60 system is drawing PoE power
from the outlet.
3Optional: Turn off the PoE network port or connect the Poly Trio system in the following sequence:
APower up Poly Trio C60 system using the power adapter, but don’t plug the device into the network wall port.
BWait for the system to boot up.
CPlug the system into the network wall port.
DEnsure the LED indicator on the power adapter is green.
Power-Saving on Poly Trio Systems
Power-saving automatically puts the phone into a low-power state to conserve energy when not in use.
When the phone is in power-saving mode, a steady yellow LED indicator displays. The phone returns to a full-power state
after detecting user movement (based on changes in lighting), a button press, screen touch, or incoming call.
You can configure the following power-saving options for Poly Trio systems:
• Power-saving during workdays
• Power-saving during nonworking days
• Idle or inactivity time after which the phone enters power-saving mode
16

Note: Poly Trio systems can’t enter power-saving mode while idle in the Bluetooth menu. To ensure the phone can enter
power-saving mode, don’t leave the phone idle in the Bluetooth menu.
You can configure the behavior of the LED indicator (see LED Behavior Patterns).
17

Methods for Configuring Phones
Poly offers several methods to configure or provision phones.
Configure the phone settings using one of the following methods:
• Simple setup
• System web interface
• USB flash drive
• Configuration files through the system web interface to copy phone settings from one phone to another
Poly phones come installed with updater software that resides in the flash memory of the phone. When you start or reboot
the phone, the updater automatically updates, downloads, and installs new software versions or configuration files as
needed (based on the server or phone settings).
If you need to set up more than 20 phones, Poly recommends using a centralized provisioning server instead of manual
configuration.
Provisioning in a DHCP Network Environment
Your deployment must meet the following requirements so your phones can communicate with the provisioning server in
a DHCP network environment:
• You must enable DNS, even if the DHCP server returns the provisioning server address in IPv4 format. Disabling DNS
may prevent you from provisioning your phones.
• If you manually configure the provisioning server, you must configure a primary or secondary DNS server.
• The phones must have permission to resolve information either through a network server or static cache.
Priority of Configuration and Provisioning Methods
Poly provides several methods to provision phones and configure phone features. The method you use depends on the
number of phones in your deployment, the phone model(s), and how you want to apply features and settings.
You can use multiple methods simultaneously to provision and configure features. There’s a priority among the methods
that impacts your phone deployment when you use multiple methods simultaneously. If there’s a discrepancy among
multiple provisioning methods or configuration settings, the Poly phone uses the setting set with the higher-priority
method based on the following hierarchy:
1Quick setup
2Local interface
3System web interface
4USB
5Poly Clariti Manager
6Centralized provisioning
7Default phone values
For example, when you provision the phones using a provisioning server and then apply settings using the system web
interface, the system web interface setting overrides any duplicate settings you set from the provisioning server. Likewise,
any settings set from the local interface override any duplicate settings you set using the system web interface.
For more information on provisioning phones, see the Poly Trio for Skype for Business Provisioning Guide.
Default Configuration File
The default configuration file provides flexibility in large deployments to customize features and settings for your phones.
It’s included with the software package you download from .
The default name for the configuration file is 00000000000.cfg. Use the default name or rename the default configuration
file. The file name must contain at least five characters and end with .cfg.
18

Use this file to reference files that configure features and apply settings for all the phones in your deployment, including
groups of phones, specific phone models, or a single phone. The default configuration file applies settings from the
component configuration files listed in the CONFIG_FILES XML attribute in the following ways:
• Phones read the files you enter from left to right.
• Duplicate settings are applied from the configuration file in the order you list them.
You can also specify the location of the default configuration file you want the phones to use. For example, http://
usr:pwd@server/dir/example1.cfg.
Configure a Phone Using Simple Setup
Use the Simple Setup option in the system web interface to configure the minimum settings for your phone.
Task
1Enter your phone’s IP address into a web browser.
To find your phone’s IP address, go to Settings > Status > System Information.
2Select Admin as the login type and enter the administrator password.
3Select Simple Setup.
4Configure the following settings:
Settings Description
Phone Language Phone display language
SNTP Server Server that the phone uses to calculate the time that shows on
the display
Time Zone Time zone where the phone is located
SIP Server Server address and port that the phone uses for line
registrations
SIP Outbound Proxy Server address and port that the phone uses to send all SIP
requests
SIP Line Identification Information your phone needs to make calls
5Select Save.
19

Phone Maintenance
Perform system management and maintenance tasks on your phone and upgrade the software.
Most administrative tasks use a configuration file to set up your phones. Download all configuration files needed from Poly
Support. For information on using different configuration methods, see Methods for Configuring Phones on page 18 .
Rebooting the Phone
Reboot the phone when you want to send configuration changes that require a phone reboot.
Configure your phone to reboot in the following scenarios:
• At a scheduled time
• When paired to a network device
Reboot the Phone
Reboot the phone from the local interface when you want to send configuration changes that require a phone reboot.
Parameters that require a reboot are marked in this guide. If a configuration change doesn’t require a reboot, you can
update the configuration.
Task
»Do one of the following:
• Go to Settings > Advanced > Reboot Phone.
• Go to Settings > Basic > Update Configuration.
If new software is available on the provisioning server, the phone downloads the software and immediately reboots.
Reboot Network Devices
You can reboot any available devices that are paired and connected to the Poly Trio system.
Task
1On the Trio system, go to Settings > Advanced
2Enter the administrator password.
3Select Network Devices, then select a paired device.
4Select Reboot.
Upgrading the Software
The upgrade process varies depending on the software version that is currently running on your phones and the version
that you want to upgrade to.
New software versions may offer only small enhancements to improve the user experience, or they may be large software
upgrades that offer new features.
Upgrading the Software on a Single Phone
Use the Software Upgrade tool in the system web interface to update the software version running on a single phone.
For instructions, see Use the Software Upgrade Tool in the Web Configuration Utility: Feature Profile 67993 at Polycom
Engineering Advisories and Technical Notifications.
Configuration changes you make to individual phones using the system web interface override configuration settings
made using central provisioning.
Upgrade PVOS Using a USB Flash Drive
Use a USB flash drive to upgrade the software on your phone.
20
Other manuals for Trio C60
1
Table of contents
Other Poly Conference Phone manuals

Poly
Poly Trio C60 User manual

Poly
Poly Trio 8500 Assembly instructions

Poly
Poly SYNC 20 Series User manual

Poly
Poly IP 6000 Setup guide

Poly
Poly Trio 8500 User manual

Poly
Poly Trio 8500 User manual

Poly
Poly Trio Series User manual

Poly
Poly Trio Series User manual

Poly
Poly Trio 8300 Assembly instructions

Poly
Poly Trio 8500 User manual