manuals.online logo
Brands
  1. Home
  2. •
  3. Brands
  4. •
  5. Polycom
  6. •
  7. Telephone
  8. •
  9. Polycom VVX 400 Series Instruction manual

Polycom VVX 400 Series Instruction manual

Polycom® VVX® 400 and
VVX® 410
Business Media Phones
Quick User Guide
For use with Polycom® UC Software 4.1.4 or later
The information in this guide applies to both the VVX 400
and VVX 410 phones. Configurations vary and the screen
displays used in this guide may not reflect those on your
phone. See your system administrator for more
information. For detailed information on how to use your
phone, see the Polycom VVX 400 and 410 Business
Media Phone User Guide, available by navigating to your
phone’s Support page from Polycom Voice Support.
www.polycom.com | 1725-49088-001 Rev. A |March 2013
© 2013, Polycom, Inc. All rights reserved. POLYCOM®, the
Polycom logo and the names and marks associated with
Polycom’s products are trademarks and/or service marks of
Polycom, Inc. and are registered and/or common law marks in
the United States and various other countries. All other
trademarks are property of their respective owners. No portion
hereof may be reproduced or transmitted in any form or by any
means, for any purpose other than the recipient’s personal use,
without the express written permission of Polycom.
Your phone has three main Views: Home, Calls, and Lines
view (the default). You can access Home and Lines view
at any time. If your phone has one or more calls, you can
also access Calls view.
For Home view from any menu, press .
Press to alternate between Home and Lines view.
Home view displays icons you can select to access phone
functions.
You can use the right, left, up , and down arrow keys to
display more icons.
Lines view displays phone Lines, Favorites and soft keys.
If your phone is idle, you can press the Line key to access
the Dialer.
Tip: Referring to Soft Keys
In this guide, soft keys are referred to by their
name only. For example, to end an active call,
press End Call.
If your phone has one or more calls, you can access Calls
view.
Call color indicates status:
Dark green—Active call
Bright blue—Incoming call
Dark blue—Held call
Use the up and down arrow keys to select a call
(highlight it). The soft keys control the highlighted call.
Use the dialpad keys to enter information. To backspace,
press Backspace .
To type with the dialpad keys, press a key repeatedly to
view the character options and stop to select.
To type other characters, press Encoding or Mode. When
using the dialpad keys, use the 1, *, 0, and #keys.
Only one call can be active at one time.
You can use the handset, speakerphone, or headset for
calls. During a call, you can change modes by picking up
the handset, or by pressing or .
If you navigate away from your call(s), press to see
Active Call or Calls view again.
Tip: Switching Between Lines and Calls View
When in Calls view, switch to Lines view by
pressing More > Lines.
Switch back to Calls view by pressing More >
Calls.
Pick up the handset, or press or . Enter the
phone number, and press Send.
Or enter the phone number first, then press Dial, pick up
the handset, or press or .
From Lines view: Press the phone Line key, enter the
phone number, and press Send.
From Home view: Select New Call using the left and right
arrow keys. Enter the phone number, and press Send.
Timesaver: Placing Calls Quickly
Select a recent call or Favorite, or select a
contact’s phone number in the Contact
Directory.
To answer with the speakerphone, press or tap
Answer. To answer with the handset, pick up the
handset. To answer with a headset, press .
To answer a new call while on an active call, press
Answer. The current call will be held.
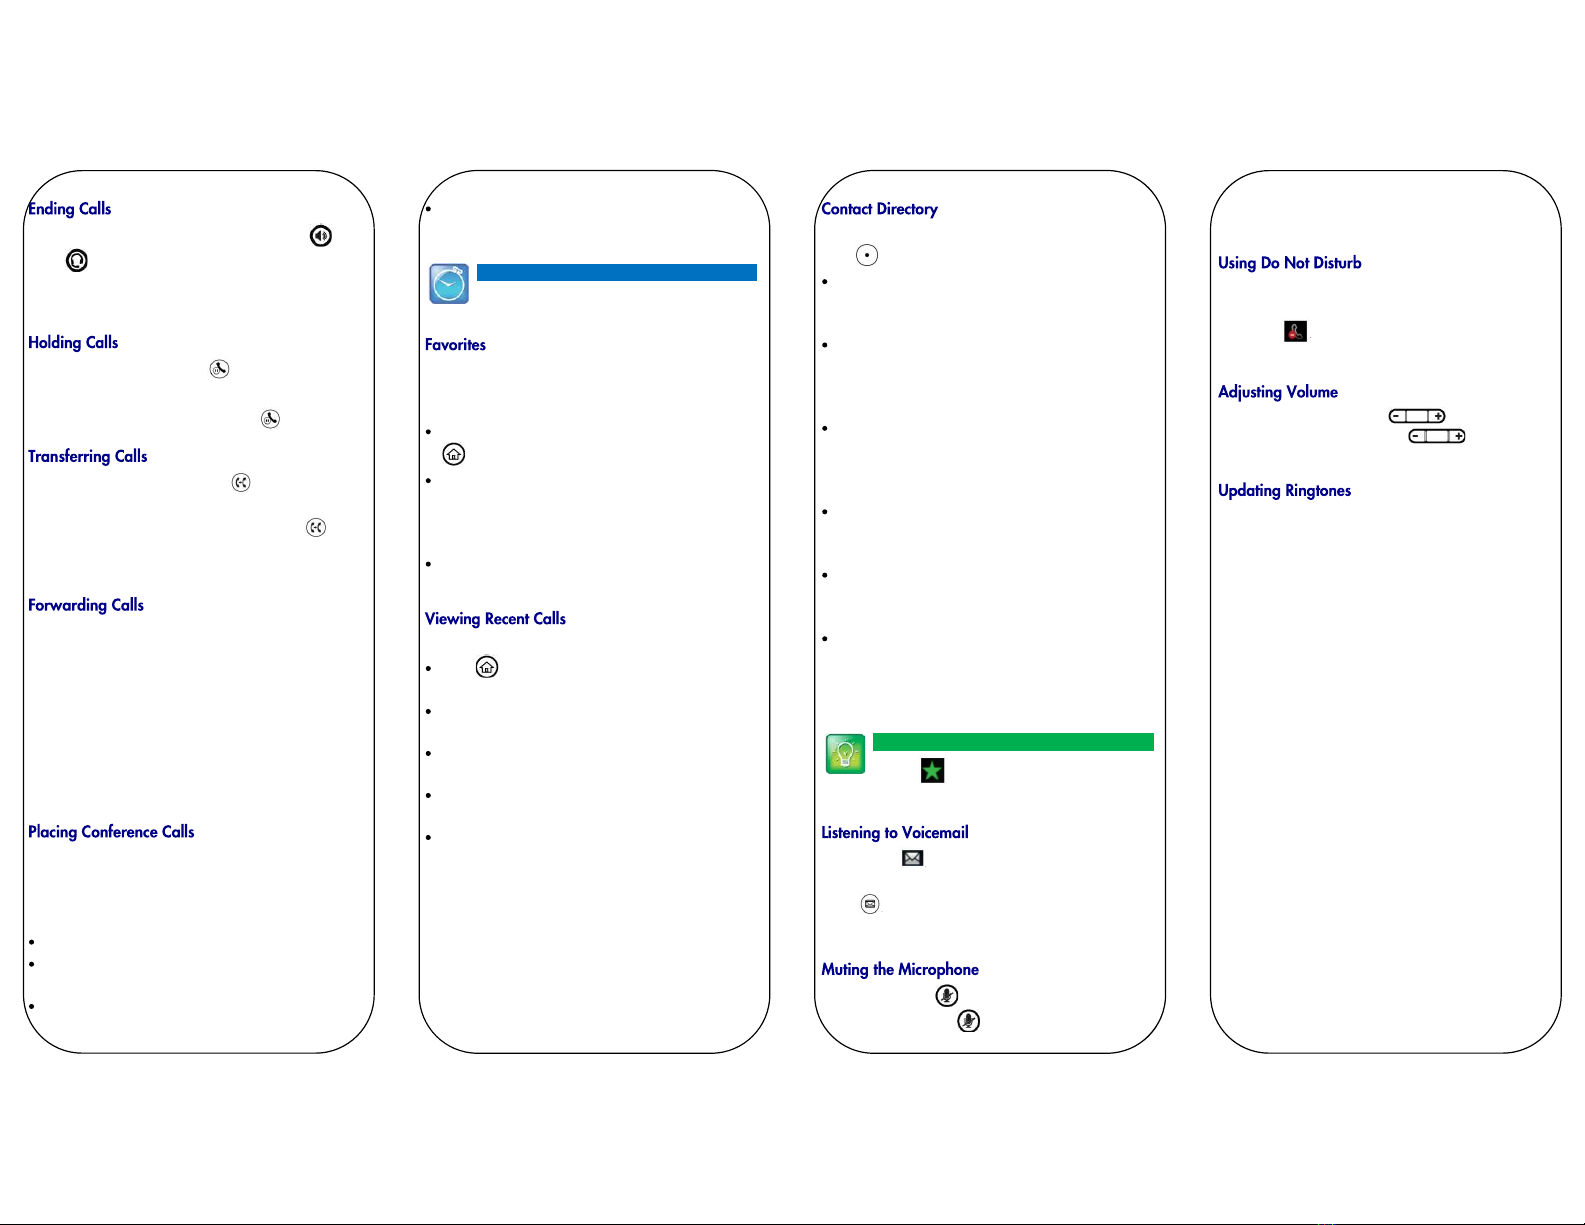
To end an active call, replace the handset, press , or
press . Or, press End Call.
To end a held call, navigate to Calls view and highlight
the held call. Press Resume, and press End Call.
From Calls view, press Hold or . Remember to
highlight the call first.
To resume a held call, press Resume or again.
From Calls view, press Transfer or , and call the
other party. When you hear the ringback tone, or after
you talk with the other party, press Transfer or
again. Press Blind to complete a transfer without waiting
for the ringback tone.
To enable call forwarding, press Forward from Home or
Lines view. Select the forwarding type to enable, enter a
forwarding number, and press Enable.
To disable call forwarding, press Forward from Home or
Lines view, select the forwarding type to disable, and
press Disable.
To enable per-call forwarding: As your phone rings, press
Forward, enter the forwarding number, and press
Forward.
Call the first party, and after the call connects, press
More, and select Confrnc. Then, dial and connect with
the second party and press Confrnc again.
From Lines or Calls view, you can:
Press Hold to hold all participants.
Press End Call to remove yourself from the call, but
keep the other participants connected.
Press Manage (if available) to manage each
participant.
Press Split to end the conference and hold all
participants.
Timesaver: Placing Conference Calls
If you have an active and held call, press Join
to
set up a conference.
Favorites are contacts you call most often. Your Favorites
list displays all your Favorites. A smaller number of
Favorites displays in Lines view.
To view your Favorites list—From Home view, press
and select Directories> Favorites.
To make a contact a Favorite—Navigate to your
Contact Directory and select the contact. Press Info,
press More, and select Add to Favorites. Press Yes to
confirm.
To dial a Favorite—Press the Favorite from Home or
Lines view, or from your Favorites list.
From Lines view, do one of the following:
Press , select Directories, and select Recent Calls
to view your Recent Calls list.
Press the right arrow key to view the recent Placed
Calls.
Press the left arrow key to view the recent Received
Calls.
Press the down arrow key to view the recent Missed
Calls.
Press the up arrow key to view Favorites.
From the Recent Calls list, press Sort to sort and order
calls, press Type to display only certain calls, or select a
call record to call the person.
To select a contact from the Contact Directory,
press .
To view your Directory—Select Directories from
Home view. Press Contact Directory on the Directory
screen.
To add a contact—Navigate to your Contact Directory
and press Add. Enter the contact’s information, and
press Save. To make a contact a Favorite, enter a
Favorite Index number.
To update contact information— Navigate to your
Contact Directory and select the contact. Press Info,
press Edit, update the contact’s information, and press
Save.
To delete a contact— Navigate to your Contact
Directory and select the contact. Press Info, press
Delete, and press Yes to confirm.
To search for a contact—Navigate to your
Contact Directory and press Search. Enter search
criteria and press Search.
To dial a contact from your Directory—Navigate to
your Contact Directory and select the contact. From
the contact’s information screen, select the contact’s
phone number.
Tip: What Does the Star Mean?
A star, , indicates a Favorite.
An envelope, , adjacent to a Line key, indicates that
you have voicemail. Select Messages from Home view or
press , and select Message Center. Press Connect
and follow the prompts.
During a call, press so other parties can’t hear you.
To disable Mute, press again.
This applies to calls using the handset, headset, and
speakerphone.
To enable or disable ringing, press DND from Home or
Lines view. When Do Not Disturb is enabled, the
DND icon, , displays in the status bar and beside the
appropriate Line key.
To change call volume, press during a call. To
change the ringer volume, press when the
phone is idle or ringing.
To change the incoming call ringtone, select Settings
from Home view, and press Basic > Ring Type. Select the
ringtone you want.
To set a ringtone for a contact, navigate to your
Contact Directory and select the contact. Press Edit,
update the contact’s ring type, and press Save.
Call Waiting
During an active call, you hear a call waiting tone and notice a second incoming call on your display
(along with the Caller ID for that second call). You will have two options available on your screen:
•Answer – Puts first call on hold/ answers the second call.
•Ignore – Sends the second call to voice mail.
To get to the original caller, simply press the button of the line in use and you are now connected to
the original caller. You can use this same button to toggle between calls. The screen will show you
who is holding and who is connected.
Call Park (Holds a Call On All Phones)
To park a call: Press the Park button
To retrieve a parked call: Press the blinking Park button
Forward
•Press cfwd
•Dial extension/telephone number
•Press Dial or #(visual confirmation will appear)
<Press cfwd to de-activate forwarding>
Do Not Disturb
Press dnd (visual confirmation will appear)
<Press dnd to de-activate>
To end the call for all parties, simply hang up. To leave the call but allow the two parties to remain on the
phone with each other, hit the Join” soft button.
Transfer With Announcement
•Press xfer
•Dial extension/telephone number followed by #
•Announce Call
•Press xfer again
Transfer Directly to Voice Mail
•Press bXfer
•Dial 5followed by extension number
•Press Dial or #
Transfer Without Announcement (Blind Transfer)
•Press bXfer
•Dial extension/telephone number
•Press Dial or #
Conference
•Press Conf
•Dial the ext/telephone number for the 2nd caller
•Press Conf
CISCO |Commonly Used Features
Logging In For The First Time
The system has been designed to guide you through the process of setting up your new
voice mailbox. Press the button on your telephone to begin this process. Enter your
temporary PIN (provided by your FirstLight Representative) followed by #
Your New Voice Mail PIN (Password) Must:
•Be between 6 and 20 characters long.
•Not have a single digit repeated more than 2 times in a row.
•Not be a numeric sequence, e.g. 12345 or 54321.
•Not contain, or match part of, a telephone number associated with this account.
Retrieving Your Messages
From your telephone: Press the button and enter your PIN
From Away
Dial your telephone number and press *during your greeting. Enter your PIN.
Voice Mail Main Menu Options
Listen to your Voice Messages .......press 1
Create a New Message ............press 2
Work with Greetings Menu..........press 3
To Change Mailbox Settings .........press 4
Reminders ......................press 5
Review Erased Messages ..........press 6
Login to a Different Mailbox .........press 7
Options During/ After Message Playback
1.....Play message again from the beginning
2.....Save message and go to the next message
(This will store the message and mark it a “saved” message)
3.....Erase message
4.....to Reply
5.....to send a copy
8.....Pauses the playback of the message for up to 20 seconds;
Pressing 8 again resumes playback
9.....Speeds playback of message
77....Rewind 5 seconds
99....Fast forward 5 seconds
Press #to skip to the next message
Press *to return to previous menu
CISCO |Voice Mail Guide
491 Lisbon Street, Lewiston, ME 04240 800-520-9911 FirstLight.net

Other manuals for VVX 400 Series

22

This manual suits for next models

1

Other Polycom Telephone manuals

Polycom Integra VVX 500 Assembly instructions

Polycom

Polycom Integra VVX 500 Assembly instructions

Polycom 311 Instruction manual

Polycom

Polycom 311 Instruction manual

Polycom VVX 300 User manual

Polycom

Polycom VVX 300 User manual

Polycom Integra VVX 500 User manual

Polycom

Polycom Integra VVX 500 User manual

Polycom VVX 600 series Instruction manual

Polycom

Polycom VVX 600 series Instruction manual

Polycom VVX 300 Installation guide

Polycom

Polycom VVX 300 Installation guide

Polycom VVX 600 series User manual

Polycom

Polycom VVX 600 series User manual

Polycom CX300 R2 User manual

Polycom

Polycom CX300 R2 User manual

Polycom VVX 300 User manual

Polycom

Polycom VVX 300 User manual

Polycom VVX 500 series Assembly instructions

Polycom

Polycom VVX 500 series Assembly instructions

Polycom VVX 500 series Guide

Polycom

Polycom VVX 500 series Guide

Polycom Integra VVX 500 User manual

Polycom

Polycom Integra VVX 500 User manual

Polycom Polycom VVX 600 User manual

Polycom

Polycom Polycom VVX 600 User manual

Polycom VVX 300 User manual

Polycom

Polycom VVX 300 User manual

Polycom SoundStation Premier User manual

Polycom

Polycom SoundStation Premier User manual

Polycom VVX 500 User manual

Polycom

Polycom VVX 500 User manual

Polycom VVX 1500 User manual

Polycom

Polycom VVX 1500 User manual

Polycom VVX 300 Installation guide

Polycom

Polycom VVX 300 Installation guide

Polycom VVX 411 User manual

Polycom

Polycom VVX 411 User manual

Polycom SpectraLink 8002 Series User manual

Polycom

Polycom SpectraLink 8002 Series User manual

Polycom VVX 500 User manual

Polycom

Polycom VVX 500 User manual

Polycom VVX-250 Series User manual

Polycom

Polycom VVX-250 Series User manual

Polycom VVX 500 series User manual

Polycom

Polycom VVX 500 series User manual

Polycom Polycom User manual

Polycom

Polycom Polycom User manual

Popular Telephone manuals by other brands

GE 29897GE2 Specifications

GE

GE 29897GE2 Specifications

Profoon TX-105 user manual

Profoon

Profoon TX-105 user manual

GE 2-9735 user guide

GE

GE 2-9735 user guide

Cisco Unified 6921 reference guide

Cisco

Cisco Unified 6921 reference guide

Nortel M2016S Secure Set Quick reference guide

Nortel

Nortel M2016S Secure Set Quick reference guide

AT&T TRIMLINE 265 user manual

AT&T

AT&T TRIMLINE 265 user manual

Panasonic KX-TA824 user guide

Panasonic

Panasonic KX-TA824 user guide

Linksys WIP320 - iPhone Wireless VoIP Phone Product data

Linksys

Linksys WIP320 - iPhone Wireless VoIP Phone Product data

Alcatel-Lucent 8028s Premium user manual

Alcatel-Lucent

Alcatel-Lucent 8028s Premium user manual

Ericsson Dialog 4106 Basic user guide

Ericsson

Ericsson Dialog 4106 Basic user guide

ILIUM s105 user manual

ILIUM

ILIUM s105 user manual

Aastra PowerTouch 350 user guide

Aastra

Aastra PowerTouch 350 user guide

Axis 2N D7A How to set up

Axis

Axis 2N D7A How to set up

NEC Univerge SV8100 System hardware manual

NEC

NEC Univerge SV8100 System hardware manual

AUDIOLINE TAB958CLIP operating instructions

AUDIOLINE

AUDIOLINE TAB958CLIP operating instructions

Siemens 300Series user guide

Siemens

Siemens 300Series user guide

Ubiquiti UT-Phone-Touch quick start guide

Ubiquiti

Ubiquiti UT-Phone-Touch quick start guide

Mitel SUPERSET 4001 user guide

Mitel

Mitel SUPERSET 4001 user guide

manuals.online logo
manuals.online logoBrands
  • About & Mission
  • Contact us
  • Privacy Policy
  • Terms and Conditions

Copyright 2025 Manuals.Online. All Rights Reserved.