manuals.online logo
Brands
  1. Home
  2. •
  3. Brands
  4. •
  5. Power Tec
  6. •
  7. Tools
  8. •
  9. Power Tec 71765 User manual

Power Tec 71765 User manual

FOLLOW ALL STANDARD SHOP SAFETY
PRECAUTIONS, INCLUDING:
• Keep children and visitors at a safe distance from work area.
• Keep work area clean. Cluttered work areas invite accidents.
Work area should be properly lit.
• Do not use power tools in dangerous environments. Do not
use power tools in damp or wet locations. Do not expose
power tools to rain.
• TURN OFF AND UNPLUG all power tools BEFORE making
any adjustments or changing accessories.
• Be alert and think clearly. Never operate power tools when
tired, intoxicated or when taking medications that cause
drowsiness.
• Wear proper apparel. Do not wear loose clothing, gloves,
neckties, rings, bracelets or other jewelry which may get
caught in moving parts of the tool.
• Wear protective hair covering to contain long hair.
• Wear safety shoes with non‑slip soles.
• Wear safety glasses complying with United States ANSI
Z87.1. Everyday glasses have only impact resistant lenses.
They are NOT safety glasses.
• Wear face mask or dust mask if operation is dusty.
• A guard or any other part that is damaged should be properly
repaired or replaced. Do not perform makeshift repairs.
• Use safety equipment such as featherboards, push sticks and
push blocks, etc., when appropriate.
• Maintain proper footing at all times and do not overreach.
• Do not force woodworking tools.
CAUTION
Think safety! Safety is a combination of operator common
sense and alertness at all times when tool is being used.
WARNING
Do not use the Rail Guide Coping Sled until it is completely
assembled and you have read and understood this entire
operating manual and the operating manual of the tool being
used with Rail Guide Coping Sled.
SAVE ALL WARNINGS AND INSTRUCTIONS
FOR FUTURE REFERENCE
INSTRUCTION SHEET
Rail Guide Coping Sled
WARNING
For your own safety, read all of the rules and precautions before
operating tool.
WARNING
Always follow proper operating procedures as dened in this
manual even if you are familiar with use of Rail Guide Coping
Sled or any tool used with Rail Guide Coping Sled. Remember
that being careless for even a fraction of a second can result in
severe personal injury.
Before using another tool with this product, always read,
understand and follow the instructions and safety warnings in
the owner’s manual for that tool. If you do not have the owner’s
manual, obtain one from the tool’s manufacturer before using it
with this product.
You must be familiar with the use of any tool or accessory
used with Rail Guide Coping Sled. The supplier cannot be held
responsible for any accident, injury or damage incurred while
using Rail Guide Coping Sled with any tool.
It is the responsibility of the purchaser of this product to ensure
that any person using this product reads and complies with all
instructions and safety precautions outlined in this manual and
the operating manual of the tool being used prior to use.
WARNING
Some dust created by operation of power tool contains
chemicals known to the State of California to cause cancer, birth
defects or other reproductive harm. To reduce your exposure
to these chemicals, work in a well ventilated area and work
with approved safety equipment. Always wear OSHA/NIOSH
approved, properly tting face mask or respirator when using
such tools.
CAUTION
Do not modify or use Rail Guide Coping Sled for any application
other than that for which it was designed.
Model No. 71765
22‑1118
UNPACKING
Refer to Figure 1
NOTE: Check for shipping damage. Check immediately whether
all parts and accessories are included.
ITEM DESCRIPTION QTY
A Fence Guide 1
BSled Base 1
CFixed Fence 1
DAdjustable Fence 1
ELever Clamp 1
FSacricial Piece 1
GHandles 2
HRound Knobs 5/16"‑18 3
I4‑Point Knob 5/16"‑18 1
JWashers 5/16" 2
KWashers 4
LSpacers 2
MT‑Slot Bolt 5/16"‑18 x 1" 1
NT‑Slot Bolt 5/16"‑18 x 2" 2
OT‑Slot Bolt 5/16"‑18 x 2‑1/2" 2
PCap Nuts M4 4
QMounting Screws Flat Head M4 x 1‑3/4" 4
RWood Screws #8 x 1‑3/4" 2
SHex Wrench 2.5mm 1
ASSEMBLY Note: Reference Figure 1 as needed
Observe and assemble the parts as shown. Figure 1
Assemble but DO NOT TIGHTEN THE FOLLOWING: Round
Knobs (H) securing Fence Guide (A), Front and Rear Handles
(G), Mounting Screws (Q) that attach Fixed Fence (C) and Lever
Clamp (E) to Sled Base (B). These will be tightened during
calibration. AFTER setup and calibration steps are completed
attach Sacricial Piece (F).
SETUP AND USE
Figure 2
1. Position assembled Rail Guide Coping Sled with clear Fence
Guide (A) ush against the fence of the router table. At this
point keep Round Knobs (H) loose on Fence Guide. (Fig. 2)
Figure 1
Figure 3
2. Keeping Fence Guide (A) against the fence, adjust Sled
Base (B) by using a 3/4" thick board along its entire length.
Take measurements at both ends of the Sled Base assuring
it is parallel to the router table fence. NOW tighten the
Round Knobs (H). Check that nothing has shifted. (Fig. 3)
Figure 4
3. With Fence Guide (A) tight against router table fence, and
3/4" thick board still in place, use a combination square
to set the Fixed Fence (C) to precisely 90°. NOW Tighten
Rear Handle (G) locking Fixed Fence in place. Flip over Sled
Base (B). Using 2.5mm Hex Wrench (S) to tighten Mounting
Screws (Q) securely to Cap Nuts (P) with Washers (K). (Fig. 4)
To Set Bit Height
Figure 5
Place a test piece of end‑grain‑cut rail stock onto Sled Base (B) sliding it next to
the bit. Adjust the bit to appropriate height. Tighten the bit.
To Use:
Figure 6
1. Position the test stock for routing by pressing it up against
the Fixed Fence (C) and the router table fence. (Fig. 6)
a. Slide the Adjustable Fence (D) snug against the stock
and tighten the 4‑Point Knob ( I ).
b. Use the knob on Lever Clamp (E) to adjust clamp foot
ensuring sufcient pressure on stock, then engage
handle on Lever Clamp (E) securing stock. Rout a test
cut. Fine‑tune the bit height if needed. Repeat test
cuts as necessary.
Figure 7
2. Return Assembled Sled to router table, with Fence Guide (A)
snug against fence. (Fig. 7).
a. Place Sacricial Piece (F) (square corners down) onto
Sled Base (B) and against the Fixed Fence (C).
b. Now slide it toward router table fence until it makes
contact. Secure it by driving #8 x 1‑3⁄4" Screws (R)
through the predrilled holes in the back edge of the
Fixed Fence (C).
c. Use a combination or engineer’s square to verify it is
square to the router table fence.
3. Slide actual working stock ush to both Sacricial Piece (F)
and Router Table Fence. Once ush, use the knob on Lever
Clamp (E) to adjust clamp foot ensuring sufcient pressure
on stock, then engage handle Lever Clamp (E) securing
stock. Move Adjustable Fence (D) in place next to working
stock. Tighten 4‑Point Knob ( I ) to secure in place.
4. Begin routing cuts by moving sled from right to left on the
router table.
Southern Technologies, LLC
Chicago, IL 60606
Put these instructions and the original sales invoice
in a safe, dry place for future reference.
Visit us on the web at www.powertecproducts.com
WARNING
When servicing, use only identical replacement parts. Use of
any other parts may create a hazard or cause product damage.
To ensure safety and reliability, all repairs should be performed
by a qualied service technician.
WARNING
Keep the Rail Guide Coping Sled dry, clean, and free from oil
and grease. Always use a clean cloth when cleaning. Never use
brake uids, gasoline, petroleum‑based products or any strong
solvent to clean the Rail Guide Coping Sled. Chemicals can
damage, weaken or destroy plastic which may result in serious
personal injury.

Other Power Tec Tools manuals

Power Tec MT4009 User manual

Power Tec

Power Tec MT4009 User manual

Power Tec 71685 User manual

Power Tec

Power Tec 71685 User manual

Power Tec 71768 User manual

Power Tec

Power Tec 71768 User manual

Power Tec 92478 User manual

Power Tec

Power Tec 92478 User manual

Power Tec 71395 User manual

Power Tec

Power Tec 71395 User manual

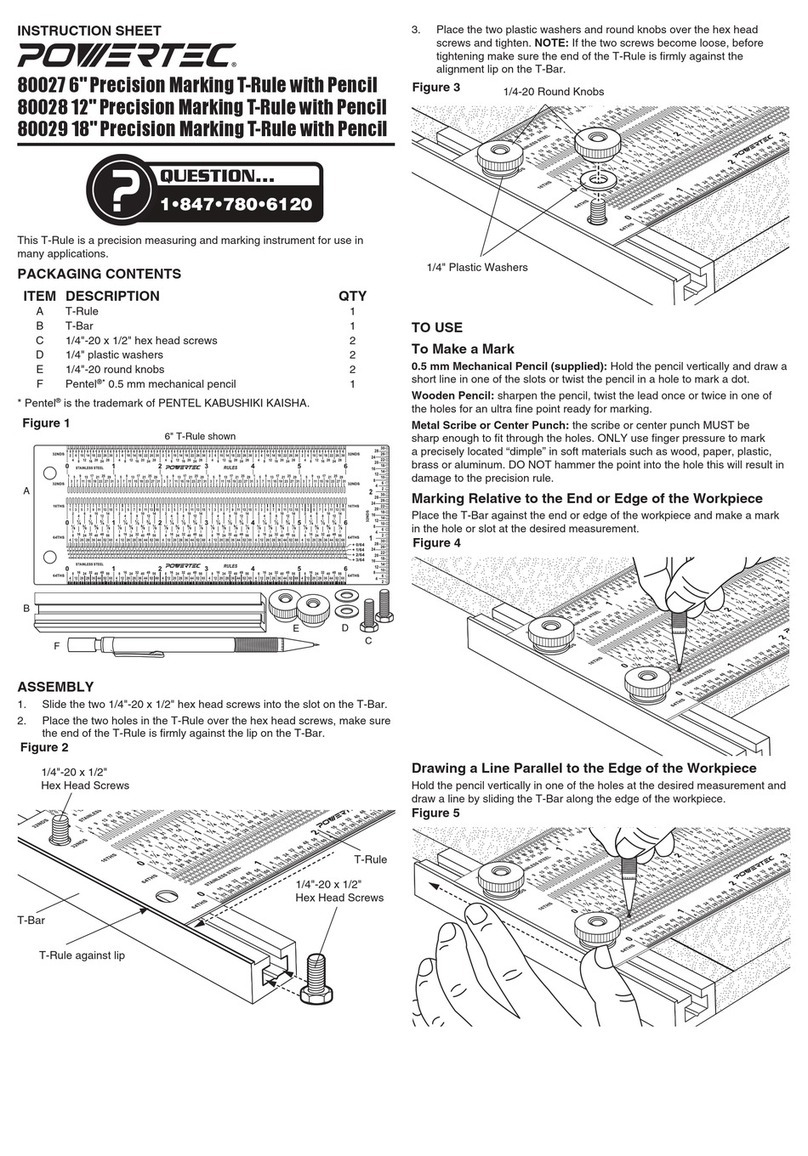
Power Tec 80027 User manual

Power Tec

Power Tec 80027 User manual

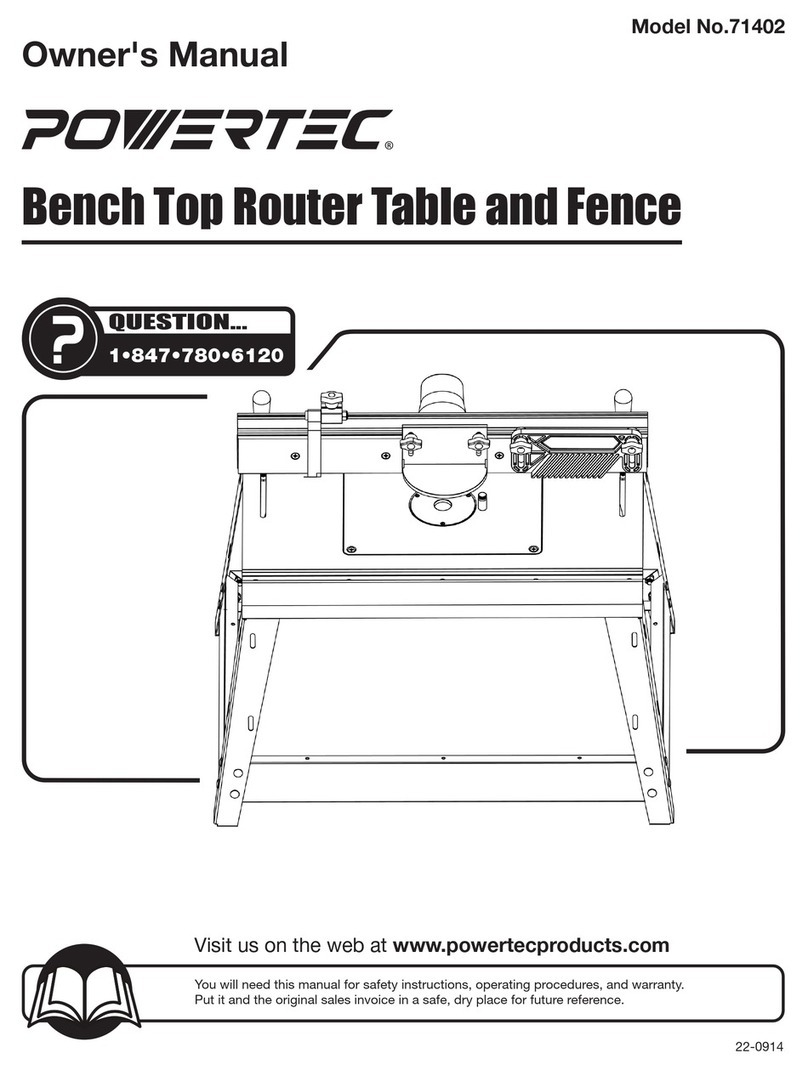
Power Tec 71402 User manual

Power Tec

Power Tec 71402 User manual

Power Tec 71212 User manual

Power Tec

Power Tec 71212 User manual

Power Tec 70316 User manual

Power Tec

Power Tec 70316 User manual

Power Tec 80002 User manual

Power Tec

Power Tec 80002 User manual

Power Tec 91781 User manual

Power Tec

Power Tec 91781 User manual

Power Tec 71643 User manual

Power Tec

Power Tec 71643 User manual

Power Tec 71399 User manual

Power Tec

Power Tec 71399 User manual

Power Tec 71767 User manual

Power Tec

Power Tec 71767 User manual

Power Tec 71845 User manual

Power Tec

Power Tec 71845 User manual

Popular Tools manuals by other brands

Beveltools Bevel Mate ABA-12 Operation manual

Beveltools

Beveltools Bevel Mate ABA-12 Operation manual

Equalizer ECT113 Users guide & exploded view

Equalizer

Equalizer ECT113 Users guide & exploded view

Cen-Tec 2A installation manual

Cen-Tec

Cen-Tec 2A installation manual

Lumberjack EP910 Original manual

Lumberjack

Lumberjack EP910 Original manual

EGAmaster CURVAMATIC-2 operating instructions

EGAmaster

EGAmaster CURVAMATIC-2 operating instructions

Lumberjack Log Lock user manual

Lumberjack

Lumberjack Log Lock user manual

Check-line DWA Series owner's manual

Check-line

Check-line DWA Series owner's manual

C-SCOPE XD instruction manual

C-SCOPE

C-SCOPE XD instruction manual

Unimax 51470 user manual

Unimax

Unimax 51470 user manual

Night Stick NS-HMC1 instruction manual

Night Stick

Night Stick NS-HMC1 instruction manual

Black Ridge PS-14 instruction manual

Black Ridge

Black Ridge PS-14 instruction manual

BlackBull AHAR50 instructions

BlackBull

BlackBull AHAR50 instructions

Beveltools Bevel Mite ABIS-06 Quick start manual

Beveltools

Beveltools Bevel Mite ABIS-06 Quick start manual

Pro's Kit FB-1688 manual

Pro's Kit

Pro's Kit FB-1688 manual

Centech 40963 Set up and operating instructions

Centech

Centech 40963 Set up and operating instructions

Equalizer TRANSFORMER TFM50 user guide

Equalizer

Equalizer TRANSFORMER TFM50 user guide

DryAIR 2250 Operator's manual

DryAIR

DryAIR 2250 Operator's manual

AME 71025 instruction manual

AME

AME 71025 instruction manual

manuals.online logo
manuals.online logoBrands
  • About & Mission
  • Contact us
  • Privacy Policy
  • Terms and Conditions

Copyright 2025 Manuals.Online. All Rights Reserved.