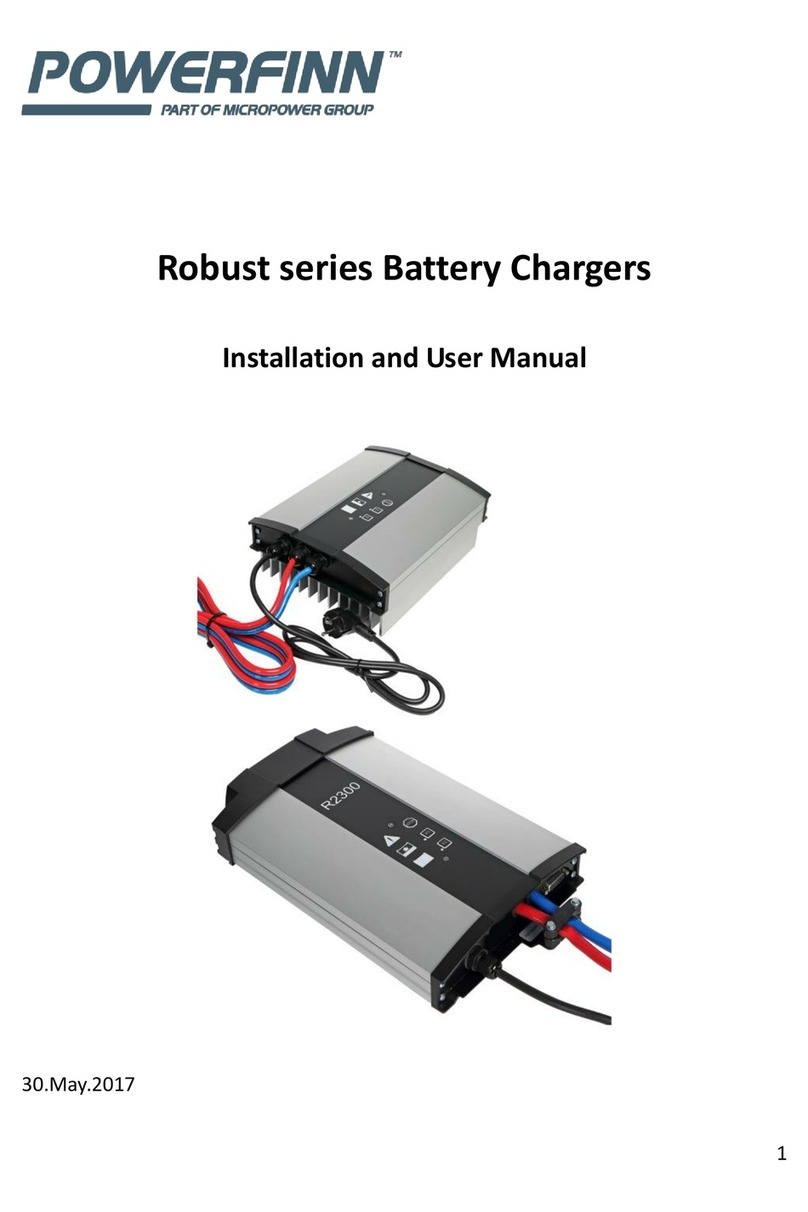
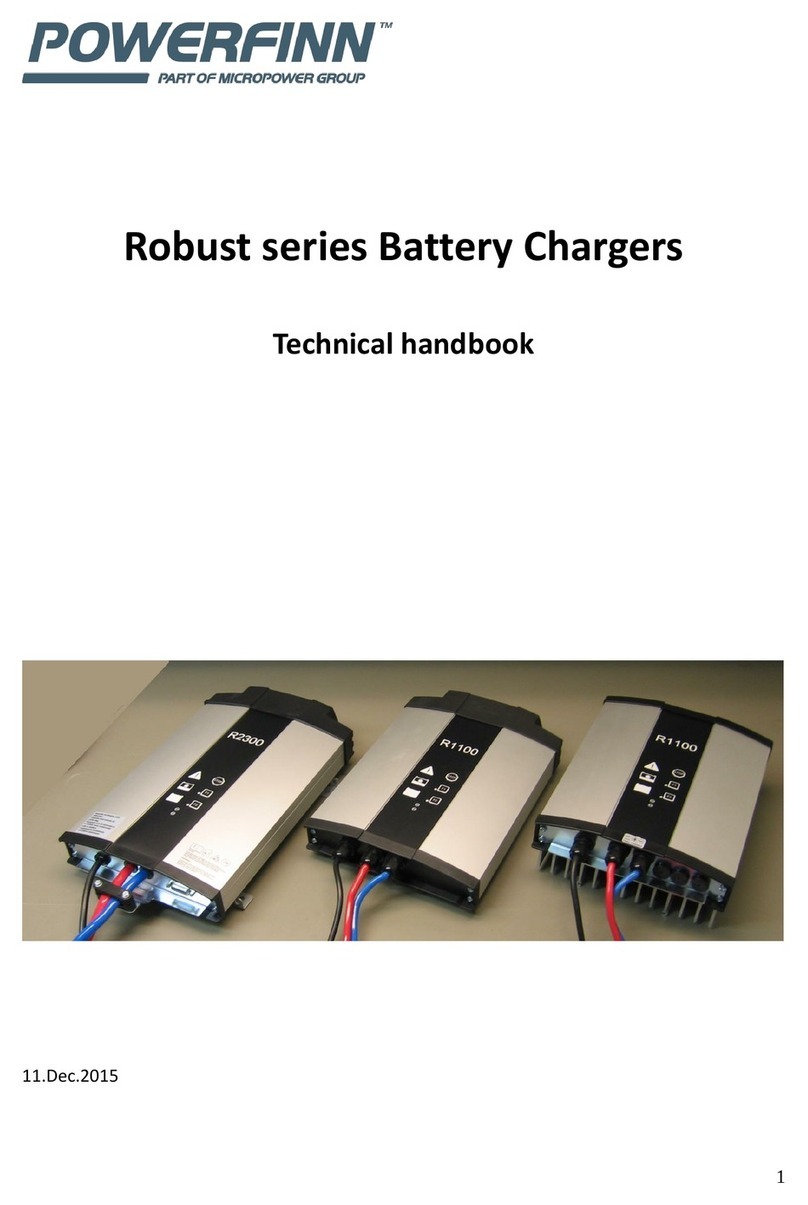
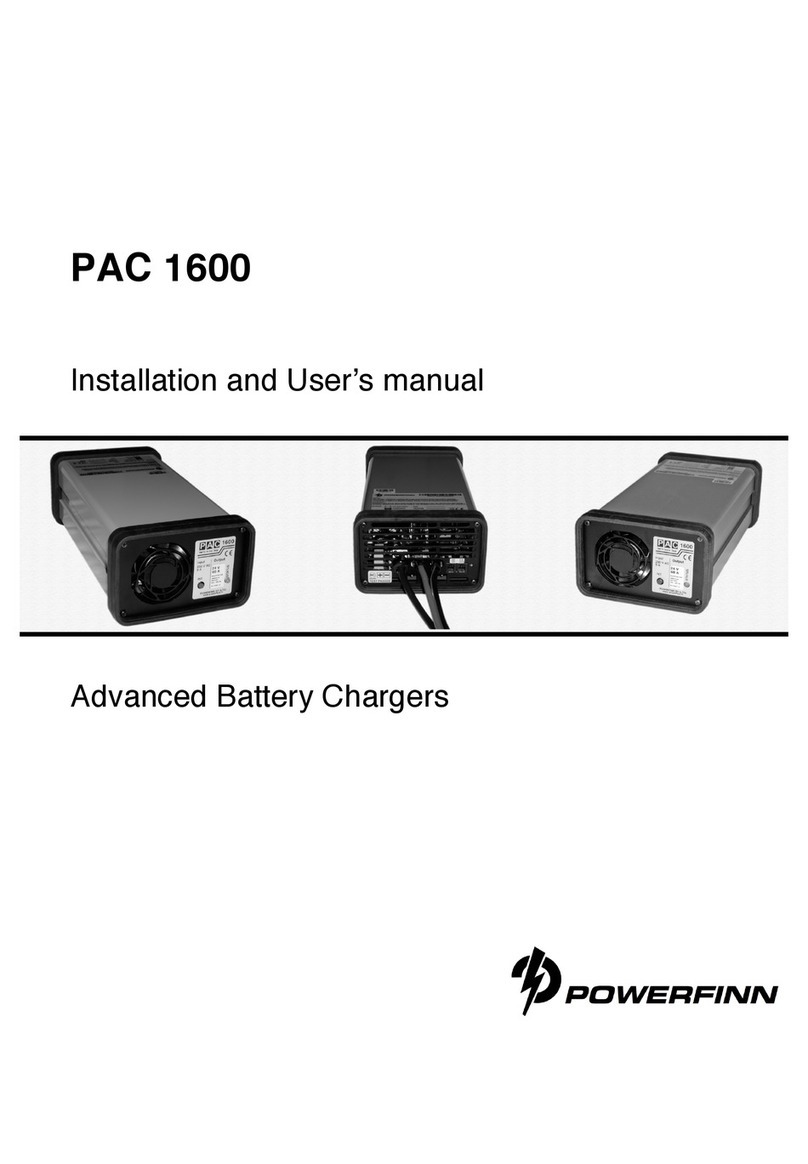
Powerfinn PAC 1600 User manual

PAC 1600
Installation and User’s manual
Advanced Battery Chargers
All manuals and user guides at all-guides.com
all-guides.com

2
Table of
contents
POWERFINN PAC 1600 ........................... 2
General ...................................................... 2
Installation.................................................. 3
Operations ................................................. 4
Safety Instructions ..................................... 5
Troubleshooting and repair........................ 6
Guarantee .................................................. 6
Appendix A ................................................ 6
Appendix B ................................................ 7
Appendix C ................................................ 7
Important
Read this manual before installing, or operating the battery charger.
PAC 1600
Powerfinn PAC 1600 battery chargers use modern switching
technology. The intelligent micro controller extends the life of the
battery by supervising the charging process. The charger is compact,
lightweight and meets the EU safety and EMC requirements.
General
PAC chargers are available for a variety of battery types. The charger
type is indicated on the label attached to the side of the charger.
Be sure to always use the correct type of charger. The charger type
should correspond to the battery construction (sealed, vented, etc.)
Attempting to charge a battery with the wrong type of charger may
result in considerable damage.
Check the battery to ascertain that the “five hour capacity” (in ampere-
hours, Ah5) is between 5 and 14 times greater than the nominal current
(in amperes) of the charger. E.g. a 10A charger is suitable for charging
batteries with a 5 hours capacity of 50A-140A.
All manuals and user guides at all-guides.com

3
Installation
The following points must be respected when choosing a location for
the charger.
1. The location must be dry, dust-free and indoor. The acceptable
temperature range for operation is –20°C*) to +40°C. A higher ambient
temperature will limit the current supply, see appendix A on page 6.
Caution: The charger is not waterproof. Keep the charger dry and
away from areas with high humidity in order to avoid the risk for
electrical shock and damage to the charger.
2. The equipment may be installed horizontally or vertically. The
horizontal position, however, is recommended with a height of 1
meter above floor level.
3. To ensure sufficient ventilation, leave a free space of at least 10 cm
around all sides of the charger. Do not cover the unit.
4. The charging process generates explosive hydrogen gas. Keep the
area well ventilated. Never use an open flame and avoid sparks close
to the battery and charger.
5. In case the charger is mounted vertically with the cable plate
downwards, the floor and material below the charger must be fire–
resistant. Vertical positioning is prohibited if this condition cannot be
met. Install the charger using the two mounting brackets, one at each
side of the charger as shown in the figure. Fasten the brackets to the
wall using the mounting holes in the brackets. Fix the sticker (see
appendix C), if provided, to the top–side of the charger. Plug the main
power cord into an earthed mains outlet.
All manuals and user guides at all-guides.com

4
Operations
Read these operating instructions before using the charger for the first
time.
Read the safety instructions in the next paragraph thoroughly
.
To charge a battery with the PAC charger, follow these instructions:
1. Ensure that the charger is disconnected from the mains and that the
work environment meets the conditions described in the previous
paragraph.
2.Connect the charger cables to the battery terminals: the positive (+)
cable to the positive (+) terminal and the negative (–) cable to the
negative (–) terminal. The positive cable is red and has a yellow cable
marker with a + symbol. The negative cable is black. The positive
battery cable is commonly marked with red.
Warning: Because some sparks can occur when the cables are
connected to the battery, the battery should be placed as far from the
charger as possible and the charger’s cables extended to reach the
battery.
3. Turn the power on by plugging the power cord in a mains outlet with
protective earth. The fan will operate when the charger is turned on.
The charger continuously monitors its own temperature level and
reacts by controlling the charging current and fan speed. The charger
will not overheat under normal conditions.
4. Go to step 7 in case the charger is programmed for constant voltage
charging.
5. During the charging process the STATUS LED will continuously light
orange. A constant red color indicates either a too low or too high
voltage, or that the battery is not connected to the charger. Turn the
power off by disconnecting the charger from the mains and make
sure that the battery is suitable for the charger. The battery voltage
should be 8-16V for a 12V charger and 16-32 V for a 24V charger.
Check the cable connections and return to step 3.
6. The battery is fully charged, as soon the STATUS LED is green.
7. The charger will switch to maintenance charging about 16 hours after
beginning to charge the battery. The process will terminate and the
STATUS LED will flash intermittent red in case the battery is not fully
charged after PAC switches to maintenance charging. This may occur
if the battery is defect, or if the charger and the battery are
incompatible (see page 2 ‘General’).
8. Step 8 applies only to chargers programmed for constant voltage
charging. During the charging process the STATUS LED lights
continuously orange. The charger does not check the cable
connections and starts charging immediately after the power is
All manuals and user guides at all-guides.com

5
switched on.
9. Always turn the supply power off before removing the charger cables
by disconnecting the unit from the mains. This avoids heavy sparking.
Car use: Always refer to the user’s manual of the car before connecting
the charger to the car battery (see step 2) and removing it after finishing
charging (see step 5). The battery terminal not connected to the car
chassis has to be connected first. The other connection is to be made to
the chassis far away from fuel lines and from the fuel induction i.e.
carburetor. After finishing charging (step 5), unplug the charger from the
mains before removing the charger cables.
Safety
Instructions
In addition to the safety measures mentioned under ‘Installation’(page
3), the following personal precautions should be taken whenever
charging batteries.
1. For emergency situations ensure in advance that help is available in
time of need.
2. Batteries contain acid that is harmful to the eyes, skin and clothes.
Always wear overalls and safety goggles. Never touch the eyes with
unwashed hands after handling batteries.
3. Ensure that a working, fresh water tap is available. If acid gets into
the eyes or on the skin, immediately flush the area with plenty of
water for several minutes. If visible injury occurs, contact a physician
immediately. In case of eye injuries, always contact a physician.
4. The charging process generates explosive hydrogen gas. Do not
smoke or otherwise bring burning or sparking matter to the vicinity of
the charger when it is in operation.
5. If a short circuit occurs, the battery may explode or the item causing
the short may melt. Keep the work area clear from tools and debris.
Remove jewelry, watches and etcetera before working with the
battery.
6. The power cord should be unplugged and the battery must be
disconnected from the charger in case the equipment is left unused
for a longer period of time.
7. The charger must be situated away from heat sources like radiators
and heat registers and in such a way that no objects can fall or liquid
can be spilled into the cabinet openings.
8. Never attempt to recharge non-rechargeable batteries.
All manuals and user guides at all-guides.com

6
Trouble–
shooting
and repair
The most common faults are described under ‘Operations’(page 4).
If the charger is not operating after the charger is connected to the
mains, there may be a fault in the internal fuse, the power cord, or mains
plug. Check that the charger is plugged in. Call an electrician or service
repair technician if there seems to be a problem with the power cord or
with the plug.
If the cause of malfunction cannot be found, contact your retailer or the
manufacturer. Only authorized persons can repair the charger.
Guarantee
The charger has a guarantee of two year from the date of purchase.
Guarantee covers manufacturing and component failures and is valid
only if the equipment is installed and used according to the instructions
in this manual.
Keep the receipt as evidence of the date of purchase.
Appendix A
The following graphs show the effect of ambient temperature on
output power and fan speed, as well as the effect of input voltage on
output power.
Output power
100
75
50
25
%
-20 -10 0 10 20 30 40 50 60 70 T/°C
2000
3000
4000
5000
fan speed
/rpm
400
800
1200
1600
Pout
(W)
100 200 260 Uin (V)
46V
START
All manuals and user guides at all-guides.com
all-guides.com

7
Appendix B
Example of the front panel label (varies per model).
Appendix C
Example of the top label (varies per model)
Note:
Constant voltage chargers do not have DISCONNECTED and
READY markings mentioned on the label
All manuals and user guides at all-guides.com

8
Perämiehenkatu 6
24100 Salo
tel +358 (0)2 777 290
fax +358 (0)2 777 2918
info@powerfinn.fi
www.powerfinn.fi
KP012_00332.doc
All manuals and user guides at all-guides.com
Table of contents
Other Powerfinn Batteries Charger manuals

Powerfinn
Powerfinn Robust 1100/24 User manual

Powerfinn
Powerfinn R1100 User manual

Powerfinn
Powerfinn Robust 1100 Release Note

Powerfinn
Powerfinn R3000 User manual

Powerfinn
Powerfinn R1100 User manual

Powerfinn
Powerfinn PAC 600 User manual

Powerfinn
Powerfinn PAC 1600 User manual

Powerfinn
Powerfinn R1100 User manual