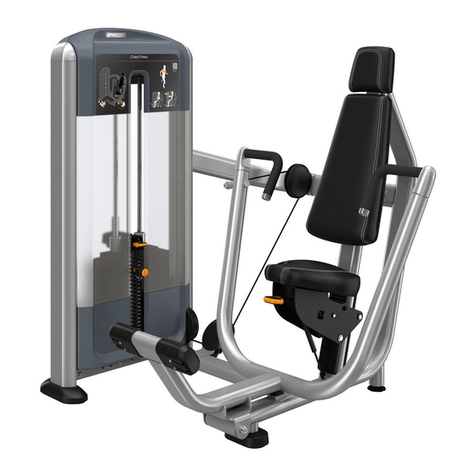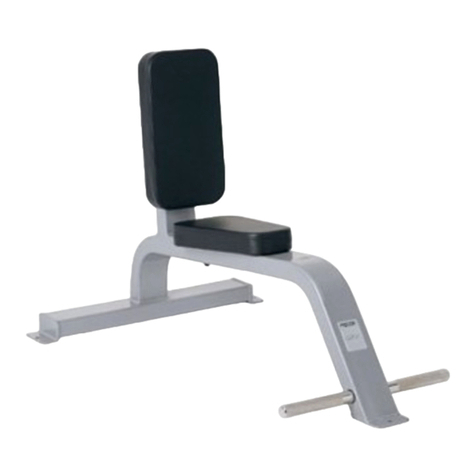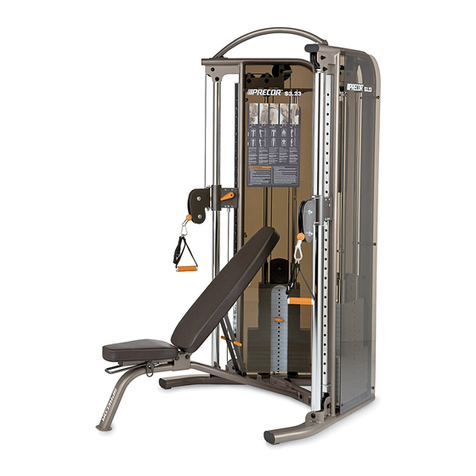
Attach the pads
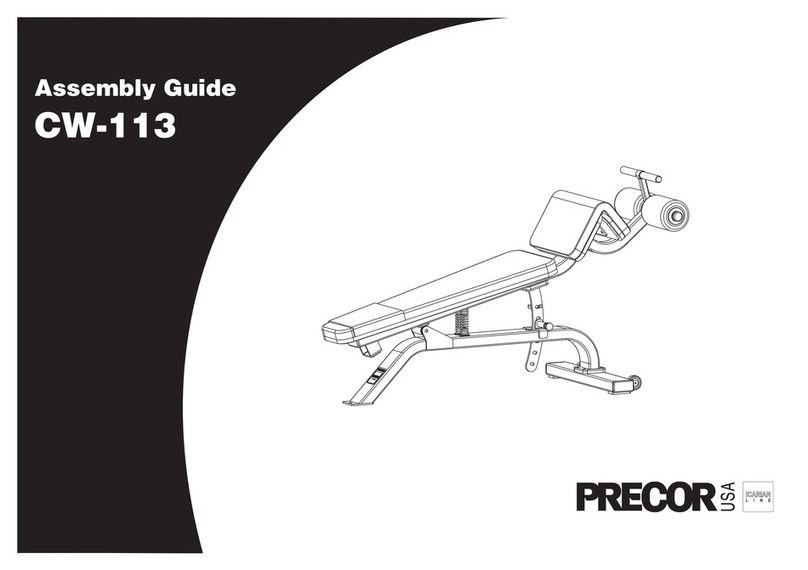
1. Attach the seat pad to the seat post using:
Note: The wide end of the seat pad should face
the weight tower.
2 – M10 x 30 mm hex head bolts
2 – 11 mm flat washers
Figure 12
2. Attach the back pad to the upright support
frame using:
1 – M10 x 75 mm hex head bolt (top of pad)
2 – M10 x 30 mm hex head bolts (bottom of
pad)
3 – 11 mm flat washers
Install weight stack shroud and top cap
The inside shroud has a slot for weight selection. Both shrouds have three slotted tabs on each side
that fit into the shroud clips mounted to the inside of the weight tower uprights.
Figure 13
1. Align the slotted tabs on the inside shroud with the shroud clips on both sides of the weight
tower.
2. Press the hooks into the clips and lower the shroud securely into place.
3. Repeat steps 1 and 2 to install the outside shroud.
4. Place the top cap on top of the shrouds so that the top edges of the shrouds fit into the slot
between the lip and the ribs of the top cap. Secure the top cap to the weight tower frame using:
4 – M6 x 16 mm pan-head Phillips screws
Note: When you secure the top cap, if the top edges of the shrouds do not fit securely into
the slot between its lip and ribs, remove the cap and the shrouds. Loosen the fasteners
securing each of the shroud clips, then secure each clip again so that it is mounted as high on
the weight stack frame as possible. You will need to push the clips up and hold them in place
while you secure them. After you have repositioned all of the shroud clips, repeat this
procedure to install the shrouds and the top cap.
Bolt equipment to floor
Precor recommends that the strength equipment be bolted down at all anchoring
points. Bolting is made possible through the bolt holes on each foot. The inside
diameter of each hole is 14.3 mm.
NOTE As floor materials vary, it is important to consult a licensed
contractor to advise on proper bolting techniques and appropriate
fastener types.
Figure 14
CAUTION Standards can change. Precor recommends you keep apprised of
your local industry standards. Precor shall not be held liable for failure to
properly bolt the strength equipment to the floor.
Apply labels
Figure 15
1. Attach the Instructional label to the inside shroud under the top cap. The label should be
aligned with the left and right edge of the tray on the top cap. There are small marks on the
lower lip of the top cap to indicate the proper label position.
Verify operation of equipment
Once assembly is complete, verify safe operation by checking the following points:
lCable tension is correct and the cable is moving smoothly on its pulleys.
lMovement arm is stable and moves smoothly through its range of motion.
lAdjustment points are stable and move smoothly through their range of motion.
©2021 Precor Incorporated |VSL Rear Delt/Pec Fly|Assembly Guide |P/N CWR157777-102 ENU 31 July 2021 |5
