manuals.online logo
Brands
  1. Home
  2. •
  3. Brands
  4. •
  5. Prepac
  6. •
  7. Indoor Furnishing
  8. •
  9. Prepac DC-2354 User manual

Prepac DC-2354 User manual

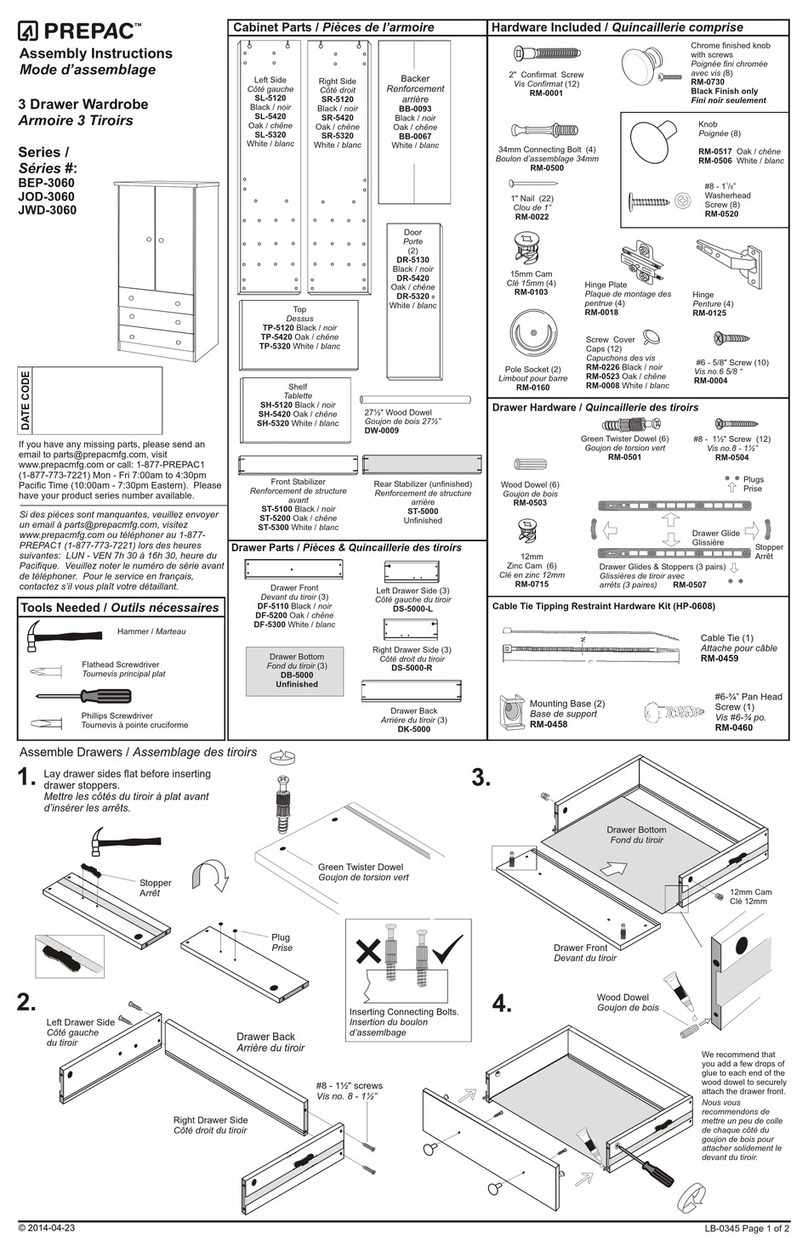
Hardware / Quincaillerie
Screw Cover Caps (12)
Capuchons des vis
RM-0226 black / noir
RM-0523 maple / érable
RM-0008 white / blanc
RM-0620 cherry / cerise
#8-32mm Machine Screw (6)
Vis de machne de 32mm
RM-0465
Metal Drawer Glides (6 sets)
Coulisses de métal pour tiroir (6 ensemble)
RM-0469-G
Drawer Slide
Screw (96)
Vis pour coulisse
de tiroir
RM-0074
Assembly Instructions
Mode d'assemblage
Top Molding (1)
Moulure supérieure
TR-4715 maple / érable
TR-4115 black / noir
TR-4015 white / blanc
TR-4915 cherry / cerise
DATE CODE
Cabinet Parts / Pièces de l’armoire
KR-0471 maple / érable
KR-0411 black / noir
Top / Dessus (1)
TP-0471 maple / érable
TP-0411 black / noir
TP-0401 white / blanc
TP-0491 cherry / cerise
Right Side (1)
Côté droit
SR-0460
maple / érable
SR-0450
black / noir
SR-0400
white / blanc
SR-0490
Cherry / cerise
Left Side (1)
Côté gauche
SL-0460
Maple / érable
SL-0450
black / noir
SL-0400
white / blanc
SL-0490
cherry / cerise
Backer (1)
Dos
BB-0118
Side Molding (2)
Moulure latérale
TR-0460 maple / érable
TR-0450 black / noir
TR-0400 white / blanc
TR-0490 cherry / cerise
If you have any missing parts, please send an
email to part[email protected], visit
www.prepacmfg.com or call: 1-877-PREPAC1 (1-
877-773-7221) Mon - Fri 7:00am to 4:30pm
Pacific Time (10:00am - 7:30pm Eastern). Please
have your product series number ready.
Si des pièces sont manquantes, veuillez envoyer
un email à parts@prepacmfg.com, visitez
www.prepacmfg.com ou téléphoner au 1-877-
PREPAC1 (1-877-773-7221) lors des heures
suivantes: LUN - VEN 7h 00 à 16h 30, heure du
Pacifique. Veuillez noter le numéro de série avant
de téléphoner. Pour le service en français,
contactez s’il vous plaît votre détaillant.
Tools Needed / Outils nécessaires
Hammer / Marteau
Phillips Screwdriver
Tournevis à pointe cruciforme
Flathead Screwdriver
Tournevis principal plat
LB-0597 Page 1 of/de 2
Knob / (6)
RM-0464
black / noir
Poignée
maple / érable;
RM-0625
white / blanc; cherry / cerise
T Spacer (24)
Entretoise de “T”
RM-0628
1. Insert cams the top of each side.
Insérez les ferrures au dessus de chacun des côtés
into
Side
Côté
Cam
Ferrure
Top
dessus
Drawer Front (6)
Devant du tiroir
DF-10013-M maple / érable
DF-10013-B black / noir
DF-10016-W white / blanc
DF-10016-C cherry / cerise
Left Drawer Side (6)
Côté gauche du tiroir
DS-0412W-L unfinished / non-
Drawer Back (6)
Arrière du tiroir
DK-0414W unfinished / non-
Right Drawer Side (6)
Côté droit du tiroir
DS-0412W-R unfinished / non-
Drawer Bottom (6)
Fond du tiroir
DB-0414
Unfinished / non-fini
2" Confirmat Screws
Vis Confirmat 2" (12)
RM-0001
¾” Nail (50)
Clou ¾”
RM-0022
15mm Zinc Cam (4)
Ferrure en zinc
RM-0103
12mm Zinc Cam (24)
Ferrure en zinc
12mm
RM-0715
#8 - 1½” Screws (24)
Vis no.8 - 1½”
RM-0504
Plastic Dowels (10)
Goujons en plastique
RM-0072
Green Twister Dowel (4)
Goujon de torsion vert
RM-0501
© 2012-05-16
HP-0608A
KR-0401 white / blanc
KR-0491 cherry / cerise
Stabilizer A (1)
Renforcement “A” Stabilizer B (1)
Renforcement “B”
Choose either Stabilizer
A or B to be the
decorative front stabilizer
Choisissez le
stabilisateur A ou le B
pour être le stabilisateur
avant décoratif OR / OU ST- 4718 maple / érable
ST-4118 black / noir
ST-4018 white / blanc
ST-4918 cherry / cerise
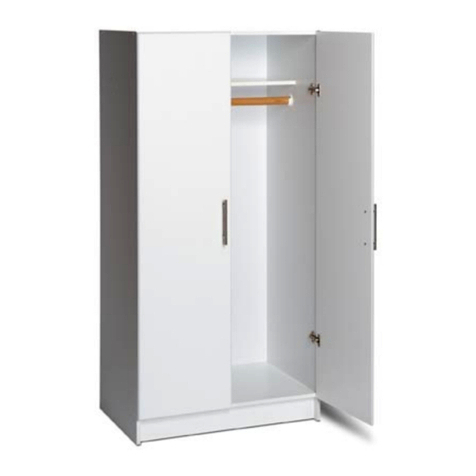
6-drawer Lingerie Chest
Commode de lingerie 6
tiroirs
DC-2354
Upper Stabilizer (1)
Renforcement supérieur
ST-4715 maple / érable
ST-4115 black / noir
ST-4015 white / blanc
ST-4915 cherry / cerise
Cable Tie (1)
Serre-câble
RM-0459
Mounting Base (2)
base de support
RM-0458
#6-¾” Pan Head
Screw (1)
Vis #6-¾ po.
RM-0460
Black Twister Dowel (24)
Goujon de torsion noir
RM-0500
Tightening Cams
Serrage des ferrures
Locked
Verrouillé
Unlocked
Déverrouillé
LB-0597 Page 2 of/de 2
Plastic Dowels
Goujons en plastique
Attach backer to sides and rear stabilizers using ¾” nails. Position
nails 2-3 inches from each corner.
Posezledosaucôtésetrenforcementsarrièreàl'aidedesclou¾po.
Placezlesclou2ou3poucesdechaquecoin.
5.
Attach top & side moldings using plastic dowels. Insert dowels first
into molding, then into sides or top.
Attachez les moulures supérieures et latéraux à l'aide des goujons
en plastique. Insérez les goujons d'abord dans la moulure, puis
dans les côtés ou le dessus.
Assemble drawers and attach drawer glides & “T” spacers to the
sides.
Assemblez les tiroirs et les glissements de tiroir d'attache et les
entretoises de "T" aux côtés (référez-vous aux instructions
d'Assemblée de tiroir # au LB-0573 pour des détails)
(refer to Drawer Assembly Instructions #LB-0573 for details)
6.
7.
Insert drawers and
attach knobs
Insérez les tiroirs et
fixez les poignées
2"
2"
¾”nail
Vis ¾”
thick cardboard
carton épais
Green twister dowel
Goujon de torsion vert
Machine Screw
Vis de machine
Attach front, rear and upper stabilizers to the left and right sides
with Confirmat Screws.
Attachez les s avant, arrière et supérieur aux côtés
gauches et droits avec des vis de Confirmat.
renforcement
2. Choose either Stabilizer A or B as the decorative front stabilizer.
The remaining stabilizer will be the rear stabilizer.
Choisissez le renforcement A ou le B comme avant
décoratif. Le restant sera le renforcement arrière.
renforcement
renforcement
3.
4a. Screw green twister dowels into the underside of the top.
Vissez les goujon de torsion vert dans le dessous du dessus.
Turn top over, attach to sides & tighten cams.
Faites tourner le dessus, fixez aux côtés et serrez les ferrures.
4b.
8.
Decorative Front Stabilizer
(choose either A or B style)
Renforcement avant décoratif
(choisissez le modèle de A ou de B)
Rear Stabilizer
Renforcement arrière
Upper Stabilizer
Renforcement supérieur
Confirmat
screws &
cover caps
Vis Confirmat
et capuchons
des vis
Top
Dessus
Wall Stud
Goujon de mur
1½”
Secure product to wall using the Cable Tie
Serre-câbleFixez le produit au mur en utilisant le
9.
Locking Mechanism
Dispositif de verrouillage
1”
With the #6-¾” screw, attach
one of the mounting bases to
one of the sides 1 inch from
the top.
Avec #6 le ¾ po. vis, attachez
un des bases de support à un
des côtés un pouce à partir
du dessus.
a. Attach the 2nd mounting base to the
wall 2” lower than the one on the
cabinet
Important: Find a wall stud and
attach the mounting base with a 1½”
screw (not included). If you cannot
locate a stud, use an approved wall
mounting system
Attachez le 2ème base de support
au mur 2 " inférieurs à celui sur le
module.
Important: Trouvez un goujon de
mur et attachez la base de support
avec la " vis un 1½ po. (Non inclus).
Si vous ne pouvez pas localiser un
goujon, utilisez un système
approuvé de support de mur
b. c. Feed the cable tie through each mounting base and
then through the locking mechanism to tighten.
Alimentez le serre-câble par chaque base de support
et alors par le dispositif de verrouillage pour serrer.
Wall
le mur
© 2012-05-16
Other manuals for DC-2354

1

Other Prepac Indoor Furnishing manuals

Prepac DC-6330-V User manual

Prepac

Prepac DC-6330-V User manual

Prepac SS-4824 User manual

Prepac

Prepac SS-4824 User manual

Prepac DC-2422 User manual

Prepac

Prepac DC-2422 User manual

Prepac BQ-6212 User manual

Prepac

Prepac BQ-6212 User manual

Prepac MA-0320 Series User manual

Prepac

Prepac MA-0320 Series User manual

Prepac BQ-6212-3K User manual

Prepac

Prepac BQ-6212-3K User manual

Prepac MB-0800 User manual

Prepac

Prepac MB-0800 User manual

Prepac DNH-0401-1 User manual

Prepac

Prepac DNH-0401-1 User manual

Prepac SOH-0010 User manual

Prepac

Prepac SOH-0010 User manual

Prepac Elite Storage WEW-3264 User manual

Prepac

Prepac Elite Storage WEW-3264 User manual

Prepac HD-1348 Series User manual

Prepac

Prepac HD-1348 Series User manual

Prepac GSCW-0707-2K User manual

Prepac

Prepac GSCW-0707-2K User manual

Prepac Queen User manual

Prepac

Prepac Queen User manual

Prepac BSCW-0730-1 User manual

Prepac

Prepac BSCW-0730-1 User manual

Prepac DC-3345 User manual

Prepac

Prepac DC-3345 User manual

Prepac SOW-0200-1 User manual

Prepac

Prepac SOW-0200-1 User manual

Prepac BSCW-0707-2K User manual

Prepac

Prepac BSCW-0707-2K User manual

Prepac RK-2525 User manual

Prepac

Prepac RK-2525 User manual

Prepac USR-0008-1 User manual

Prepac

Prepac USR-0008-1 User manual

Prepac Sonoma SC-3620 User manual

Prepac

Prepac Sonoma SC-3620 User manual

Prepac EC-6016 User manual
Prepac

Prepac EC-6016 User manual

Prepac BEW-3264 User manual

Prepac

Prepac BEW-3264 User manual

Prepac BEP-3060 Series User manual

Prepac

Prepac BEP-3060 Series User manual

Prepac Sonoma SC-4820 User manual

Prepac

Prepac Sonoma SC-4820 User manual

Popular Indoor Furnishing manuals by other brands

FMD Furniture VIBORG 7 4003-007 Assembly instruction

FMD Furniture

FMD Furniture VIBORG 7 4003-007 Assembly instruction

Kaboodle W-51615 quick start guide

Kaboodle

Kaboodle W-51615 quick start guide

Cohesion XP Series instructions

Cohesion

Cohesion XP Series instructions

Insignia NS-FPAMC23 Quick setup guide

Insignia

Insignia NS-FPAMC23 Quick setup guide

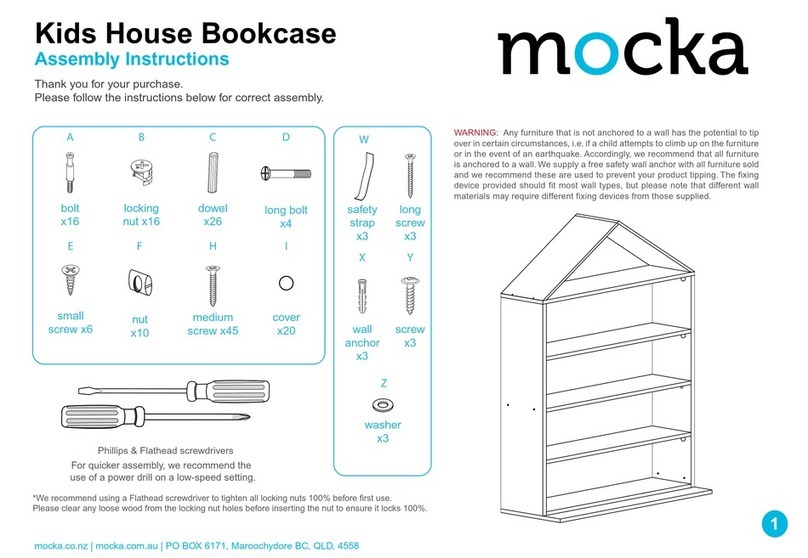
Mocka Kids House Bookcase Assembly instructions

Mocka

Mocka Kids House Bookcase Assembly instructions

Argos 418/9329 Assembly instructions

Argos

Argos 418/9329 Assembly instructions

LAZBOY D71 M80905 Use and care guide

LAZBOY

LAZBOY D71 M80905 Use and care guide

Balkene Home Walker 63750 quick start guide

Balkene Home

Balkene Home Walker 63750 quick start guide

MERXX 22018-219 Assembly instructions

MERXX

MERXX 22018-219 Assembly instructions

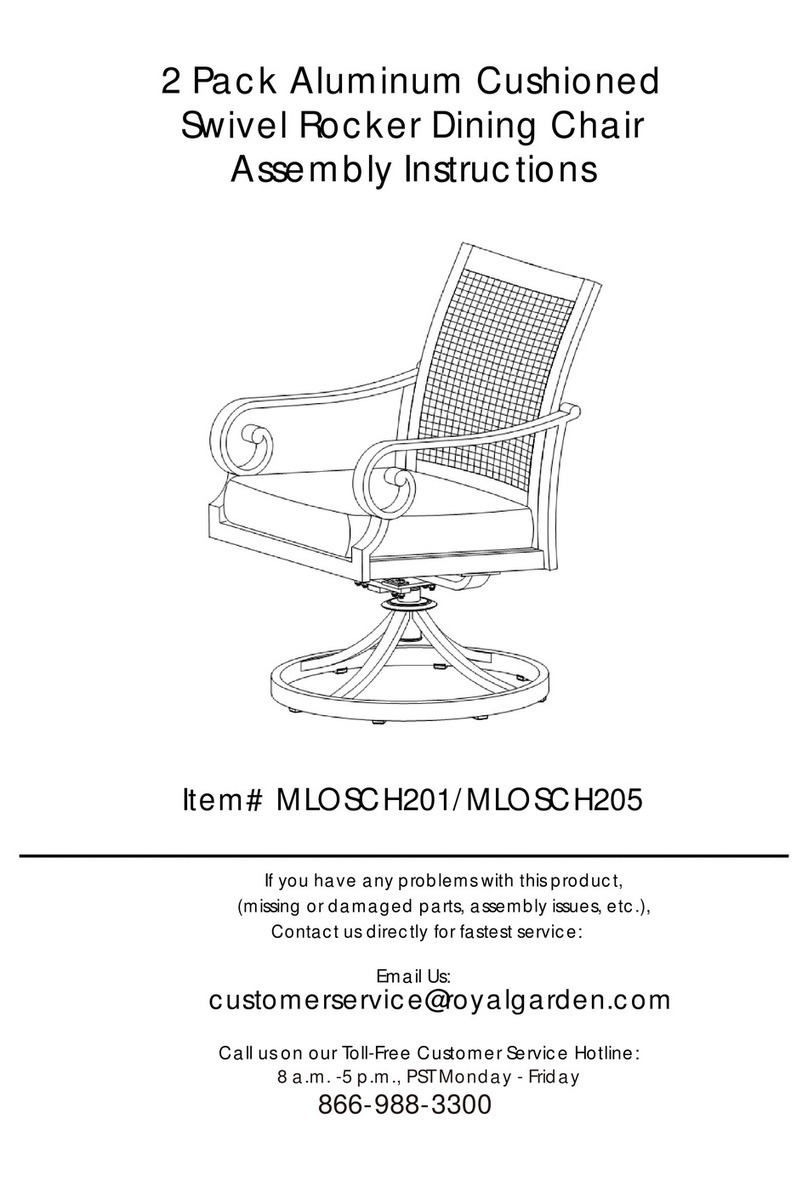
Royal garden MLOSCH201 Assembly instructions

Royal garden

Royal garden MLOSCH201 Assembly instructions

Next AMSTERDAM 947652 Assembly instructions

Next

Next AMSTERDAM 947652 Assembly instructions

Smeg CTPS313X instruction manual

Smeg

Smeg CTPS313X instruction manual

Furniture of America Valencia CM-AC209 Assembly instructions

Furniture of America

Furniture of America Valencia CM-AC209 Assembly instructions

Argos Murano 332/6138 Assembly lnstructions

Argos

Argos Murano 332/6138 Assembly lnstructions

Forte CNBD811 Assembling Instruction

Forte

Forte CNBD811 Assembling Instruction

fatboy ROCK'N'ROLL manual

fatboy

fatboy ROCK'N'ROLL manual

Woood MESA manual

Woood

Woood MESA manual

CABINETS TO GO Findley & Myers WD2442 Assembly instructions

CABINETS TO GO

CABINETS TO GO Findley & Myers WD2442 Assembly instructions

manuals.online logo
manuals.online logoBrands
  • About & Mission
  • Contact us
  • Privacy Policy
  • Terms and Conditions

Copyright 2025 Manuals.Online. All Rights Reserved.