manuals.online logo
Brands
  1. Home
  2. •
  3. Brands
  4. •
  5. Prepac
  6. •
  7. Indoor Furnishing
  8. •
  9. Prepac EC-6016 User manual

Prepac EC-6016 User manual

Model / Modèle / Modelo # EC-6016
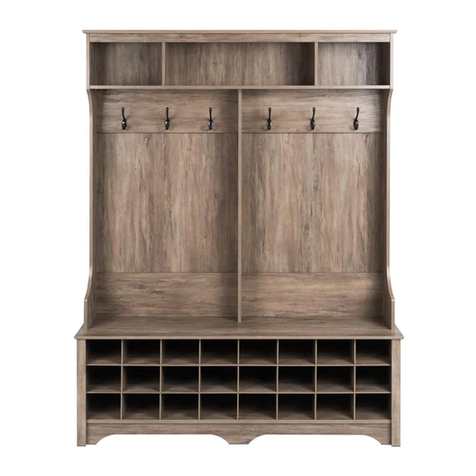
60” Wide Hanging Entryway Shelf
Étagère à crochets pour vestibule,
largeur de 60 po
Repisa ancha colgante para entrada
Assembly Instructions
Instructions de montage
Instrucciones de armado
Prepac Manufacturing Ltd. 6705 Dennett Place, Delta, BC V4G 1N4 LB-0713 2016-09-27
DATE STAMP
This product is shipped in 1 carton
Ce produit est livré dans une boîte en carton
Este producto es enviado en 1 caja de cartón
WEBSITE
www.prepacmfg.com/content/replacement-part-order
Complete our easy to use order form
BY EMAIL
[email protected]
BY PHONE
1-877-PREPAC1 (1-877-773-7221)
Mon - Fri: 7am - 4pm PST / 10am - 7pm EST
If you have received a damaged or defective part
If you are missing hardware or parts
For help with assembly
•
•
•
Replacement parts will leave our facility within two business days
via UPS ground or mail. Please note: shipping times will vary
depending on location.
Before you call please:
1) Record the following information from the shipping label on the
outside of the box. You will need it for warranty purposes:
Ship To Name
Sales Order Number
2) Note the product model number.
3) Review the contents of your shipment to determine
what you are missing.
•
•
CONTACT US FIRST
Option de service en ligne
Complétez le formulaire Commande de Pièces de Rechange
disponible dans la section Soutien à la clientèle de notre site web :
www.prepacmfg.com
Si vous avez reçu une pièce endommagée ou défectueuse
Si vous manquez la quincaillerie ou les pièces
Les pièces de rechange quitteront notre installation dans deux jours
ouvrables via UPS par terre ou le courrier. Notez s’il vous plaît que
les temps d’expédition varieront selon l’emplacement.
Pour parler avec quelqu’un en français, s’il vous plaît
contacter votre détaillant.
Opción de servicio en línea
Si usted ha recibido una parte dañada o defectuosa, o
Si falta alguna parte o componente
Complete la forma para solicitud de piezas de remplazo en la sec-
ción de soporte al cliente en nuestra página web www.prepacmfg.
com
O envíenos sus preguntas al correo [email protected]
Para solicitar ayuda en español por favor contacte su
distribuidor.
Las piezas de recambio dejarán nuestras instalaciónes dentro de
dos días hábiles vía UPS correo terrestre. Por favor note que el
tiempo de transporte variara según la ubicación.
•
•
•
•
Page 2 of 8
Caution
Do not over tighten any screw.
The last few turns of each screw should be done very slowly
or by hand.
Attention
Évitez de trop serrer les vis. Ralentissez la vitesse de la
foreuse pour les derniers deux tours de vis ou vissez-les
lentement à la main.
Precaución
No apriete los tornillos demasiado. Las últimas vueltas de
cada tornillo deben hacerse muy lentamente o con la mano.
Required Tools / Outils requis / Herramientas necesarias
ONLINE HELP To see how-to videos, go to the Product Support page on our website:
www.prepacmfg.com/content/assembly
L’AIDE EN LIGNE Pour visionner les vidéo (en anglais) décrivant l’installation, consultez la page de “Product Support” sur
notre site web : www.prepacmfg.com/content/assembly
AYUDA EN LINEA Para ver videos de ayunda (en inglés), en nuestra pagina web click en las section “Product Support’’
www.prepacmfg.com/content/assembly
BEFORE YOU BEGIN
Identify ALL parts and hardware to
ensure everything is included.
AVANT DE COMMENCER
Identifier toutes les pièces et le matériel
afin de s’assurer que tout est inclus.
ANTES DE COMENZAR
Identifique todos las partes y componentes
para estar seguro que todo está incluido
Hardware / Quincaillerie / Piezas de Conexión
Stud Finder
Détecteur de montant
Detector de travesaños
3/16th inch diameter
3/16ième de pouce de diamètre
3/16 pulgadas de diametro
Coat Hook (5)
Crochet de manteau
Gancho para ropa
RM-0484
chrome / chrome / cromo
RM-0484-B
black / noir / negro
Wardrobe Hook (4)
Crochet de garde-robe
Gancho de armario
RM-0636
chrome / chrome / cromo
RM-0636-B
black / noir / negro
3½” Quadrex Screw (4)
Vis Quadrex 3½ po.
Tornillo Quadrex de 3 ½’’
RM-0888
#6 - 5/8” Screws (18)
Vis #6 - 5/8 po.
Tornillos de 5/8’’
RM-0004
Plastic Dowel (8)
Goujons en plastique
Pasador de plastico
RM-0072
2” Confirmat Screws (13)
Vis Confirmat 2 po.
Tornillos Confirmat
RM-0001
Screw Cover Caps (10)
Capuchons des vis
Cubiertas de tornillos
RM-0226 black / noir / negro
RM-0304 espresso / expresso
RM-0227 gray / gris / gris
RM-0008 white / blanc / blanco
Large Zinc Cam (8)
Ferrure en zinc grande
Tuercas de fijación
grande de zinc
RM-0103
Blue Rapid Rods (8)
Tige rapide bleu
Clavija azul de ajuste rápido
RM-0583
Page 3 of 8
C4
C1
C2
C3
C4
C5
C6
C7
C8
C9
Parts / Pièces / Piezas
Top (1)
Dessus
Panel superior
TP-10093-B black / noir / negro
TP-10093-E espresso / expresso
TP-10093-D gray / gris / gris
TP-10093-W white / blanc / blanco
Left Side (1)
Côté gauche
Lateral izquierdo
SL-0811 black / noir / negro
SL-0861 espresso / expresso
SL-0851 gray / gris / gris
SL-0801 white / blanc / blanco
Center Gable (1)
Pignon central
Panel central
CG-10035-B black / noir / negro
CG-10035-E espresso / expresso
CG-10035-D gray / gris / gris
CG-10035-W white / blanc / blanco
Inner Gables (2)
Pignons intérieurs
Separadores interiores
GA-10092-B black / noir / negro
GA-10092-E espresso / expresso
GA-10092-D gray / gris / gris
GA-10092-W white / blanc / blanco
Right Side (1)
Côté droit
Lateral derecho
SR-0811 black / noir / negro
SR-0861 espresso / expresso
SR-0851 gray / gris / gris
SR-0801 white / blanc / blanco
Bottom Shelf (1)
Tablette du bas
Repisa inferior
BT-10093-B black / noir / negro
BT-10093-E espresso / expresso
BT-10093-D gray / gris / gris
BT-10093-W white / blanc / blanco
Back Panel (1)
Panneau arrière
Panel trasero
BK-10032-B black / noir / negro
BK-10032-E espresso / expresso
BK-10032-D gray / gris / gris
BK-10032-W white / blanc / blanco
Rear Stabilizer (1)
Stabilisateur arrière
Estabilizador trasero
ST-10033-B black / noir / negro
ST-10033-E espresso / expresso
ST-10033-D gray / gris / gris
ST-10033-W white / blanc / blanco
Wall Stabilizer (1)
Stabilisateur de mur
Estabilizador de pared
ST-10034-B black / noir / negro
ST-10034-E espresso / expresso
ST-10034-D gray / gris / gris
ST-10034-W white / blanc / blanco
C3
C1 C2
C6
C5
C7 C8 C9
C4
Page 4 of 8
C2
C5
C6
C7
1d
1
1a
1c
1b
x8
Unfinished Edge
Bord non-fini
Borde sin acabado
C2
C5
C6
C7 REAR
ARRIÈRE
TRASERO
x8
Page 5 of 8
2a
2b
C3
C1
C2
C5
C4
C4
2
x8
x8
Page 6 of 8
C8
Notch faces inward
L’encoche tournée vers l’intérieur
La ranura de cara hacia el interior
x2 x2
x18
3
4
Page 7 of 8
16”
Position Wall Stabilizer with
“notch” facing the wall
Fixez mur stabilisateur avec
l’encoche face au mur
Instale el estabilizador de pared
con la ranura de cara hacia la
pared
Wood Stud
Montant
Travesaños
3½” Quadrex Screw
Vis Quadrex 3½ po.
Tornillo Quadrex de 3 ½’’
Wall Stabilizer
Stabilisateur de mur
Estabilizador de
pared
5
Determine where you want to hang
the Entryway Shelf. Make sure you
are able to attach it to 4 wall studs.
Locate wood studs and attach the
Wall Stabilizer (C9) at the desired
height using the 3½” Quadrex Screw
If you cannot locate a stud, contact
your local hardware store and use the
appropriate wall mounting hardware.
Choisissez l’emplacement de votre étagère à
crochets. Assurez-vous que vous êtes en
mesure de le joindre à 4 poteaux muraux.
Localiser les goujons en bois et le fixer au
mur le stabilisateur (C9) à la hauteur désirée
à l’aide des 3½” Quadrex vis
Si vous ne parvenez pas à localiser le
goujon, contactez votre magasin de matériel
informatique et de l’utilisation appropriée du
matériel de montage mural.
Determine dónde desea colgar la repisa.
Asegúrese de ser capaz de montarla en una
pared de 4 travesaños.
Localice los travesaños de madera e instale el
Estabilizador de pared (C9) a la altura deseada
utilizando el Tornillo 3½ “Quadrex
Si usted no puede encontrar un travesaño, pón-
gase en contacto con su ferretería local y utilice
los elementos necesarios de montaje para la
pared deseada.
C9
Hanging the Entryway Shelf
2 people required
Pour suspendre l’étagère à crochets,
vous aurez besoin de 2 personnes
Colgando la repisa de entrada
son requeridas 2 personas
Estimated Time: 30 minutes Temps Estimé: 30 minutes Tiempo estimado: 30 minutos
Page 8 of 8
Carefully mount the Entryway Shelf. The Rear Stabilizer will fit tightly into the Wall Stabilizer.
Placez soigneusement l’étagère à crochets. Le stabilisateur arrière va s’ajuster solidement
dans le mur de stabilisateur.
Cuidadosamente deslice la repisa apoyada en la pared hasta que el estabilizador trasero
encaje adecuadamente dentro del estabilizador de pared.
If desired, you can also secure the
Rear Stabilizer to the studs using
similar screws. (not supplied)
Si vous le souhaitez , vous pouvez
également fixer le stabilisateur
arrière aux montants avec les
mêmes vis. (Non fourni)
Si lo desea, también puede
asegurar el Estabilizador Trasero
a los travesaños usando tornillos
similares. (no incluido)
X
T
6
7
Product must sit completely
FLUSH against wall
Produit doit s’asseoir
complètement contre mur
El producto debe estar apoyado
completamente al ras contra la
pared.
Rear Stabilizer
Stabilisateur arrière
Estabilizador trasero
Wall Stabilizer
Stabilisateur de mur
Estabilizador de pared
C8
C9
C8
C9

Other Prepac Indoor Furnishing manuals
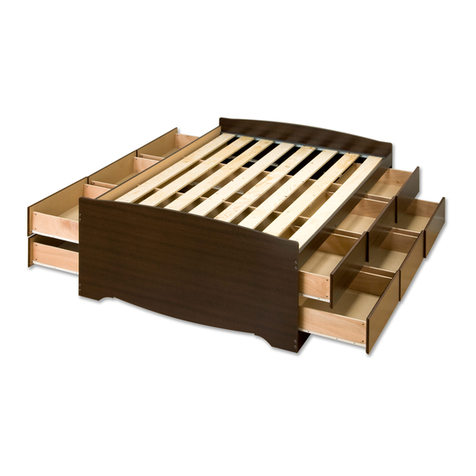
Prepac DC-2428 User manual

Prepac

Prepac DC-2428 User manual

Prepac BSCW-0707-2K User manual

Prepac

Prepac BSCW-0707-2K User manual

Prepac HFT-0401-1 User manual

Prepac

Prepac HFT-0401-1 User manual

Prepac Wardrobe DC-3359 User manual

Prepac

Prepac Wardrobe DC-3359 User manual

Prepac SH-4543 User manual

Prepac

Prepac SH-4543 User manual

Prepac GSCW-0707-2K User manual

Prepac

Prepac GSCW-0707-2K User manual

Prepac DC-2354 User manual

Prepac

Prepac DC-2354 User manual

Prepac DC-3345 User manual

Prepac

Prepac DC-3345 User manual

Prepac EHW-0800-1 User manual

Prepac

Prepac EHW-0800-1 User manual

Prepac SS-4824 User manual

Prepac

Prepac SS-4824 User manual

Prepac SOH-0010 User manual

Prepac

Prepac SOH-0010 User manual

Prepac DC-6330-V User manual

Prepac

Prepac DC-6330-V User manual

Prepac GSUW-0706-1 User manual

Prepac

Prepac GSUW-0706-1 User manual

Prepac DBR-0560-1 User manual

Prepac

Prepac DBR-0560-1 User manual

Prepac GSCW-0706-2K User manual

Prepac

Prepac GSCW-0706-2K User manual
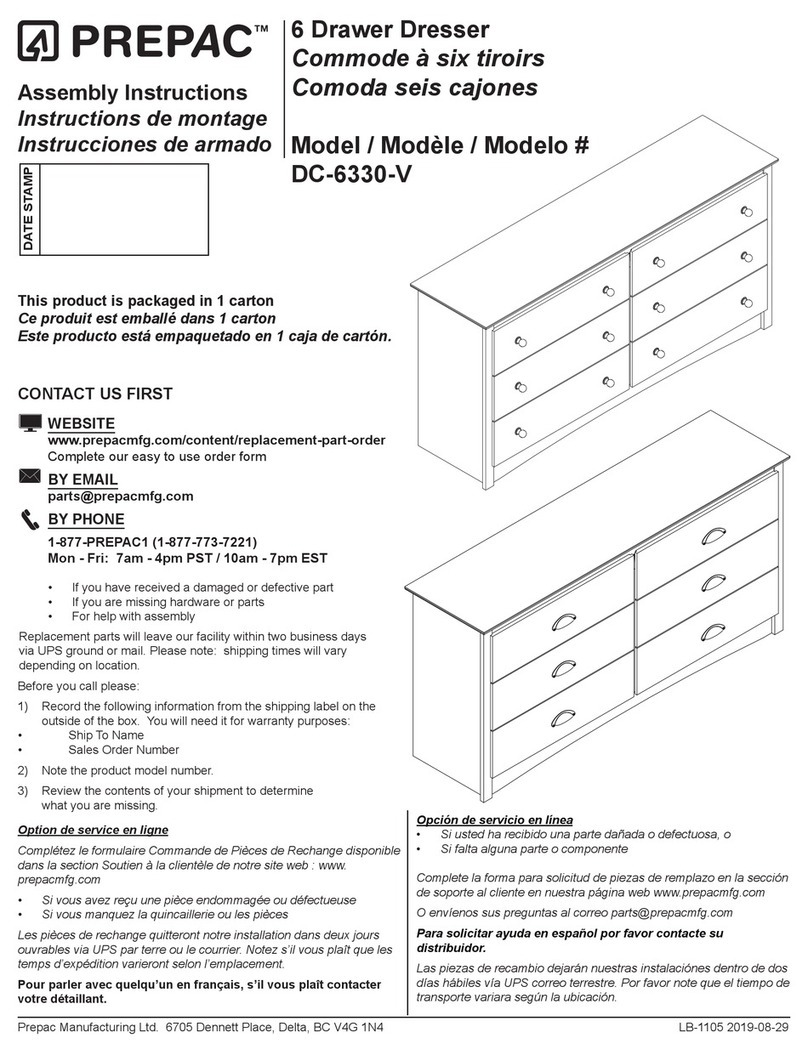
Prepac DC-3345 User manual

Prepac

Prepac DC-3345 User manual

Prepac SOW-0200-1 User manual

Prepac

Prepac SOW-0200-1 User manual

Prepac SBH-0003-01 User manual

Prepac

Prepac SBH-0003-01 User manual

Prepac HangUps WRGW-0701-2M User manual

Prepac

Prepac HangUps WRGW-0701-2M User manual

Prepac TV-3232 Series User manual

Prepac

Prepac TV-3232 Series User manual

Prepac BQ-6212-3K User manual

Prepac

Prepac BQ-6212-3K User manual

Prepac HFQ-0500-1 User manual

Prepac

Prepac HFQ-0500-1 User manual

Prepac BEP-3060 Series User manual

Prepac

Prepac BEP-3060 Series User manual

Prepac SH-6656 User manual

Prepac

Prepac SH-6656 User manual

Popular Indoor Furnishing manuals by other brands
Furinno WS17005 Assembly instructions

Furinno

Furinno WS17005 Assembly instructions
moll Joker Assembly instructions
moll

moll Joker Assembly instructions
MP GLASS LYON CHIC 40 manual

MP GLASS

MP GLASS LYON CHIC 40 manual

Donco V-2004 Assembly instructions
Donco

Donco V-2004 Assembly instructions

Santos Andirá WARDROBE PLUS 6.9 Assembling instructions

Santos Andirá

Santos Andirá WARDROBE PLUS 6.9 Assembling instructions

Forte SNWK521 Assembling Instruction

Forte

Forte SNWK521 Assembling Instruction

Sanus Systems PFV36sb-01 Assembly instruction

Sanus Systems

Sanus Systems PFV36sb-01 Assembly instruction

Amart Furniture Dalvin 74030 Assembly instruction

Amart Furniture

Amart Furniture Dalvin 74030 Assembly instruction

Vivo DESK-V000C instruction manual

Vivo

Vivo DESK-V000C instruction manual

Wójcik HOBBY 21 - 2D manual

Wójcik

Wójcik HOBBY 21 - 2D manual

Vitavia VA0004-FS Assembly instructions
Vitavia

Vitavia VA0004-FS Assembly instructions

Buffalo Tools AWRCT Assembly instructions

Buffalo Tools

Buffalo Tools AWRCT Assembly instructions

Home Decorators Collection MADRID 121-021-7D-SVL-84T Use and care guide

Home Decorators Collection

Home Decorators Collection MADRID 121-021-7D-SVL-84T Use and care guide

Seconique NEVADA 2 DOOR 1 DRAWER WARDROBE GREY GLOSS... Assembly instructions

Seconique

Seconique NEVADA 2 DOOR 1 DRAWER WARDROBE GREY GLOSS... Assembly instructions

Ave Six MONARCH Assembly instructions

Ave Six

Ave Six MONARCH Assembly instructions

Safco Forge 7990 Assembly instructions

Safco

Safco Forge 7990 Assembly instructions

Home Decorators Collection SK17787A Assembly instructions

Home Decorators Collection

Home Decorators Collection SK17787A Assembly instructions

Sodex Sport S25343 Assembly instructions

Sodex Sport

Sodex Sport S25343 Assembly instructions

manuals.online logo
manuals.online logoBrands
  • About & Mission
  • Contact us
  • Privacy Policy
  • Terms and Conditions

Copyright 2025 Manuals.Online. All Rights Reserved.