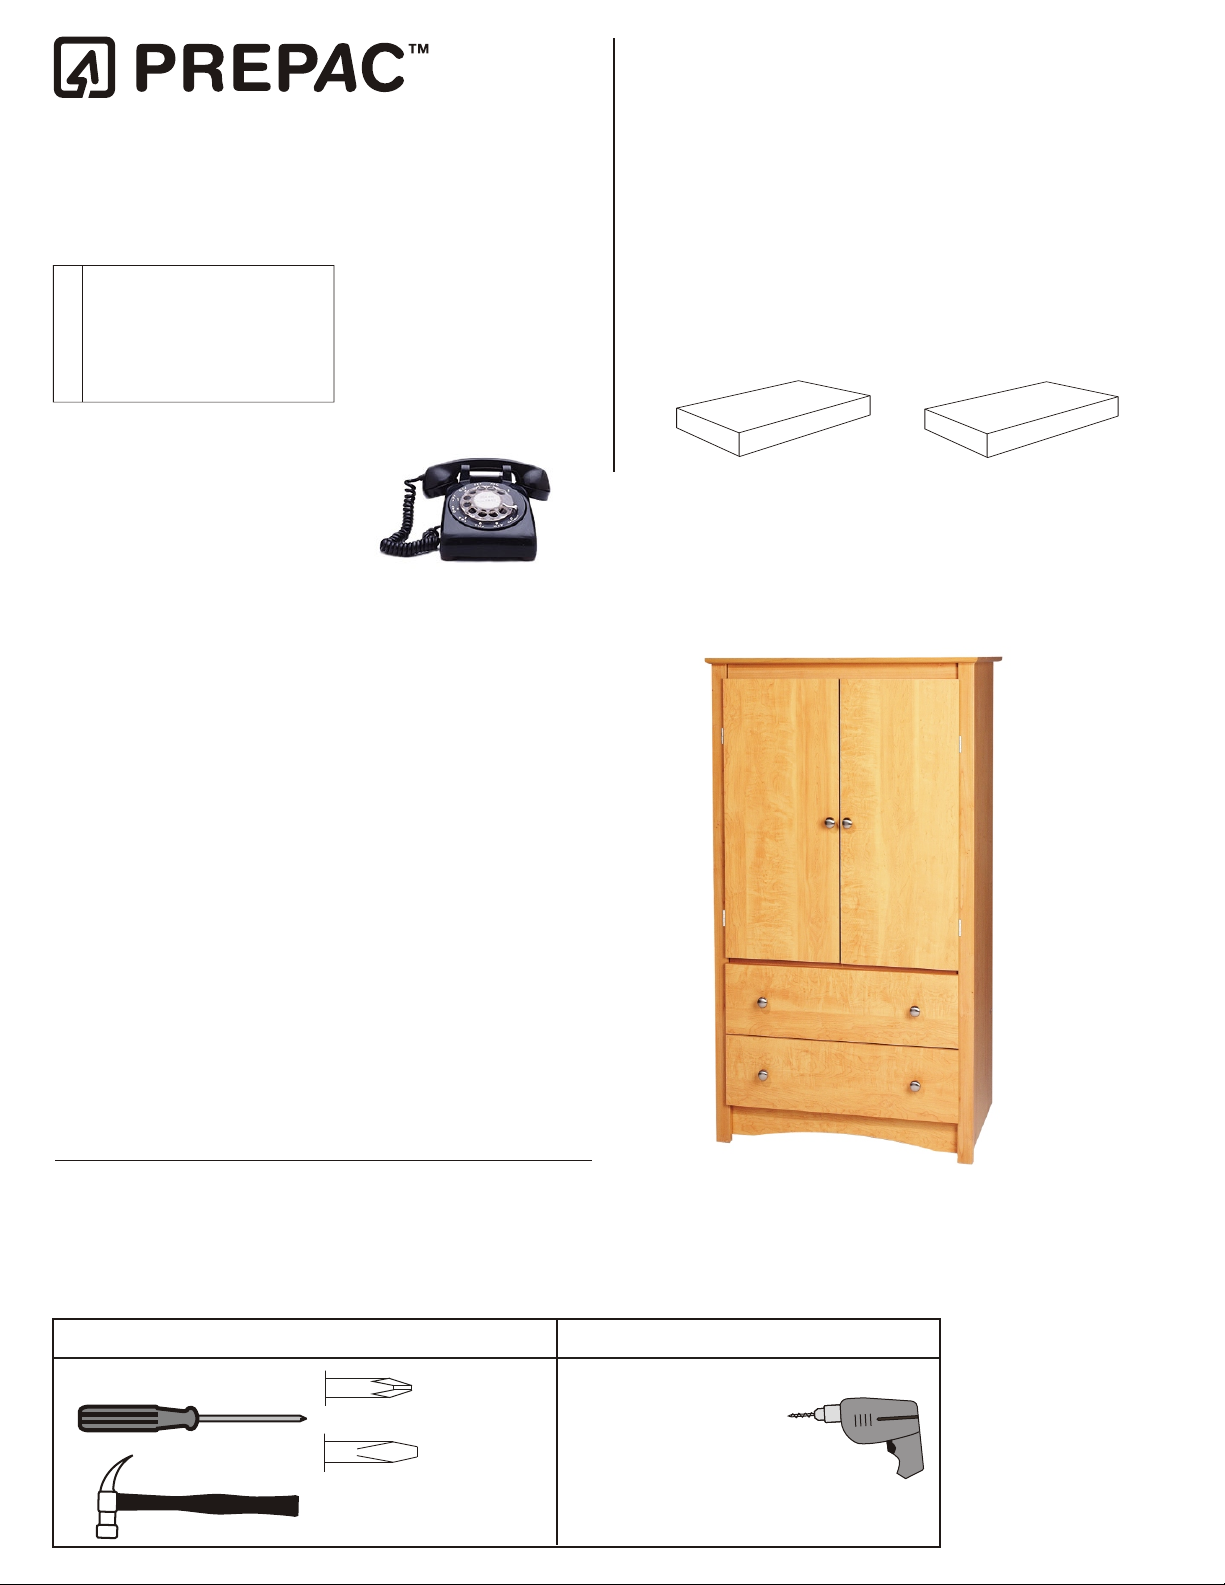
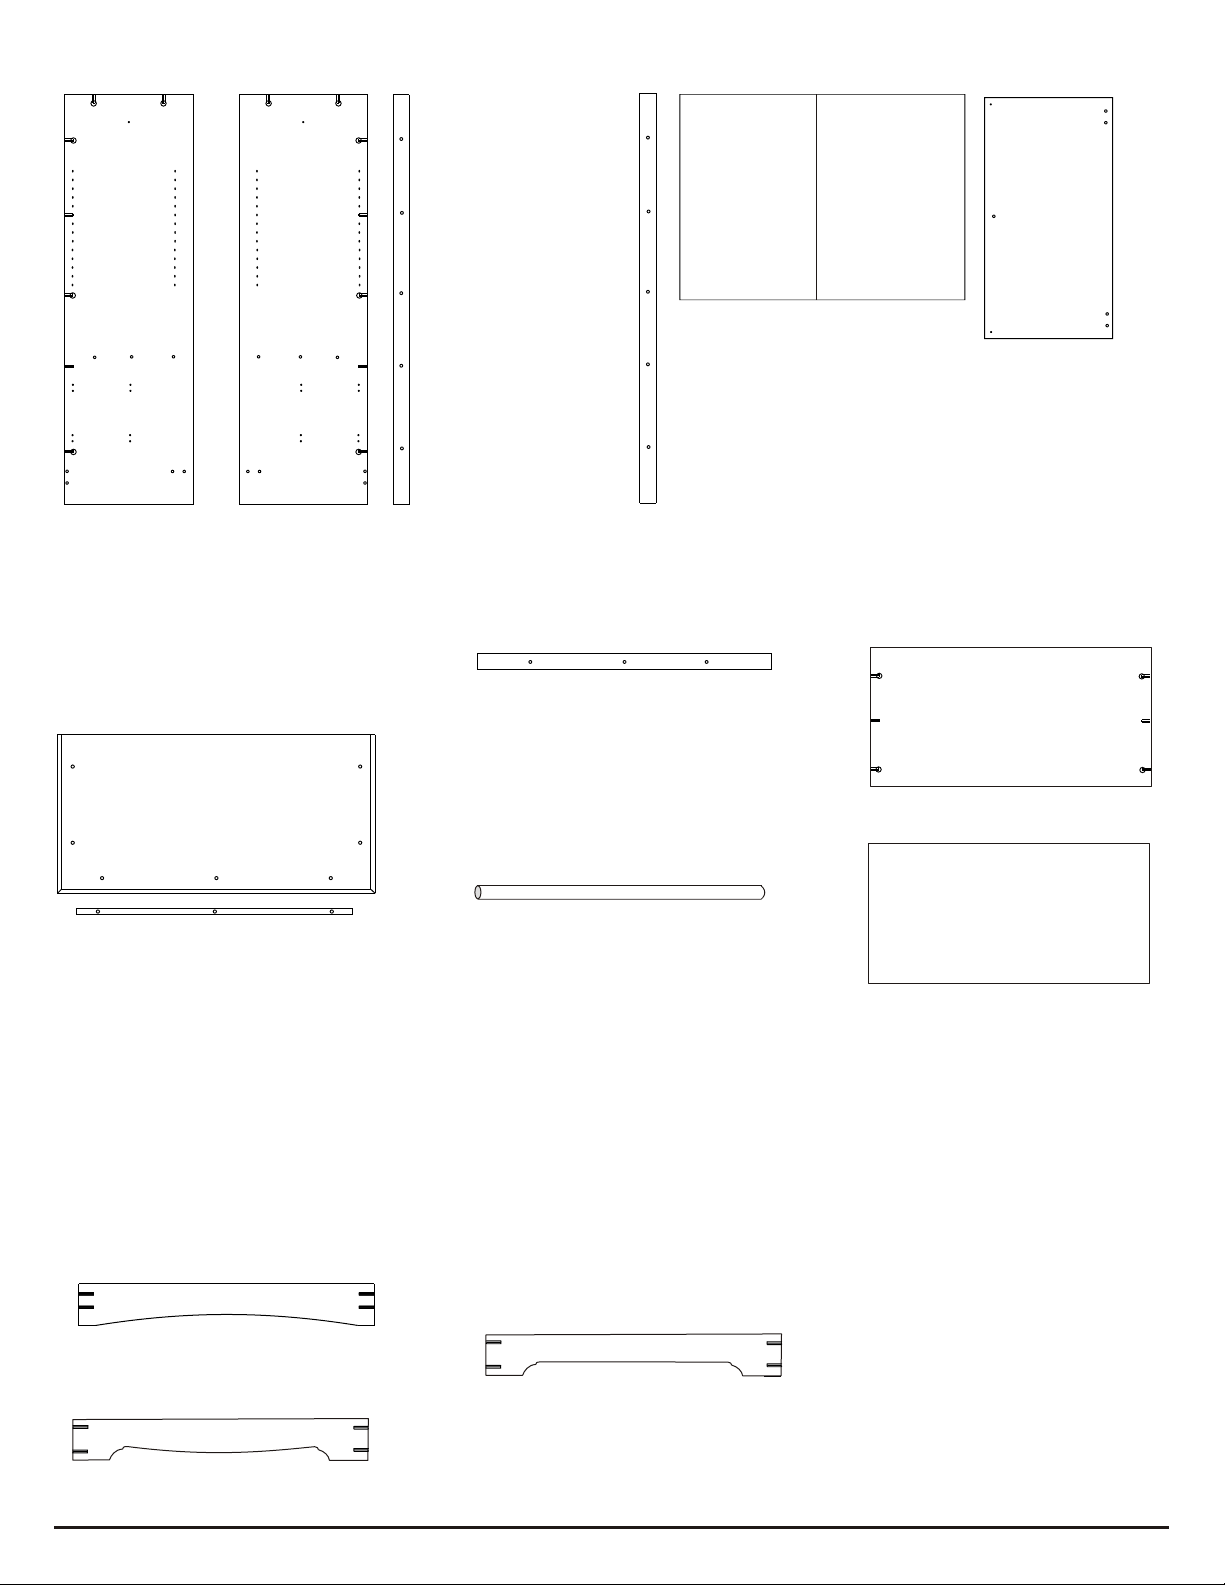
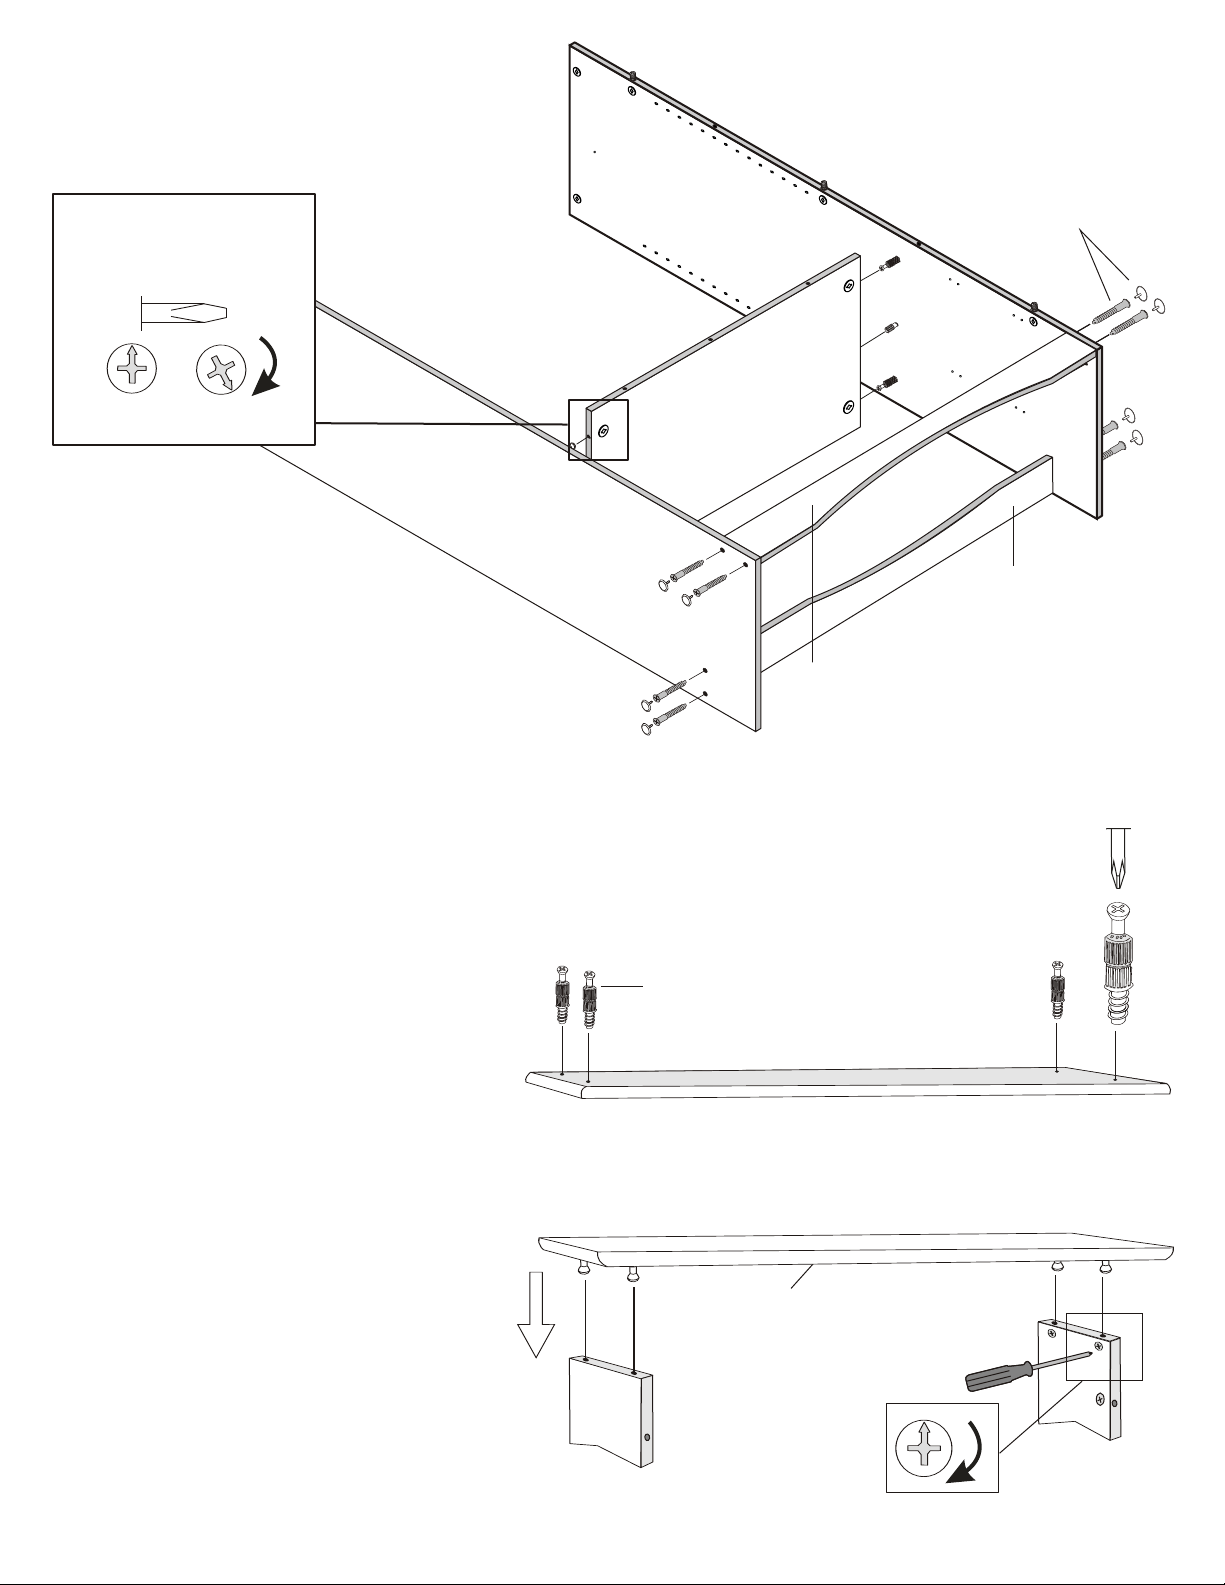
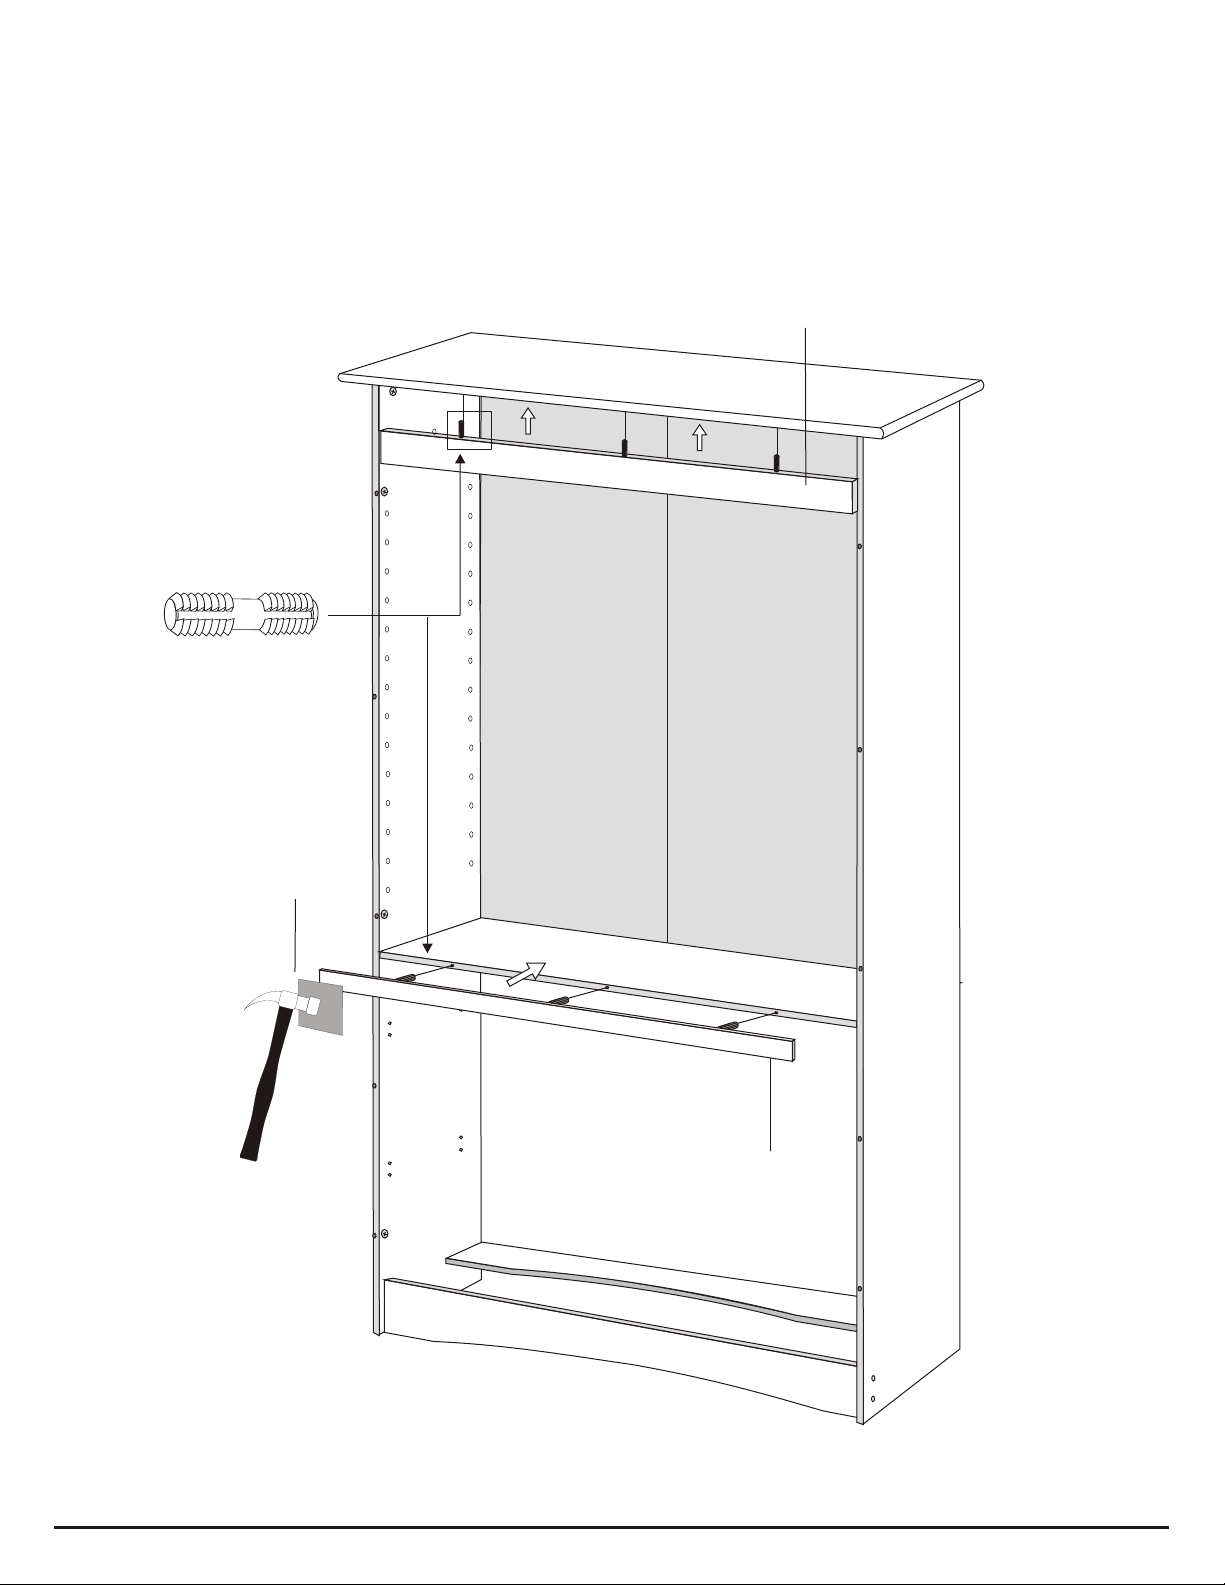
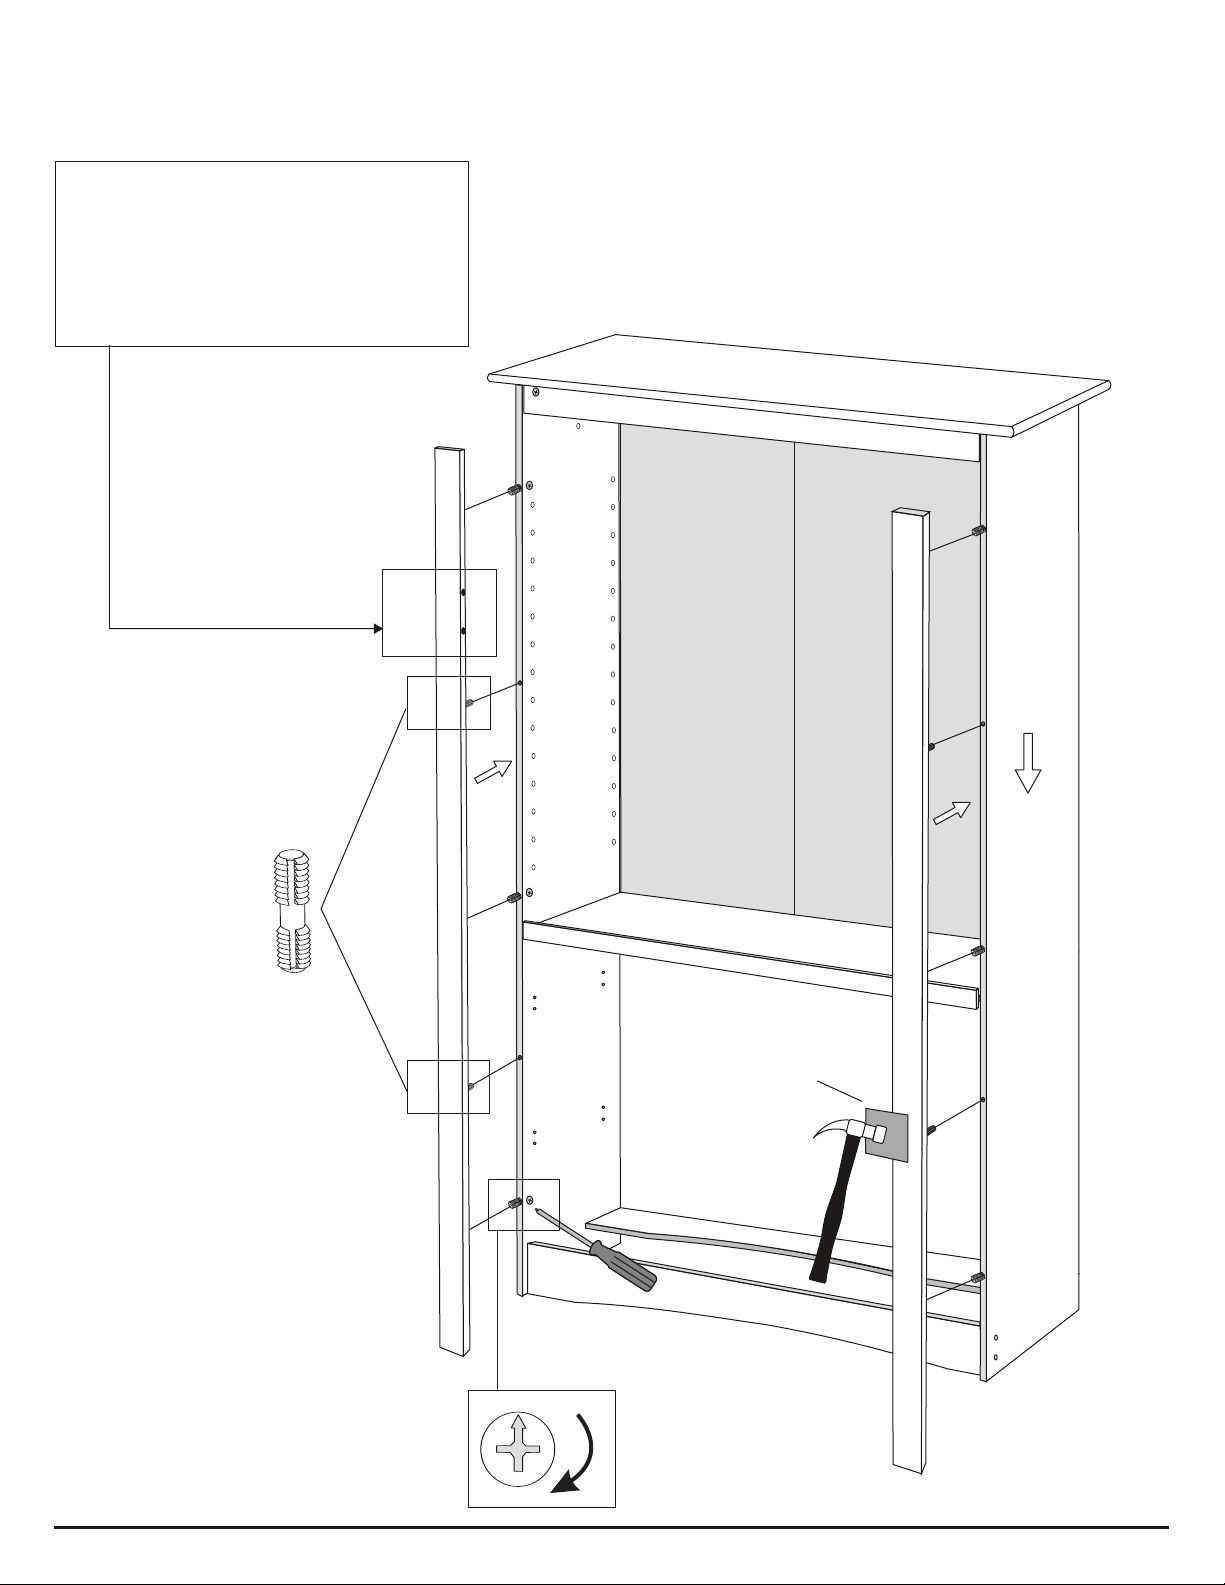
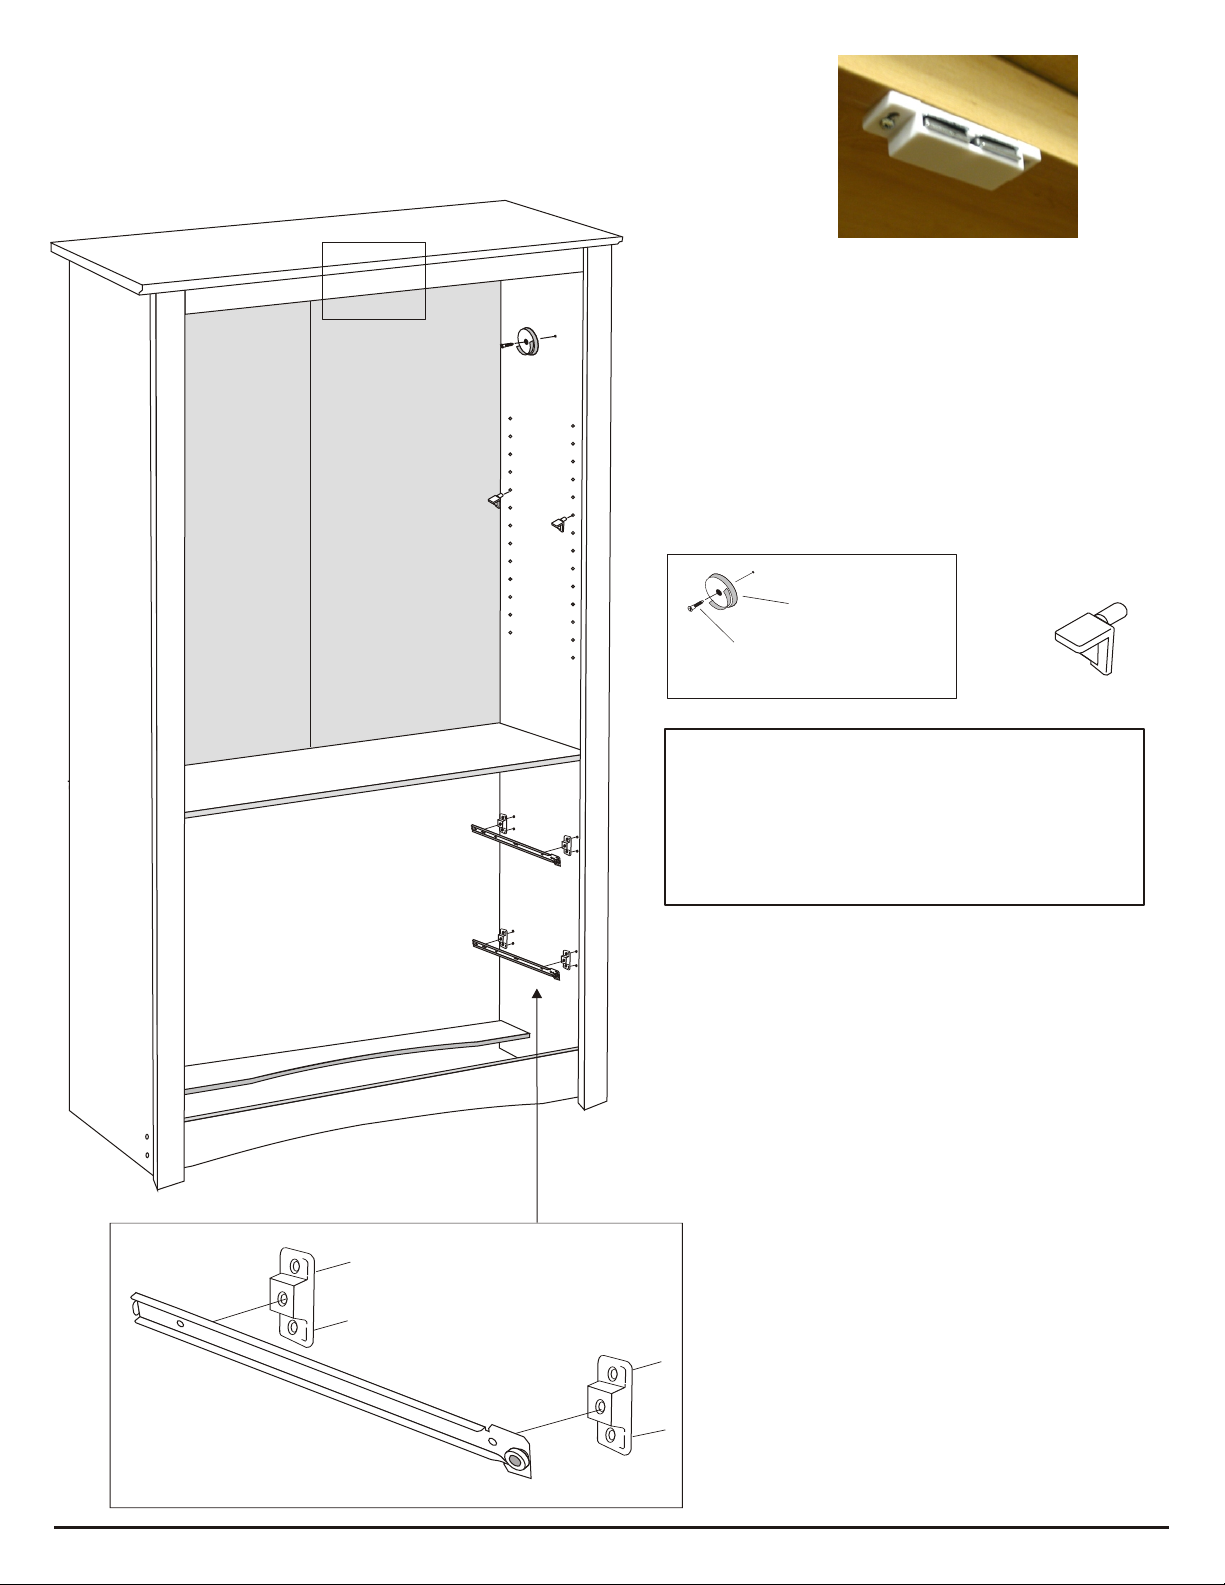
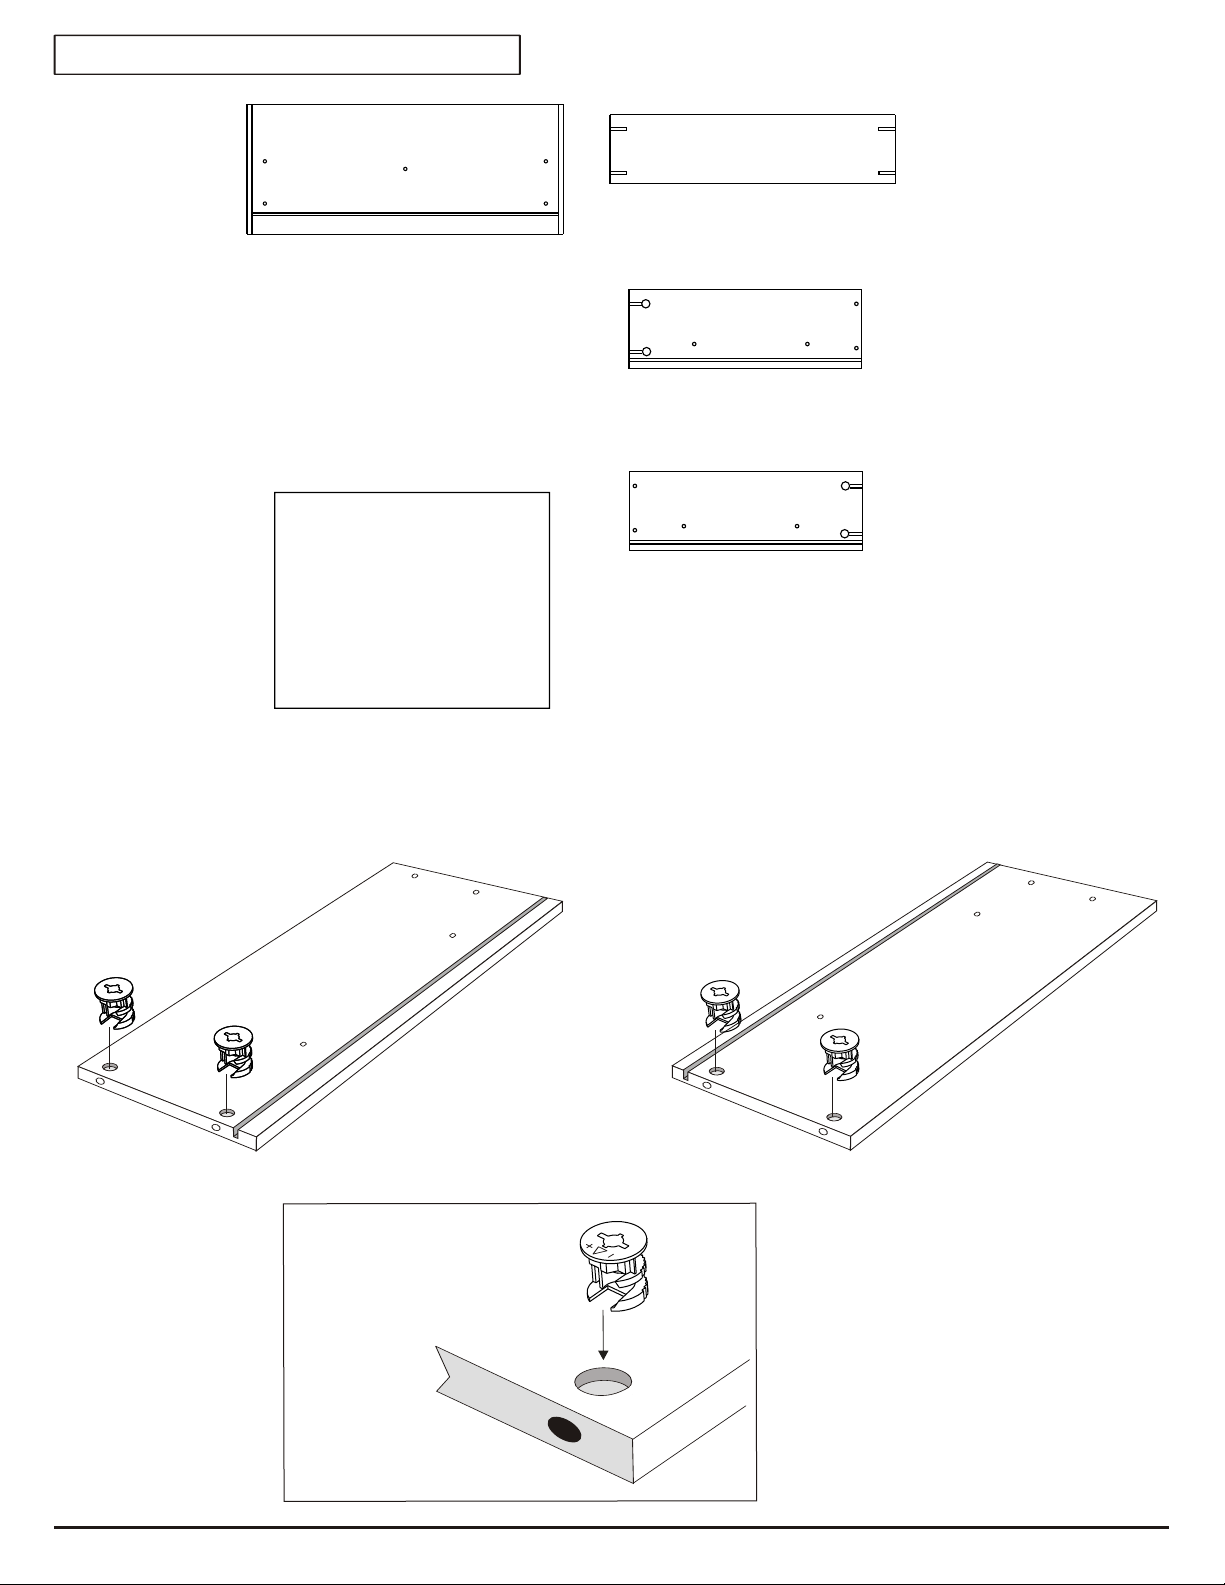
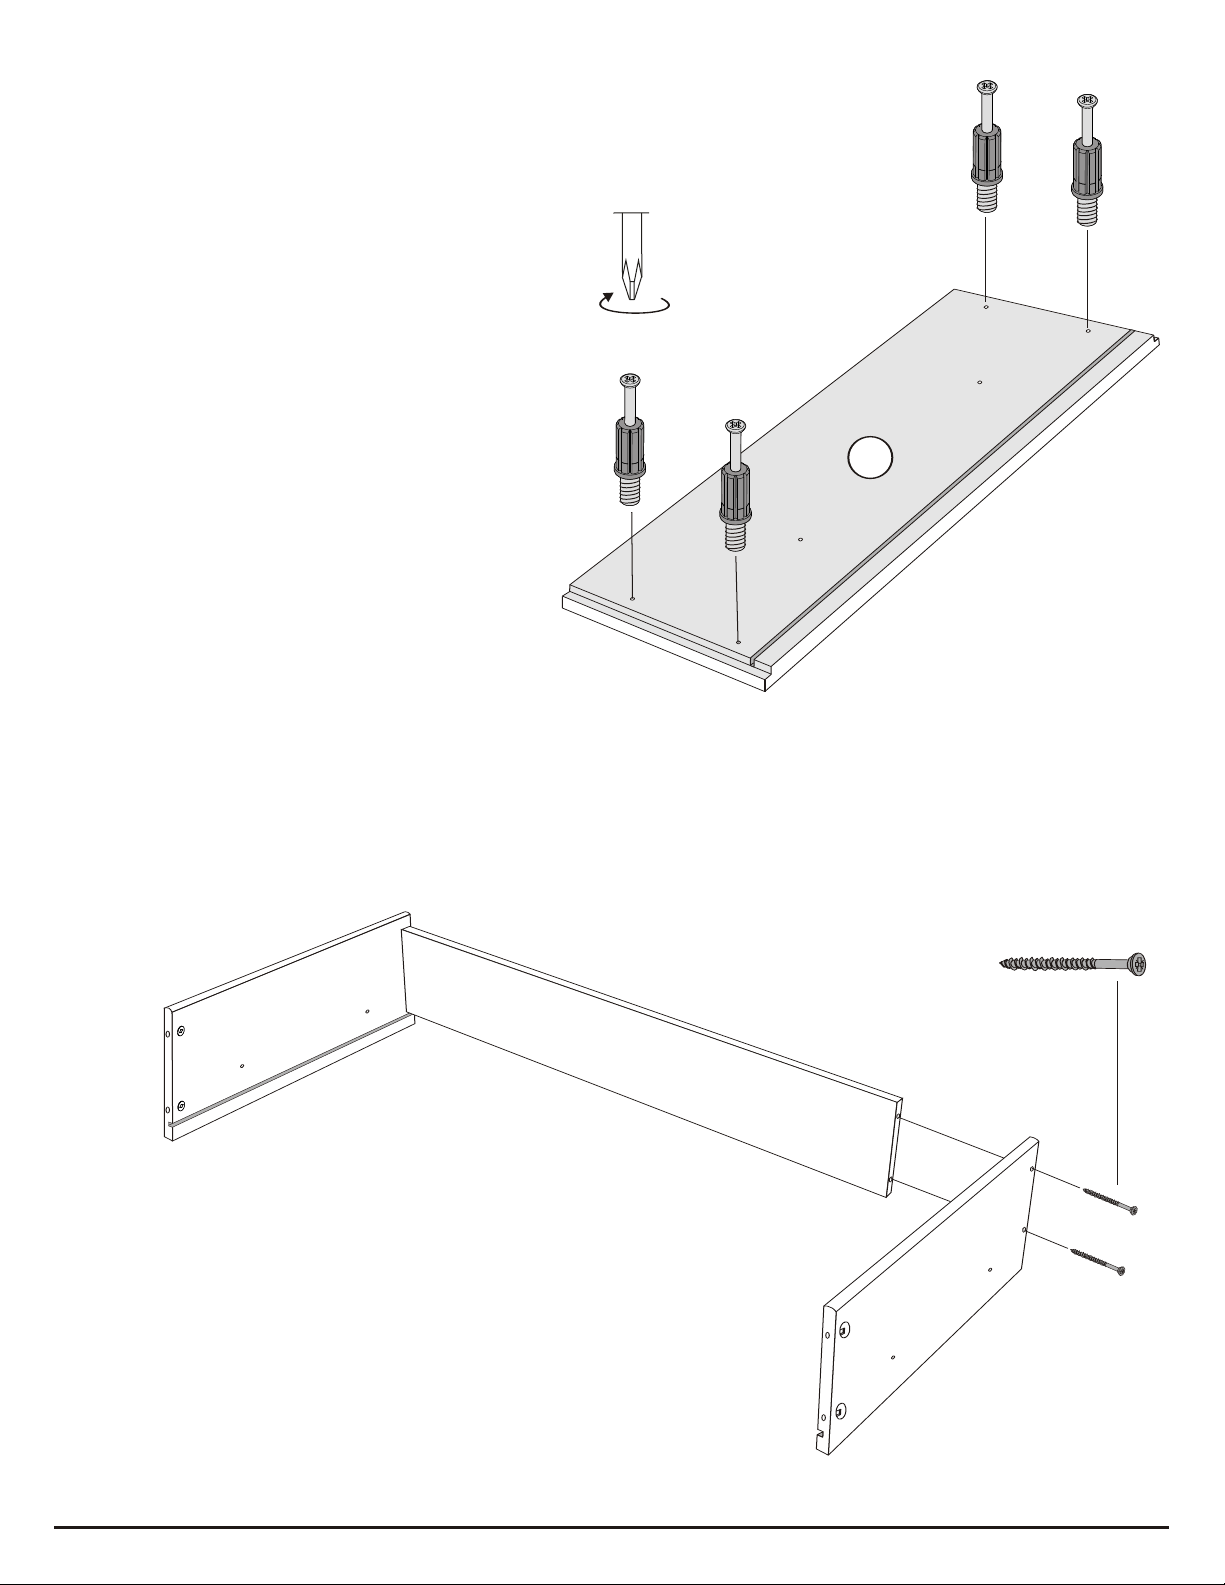
Prepac Wardrobe DC-3359 User manual


Other Prepac Indoor Furnishing manuals

Prepac
Prepac SS-4824 User manual

Prepac
Prepac EC-6016 User manual

Prepac
Prepac DNH-0401-1 User manual

Prepac
Prepac HangUps WRGW-0701-2M User manual

Prepac
Prepac USM-0003-1 User manual

Prepac
Prepac BEW-3264 User manual

Prepac
Prepac DC-2354 User manual

Prepac
Prepac BSUW-0707-1 User manual

Prepac
Prepac BSCW-0730-1 User manual

Prepac
Prepac Queen User manual

Prepac
Prepac SH-4543 User manual

Prepac
Prepac HD-1348 Series User manual

Prepac
Prepac Elite Storage WEW-3264 User manual

Prepac
Prepac GSCW-0706-2K User manual

Prepac
Prepac BQ-6200-3K User manual

Prepac
Prepac Sonoma SC-4820 User manual

Prepac
Prepac SOH-0010 User manual

Prepac
Prepac PS-6000 User manual

Prepac
Prepac Sonoma User manual

Prepac
Prepac SOG-0013-1 User manual


Popular Indoor Furnishing manuals by other brands

Regency
Regency LWMS3015 Assembly instructions

Furniture of America
Furniture of America CM7751C Assembly instructions

Safavieh Furniture
Safavieh Furniture Estella CNS5731 manual

PLACES OF STYLE
PLACES OF STYLE Ovalfuss Assembly instruction

Trasman
Trasman 1138 Bo1 Assembly manual

Costway
Costway JV10856 manual


