manuals.online logo
Brands
  1. Home
  2. •
  3. Brands
  4. •
  5. Prepac
  6. •
  7. Indoor Furnishing
  8. •
  9. Prepac BQ-6200-3K User manual

Prepac BQ-6200-3K User manual

Queen Mate’s Platform Storage Bed
with Six Drawers
Base de lit matelot à six tiroirs pour
grand lit
Model / Modèle / Modelo # BQ-6200-3K
Assembly Instructions
Instructions de montage
DATE STAMP
Prepac Manufacturing Ltd. 6705 Dennett Place, Delta, BC V4G 1N4 LB-0980 2019-10-01
We Can Assist
• If you have received a damaged or defective part
• If you are missing hardware or parts
• For help with assembly
Replacement parts will leave our facility within two business
days via UPS ground or mail. Please note: shipping times will
vary depending on location.
Before you call or email, please:
1) Record the following information from the shipping label
on the outside of the box. You will need it for warranty
purposes:
• Ship To Name
• Sales Order Number & Retailer Name
2) Note the product model number.
3) Review the contents of your shipment to determine
what you are missing.
WEBSITE
www.prepacmfg.com/content/replacement-part-order
Complete our easy to use order form
BY EMAIL
[email protected]
BY PHONE
1-877-PREPAC1 (1-877-773-7221)
Mon - Fri: 7am - 4pm PST / 10am - 7pm EST
CONTACT US FIRST
Option de service en ligne
Complétez le formulaire Commande de Pièces de Rechange
disponible dans la section Soutien à la clientèle de notre site web :
www.prepacmfg.com
• Si vous avez reçu une pièce endommagée ou défectueuse
• Si vous manquez la quincaillerie ou les pièces
Les pièces de rechange quitteront notre installation dans deux jours
ouvrables via UPS par terre ou le courrier. Notez s’il vous plaît que
les temps d’expédition varieront selon l’emplacement.
Pour parler avec quelqu’un en français, s’il vous plaît
contacter votre détaillant.
Required Tools / Outils requis
Optional Tools:
Using a power screwdriver
will speed up assembly.
Outils facultatifs
Utilisant la puissance
un tournevis accélérera
l’assemblée.
Caution
Do not over tighten any screw. The last few turns of each screw
should be done very slowly or by hand.
Attention
Évitez de trop serrer les vis. Ralentissez la vitesse de la foreuse pour
les derniers deux tours de vis ou vissez-les lentement à la main.
Page 2 of 20
JCB Bolt (24)
Boulon JCB
RM-0314 black / noir
RM-0310 bronze
RM-0311 chrome
JRN Nut (24)
Écrous JRN
RM-0312
T-Spacers (24)
Entretoise de “T”
RM-0628
Drawer Slide Screw (90)
Vis pour coulisse de tiroir
RM-0074
Allen Key
Clé Allen
RM-0313
1 LEFT Drawer Slide per Drawer (Total = 6)
1 Glissière GAUCHE de tiroir par tiroir (total = 6)
RM-0076
1 RIGHT Cabinet Slide per Drawer (Total = 6)
Glissière DROITE De Cabinet (total = 6)
RM-0076
Drawer Hardware / Quincaillerie de tiroir
Bed Hardware / Quincaillerie de Lit
1 RIGHT Drawer Slide per Drawer (Total = 6)
1 Glissière DROITE de tiroir par tiroir (total = 6)
RM-0076
1 LEFT Cabinet Slide per Drawer (Total = 6)
Glissière GAUCHE De Cabinet (total = 6)
RM-0076
Drawer Bottom
Stabilizer (12)
Stabilisateur inférieur
de tiroir
RM-0839
Black Twister Dowel (24)
Goujon de torsion noir
RM-0500
Small Zinc Cam (24)
Petite ferrure en zinc
RM-0715
#8 - 1½” Screws (24)
Vis no.8 - 1½ po.
RM-0504
Drawer Slide Screw (48)
Vis pour coulisse de
tiroir
RM-0074
BEFORE YOU BEGIN
Identify ALL parts and hardware to
ensure everything is included.
AVANT DE COMMENCER
Identier toutes les pièces et le matériel
an de s’assurer que tout est inclus.
ANTES DE COMENZAR
Identique todos las partes y componentes
para estar seguro que todo está incluido.
Part identiers shown in
instructions are for reference
only
Les identicateurs de pièce indiqués
dans les instructions sont pour
référence seulement
Los identicadores de piezas que se
muestran en las instrucciones son solo
para referencia
Page 3 of 20
Outer Gables (2)
Pignons extérieurs
GA-4120
black / noir
GA-4920
cherry / cerise
GA-4520
drifted gray /
gris vieilli
GA-4620
espresso / expresso
GA-4020
white / blanc
Inner Gables (2)
Pignons intérieurs
GA-4108
black / noir
GA-4908
cherry / cerise
GA-4508
drifted gray /
gris vieilli
GA-4608
espresso / expresso
GA-4008
white / blanc
Upper Stabilizer (2)
Stabilisateur supérieur
ST-4120
black / noir
ST-4920
cherry / cerise
ST-4520
drifted gray /
gris vieilli
ST-4620
espresso / expresso
ST-4020
white / blanc
Lower Stabilizer (2)
stabilisateur inférieur
ST-4121
black / noir
ST-4921
cherry / cerise
ST-4521
drifted gray /
gris vieilli
ST-4621
espresso / expresso
ST-4021
white / blanc
Plywood Slats (9)
lamelles de
contre-plaqué
BF-2000-PW
Metal U-channel
with Blocks (2)
la chaîne en
métal d’ « U »
avec les blocs
BF-3000-C
B3B1 B4B2 B6
B5
B1
B1
B2
B2
B3
B3
B4
B4
B5
Bed Parts / Pièces de lit
See page 15 for Drawer Parts
Voir le page 15 pour les pièces de tiroir
B6
Page 4 of 20
1
2
Attach metal U-channels to each outer gable using drawer slide screws
Attachez les chaînes en métal d’ « U » à chaque pignon extérieur en utilisant
des vis de glissière de tiroir
Attach T spacers to outer gables with drawer slide screws.
Attachez les glissières de tiroir aux entretoises de « T » sur les pignons intérieurs.
Drawer Slide Screw
Vis pour coulisse de tiroir
Drawer Slide Screw
Vis pour coulisse de tiroir
BOTTOM
BAS
T-Spacers
Entretoise de “T”
B1
B1
B1
B1
Page 5 of 20
3Attach drawer glides to T-spacers on outer gables
as shown in the photo
Position the Drawer Glides with:
A) The wheel at the nished side
B) The wheel on the unnished bottom
Attachez les glissières de tiroir aux en-
tretoises de « T » sur les pignons intérieurs.
Place les glissières de tiroir avec :
A) La roue sur le côté de nition
B) La roue sur le fond non ni
Use 1st Hole
Utiliser 1er trou
Use 1st Hole
Utiliser 1er trou
Drawer Slide Screw
Vis pour coulisse
de tiroir
Wheel is on the bottom
and toward nished edge
La roue est en bas et
vers bord ni
Finished Edge
Côté ni
Bottom
Bas
Use 14th Hole
Utiliser 14ème trou
Use 14th Hole
Utiliser 14ème trou
Page 6 of 20
B2
B2
4Insert JRN nuts into the holes on each end of the inner gables. (B2)
The holes are drilled through. You can insert them from either side.
Insèrez les écrous de JRN dans les trous sur chaque extrémité des pignons intérieurs. (B2)
Les trous sont forés à travers. Vous pouvez les insérer de l’un ou l’autre côté.
Insert the nut, so that the hole lines up with the hole
on the edge of the gable.
Insèrez l’écrou comme montré, de sorte que le trou
aligne avec le trou sur le bord du pignon.
B2
B2
JRN Nut
Écrous JRN
In Step 7, you will use the JCB
Bolt with the JRN Nut
À l’étape 7, vous utiliserez le
boulon JCB avec l’écrou JRN.
JCB Bolt
Boulon JCB
JRN Nut
Écrous JRN
Do not use cams in this step
Ne pas utiliser de
camesdans cette étape
Page 7 of 20
5Insert JRN nuts into the holes on each end of the upper (B3) and lower (B4) stabilizers.
Insérez les écrous de JRN dans les trous sur chaque n du supérieur (B3) et inférieur (B4) stabilisateurs.
Identifying the upper and lower stabilizers
Identier les stabilisateurs supérieur et inférieur
Upper Stabilizer
Stabilisateur Supérieur
Lower Stabilizer
Stabilisateur Inférieur
Lower Stabilizer
Stabilisateur Inférieur
Upper Stabilizer
Stabilisateur Supérieur
Side hole is close to the
bottom UNFINISHED edge
Le trou latéral est près de
la partie inférieure du bord
NON-FINI
Side hole is close to
the FINISHED edge
Le trou latéral est
proche de la bord FINI
Top edge (FINISHED)
is rounded
Bord supérieur
(FINI) est arrondie
B3
B4
Page 8 of 20
4”
4”
4”
6Attach “T” spacers and drawer glides to Inner Gables (B2)
Attachez les entretoises de tiroir aux pignons intérieurs « T » (B2)
6a
6b
Attach “T” spacers to ONE side of each
Inner Gable with drawer slide screws
Attachez les entretoises d’ à UN côté de chaque
pignon intérieurs avec les vis de de tiroir
Attach drawer glides to “T” spacers on Inner Gables
Position the drawer glides with:
A) The wheel at the nished edge
B) The wheel on the bottom
Attachez les de tiroir aux entretoises de
sur les pignons intérieurs
Placez les de tiroir avec :
A) La roue au bord ni
B) La roue sur le fond
Repeat steps 6a & 6b for the 2nd
side of the inner gables.
Répétez les étapes 6a et 6b pour le
2ème côté des pignons intérieurs.
6c
IMPORTANT:
Avant d’attacher les glissements de
tiroir, déterminez le DESSUS et le
BAS de chaque pignon intérieur.
A. Mesurez à partir de chaque
bord de ’entretoise T à chaque
bord non ni.
B. La mesure qui est
approximativement 4 po. sera
le FOND.
Vériez la position des glissements
de tiroir soigneusement avant que
vous les attachiez aux pignons
intérieurs.
IMPORTANT:
Before attaching the drawer glides,
determine the TOP and BOTTOM
of each inner gable.
A. Measure from each edge
of the “T” Spacer to each
unnished edge.
B. The measurement that is
approximately 4” will be the
BOTTOM.
Check the position of the drawer
glides carefully before you attach
them to the inner gables.
Wheel is on the bottom
and toward nished edge
La roue est en bas et
vers bord ni
Finished
Edge
Côté ni
Bottom
Bas
4”
4”
4”
CORRECT INCORRECT
4”
4”
4”
4”
Bottom
Bas
B2
Page 9 of 20
7Using JCB connectors, and the Allen Key provided, attach each lower stabilizer (B4), one at a
time, to both inner gables
En utilisent les connecteurs de JCB, et la clef d’Allen fournie, attachez chaque stabilisateur
inférieur (B4), un à la fois, aux deux pignons intérieurs
B4
B4
IMPORTANT: Identifying the Lower Stabilizer
The screw hole is at the top, close to the nished edge
IMPORTANT: Identication du stabilisateur inférieur
Le trou de vis est au dessus, près du bord de nition
If you have any difculty tightening the JCB connector, use
a screwdriver to adjust the JRN nut to make sure the hole is
facing the opening for the connector
Si vous avez n’importe quelle difculté serrer le connecteur
de JCB, utilisez un tournevis pour ajuster l’écrou de JRN
pour s’assurer que le trou fait face à l’ouverture pour le
connecteur
Finished Edge
Côté ni
B2
Page 10 of 20
8Using JCB connectors, attach each upper stabilizer (B3), one at a time, to both inner gables.
En utilisent les connecteurs de JCB, et la clef d’Allen fournie, attachez chaque stabilisateur supérieur (B3), un à
la fois, aux deux pignons intérieurs.
B3
B3
Upper Stabilizer
The screw hole is closest to the
lower, unnished edge
Identication du stabilisateur
supérieur
Le trou de vis est le plus proche
du bord inférieur et non ni
Top edge (FINISHED)
is rounded
Bord supérieur
(FINI) est arrondie
Page 11 of 20
9Attach one outer gable (B1) to stabilizers with JCB connectors
Attachez un pignon extérieur (B1) aux stabilisateurs avec des connecteurs de JCB
B1
JRN Nut
Écrous JRN
JCB Bolt
Boulon JCB
Page 12 of 20
B6
10 Spread the wooden slats out across the inner stabilizers.
Slide the slats into the wide spaces of the metal U-channel (B6) on one outer gable. Remember that one
set of metal braces are still loose on one end.
Etendre les lamelles en bois à travers les stabilisateurs intérieurs.
Glissez les lamelles dans les espaces larges du prolé en « U » en métal (B6) sur un pignon externe.
Rappelez-vous qu’un ensemble de croisillons en métal sont encore lâche sur une extrémité.
Page 13 of 20
11 Attach second outer gable to stabilizers with JCB connectors
Attachez le deuxième pignon externe aux stabilisateurs avec des connecteurs de JCB
Secure the gable in place with connectors, but don’t fully tighten
Fixez le pignon en place avec des connecteurs, mais ne serre pas entièrement
Ensure the slats are set inside the u-channel and that they haven’t pulled out of the rst outer gable.
Assurez que les lamelles sont placées à l’intérieur de la chaîne en métal d’ « U » et cela qu’ils n’ont pas retiré
du premier pignon extérieur.
Firmly tighten the connectors
Serrez fermement les connecteurs
11a
11b
11c
Page 14 of 20
How to Correct a Bed that is “Out of Square”
Comment corriger un lit “hors du carré”
After you’ve assembled your bed, you may discover that one or more of you
drawers do not close properly.
This means your bed is “out of square”
Une fois que vous avez monté votre lit, vous découvrirez peut-être que l’un
ou plusieurs d’entre vous les tiroirs ne se ferment pas correctement.
Cela signie votre lit est “hors du carré”
1. Lift / Levez
On Carpeted Floors
Sur la moquette
Carefully lift up the end of the bed
and move it toward or away from
the drawers until the gap between
the drawer and bed closes
Soulevez délicatement l’extrémité
du lit et le déplacer vers ou depuis
les tiroirs jusqu’à ce que l’écart
entre le tiroir et lit ferme
Gap / Trou
On Smooth Floors
Sur les planchers lisses
Carefully push the end of the bed toward the
drawers until the gap between the drawer and
bed closes
Poussez avec précaution l’extrémité du lit vers
les tiroirs jusqu’à ce que l’écart entre le tiroir et
lit ferme
Slide / Glisser
2. Move / Bougez
Gap / Trou
ONLINE
HELP
L’AIDE EN
LIGNE
To see a how-to video, go to go to the Product Support page on our website:
www.prepacmfg.com/content/assembly and click on: “How to Correct an ‘Out of Square’ Storage Bed”
Pour visionner une vidéo décrivant l’installation (en anglais), consultez la page de “Product Support” sur notre site
web : www.prepacmfg.com/content/assembly et cliquez sur : “How to Correct an ‘Out of Square’ Storage Bed”
Page 15 of 20
Drawer Front (6)
Devant du tiroir
DF-10012-B
black / noir
DF-10012-C
cherry / cerise
DF-10012-D
drifted gray /
gris vieilli
DF-10012-E
espresso / expresso
DF-10012-W
white / blanc
Left Drawer Side (6)
Côté gauche du tiroir
DS-10002-L
Unnished
non-ni
Right Drawer Side (6)
Côté droit du tiroir
DS-10002-R
Unnished
non-ni
Drawer Back (6)
Arrière du tiroir
DK-10048
Unnished
non-ni
Drawer Bottom (6)
Fond du tiroir
DB-10048
Unnished
non-ni
D1 D2 D3 D4 D5
Drawer Parts
Pièces de tiroir
Assemble Drawers
Montez les tiroir
D1
D2
D3
D4
D5
12
a
x4
Black Twister Dowel
Goujon de torsion noir
D1
Page 16 of 20
b
x4
Drawer Slide Screw
Vis pour coulisse de tiroir
D3
R
L
Front
Devant
D2
x4
Small Zinc Cam
Petite ferrure en zinc
c
D2
D3
D1
Page 17 of 20
d
D2
D3
D1
D5
e
D4
D5
Page 18 of 20
f
x4
#8 - 1½” Screws
Vis no.8 - 1½ po.
D4
g
D5
Groove on drawer
front & back
Cannelure sur l’avant
& l’arrière de tiroir
Drawer Bottom
Stabilizer
Stabilisateur
inférieur de tiroir
Page 19 of 20
13 Insert drawers
Insérez les tiroirs
Note: When drawers are installed correctly, you will not be
able to remove them without rst lifting up the drawer front.
Note: Quand des tiroirs sont installés correctement, vous ne
pourrez pas les enlever sans se soulever d’abord vers le haut
de l’avant de tiroir.
Page 20 of 20

Other Prepac Indoor Furnishing manuals

Prepac SH-6656 User manual

Prepac

Prepac SH-6656 User manual

Prepac SOH-0010 User manual

Prepac

Prepac SOH-0010 User manual

Prepac HangUps WRGW-0701-2M User manual

Prepac

Prepac HangUps WRGW-0701-2M User manual

Prepac DC-3345 User manual

Prepac

Prepac DC-3345 User manual
Prepac HFT-0401-1 User manual

Prepac

Prepac HFT-0401-1 User manual
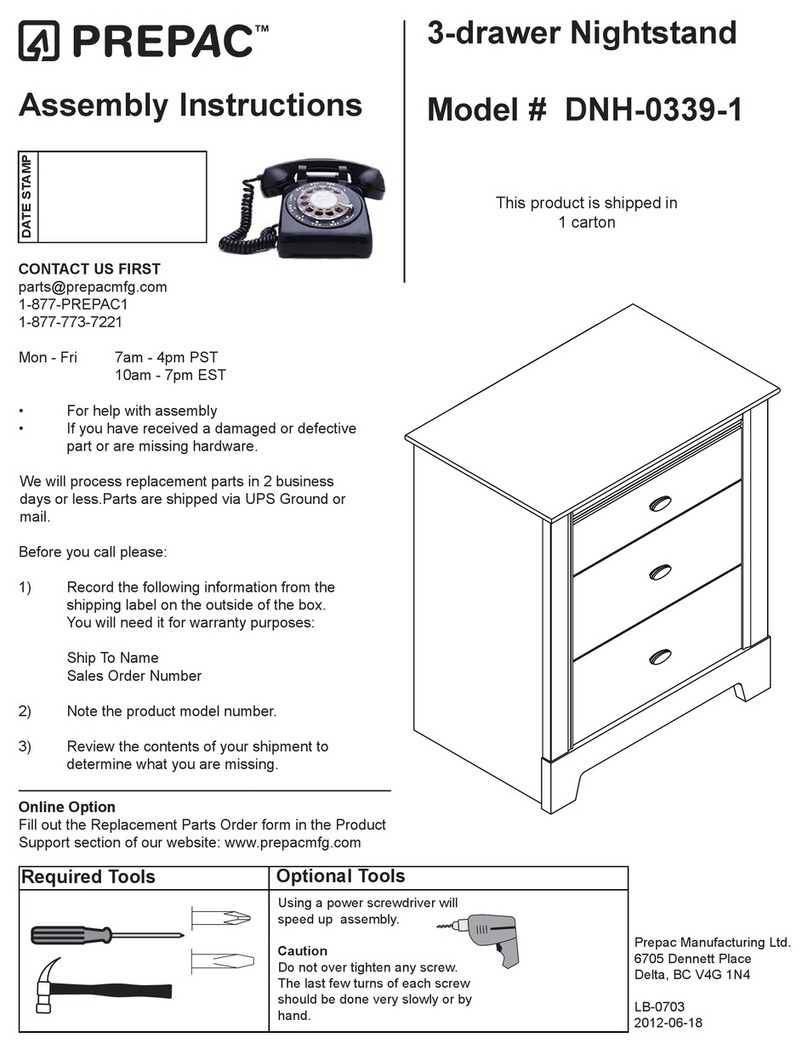
Prepac DNH-0339-1 User manual

Prepac

Prepac DNH-0339-1 User manual
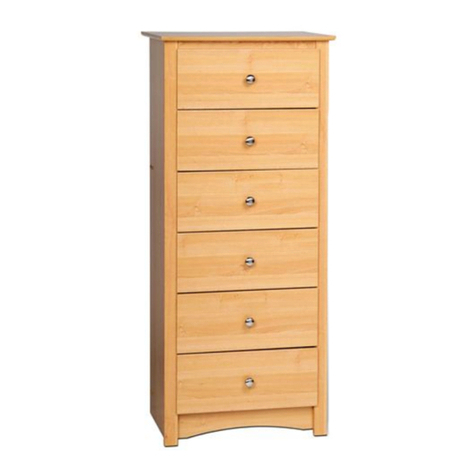
Prepac Sonoma User manual

Prepac

Prepac Sonoma User manual
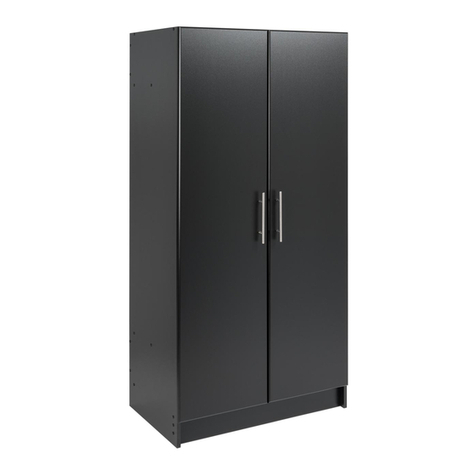
Prepac BEW-3264 User manual

Prepac

Prepac BEW-3264 User manual
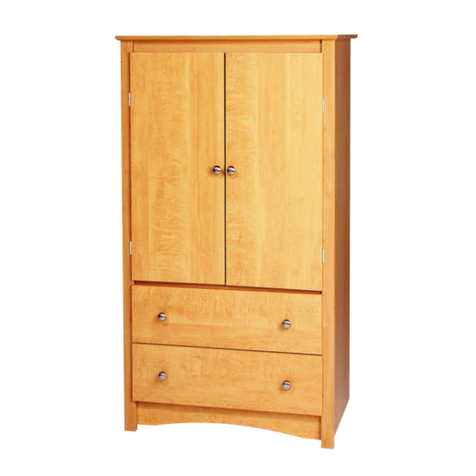
Prepac Wardrobe DC-3359 User manual

Prepac

Prepac Wardrobe DC-3359 User manual
Prepac GSUW-0707-1 User manual

Prepac

Prepac GSUW-0707-1 User manual

Prepac DC-2354 User manual

Prepac

Prepac DC-2354 User manual

Prepac BQ-6212-3K User manual

Prepac

Prepac BQ-6212-3K User manual

Prepac MB-0800 User manual

Prepac

Prepac MB-0800 User manual

Prepac SS-4824 User manual

Prepac

Prepac SS-4824 User manual
Prepac DC-2428 User manual

Prepac

Prepac DC-2428 User manual
Prepac BEP-3060 Series User manual

Prepac

Prepac BEP-3060 Series User manual

Prepac EMC-5022 User manual

Prepac

Prepac EMC-5022 User manual
Prepac BSCW-0707-2K User manual

Prepac

Prepac BSCW-0707-2K User manual
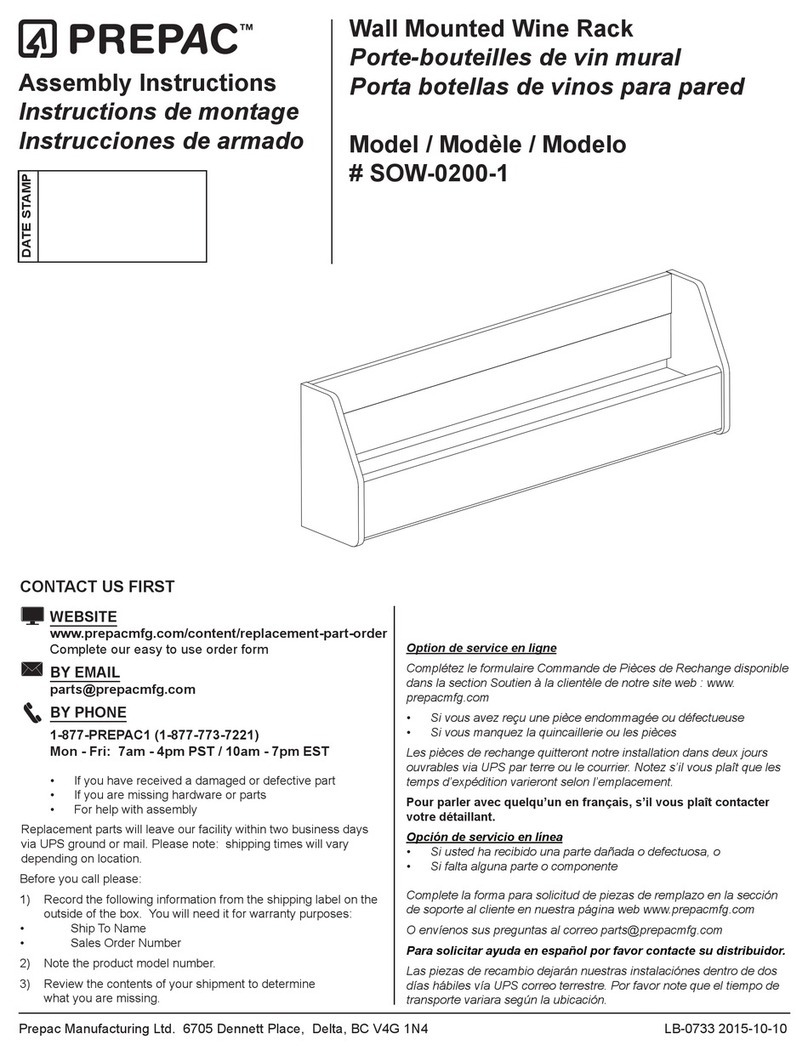
Prepac SOW-0200-1 User manual

Prepac

Prepac SOW-0200-1 User manual

Prepac LC-4830 User manual

Prepac

Prepac LC-4830 User manual

Prepac SBH-0003-01 User manual

Prepac

Prepac SBH-0003-01 User manual

Prepac SH-6643 User manual

Prepac

Prepac SH-6643 User manual

Prepac MA-0320 Series User manual

Prepac

Prepac MA-0320 Series User manual

Prepac DNH-0401-1 User manual

Prepac

Prepac DNH-0401-1 User manual

Popular Indoor Furnishing manuals by other brands
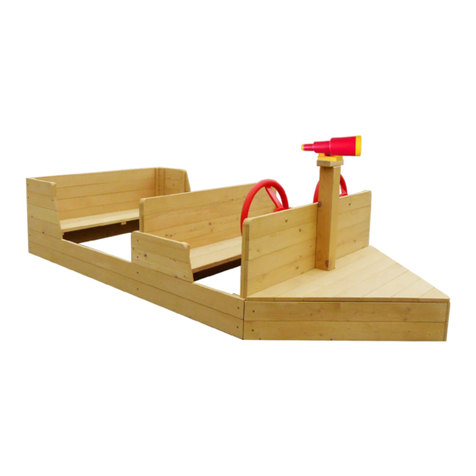
LifeSpan Kids LK11 owner's manual

LifeSpan Kids

LifeSpan Kids LK11 owner's manual
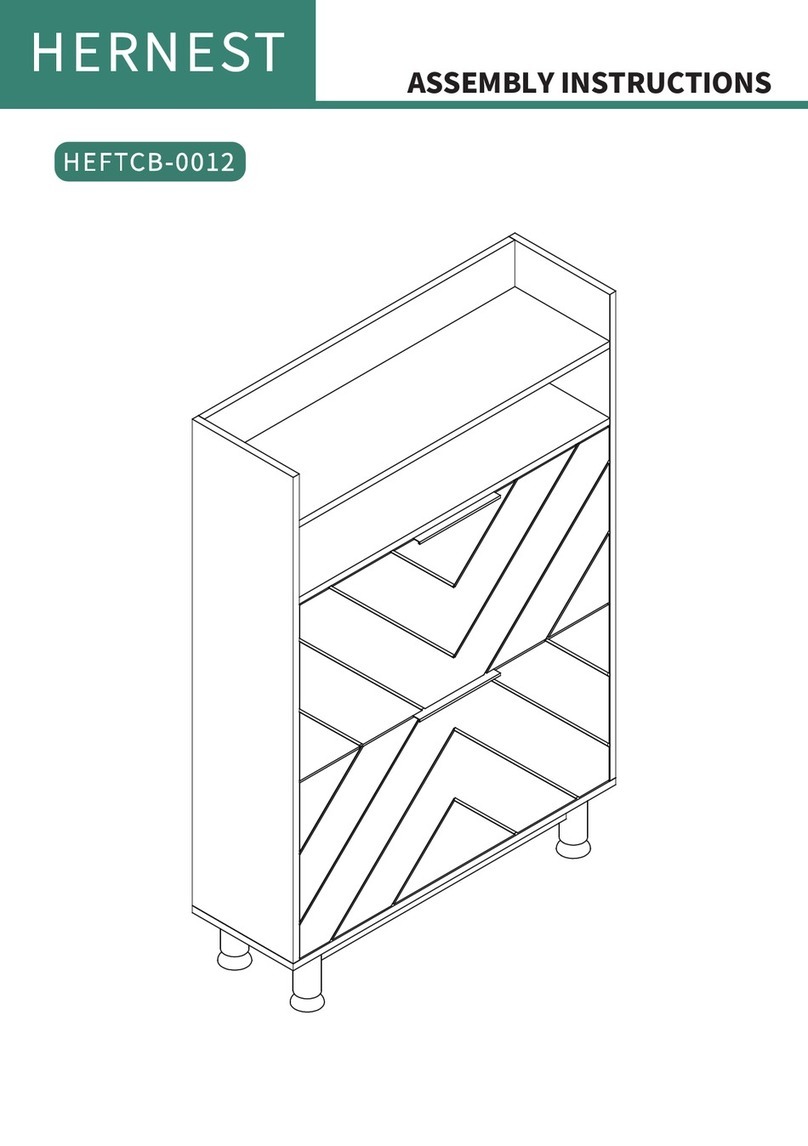
hernest HEFTCB-0012 Assembly instructions

hernest

hernest HEFTCB-0012 Assembly instructions

Office Star Products Pro-Line II 92893 user manual
Office Star Products

Office Star Products Pro-Line II 92893 user manual

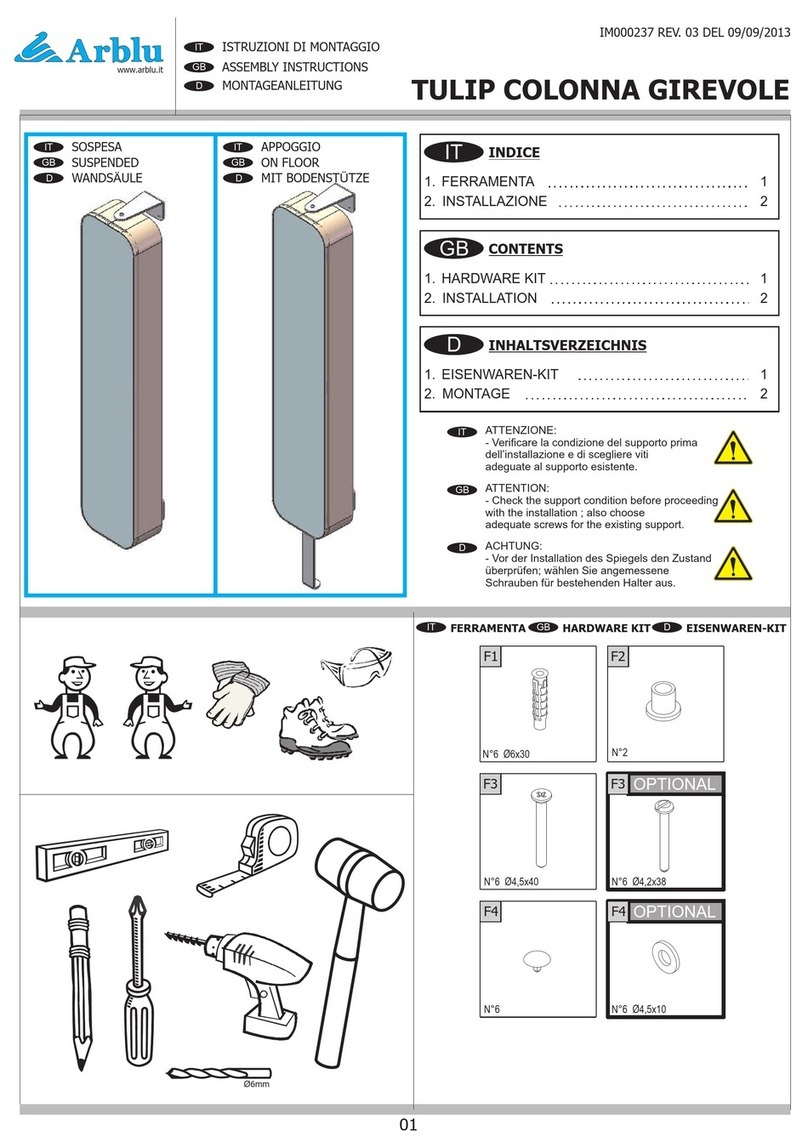
Arblu TULIP COLONNA GIREVOLE Assembly instructions
Arblu

Arblu TULIP COLONNA GIREVOLE Assembly instructions

Habitat Drio 902771 manual

Habitat

Habitat Drio 902771 manual

Hailey Home ST1352 Assembly instructions
Hailey Home

Hailey Home ST1352 Assembly instructions

EKVIP 021769 operating instructions

EKVIP

EKVIP 021769 operating instructions
Ameriwood HOME 6048412COM manual

Ameriwood HOME

Ameriwood HOME 6048412COM manual

studioduc juno full bed Assembly instructions
studioduc

studioduc juno full bed Assembly instructions

GPM ACADIA CHTACA4DW Assembly instructions
GPM

GPM ACADIA CHTACA4DW Assembly instructions

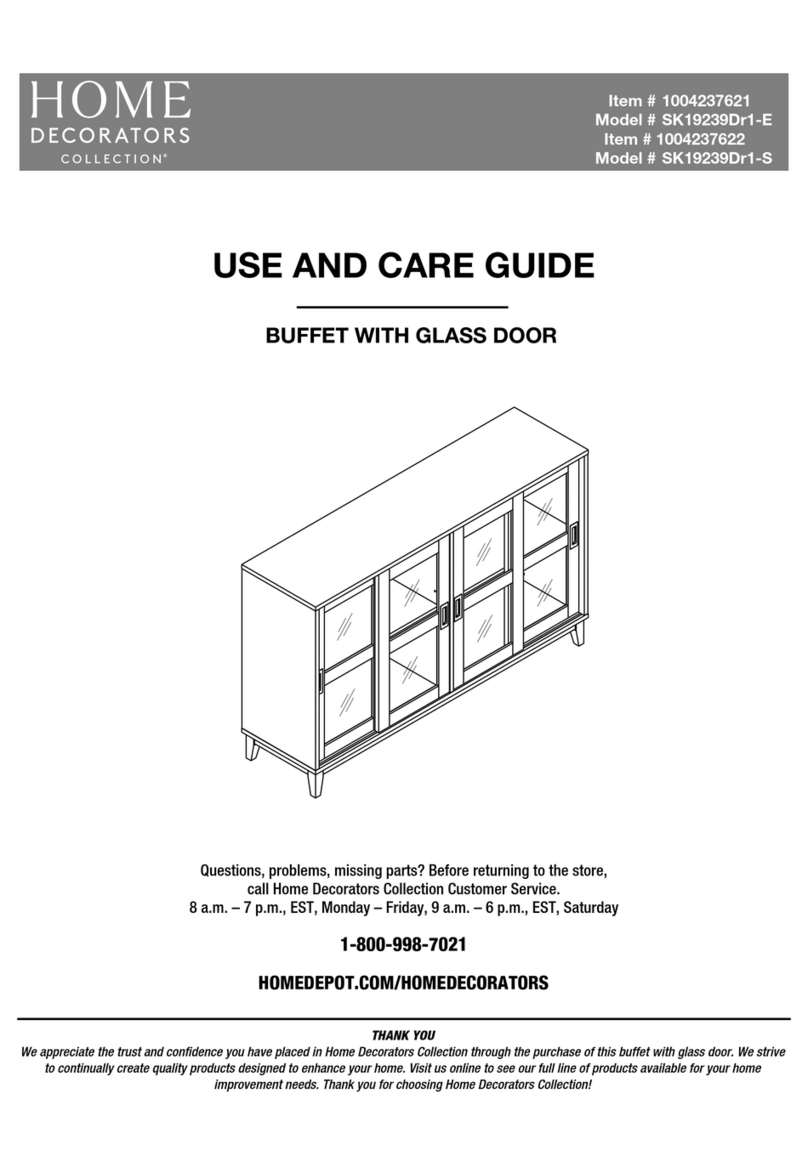
Home Decorators Collection SK19239Dr1-E Use and care guide
Home Decorators Collection

Home Decorators Collection SK19239Dr1-E Use and care guide

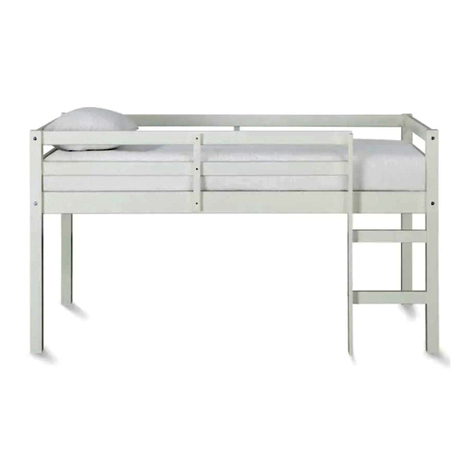
Dorel Living DA8377 Instruction booklet
Dorel Living

Dorel Living DA8377 Instruction booklet
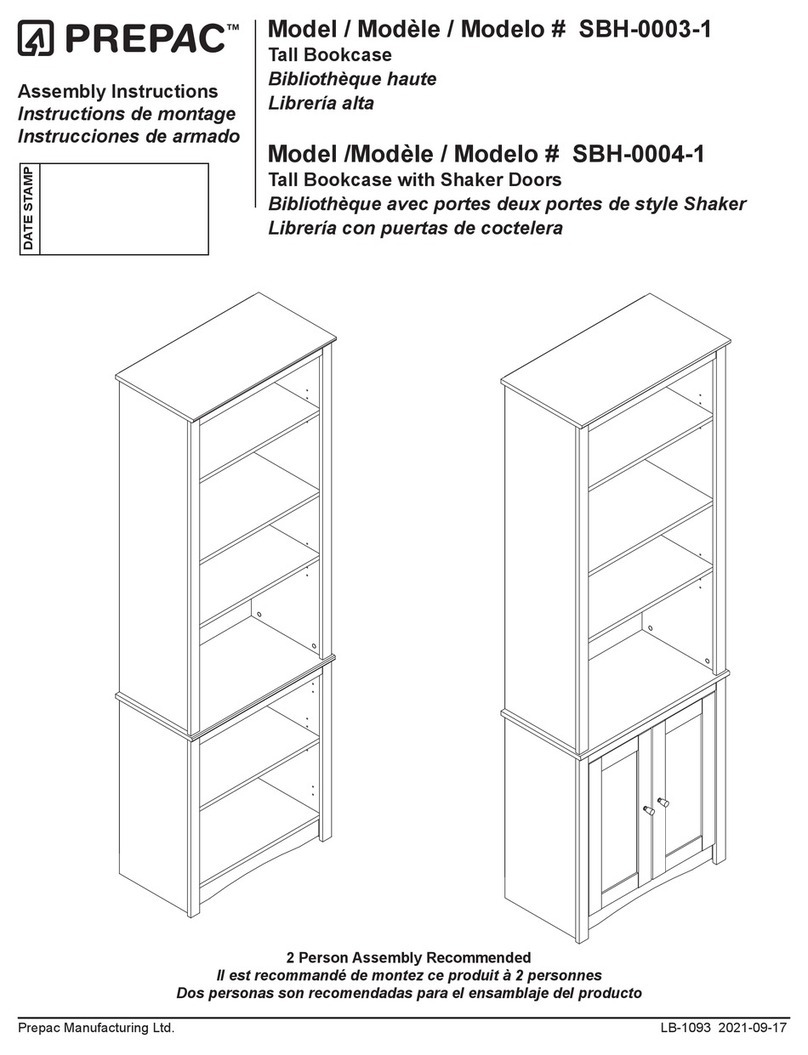
i5 Industries Kai R2040 Assembly

i5 Industries

i5 Industries Kai R2040 Assembly

Stratco HT-6401 Assembly guide

Stratco

Stratco HT-6401 Assembly guide

BIG FURNITURE WAREHOUSE Columbia 111 quick start guide

BIG FURNITURE WAREHOUSE

BIG FURNITURE WAREHOUSE Columbia 111 quick start guide

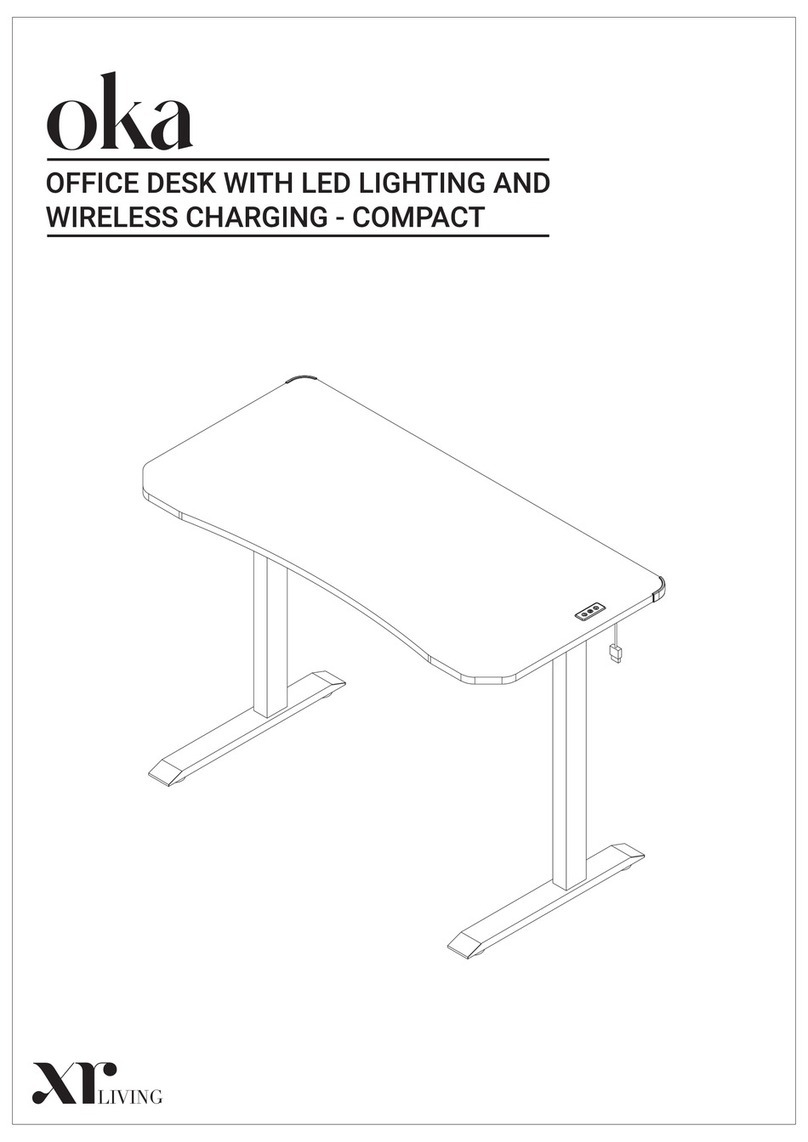
Xr living oka COMPACT manual

Xr living

Xr living oka COMPACT manual

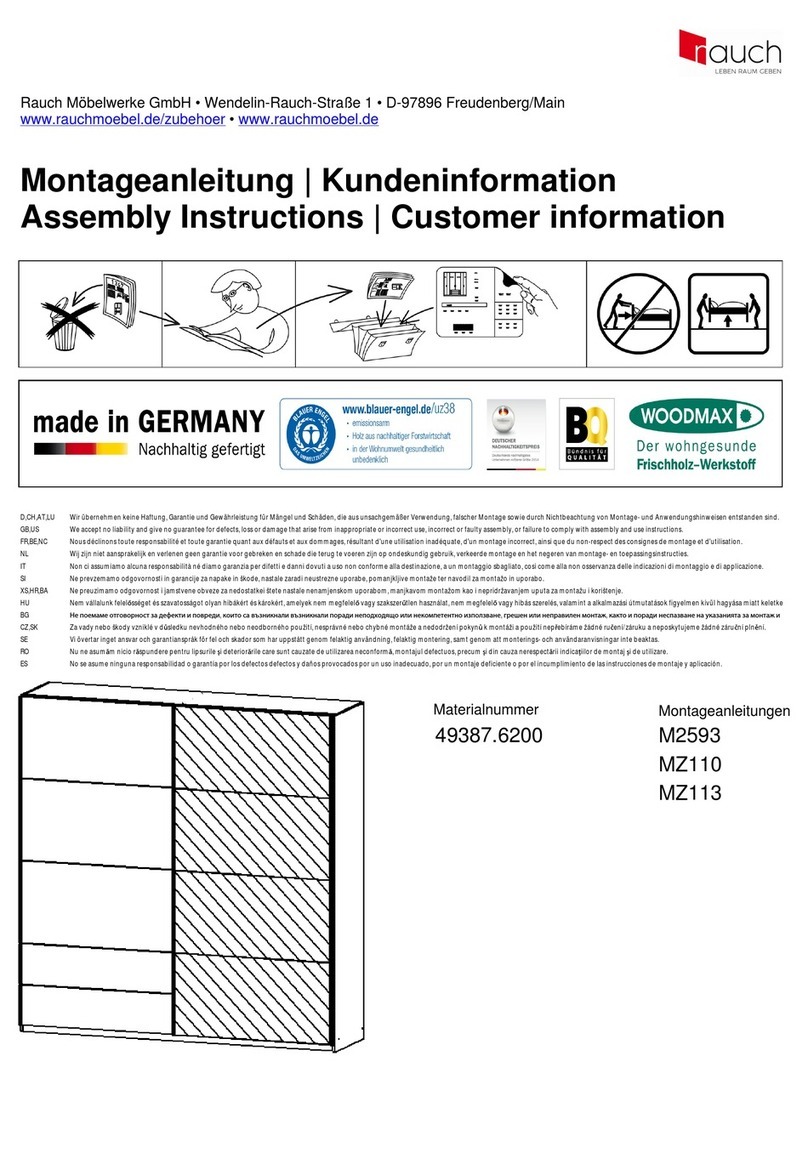
Rauch M2593 Assembly instructions

Rauch

Rauch M2593 Assembly instructions

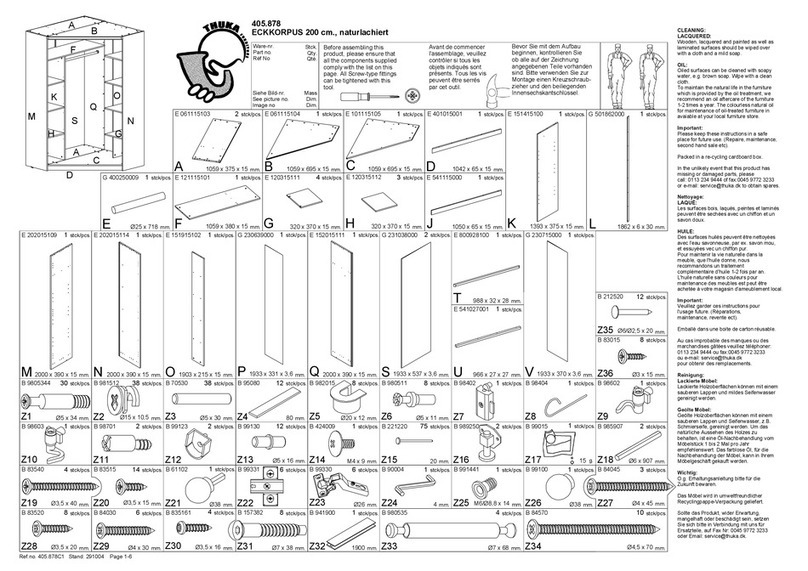
THUKA ECKKORPUS manual

THUKA

THUKA ECKKORPUS manual

manuals.online logo
manuals.online logoBrands
  • About & Mission
  • Contact us
  • Privacy Policy
  • Terms and Conditions

Copyright 2025 Manuals.Online. All Rights Reserved.