1
DESCRIPTION
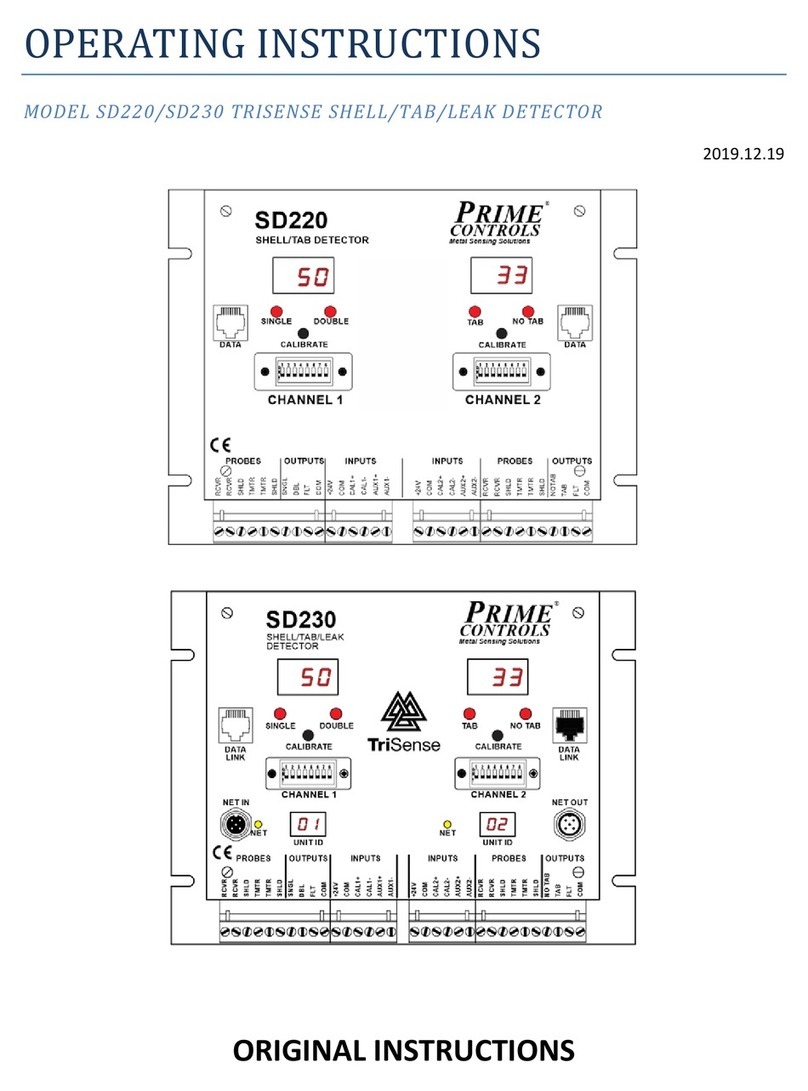
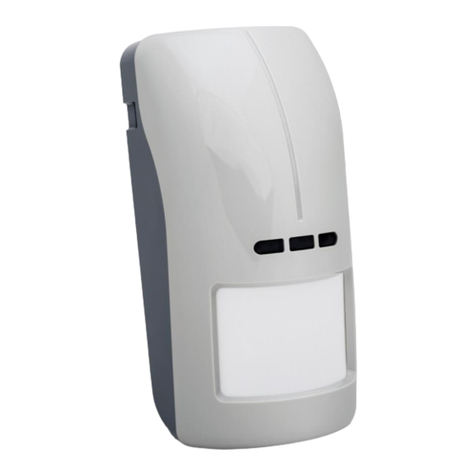
The SD230 family of double shell and missing tab detectors for conversion press applications are rugged
but sensitive dual channel instruments designed specifically to detect and report missing blanks or
double blanks at the infeed to a conversion press and to detect and report ends that exit the press
without tabs. The SD230F maintains the formfactor and features of its predecessors, the SD230, SD232,
and SD233, adding the ability to independently configure each of its channels’ detection modes for
double shells or missing tabs. The SD230M has all the features of a SD230F in a smaller DIN-rail
mountable package.
Control Module
The control module allows for fast and easy setup and for quick diagnosis of system errors or problems.
Setup is achieved through the simple press of a push-button switch or an external contact closure. Faults
are reported on digital displays on the control module and through FAULT outputs that may be
connected to a PLC or system controller.
Outputs may be switch selected as sinking or sourcing drivers. An eight position DIP switch, accessible
on the front panel, allows the installer to select several operational options as described in the
installation section of this document.
The AUX inputs provide a means to switch between two different setups, such as sensing steel shells
and sensing aluminum shells, without recalibrating or changing the DIP switch settings.
When the unit first powers up, if probes are properly connected, the digital displays indicate the
operational mode of the unit, i.e. whether set up for sensing Aluminum, Steel, or Aluminum on Steel by
displaying the characters “Al”, “St” or “AS” for a period of approximately two seconds. Which mode
comes up is determined by the setup of the unit through the DIP switches and the state of the AUX
input. See setup (page 7) later in this document.
Calibrate Pushbutton Operation
The push-button switches on the front panel of the control module serve to initiate the calibration
process and to adjust system setup.
To initiate calibration, simply press the appropriate pushbutton and release it within 3 seconds.
To view the current value of a parameter, press the pushbutton and hold it for more than 3 seconds
until the appropriate parameter identifier appears on the digital display. After the parameter identifier
appears, release the pushbutton and the current value of the parameter displays for 5 seconds. To
retain the current value of the parameter, simply allow the 5 second display interval to elapse. The
display reverts to displaying the gauge signal.
To change the value of a parameter, press the pushbutton and hold it for more than 3 seconds until the
appropriate parameter identifier appears on the digital display. After the parameter identifier appears,

