manuals.online logo
Brands
  1. Home
  2. •
  3. Brands
  4. •
  5. Pro's Kit
  6. •
  7. Robotics
  8. •
  9. Pro's Kit AI Installation instructions

Pro's Kit AI Installation instructions

GE-892
A I 智能傘蜥蜴
Frilled Lizard Robot Kit
組裝說明手冊
(1:1)(1:1) (1:1)
Gear(Red) Gear(White)Gear(Yellow)
六角軸齒輪組
小齒輪(白色)
自攻螺絲
小齒輪(紅色)
齒輪(紫色)
六角軸(中) 六角軸(長)六角軸(短)
齒輪(白色)齒輪(黃色)
1
511
111
11
數量
2
P4P3P2P1
P5 P6 P7
P8 P9
P10
部分零件含有銳利的邊緣及尖角
1
(建議使用鹼性電池)
斜口鉗 美工刀 AAA電池4顆十字起子 鎚子
零件清單 Mechanical Parts List
Pinion Gear(White)
QTY
數量
QTY
數量
QTY
數量
QTY
數量
QTY
數量
QTY
數量
QTY
數量
QTY
數量
QTY
數量
QTY
Product contains functional edges and sharp points.
Gear With Shaft
Tapping ScrewGear(Purple)
Hex Shaft(Middle) Hex Shaft(Long)Hex Shaft(Short)
(出貨不含)
產品介紹Product Introduction
A I 智能傘蜥蜴
Frilled Lizard Robot
Alkaline batteries are
recommended Not included
自備工具如下 Tools You May Need
Diagonal Cutter Knife Battery(AAA) x 4Screwdriver Hammer
警
告
1.本玩具內含小物件,請勿讓三歲以下孩童取得,以免放入口中造成窒息。
2.兒童使用剪切工具時,請家長指導使用方式,並請在家長監督下使用,以免發生意外。
3.為避免嬰兒或兒童產生窒息的危險,請於拆卸後立即將塑膠袋銷毀或遠離嬰兒及兒童。
Choking hazard - Small parts. Not for children under 3 years.
Adult supervision is recommended when children use scissors.
To avoid danger of suffocation, keep the plastic bag away from babies and children.
Warning
歡迎購買寶工GE-892,這是一款使用紅外線感測器的玩具,具有”跟隨”及”逃跑”兩種互動模式。當紅外線感測器設定為逃
跑模式,AI智能傘蜥蜴感測到物體時會自動作出威嚇反應,張開頸部的傘狀皮摺並張狂的抖動雙頰,雙眼發出光亮後就
逃走到安全地帶。如果紅外線感測器設定為跟隨模式,智能蜥會張開傘狀皮摺表示受到威脅並後退,若無感測到危險則
智能蜥會如同寵物般跟隨你。本玩具聲光效果十足,互動性佳,兒童可在玩樂中體會紅外線感測的效果。8~10歲兒童可由
父母協助一同組合,10歲以上可嘗試獨立組裝,父母在旁陪伴,簡單的組裝步驟讓您輕鬆上手,兒童也可從中得到自我滿足
的成就感,同時快樂的享受親子共遊的樂趣。
Frilled Lizard Robot has an infrared sensor that is programmed to “escape” or “approach-me”. If the infrared sensor is
activated in the“escape”mode the robot will automatically act “shocked!”, spreading its frill, dropping its jaw, illuminates its
bicolor LED eyes and will scurry away until it escapes to a safe distance. If the infrared sensor is switched to the
“approach-me” mode using the 2 way function switch, then the robot will assess danger by bluffing the attacker (unfurling
and shaking its frill). When the robot does not sense danger it might approach you like a pet lizard.
DC 6V
貼紙
圓軸(短) 圓軸(長) 電路板
112
P13P11 P12
馬達帶端子(短線) 馬達帶端子(長線)
電池座
11
P15P14
黑線
黑線
紅線 紅線
紅外線感測電路
11
P17P16
傘狀皮摺
(含備品)
1
1
P18
1
P20
雙面膠
P19
2
數量
(附備品1片)
Round Shaft(Short) Round Shaft(Long) PC Board
Motor With Connector
(W/Short Wires) (W/Long Wires)
Motor With Connector
Battery Holder PC Board With Connector
QTY
數量
QTY
數量
QTY
數量
QTY
數量
QTY
數量
QTY
數量
QTY
數量
QTY
數量
QTY
數量
QTY
Sticker
Frill Adhesive Tape
Spare part : 1 pc
Spare Parts
請依照組裝步驟將所需的零件剪下,事先全數剪下會在組裝時造成混淆。
2
2 1
E
5
4
32
6
7
89
1B
10
11
12
9
12
16
17
181920212223
24
25
15
14
10
11
13
8
3
45 2
1
C
L
67
C3
C4
R
1
6
7
8
9
A8
A11
A1
A2
2
3
5
12
13
11
10
10
9
4
A
1
2
34
D
012
塑膠模型零件
毛邊 毛邊
毛邊
小技巧提醒 : 零件剪下時請將毛邊剪切乾淨,以免組裝後造成運作不良
備品
3
備品
Spare Part
Cut the plastic parts when they are required. Do not cut them in advance.
Plastic Parts
burr burr
burr
Tip:cut off the burrs before assembly
Spare Part
頭部模型組裝
4
1
C9
2
C6
C15
C5
Head Module Assembly
55
P2(紅色)
P8
(短-六角軸)(馬達帶端子
-短線)
C13
P1
P14
B3
(紅色)(黑色)
5
3 4
5
1
1
1
2
2
此圖為1:1比例
側視圖 Side View
Red
Short
RedBlack
Motor With Connector
(W / Short Wires)
1:1
零件組裝後, 注意"▼"必須面對您,才是正確方向
6
6
7
8
1
2
2
C8
B4x6
黑線
紅線
Black
Red
Make sure “ “ to be faced up to you, it is to assist
you in assembling C8 correctly.
7
9
10
P19
A13
P18
A7
A9 A9
A10A10
切下傘狀皮摺 *另附一片備品
撕去離型紙時,請確認透明雙面膠已黏貼在模型上
MADE IN TAIWAN
Cut the frill as below illustration. Includes an extra frill
Make sure adhesive tapes come with thin glued films while tearing off.
A10A10
A13
A7
8
11
正面 反面
A9
黏貼時反面朝上模型黏貼時請勿貼到印刷面
The opposite (no printing)
side to be faced up.
No stickers on the printing side.
Front Back
拉出
9
12
A9
A9
A10
A10
A13
A7
Pull
10
A9
A13
A10 A10
1
1
1
1
2
2
2
2
注意 : 以下圖片將傘狀皮摺省略, 以便清楚看到組裝方式
Note: Frill is not pictured below to clearly illustrate assembly.
11
3推入
Push
A9
A7
1
12
2
12
13
D3
D4
B9
P17
D2
B10
13
14
15
C12
12
2
2
1
3
扣住
14
16
Push
請勿將C3及C4弄錯, 請確認使用C4組裝
凹槽對齊同方向
15
1
2
P11
C23
P3
(黃色Yellow)
C4
P5(紫色
Purple)
P10(長六角軸
Long)
C22
附圖為1:1 比例
請將長六角軸與下圖
比對確認尺寸後再組裝
請特別注意!
Do not mix up C4 & C3, make sure
to use C4 for assembly.
身體模型組裝 Body Module Assembly
1:1
Very important!
Assemble before ensuring the hex shaft
length is the same as below size.
Make sure the groove
is facing the right
position
Motor With Connector
(W / Long Wires)
C14
16
3
4 5
P1
P15
B2
P6
P4(白色White)
P11 請推動齒輪檢查是否所有齒輪
都帶動, 若無請重新安裝
(馬達帶端子
-長線)
Turn the gear to ensure all the gears
can be driven. If not, please reassemble.
附圖為1:1比例
旋轉六角軸觀察齒輪是否可
正常轉動,若無請重新安裝
Turn the hex shaft to ensure all
the gears can be driven. If not,
please reassemble.
C17
C18
P12
17
6
7
C10
使用鐵鎚輕輕敲擊
1:1
Hammer slightly.
C21
C11
C3
18
8
9
B5
B1
P9
(中六角軸)
凹槽對齊同方向
重要!
請勿將C3及C4裝錯,請確認使用C3組裝
附圖為1:1 比例
請將中六角軸與下圖比對確認尺寸後再組裝
1:1
Do not mix up C4 & C3, make sure to
use C3 for assembly.
Important!
Middle
Make sure the groove is
facing the right position
Assemble before ensuring the hex shaft length
is the same as below size.

This manual suits for next models

1

Other Pro's Kit Robotics manuals

Pro's Kit GE-536N Installation guide

Pro's Kit

Pro's Kit GE-536N Installation guide

Pro's Kit GE-896 Installation guide

Pro's Kit

Pro's Kit GE-896 Installation guide

Pro's Kit GYROSCOPE kit Installation guide

Pro's Kit

Pro's Kit GYROSCOPE kit Installation guide

Pro's Kit GE-618 Installation guide

Pro's Kit

Pro's Kit GE-618 Installation guide

Pro's Kit Probbie II User manual

Pro's Kit

Pro's Kit Probbie II User manual

Pro's Kit GE-897 Installation guide

Pro's Kit

Pro's Kit GE-897 Installation guide

Pro's Kit GE-537 Installation guide

Pro's Kit

Pro's Kit GE-537 Installation guide

Pro's Kit Probbie The Robot GE-893 Installation guide

Pro's Kit

Pro's Kit Probbie The Robot GE-893 Installation guide

Pro's Kit GE-619 Installation guide

Pro's Kit

Pro's Kit GE-619 Installation guide

Pro's Kit GE-632 Installation guide

Pro's Kit

Pro's Kit GE-632 Installation guide

Pro's Kit GE-634 Installation guide

Pro's Kit

Pro's Kit GE-634 Installation guide

Pro's Kit GE-895 Installation guide

Pro's Kit

Pro's Kit GE-895 Installation guide
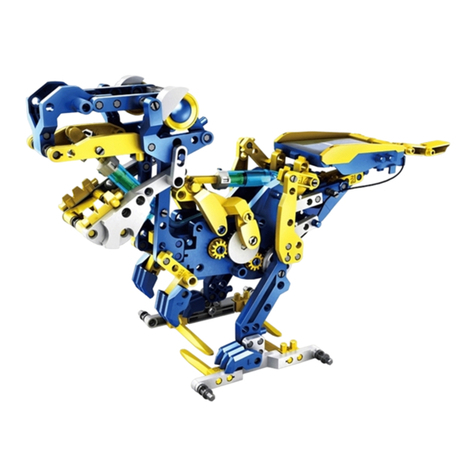
Popular Robotics manuals by other brands
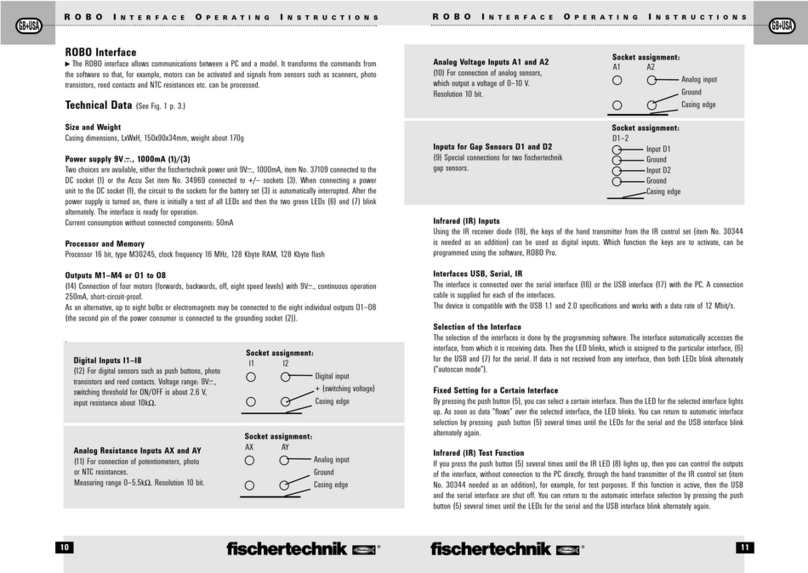
ST Robotics R17 user manual

ST Robotics

ST Robotics R17 user manual
Birdbrain HUMMINGBIRD user guide

Birdbrain

Birdbrain HUMMINGBIRD user guide

Scientifica PatchStar manual

Scientifica

Scientifica PatchStar manual

Xtrem Bots ELITE TROOPER instruction manual

Xtrem Bots

Xtrem Bots ELITE TROOPER instruction manual

Robotnik RB-1 Quick start manual

Robotnik

Robotnik RB-1 Quick start manual

MRMC BROADCAST TALOS quick start guide

MRMC

MRMC BROADCAST TALOS quick start guide

BLUGUARD Maqueen Lite manual

BLUGUARD

BLUGUARD Maqueen Lite manual

Makefun Insect-Robot instruction manual

Makefun

Makefun Insect-Robot instruction manual

Innovati Mini Hexapodinno 18-DOF instruction manual

Innovati

Innovati Mini Hexapodinno 18-DOF instruction manual

Kondo KHR-3HV Assembly instructions

Kondo

Kondo KHR-3HV Assembly instructions

JOOLA Robot SHORTY operating instructions

JOOLA

JOOLA Robot SHORTY operating instructions

Blue Robotics Newton Gripper manual

Blue Robotics

Blue Robotics Newton Gripper manual

Cytron ReRo quick start guide

Cytron

Cytron ReRo quick start guide

Husqvarna DXR 145 Operator's manual

Husqvarna

Husqvarna DXR 145 Operator's manual

De Agostini Robi Assembly guide

De Agostini

De Agostini Robi Assembly guide

Johnny Vac DONKEY-M1 user guide

Johnny Vac

Johnny Vac DONKEY-M1 user guide

WHITEBOX PC-Bot 914 quick start guide

WHITEBOX

WHITEBOX PC-Bot 914 quick start guide

DF ROBOT Cherokey 4WD Basic Kit instruction manual

DF ROBOT

DF ROBOT Cherokey 4WD Basic Kit instruction manual

manuals.online logo
manuals.online logoBrands
  • About & Mission
  • Contact us
  • Privacy Policy
  • Terms and Conditions

Copyright 2025 Manuals.Online. All Rights Reserved.