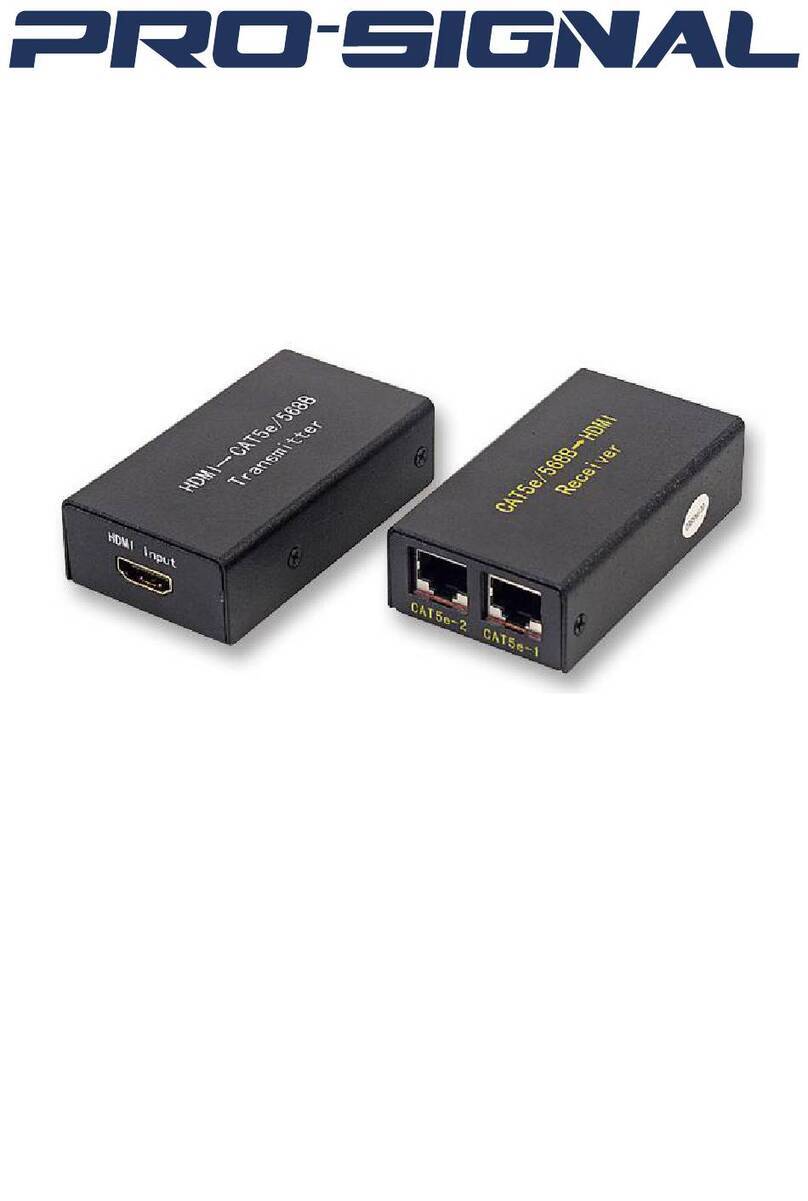
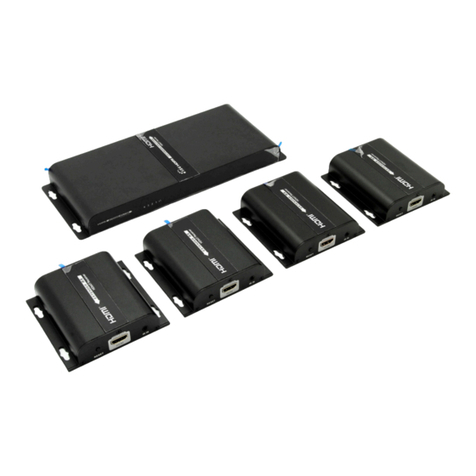
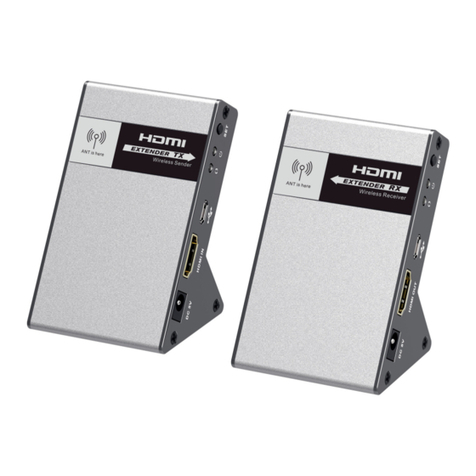
PRO SIGNAL PSG3079 User manual
Other PRO SIGNAL Extender manuals

PRO SIGNAL
PRO SIGNAL PSG3425 User manual
PRO SIGNAL
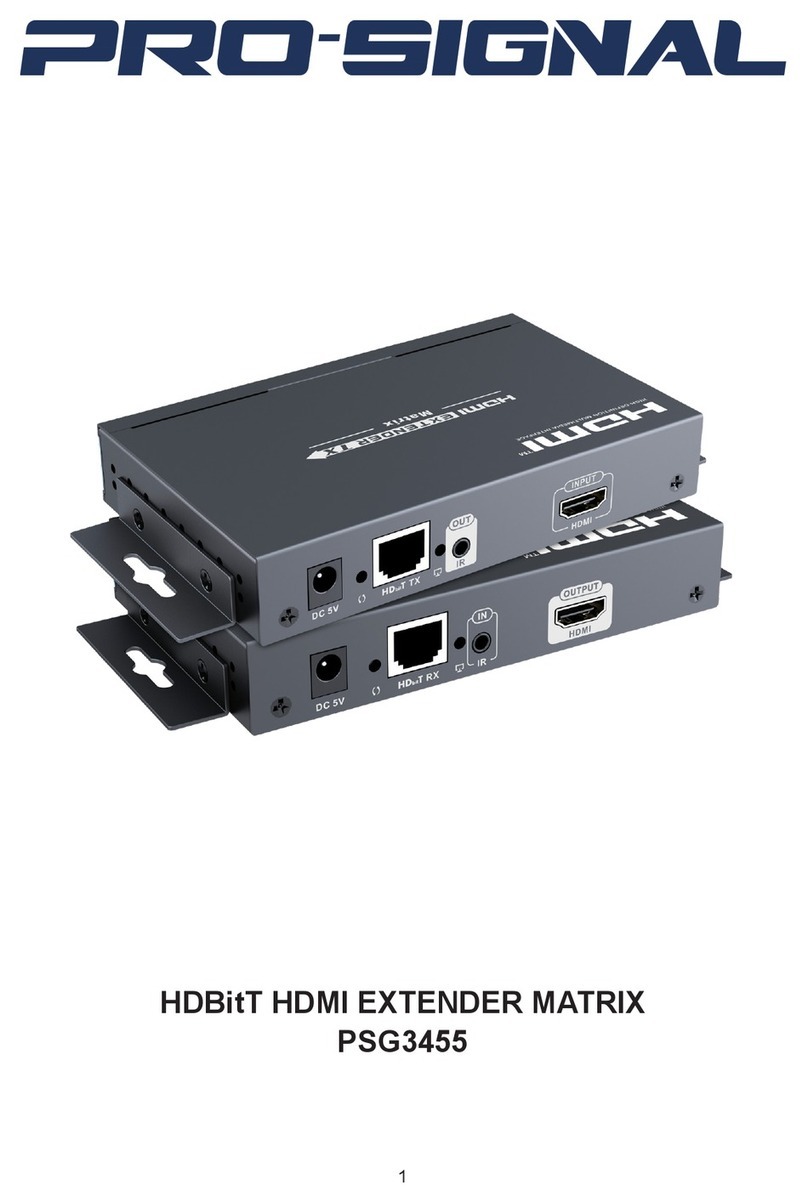
PRO SIGNAL PSG3455 User manual
PRO SIGNAL
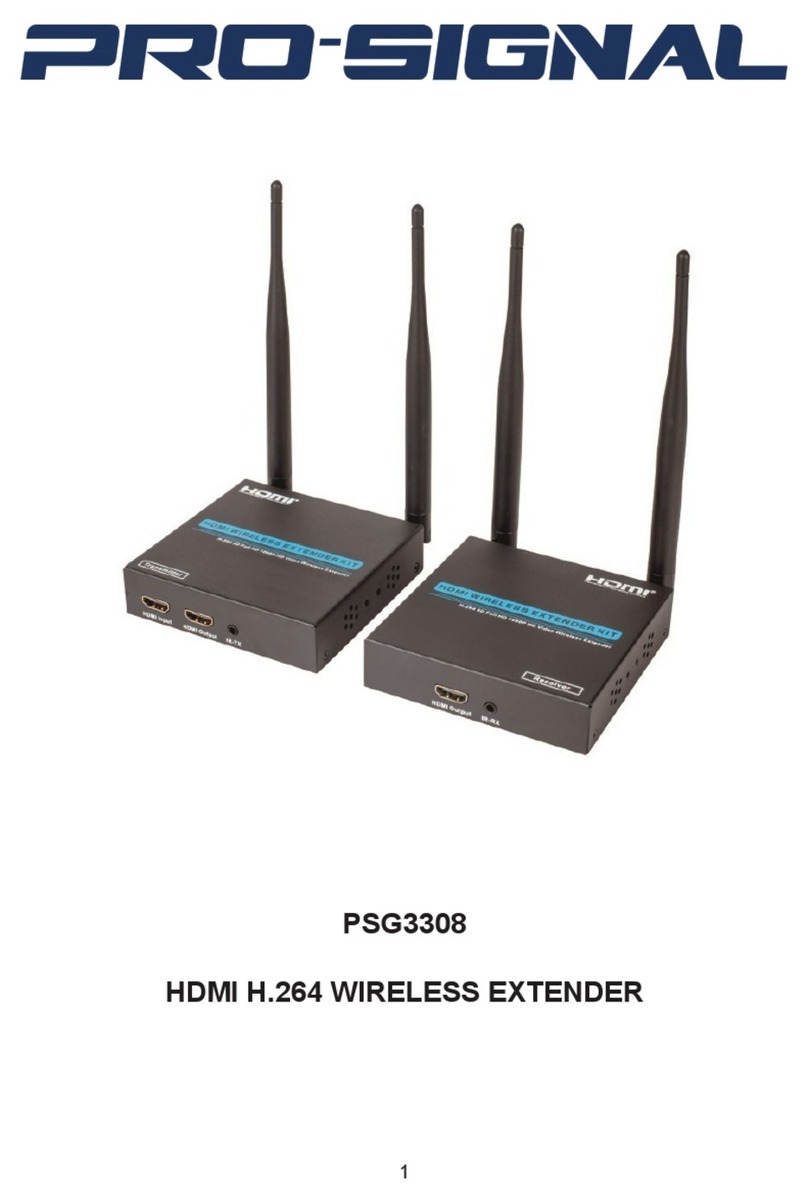
PRO SIGNAL PSG3308 User manual
PRO SIGNAL
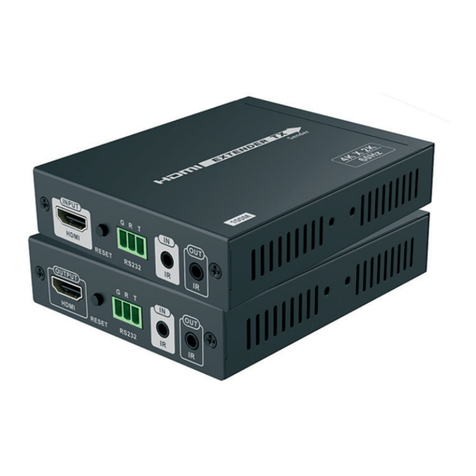
PRO SIGNAL PSG3082 User manual
PRO SIGNAL
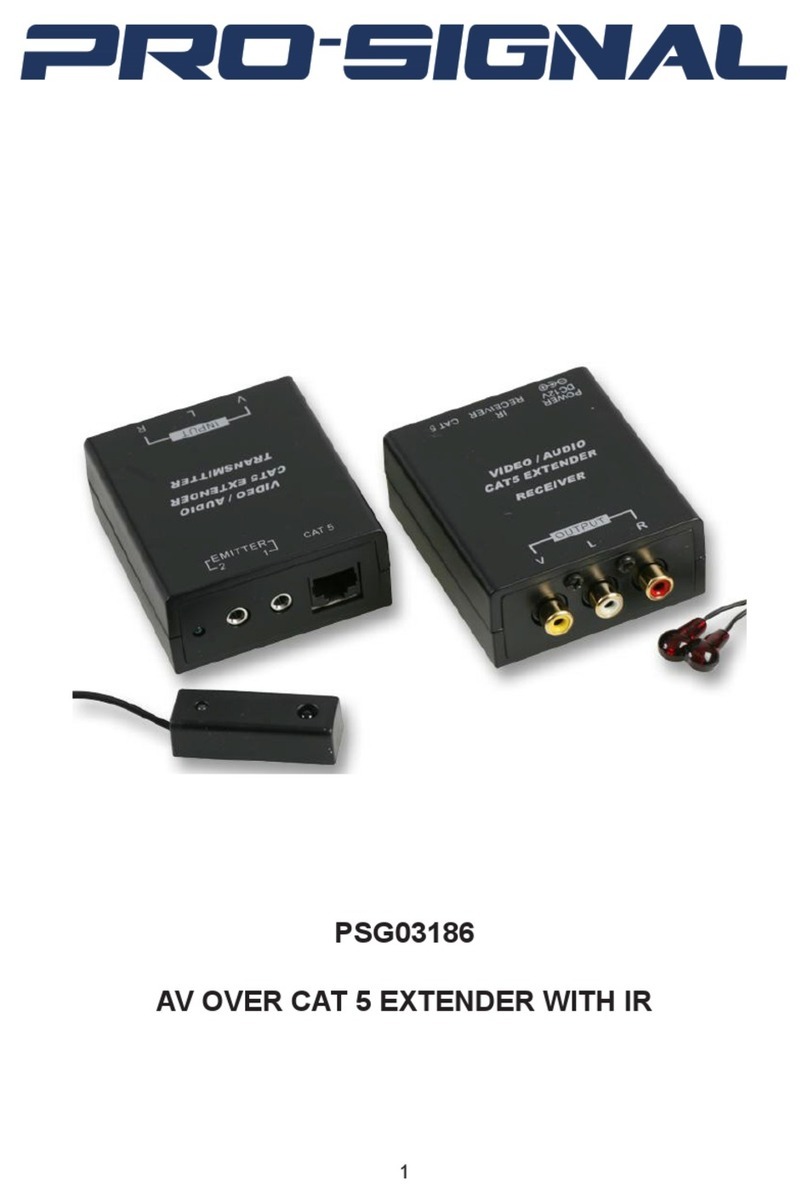
PRO SIGNAL PSG03186 User manual
PRO SIGNAL
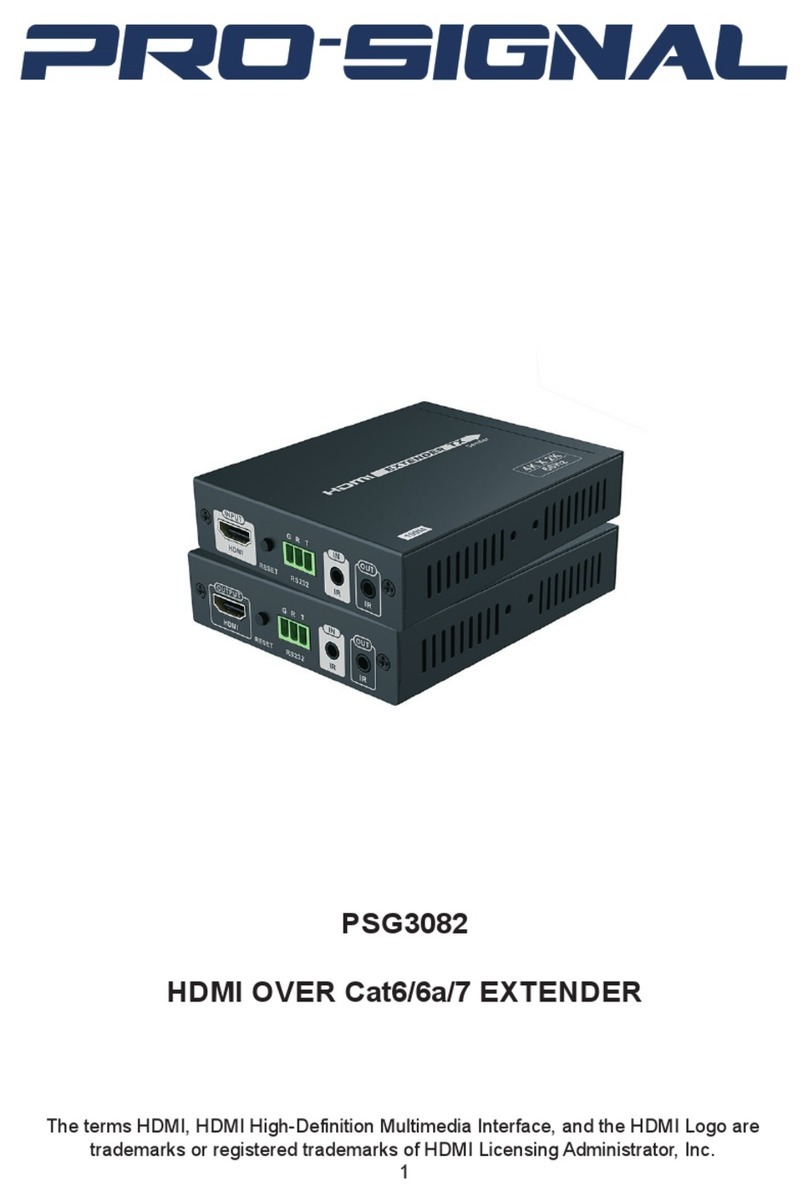
PRO SIGNAL PSG08050 User manual
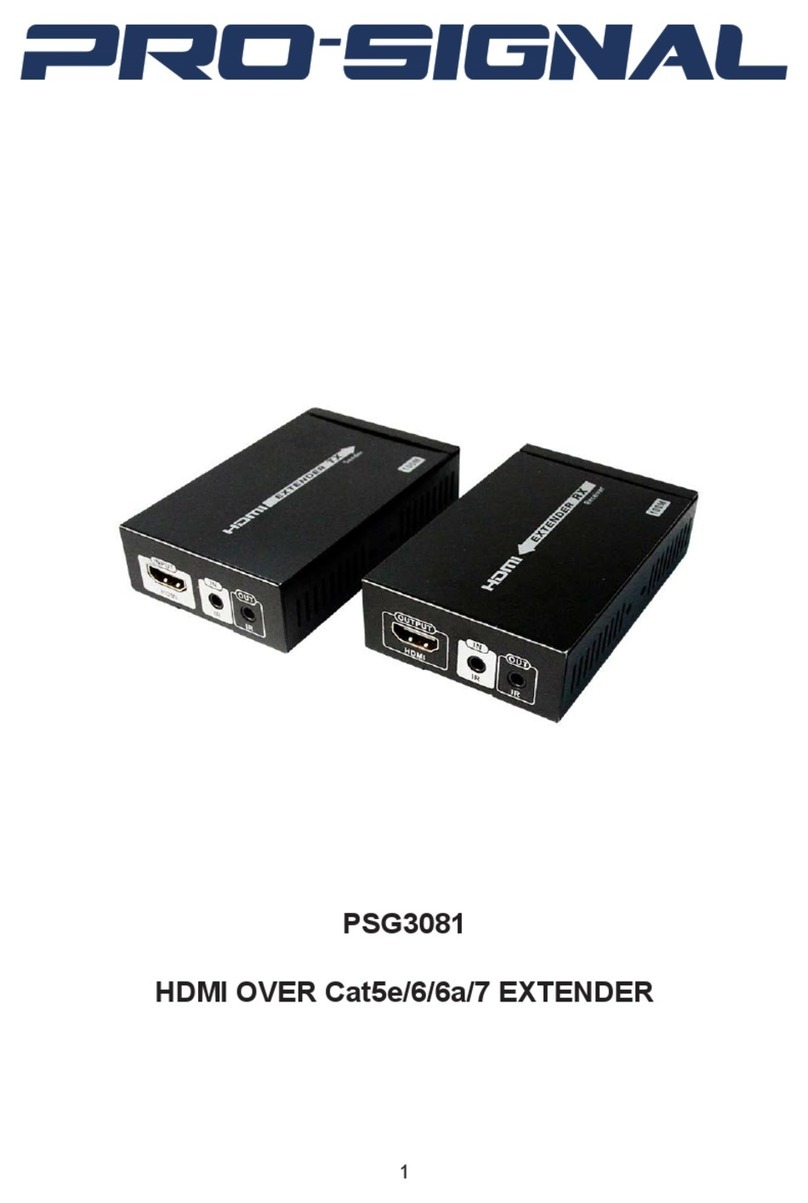
PRO SIGNAL
PRO SIGNAL PSG3081 User manual
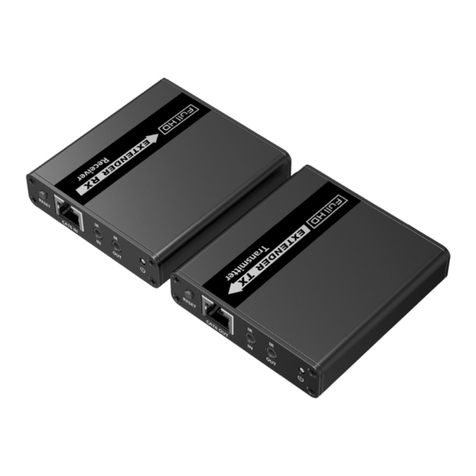
PRO SIGNAL
PRO SIGNAL PSG3452 User manual
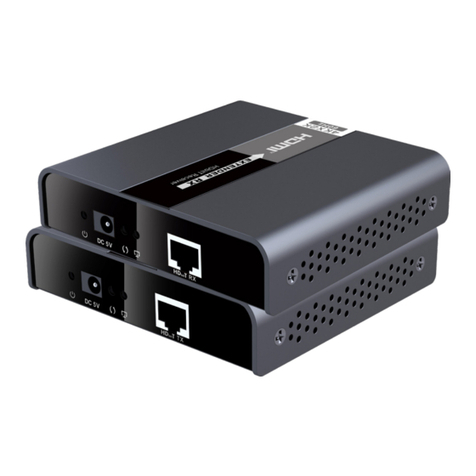
PRO SIGNAL
PRO SIGNAL PSG3443 User manual

PRO SIGNAL
PRO SIGNAL PSG3451 User manual
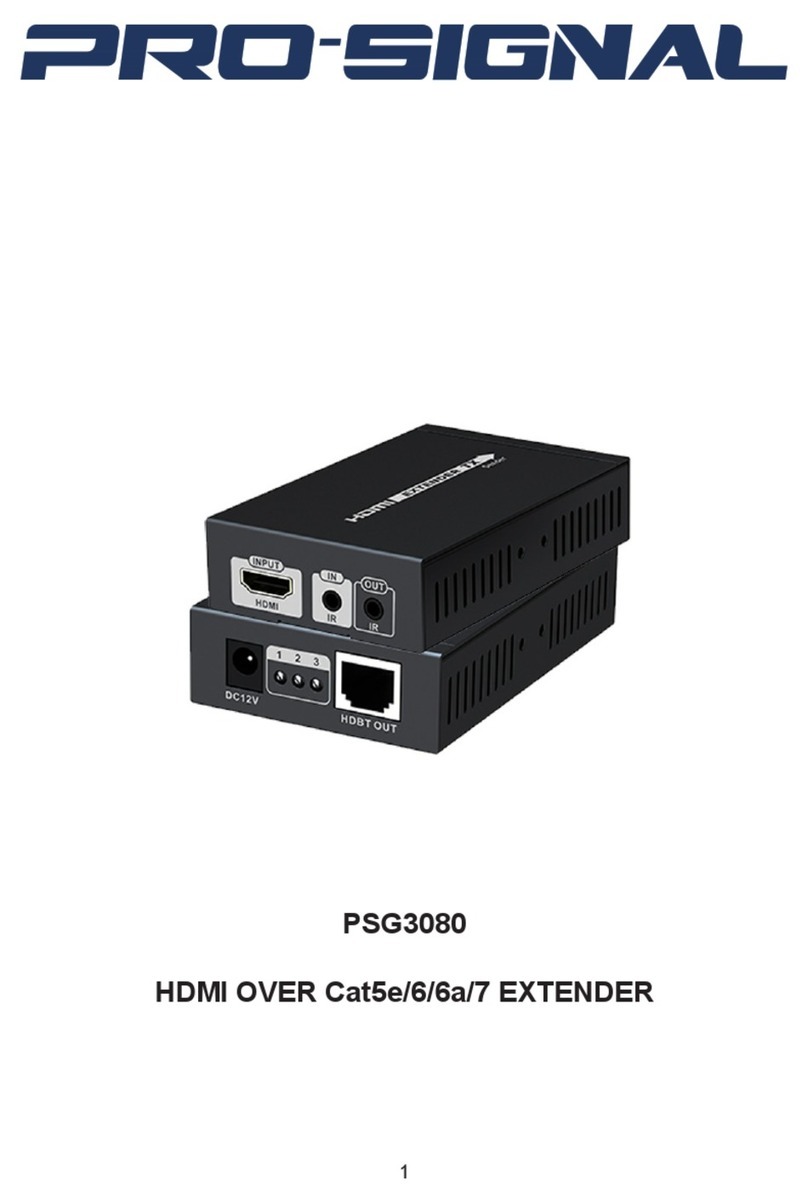
PRO SIGNAL
PRO SIGNAL PSG3080 User manual

PRO SIGNAL
PRO SIGNAL PSG03502 User manual
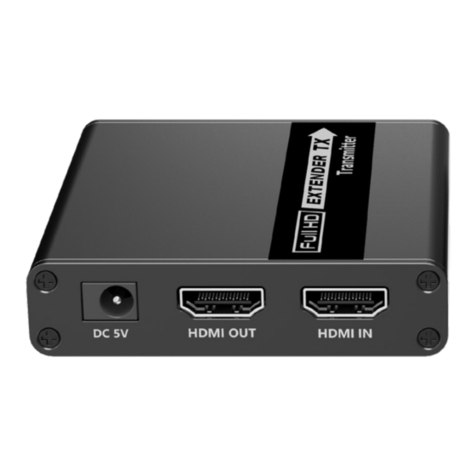
PRO SIGNAL
PRO SIGNAL PSG3454 User manual

PRO SIGNAL
PRO SIGNAL PSG3453 User manual
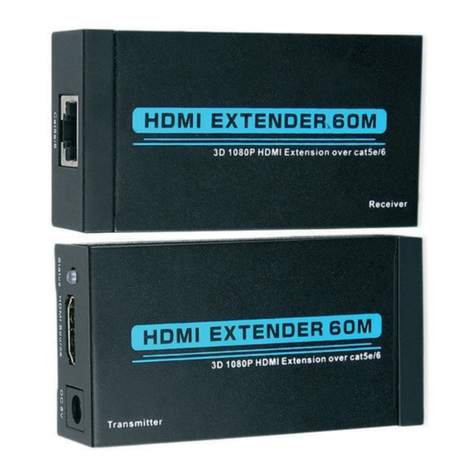
PRO SIGNAL
PRO SIGNAL PSG3078 User manual
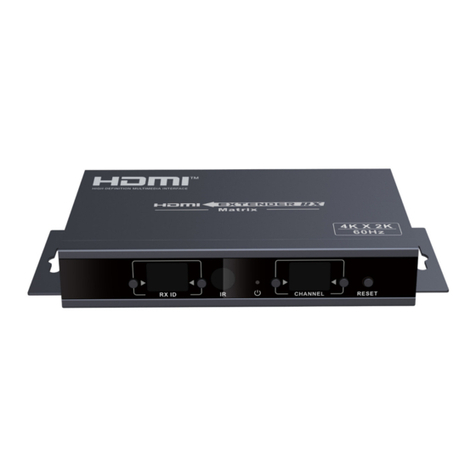
PRO SIGNAL
PRO SIGNAL PSG3447 User manual
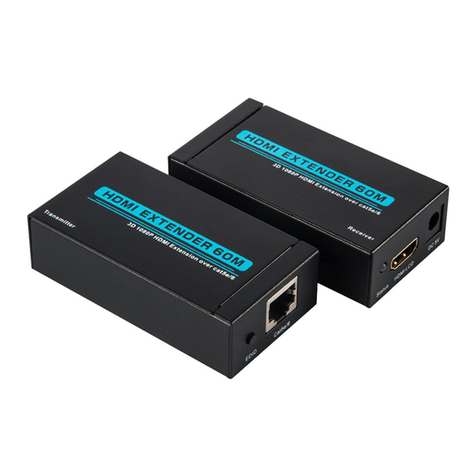
PRO SIGNAL
PRO SIGNAL PSG3077 User manual
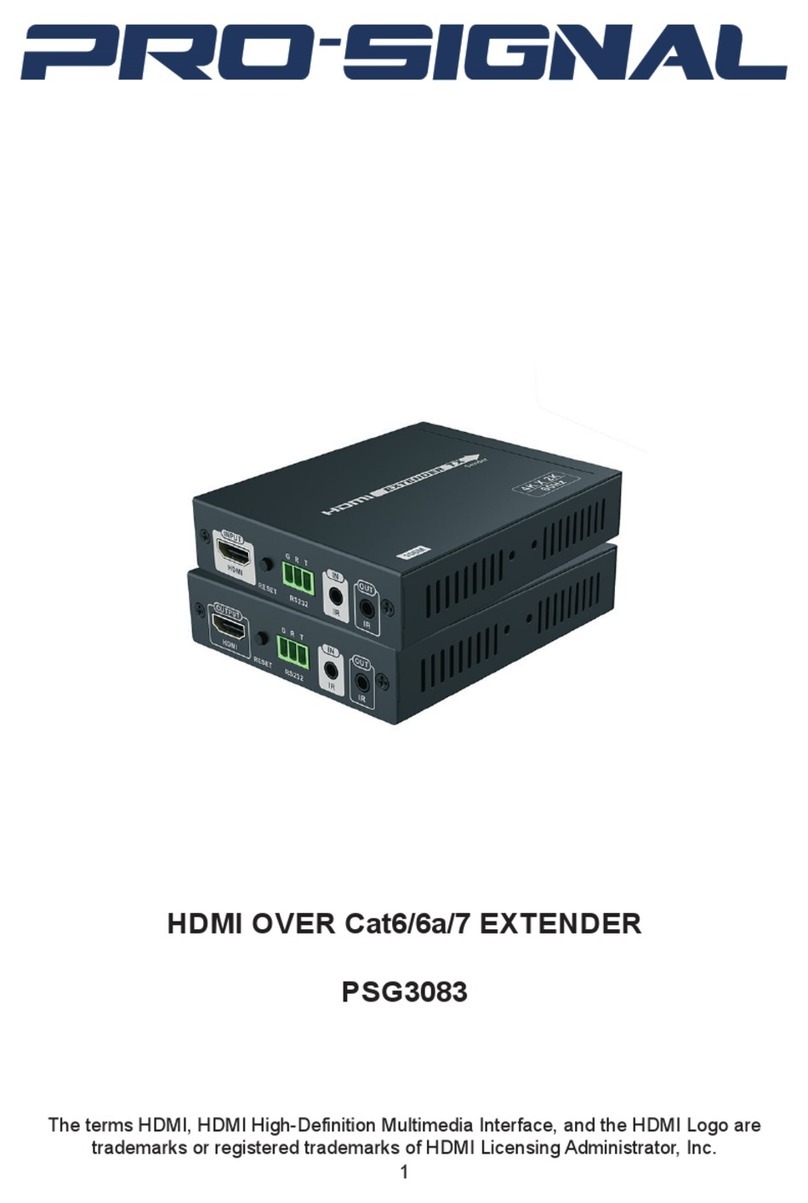
PRO SIGNAL
PRO SIGNAL PSG3083 User manual
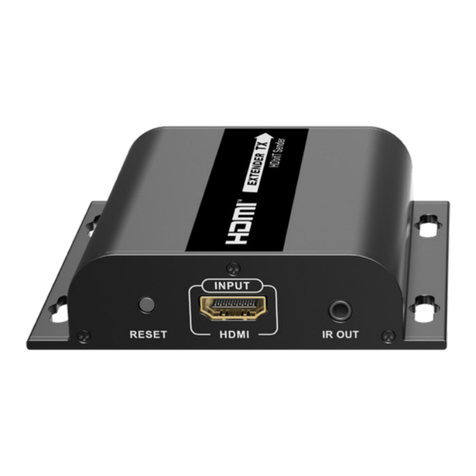
PRO SIGNAL
PRO SIGNAL PSG3444 User manual
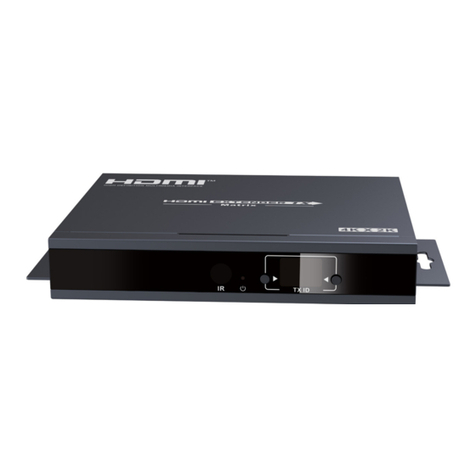
PRO SIGNAL
PRO SIGNAL PSG3456 User manual
Popular Extender manuals by other brands

foxunhd
foxunhd SX-AEX01 operating instructions

TERK Technologies
TERK Technologies LFIRX2 owner's manual

Devolo
Devolo Audio Extender supplementary guide

Edimax
Edimax EW-7438RPn V2 instructions

Shinybow USA
Shinybow USA SB-6335T5 instruction manual

SECO-LARM
SECO-LARM ENFORCER EVT-PB1-V1TGQ installation manual
