manuals.online logo
Brands
  1. Home
  2. •
  3. Brands
  4. •
  5. PROAIM
  6. •
  7. Camera Accessories
  8. •
  9. PROAIM DL-BRZA-01 User manual

PROAIM DL-BRZA-01 User manual

1
What’s In The Box
Please inspect the contents of your shipped package to ensure you have received everything that is listed
below.
Breeza Video/Film Camera Dolly Slider
with Track Ends (DL-BRZA-01)
Assembly Manual
All rights reserved.
No part of this document may be reproduced, stored in a retrieval system, or transmied by any form or by any means,
electronic, mechanical, photo-copying, recording, or otherwise, except as may be expressly permied by the applicable copyright
statutes or in wring by the Publisher.
Proaim Breeza Dolly
3 x Bolts
Sizes: (6 x 12 mm)
2 x End Spacers
An-Tilt Safety
Brake
Flat Mount Plate
Bag Packing
75mm Bowl
Adapter 3 x Type Allen Keys
Sizes: 2.5, 4mm & 5mm
2 x Wrench Sizes: 17 & 13mm
1 x Low-Prole Middle
Support Spacer
Heavy Duty Sled
4 x Double Wheels
100mm Bowl Adapter
2
End Spacers Assembly
Insert a 4 track into the clamp. Once the
track is properly fitted into the clamp, tightly
secure it with the knob, as shown in the
image.
The height of the end feet of the end spacers
can be adjusted according to your setup
requirement with the help of a knob.
The end feet can be used in both, Hi-Hat and
Low-Hat mode accordingly.
The same process is to be followed for the
other track.
NOTE: It comes with track-ends for overall
secure and smooth track running.
To insert a track in the end spacers, rst
loosen the knobs of the clamp and then slide
up the clamp to easily t the track.
Now place the breeza dolly onto the 4 track.
The handles part of the dolly plaorm should
be inside of the track as shown. Make sure all
wheels are aligned correctly on the track and
dolly runs smoothly.
NOTE: Proaim Breeza Compact Portable Slider
Dolly integrates the latest technology with
supreme quality to maximize your creave
potenal.
Breeza Dolly Setup
3
Properly secure with a knob aer mounng
the safety brake. Follow the same process on
the other side.
Now mount a 75mm bowl adapter, insert the
screws and properly secure the adapter with
the help of an Allen key.
The 75mm bowl adapter is mounted on the
dolly plaorm, as shown in the image.
NOTE: It has a 16-wheel design with oang
trucks that gives smooth, squeak-free move on a
straight or curved track.
The dolly plaorm already has a 100mm bowl
adapter mount. To mount a 75mm bowl, first
loosen the screws using an Allen key and
remove the 100mm bowl.
NOTE: The Breeza dolly plaorm is designed
with a Bowl mount 75mm, 100mm, and an at
base mount.
Mount the Safety Brake on side of the Breeza
dolly plaorm. Adjust the posion of the
bracket so it goes under the track to prevent
the plaorm from lng out.
Loosen the knob to properly open the safety
brake.
An-Tilt Safety Brake Assembly
4
Mount Fluid Head on the Bowl Adapter
Aer mounng the uid head on the bowl,
secure it properly by inserng the locking
knob from the boom side.
To mount the at plate, rst remove the
75mm bowl adapter from the dolly plaorm.
For this, use an Allen key, loosen all the screws
and then take out the 75mm bowl adapter.
Mount the at plate on the dolly plaorm,
then insert the screws by aligning to the
boom and properly ghten.
After properly securing the fluid head
(Not Included), mount a camera
(Not Included) on it.
NOTE: Breeza Dolly Slider is sturdy enough to
take a massive payload. And the end-clamps
mount tripods and light stand in seconds. It also
includes so-grip rubber ball feet, support
bracket, and safety wheels that give overall
secure, leveled & greater performance.
Insert the uid head (Not Included) into the
bowl through a screw.
Mount the uid head (Not Included) onto the
at plate and to properly secure, insert a bolt
from the middle/centre of the boom, as
shown in the image.
5
Mount the end spacers onto the stand
(Not Included) and tighten with the help of a
knob.
NOTE: If you need higher level shots, then you
can put end spacers on Stands.
Mount the Centre Support Spacer onto the
stand. Aer mounng the spacer onto the
stand (Not Included), properly secure it with a
knob.
Aach the Centre Support spacer under the
centre of the track system help of a
Support stand (Not Included).
Insert an 8 track into the clamp. Once the
track is properly ed into the clamp, secure it
with the help of a knob, as shown in the
image. Follow the same process on the other
side.
After properly securing the fluid head
(Not Included), mount a camera on it.
The 8 track is now mounted on the centre
support spacer.
8 Track Setup
6
Mount the Safety Brake on side of the Breeza
dolly plaorm. Adjust the posion of the
bracket so it goes under the track to prevent
the plaorm from lng out.
Then aach the uid head (Not Included) to
the bowl adapter, as shown in the image.
To secure the uid head (Not Included) from
the boom, insert the locking knob from the
top and secure it properly.
To mount the camera (Not Included)
under-slung, attach the bowl adapter aligning
the bottom threads, then insert the screws and
properly ghten using an Allen key.
Now place the breeza dolly onto the 8 track.
The handles part of the dolly plaorm should
be inside of the track as shown. Make sure all
wheels are aligned correctly on the track and
dolly runs smoothly.
NOTE: The whole dolly system is Quick & Easy
to Set up for a steady workow. It saves a lot of
your valuable producon me.
Underslung Camera Setup
7
Warranty: We oer one year warranty for our products from date of purchase. Within this period of me,
we will repair it without charge for labor or parts. Warranty doesn’t cover transportaon costs nor does it
cover a product subjected to misuse or accidental damage. Warranty repairs are subjected to inspecon
and evaluaon by us.
Liability: We are not liable for damage caused by products that we do not supply or from mishandling in
transit, accident, misuse, neglect, lack of care of the product, or service by anyone other than our company.
Contact Us: In case of any kind of dissatisfaction, please Contact us immediately and we promise our
utmost support and care until you use our product.
YOUR PROAIM BREEZA VIDEO/FILM CAMERA DOLLY SLIDER WITH TRACK ENDS
ALL DRESSED UP AND READY TO GO!
(SHOWN WITH OPTIONAL ACCESSORIES)

Other PROAIM Camera Accessories manuals
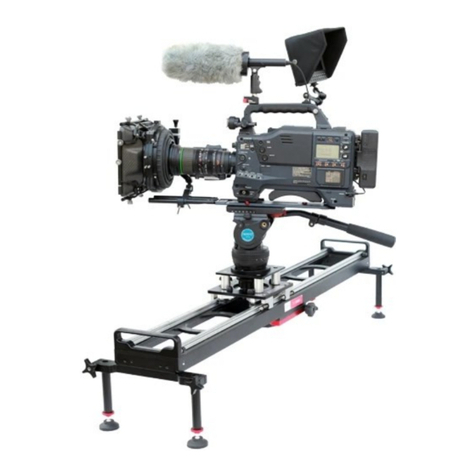
PROAIM Mitchell Cyrus User manual

PROAIM

PROAIM Mitchell Cyrus User manual

PROAIM MB-10 User manual

PROAIM

PROAIM MB-10 User manual

PROAIM P-GDTR-01 User manual

PROAIM

PROAIM P-GDTR-01 User manual

PROAIM Kit-6-CF User manual

PROAIM

PROAIM Kit-6-CF User manual

PROAIM Polaris Mini User manual

PROAIM

PROAIM Polaris Mini User manual

PROAIM SL-CNL User manual

PROAIM

PROAIM SL-CNL User manual

PROAIM HS-1000 User manual

PROAIM

PROAIM HS-1000 User manual

PROAIM Tango P-TNGO-01 User manual

PROAIM

PROAIM Tango P-TNGO-01 User manual

PROAIM P-OGR-H User manual

PROAIM

PROAIM P-OGR-H User manual

PROAIM CAMTREE HUNT User manual

PROAIM

PROAIM CAMTREE HUNT User manual

PROAIM CINEMA Series User manual

PROAIM

PROAIM CINEMA Series User manual
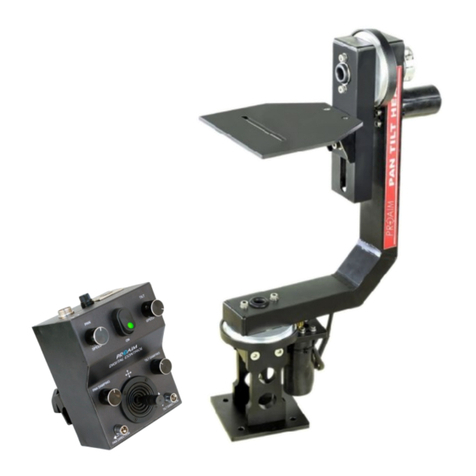
PROAIM BP-302-01 User manual

PROAIM

PROAIM BP-302-01 User manual

PROAIM CINEMA Series User manual

PROAIM

PROAIM CINEMA Series User manual
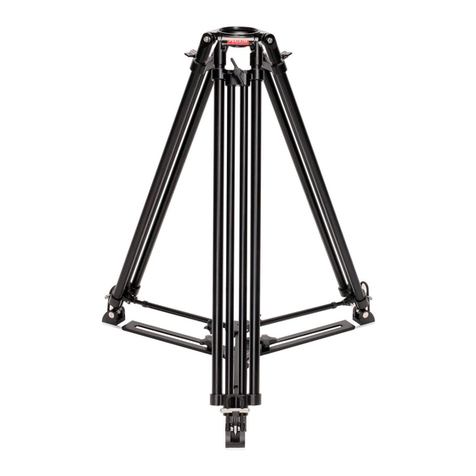
PROAIM Soundchief V1 User manual

PROAIM

PROAIM Soundchief V1 User manual

PROAIM CINEMA Series User manual

PROAIM

PROAIM CINEMA Series User manual
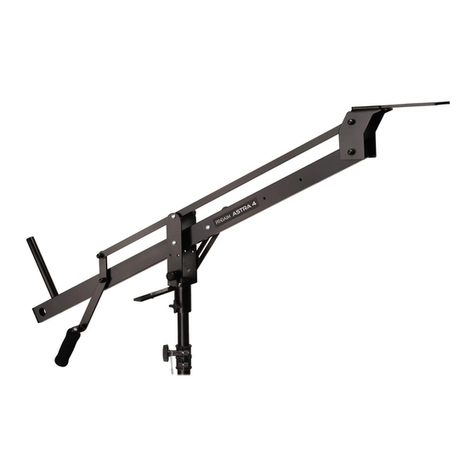
PROAIM CINEMA Series User manual

PROAIM

PROAIM CINEMA Series User manual

PROAIM Airwave Ultra User manual

PROAIM

PROAIM Airwave Ultra User manual

PROAIM P-MWP-D User manual

PROAIM

PROAIM P-MWP-D User manual

PROAIM CINEMA DL-MRCS-01 User manual

PROAIM

PROAIM CINEMA DL-MRCS-01 User manual

PROAIM CINEMA Series User manual

PROAIM

PROAIM CINEMA Series User manual

PROAIM CH-FS7-TBK User manual

PROAIM

PROAIM CH-FS7-TBK User manual

PROAIM DL-PLRS-P01 User manual

PROAIM

PROAIM DL-PLRS-P01 User manual

PROAIM P-CWFT-01 User manual

PROAIM

PROAIM P-CWFT-01 User manual

PROAIM Quad Bazooka User manual

PROAIM

PROAIM Quad Bazooka User manual

Popular Camera Accessories manuals by other brands

Rebelcell 12V70 AV user manual

Rebelcell

Rebelcell 12V70 AV user manual

Fantasea FL-11 instruction manual

Fantasea

Fantasea FL-11 instruction manual

Husqvarna BLi100 Operator's manual

Husqvarna

Husqvarna BLi100 Operator's manual

Baseus Lovely Uniaxial Bluetooth Folding Stand Selfie... user manual

Baseus

Baseus Lovely Uniaxial Bluetooth Folding Stand Selfie... user manual

Nikon D90 - Digital Camera SLR user manual

Nikon

Nikon D90 - Digital Camera SLR user manual

PowerPlus Energy LiFe Premium P Series Installation and operation manual

PowerPlus Energy

PowerPlus Energy LiFe Premium P Series Installation and operation manual

Panasonic AWRC400N - PAN/TITLT HEAD operating instructions

Panasonic

Panasonic AWRC400N - PAN/TITLT HEAD operating instructions

Goodwe Lynx C Series user manual

Goodwe

Goodwe Lynx C Series user manual

Pix UndercoverEye instruction manual

Pix

Pix UndercoverEye instruction manual

CanaSafe TM 12 instruction manual

CanaSafe

CanaSafe TM 12 instruction manual

Sanyo KR-5/3MH Cadnica Specifications

Sanyo

Sanyo KR-5/3MH Cadnica Specifications

Duracell Power PIX NX1500 Dimensions

Duracell

Duracell Power PIX NX1500 Dimensions

Bioenno Power BLF-4820A user manual

Bioenno Power

Bioenno Power BLF-4820A user manual

UPOWER Ecoline UE-12Li200 manual

UPOWER Ecoline

UPOWER Ecoline UE-12Li200 manual

Sony XDCU-50 operating instructions

Sony

Sony XDCU-50 operating instructions

Nauticam NA-LX10 instruction manual

Nauticam

Nauticam NA-LX10 instruction manual

Osram HBO 100 Installation and alignment manual

Osram

Osram HBO 100 Installation and alignment manual

Olympus PFL-01 instruction manual

Olympus

Olympus PFL-01 instruction manual

manuals.online logo
manuals.online logoBrands
  • About & Mission
  • Contact us
  • Privacy Policy
  • Terms and Conditions

Copyright 2025 Manuals.Online. All Rights Reserved.