manuals.online logo
Brands
  1. Home
  2. •
  3. Brands
  4. •
  5. PROLiNK
  6. •
  7. Modem
  8. •
  9. PROLiNK Hurricane 5200C User manual

PROLiNK Hurricane 5200C User manual

Other manuals for Hurricane 5200C

1

Other PROLiNK Modem manuals

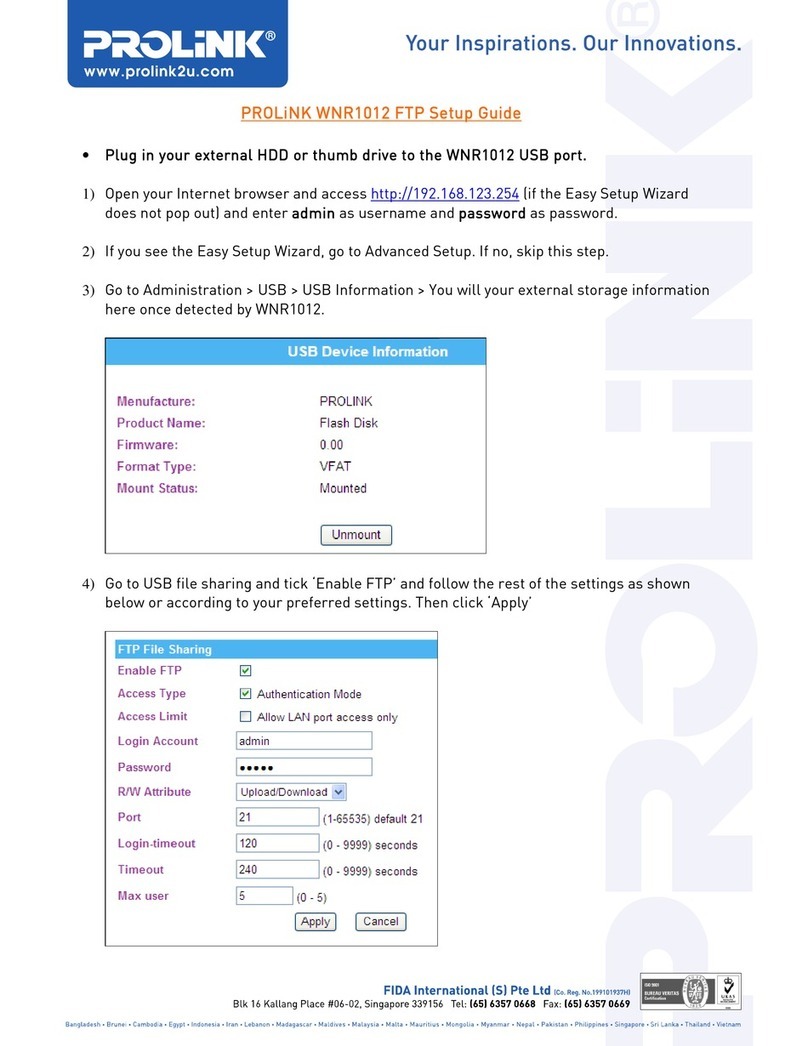
PROLiNK Hurricane 9600 User manual

PROLiNK

PROLiNK Hurricane 9600 User manual

PROLiNK Hurricane 9000S User manual

PROLiNK

PROLiNK Hurricane 9000S User manual

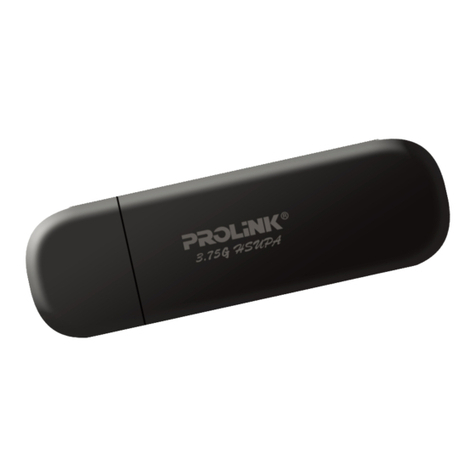
PROLiNK HSDPA User manual

PROLiNK

PROLiNK HSDPA User manual

PROLiNK P2000 User manual

PROLiNK

PROLiNK P2000 User manual

PROLiNK WNR1012 User manual

PROLiNK

PROLiNK WNR1012 User manual

PROLiNK Hurricane 9601 User manual

PROLiNK

PROLiNK Hurricane 9601 User manual

PROLiNK 56K User manual

PROLiNK

PROLiNK 56K User manual

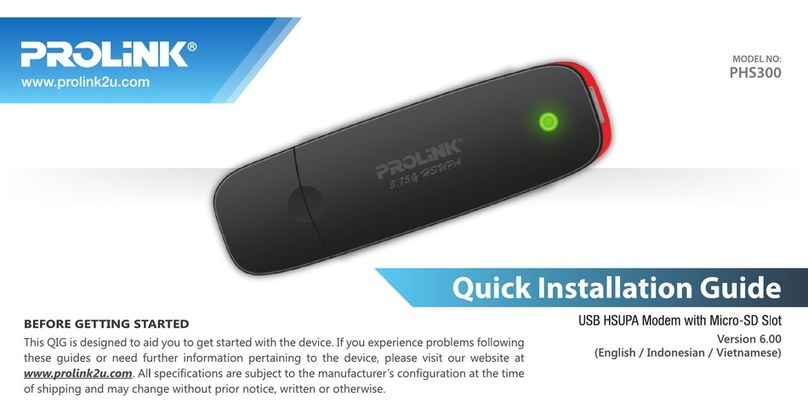
PROLiNK PHS300 User manual

PROLiNK

PROLiNK PHS300 User manual

PROLiNK PCM100 User manual

PROLiNK

PROLiNK PCM100 User manual

PROLiNK PHS600 User manual

PROLiNK

PROLiNK PHS600 User manual

PROLiNK 56K User manual

PROLiNK

PROLiNK 56K User manual

PROLiNK PHS300 User manual

PROLiNK

PROLiNK PHS300 User manual

PROLiNK 1456PVA User manual

PROLiNK

PROLiNK 1456PVA User manual

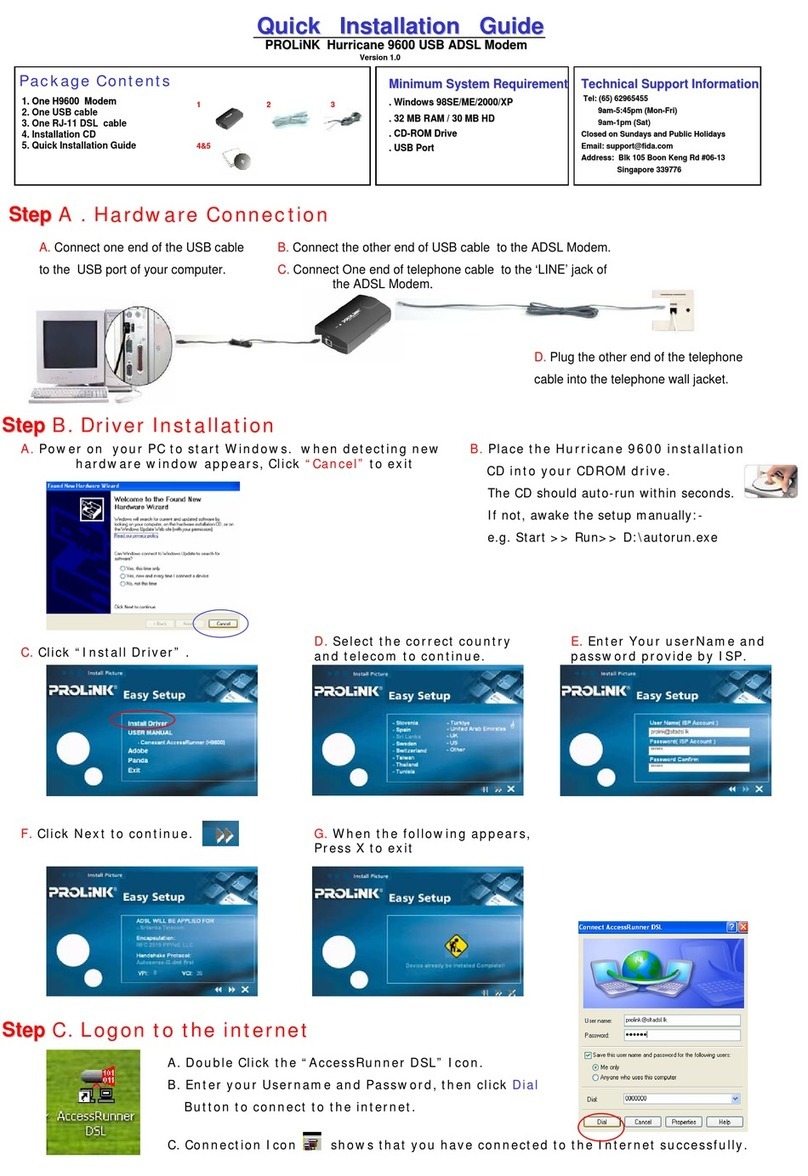
PROLiNK USB ADSL Modem Hurricane Series User manual

PROLiNK

PROLiNK USB ADSL Modem Hurricane Series User manual

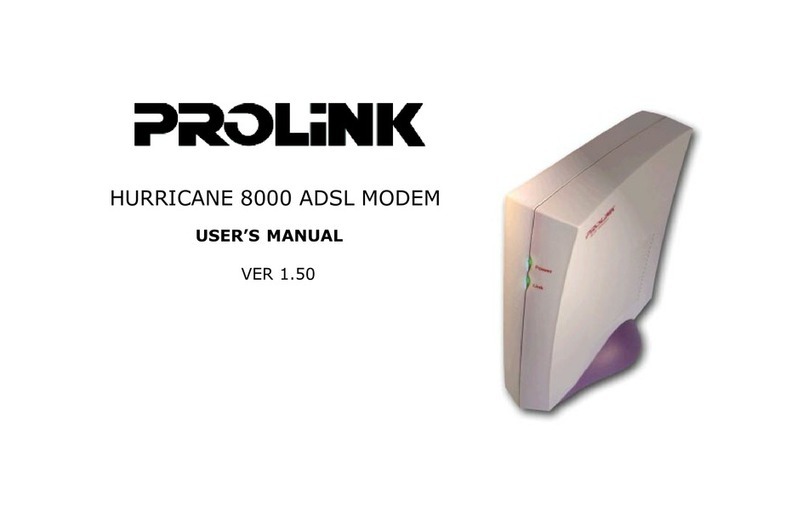
PROLiNK HURRICANE 8000 User manual

PROLiNK

PROLiNK HURRICANE 8000 User manual

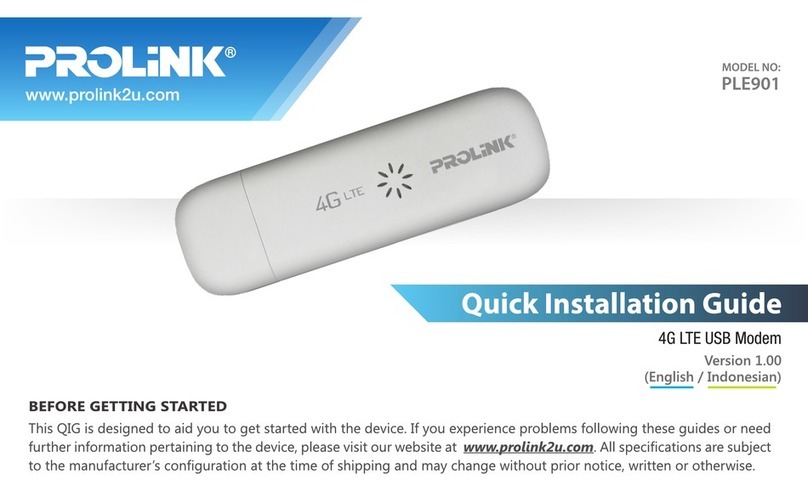
PROLiNK PLE901 User manual

PROLiNK

PROLiNK PLE901 User manual

PROLiNK DS-3202M Installation guide

PROLiNK

PROLiNK DS-3202M Installation guide

PROLiNK PHS101 User manual

PROLiNK

PROLiNK PHS101 User manual

Popular Modem manuals by other brands

Paradyne COMSPHERE 3810 User guide supplement

Paradyne

Paradyne COMSPHERE 3810 User guide supplement

Zhone 6411-A1-xxx Technical specifications

Zhone

Zhone 6411-A1-xxx Technical specifications

Air 802 Linux USB?ADG?2 user guide

Air 802

Air 802 Linux USB?ADG?2 user guide

ETEK TD-8011 user manual

ETEK

ETEK TD-8011 user manual

Arris Touchstone CM8200 user guide

Arris

Arris Touchstone CM8200 user guide

3Com EtherLink 3C900B Installation and operating instructions

3Com

3Com EtherLink 3C900B Installation and operating instructions

Axxera DMH25 Operation manual

Axxera

Axxera DMH25 Operation manual

Lantronix M110 Series Command reference

Lantronix

Lantronix M110 Series Command reference

Megasat HD Stick 510se user manual

Megasat

Megasat HD Stick 510se user manual

Davicom DM562AP Operation manual

Davicom

Davicom DM562AP Operation manual

NetComm IG1000 Specifications

NetComm

NetComm IG1000 Specifications

Intelimax MA-2060 user manual

Intelimax

Intelimax MA-2060 user manual

ELPRO 905U-E user manual

ELPRO

ELPRO 905U-E user manual

SMC Networks D3CM1604V Administrator's manual

SMC Networks

SMC Networks D3CM1604V Administrator's manual

Telstra Wi-Fi 4G Advanced Pro X user guide

Telstra

Telstra Wi-Fi 4G Advanced Pro X user guide

Thrane&Thrane imarsat EXPLORER 300 user manual

Thrane&Thrane

Thrane&Thrane imarsat EXPLORER 300 user manual

Samsung AceLink SAM-335A user guide

Samsung

Samsung AceLink SAM-335A user guide

Enfora Enabler-G Integration guide

Enfora

Enfora Enabler-G Integration guide

manuals.online logo
manuals.online logoBrands
  • About & Mission
  • Contact us
  • Privacy Policy
  • Terms and Conditions

Copyright 2025 Manuals.Online. All Rights Reserved.

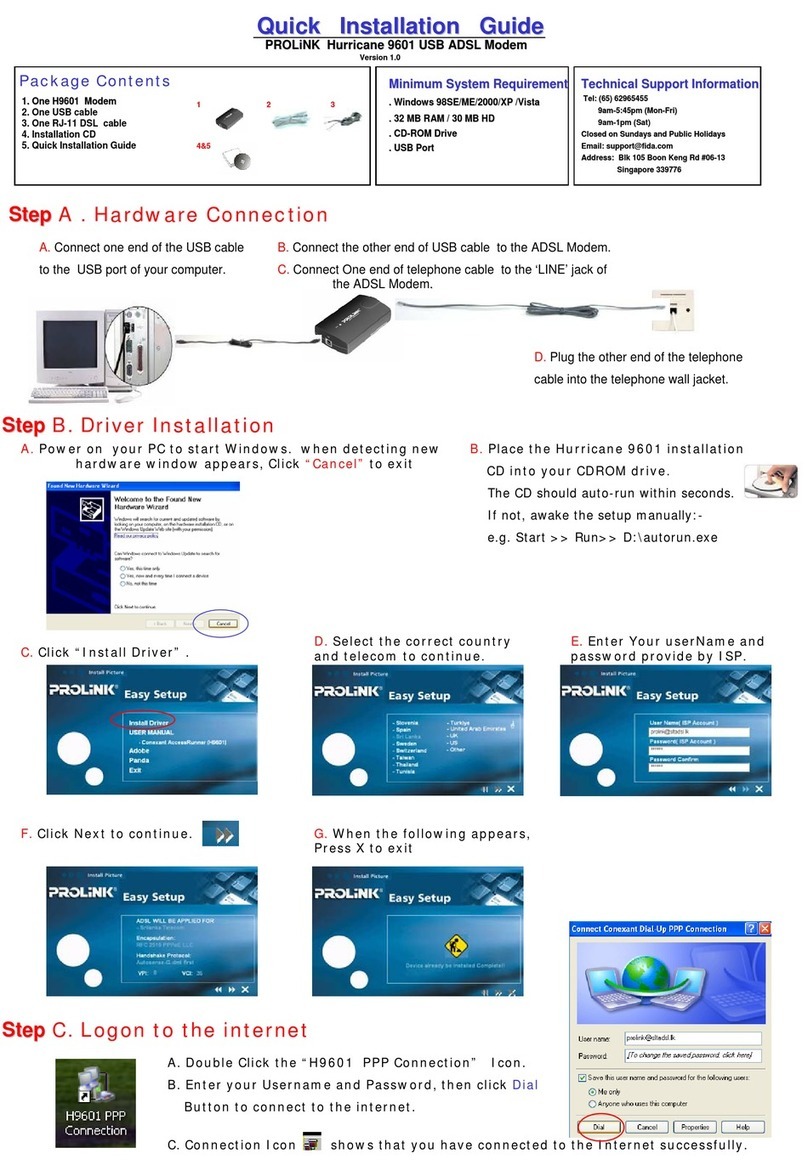
Quick Installation Guide Revision 1.0
PROLiNK
PROLiNK Hurricane 5200C
Hurricane 5200C
Combo ADSL2+ Modem/Router
Package Contents
• 1 x H5200C Modem Router
• 1 x RJ-45 straight cable
• 1 x RJ-11 DSL cable
• 1 x Power Adaptor
• 1 x DSL Splitter
• 1 x Setup CD
• 1 x USB Cable (optional)
• Quick Installation Guide
Minimum System Requirements
OS independent for Ethernet Connection
Windows XP/Vista for USB Connection
4x speed CD-ROM Drive
Ethernet Port or USB Port
H5200C ADSL2+ Ethernet Modem Router Page 1 of 2 Revision 1.0 Feb 2009
© Copyright 2009 PROLiNK All Rights Reserved. PROLiNK is manufactured under the authority of FIDA INTERNATIONAL (S) PTE LTD.
All brands or product names are either trademarks or registered trademarks of their respective owners.
Step 1 Hardware connection
Step 1 Hardware connection for H5200C
for H5200C
1.1 Connect one end of RJ11 (Telephone) cable to the ADSL port
(marked Line) on the ADSL Modem.
1.2 Connect the other end of RJ11 cable into the wall phone socket,
which has the ADSL service activated, or the ADSL port of a
Micro-filter whichever is applicable.
1.3 Connect one end of the RJ45 (Ethernet) cable to the LAN port of
the computer. Connect another end of RJ45 cable to the ADSL
Modem.
1.4 Connect power adapter to the power socket
1.5 Switch on the H5200C modem
Remark – for USB connection, please refer to the Driver Installation Guide on
the CD
Step 2a Configuring the H5200C Modem
Technical Support Information
Support Hotline:
Support Email:
Address:
(65) 63570666
[email protected]
Block 16 Kallang Place,
#06-02 Kallang Basin Industrial
Estate, Singapore 339156
9am – 6pm (Mon – Fri)
1 Start your Web Browser ( IE6 or above), the
following windows will pop up to ask you to enter
the username and password (provide by your ISP)
2 If the internet connection is established, it will automatically
proceed to our homepage www.prolink2u.com, then you can
start surfing now.
If your ADSL Line not ready or not connected properly,
the following message will appear, please check
your line and press Try Again Button.
If Pop-up Blocker is enabled, the following message will
appear, please click and select Temporarily Allow
Pop-ups.
Line USB LAN Power switch
Wall
Socket
Telephone
(Optional) Computer Power
Adapter
OR
H5200C ADSL2+ Ethernet Modem Router Page 2 of 2 Revision 1.0 Feb 2009
© Copyright 2009 PROLiNK All Rights Reserved. PROLiNK is manufactured under the authority of FIDA INTERNATIONAL (S) PTE LTD.
All brands or product names are either trademarks or registered trademarks of their respective owners.
Step 2b Manually Configuring the H5200C Modem
Step 2b Manually Configuring the H5200C Modem –
–please proceed to this step if step2a not working
please proceed to this step if step2a not working
1. Start your Web Browser ( IE6 or above), key in
192.168.1.1 , Click Quick Setup icon
4. If you need to setup other features, Default User
Name: admin Password: password
3. From status, you can check your WAN IP, internet
connection time and so on
2. Enter User Name and Password for internet
connection (provided by your Internet service
provider), and Press Commit and Reboot button.