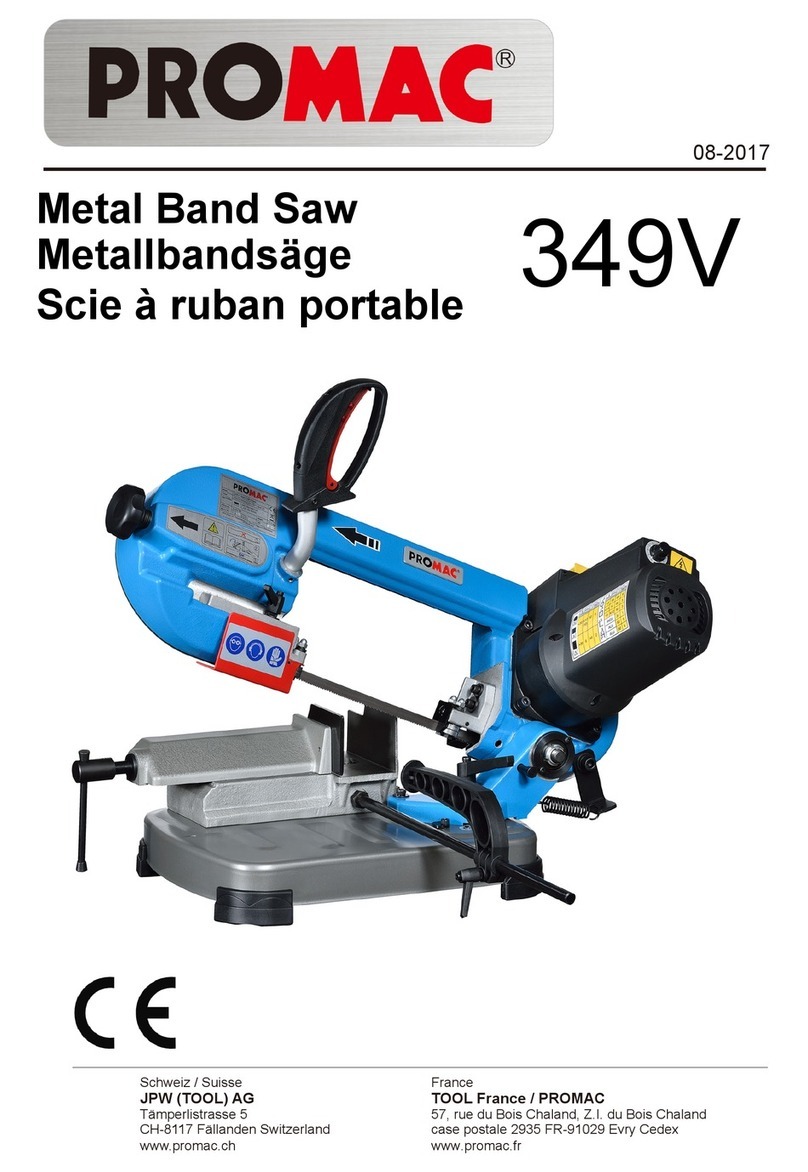
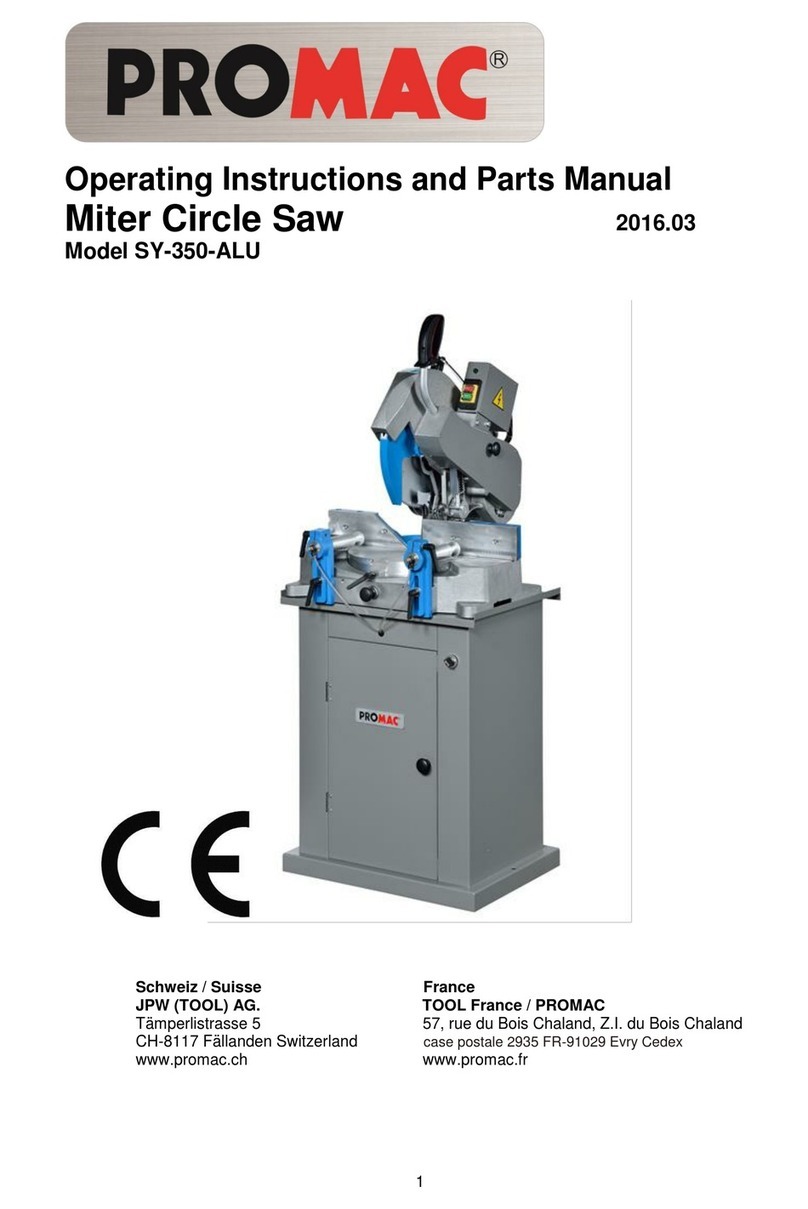
Promac 347V Service manual

CE-Conformity Declaration
CE-Konformitätserklärung
Déclaration de Conformité CE
Product / Produkt / Produit:
Metal band saw
Metallbandsäge
Scie à ruban portable
347V
Brand / Marke / Marque:
PROMAC
Manufacturer / Hersteller / Fabricant:
JPW (Tool) AG, Tämperlistrasse 5, CH-8117 Fällanden
Schweiz / Suisse / Switzerland
We hereby declare that this product complies with the regulations
Wir erklären hiermit, dass dieses Produkt der folgenden Richtlinie entspricht
Par la présente, nous déclarons que ce produit correspond aux directives suivantes
2006/42/EC
Machinery Directive
Maschinenrichtlinie
Directive Machines
2014/30/EU
electromagnetic compatibility
elektromagnetische Verträglichkeit
compatibilité électromagnétique
designed in consideration of the standards
und entspechend folgender zusätzlicher Normen entwickelt wurde
et été développé dans le respect des normes complémentaires suivantes
EN ISO 12100:2010
EN 13898:2003+A1:2009
EN 60204-1:2006+A1:2009
EN 61000-6-2:2005
EN 61000-6-4:2007+A1:2011
Responsible for the Documentation / Dokumentations-Verantwortung / Résponsabilité de Documentation:
Hansjörg Meier
Head Product-Mgmt. / Leiter Produkt-Mgmt. / Resp. Gestion des Produits
JPW (Tool) AG
2016-05-24 Alain Schmid, General Manager
JPW (Tool) AG, Tämperlistrasse 5, CH-8117 Fällanden
Schweiz / Suisse / Switzerland

3
Table of Contents
Table of Contents…………………………………….…………………………………3
Warning………………………………………………………..………………………4~5
Specifications……………………………………………………..…………………......6
Shipping Contents……………………………………………………………………..7
Contents of the Carton…………………………………….…………………………7
Assembly……………………………………………………………………………..7
Assembly………………………………………………………………………7
Controls and Indicators………………………………………………………………8~9
Material to be cut…………………………………………………………...…………8
Use a correct plug………………………………………………………...…………8
Grounding instructions…………………………………………………...…………8
Running in the blade……………………………………………………...…………8
Correct positioning of the piece in the clamp…………………………...…………8
Choosing the Blade………………………………………………………...…………9
Operation……………………..………………………………………………………10
Manual Cutting…….………………………………………………………………10
Setting and Adjustments………………………………………………………………11
Distance Set Bracket Adjustment…………………………………………………11
Blade Guide Adjustment……………………………………………………………11
Cutting Angle Adjustment…………………………………………………………..11
Maintenance…..………………………………………………………………………..12
Changing Blade…………………………………………………………………..…12
Transportation…………………………………………………………………..13
Troubleshooting……………………………………………………………………14~15
Saw Assembly Drawing (1~2)……………………….......................................16~17
Saw Assembly Parts……………………………………………….....................18~20
Wiring Diagram and Parts…………………………………….................................21
Warranty………………………………………………………………………………..22

4
1. Read and understand the entire owner's manual before attempting assembly or operation.
2. Read and understand the warnings posted on the machine and in this manual. Failure to
comply with all of these warnings may cause serious injury.
3. Replace the warning labels if they become obscured or removed.
4. This band saw is designed and intended for use by properly trained and experienced
personnel only. If you are not familiar with the proper and safe operation of a band saw, do
not use until proper training and knowledge have been obtained.
5. Do not use this band saw for other than its intended use. If used for other purposes,
PROMAC, disclaims any real or implied warranty and holds itself harmless from any injury
that may result from that use.
6. Always wear approved safety glasses/face shields while using this band saw. Everyday
eyeglasses only have impact resistant lenses; they are not safety glasses.
7. Before operating this band saw, remove tie, rings, watches and other jewelry, and roll sleeves
up past the elbows. Remove all loose clothing and confine long hair. Non-slip footwear or
anti-skid floor strips are recommended. Do not wear gloves.
8. Wear ear protectors (plugs or muffs) during extended periods of operation.
9. Some dust created by power sanding, sawing, grinding, drilling and other construction
activities contain chemicals known to cause cancer, birth defects or other reproductive harm.
Some examples of these chemicals are:
Lead from lead based paint.
Crystalline silica from bricks, cement and other masonry products.
Arsenic and chromium from chemically treated lumber.
Your risk of exposure varies, depending on how often you do this type of work. To reduce
your exposure to these chemicals, work in a well-ventilated area and work with approved
safety equipment, such as face or dust masks that are specifically designed to filter out
microscopic particles.
10. Do not operate this machine while tired or under the influence of drugs, alcohol or any
medication.
11. Make certain the switch is in the OFF position before connecting the machine to the power
supply.
12. Make certain the machine is properly grounded.
13. Make all machine adjustments or maintenance with the machine unplugged from the power
source.
14. Remove adjusting keys and wrenches. Form a habit of checking to see that keys and
adjusting wrenches are removed from the machine before turning it on.
15. Keep safety guards in place at all times when the machine is in use. If removed for
maintenance purposes, use extreme caution and replace the guards immediately.
16. Check damaged parts. Before further use of the machine, a guard or other part that is
damaged should be carefully checked to determine that it will operate properly and perform
its intended function. Check for alignment of moving parts, binding of moving parts, breakage
of parts, mounting and any other conditions that may affect its operation. A guard or other
part that is damaged should be properly repaired or replaced.
5
17. Provide for adequate space surrounding work area and non-glare, overhead lighting.
18. Keep the floor around the machine clean and free of scrap material, oil and grease.
19. Keep visitors a safe distance from the work area. Keep children away.
20. Make your workshop child proof with padlocks, master switches or by removing starter keys.
21. Give your work undivided attention. Looking around, carrying on a conversation and “horse-
play” are careless acts that can result in serious injury.
22. Maintain a balanced stance at all times so that you do not fall or lean against the blade or
other moving parts. Do not overreach or use excessive force to perform any machine
operation.
23. Use the right tool at the correct speed and feed rate. Do not force a tool or attachment to do a
job for which it was not designed. The right tool will do the job better and safer.
24. Use recommended accessories; improper accessories may be hazardous.
25. Maintain tools with care. Keep blades sharp and clean for the best and safest performance.
Follow instructions for lubricating and changing accessories.
26. Make sure the work piece is securely clamped in the vise. Never use your hand to hold the
work piece.
27. Turn off the machine before cleaning. Use a brush or compressed air to remove chips or
debris —do not use your hands.
28. Do not stand on the machine. Serious injury could occur if the machine tips over.
29. Never leave the machine running unattended. Turn the power off and do not leave the
machine until the blade comes to a complete stop.
30. Remove loose items and unnecessary work pieces from the area before starting the machine.
Familiarize yourself with the following safety notices used in this manual:
This means that if precautions are not heeded, it may result in minor injury
and/or possible machine damage.
This means that if precautions are not heeded, it may result in serious injury or
possibly even death.
- - SAVE THESE INSTRUCTIONS - -

6
Specifications
Model.......................................................................................................................................................347V
Stock Number .........................................................................................................................................347V
Cutting Capacity
Round at 90°(mm)...............................................................................................................................105
Round at 45°(mm).................................................................................................................................65
Square at 90°(mm)..............................................................................................................................100
Square at 45°(mm)................................................................................................................................65
Rectangle at 90°(mm)............................................................................................................... 100 x 100
Rectangle at 45°(mm)................................................................................................................... 60 x 65
Blade Provided (mm) ........................................................................................................... 13 x 0.65 x 1330
Blade Speeds (FPM).............................................................................................................................30~80
Blade Wheel Diameter (mm).....................................................................................................................160
Motor...................................................................................................................................850W, 230V, 1Ph
Machine Dimension (mm)..................................................................................................... 650 x 310 x 450
Machine Package (mm)........................................................................................................ 724 x 375 x 446
Net Weight (kg)...........................................................................................................................................19
Base
Vice hand wheel
Bow Saw
Blade tension
Hand wheel
Operating handle
Operating Trigger
Blade Guide
On/off switch
Speed switch
Motor
Reduction Gear
Swivel Arm
Fig 1

7
Shipping Contents
Contents of the Carton
1 Machine body (A)
1 Handle (B)
1 Set Screw (C)
1 Set Bracket (D)
1 Rod (E)
1 Locking Handle (F)
1 Operating Instructions/Parts List
(not shown)
Assembly
Assembly
Referring to Fig 2:
1. Assemble the Rod (E) and Set
Bracket (D) and Locking Handle (F)
to machine base.
Fig 2
A
B
C
D
E
F

8
Controls and Indicators
Material to be cut
The tool is intended to cut matter
material like steel. Iron, copper, etc.
Never use this tool to cut wood and
explosive metal materials.
Use a correct plug
As different countries may use
different plug, so the user shall install
the right plug approved by the local
official.
Grounding instructions
In the event of a malfunction or
breakdown, Grounding provides a path
of least resistance for Electric current
to reduce the risk of electric shock.
This tool is equipped with an electric
cord having an equipment-grounding
conductor and a grounding plug. The
plug must be plugged into a matching
outlet that is properly installed and
grounded in accordance with all local
codes and ordinances.
Do not modify the plug provided - if it
will not fit the outlet, have the proper
outlet installed by a qualified
electrician. Improper connection of the
Equipment-grounding conductor can
result in a risk of electric shock. The
conductor with Insulation having an
outer surface that is green with or
without yellow stripes is the
equipment-grounding conductor. If
repair or replacement of the electric
cord or plug is necessary, do not
connect the Equipment-grounding
conductor to a live Terminal. Check
with a qualified electrician or service
Personal if the grounding instructions
are not completely understood, or if in
doubt as to whether the tool is properly
grounded.
Running in the blade
To safe guard the life and quality of a
new blade, the first two or three cuts
must be made exerting slight pressure
on the work piece so that the cutting
time is almost twice the one normally
needed (see cutting table).
Correct positioning of the piece in
the clamp
Work pieces to be cut must always be
held firmly in the clamp, directly
between the two jaws and without
inserting other objects. Were profiles,
flat bars or particular shapes to be cut,
refer to the examples shown in (Fig 3).

9
To cut a long work piece, use roll
stand to support it.
Choosing the Blade Fig 4
1. Never use bands which are
damaged or deformed.
2. Never clean the saw band whilst it is
in motion.
The choice of the right blade with its
own toothing which depends on the
type of material that you want to cut,
and on its standard. Your band saw is
fitted with a 1325mm x 13mm, 0.65mm
thick metal blade.
However, blades with 6 or 14 teeth per
inch are also available for special
cutting requirements, indicated in the
“cutting table” (Fig 4).
30
50
115 max
8/12
6
6
30x s.1
40x s2
50x s.5 max
14
14
8/12
30
40
115 max
8/12
6
6
30x s.1
50x s.2
14
14
25x35
40x50
115x153 max
8/12
6
6
Fig 3
Fig 4

10
Operation
Manual Cutting
When manual cutting slacken the set
screw G of (Fig 5) and push the arm H
of (Fig 5) to suitable position. Then
tighten the set screw G of (Fig 5).
To start the machine switch I of (Fig 6)
to ON.
Press the position trigger K of (Fig 7)
while conducting manual cutting.
To stop the machine switch J of (Fig 6)
to OFF when cutting finished.
Fig 5
G
H
Fig 6
I
J
Fig 7
K

11
Setting and Adjustment
Distance set bracket adjustment
If you have to cut several pieces
together at the same length, use the
set bracket L of (Fig 8) which is
provided with the band saw in order
to save times for repeating
measurements.
Blade guide adjustment
Your cutting machine is provided with
a sliding guide M of (Fig 9) with built-in
protection, which guides the part of the
blade necessary to make the cut, and
at the same time, protects the part of
the blade while not in use .To do this,
simply slacken the locking handle N of
(Fig 9) and slide the blade guide M of
(Fig 9), so as to bring it closer or
farther from the work piece that is set
to be cut.
Cutting angle adjustment
The band saw can cut a varying angle
from 0°to 60°. Slacken the locking
handle O of (Fig 10) and turn the bow-
saw P of (Fig 10) until the scale to the
desired angle. Then tighten the locking
handle after.
M
N
Fig 9
P
O
Fig 10
Fig 8
L

12
Maintenance
1.Be careful, before every cleaning or
maintenance operation, ensure that
the plug is not in the electric supply
socket.
2. Keep the cutting machine free from
residue by means of a vacuum cleaner
or a brush, passing it also over the
blade guides. Keep the band saw in
good condition, if it is not to be used
for a long time, put it away in its
original packing in a damp-free place.
In these cases it is advisable to
slacken the blade so as not to keep it
under tension unnecessarily.
Blade Replacement
1. Raise saw head to vertical position
and open the blade cover.
2. Loosen tension screw knob Q of
(Fig 11) sufficiently to allow the saw
blade to slip off the wheels. Install
the new blade.
3. Place the blade in between each of
the guide bearings R of (Fig 11).
4. Slip the blade around the motor
pulley (bottom) with the left hand
and hold in position.
5. Hold the blade taut against the
motor pulley by pulling the blade
upward with the right hand, which
is placed, at the top of the blade.
6. Remove left hand from bottom
pulley and place is at the top aide
of the blade put 1-2 drops of oil on
the blade. To continue the
application on the upward pull on
the blade.
7. Remove right hand from blade and
adjust the position of the top pulley
to permit left hand to slip the blade
around the pulley using the thumb.
Index and little finger as guides.
8. Adjust the blade tension knob Q of
(Fig 11) clockwise until it is just
right enough so no blade slippage
occurs. Do not tighten excessively.
9. Replace the blade guards.
Q
R
Fig 11

13
Transportation:
Before transporting the machine, be
sure to lock the upper and lower side
as shown in Fig 12. Then lift the
machine as shown in Fig 13.
Fig 12
Locked position
Fig 13

14
Troubleshooting
Fault
Probable Cause
Suggested Remedy
Excessive Blade
Breakage
1. Material loose in vise.
2. Incorrect speed or feed.
3. Teeth too coarse for material.
4. Incorrect blade tension.
5. Saw blade is in contact with work-
piece before the saw is started.
6. Misaligned guides.
7. Cracking at weld.
1. Clamp work securely.
2. Check Machinist’s Handbook for
speed/feed appropriate for setting
the material being cut.
3. Check Machinist’s Handbook for
recommended blade type.
4. Adjust blade tension to the point
where the blade just does not slip
on the wheel.
5. Start the motor before placing the
saw on the work-piece.
6. Adjust guides.
7. Longer annealing cycle.
Premature Blade
Dulling
8. Blade teeth too coarse.
9. Blade speed too high.
10. Inadequate feed pressure.
11. Hard spots in work-piece or scale
on/in work-piece.
12. Work hardening of material
(especially stainless steel).
13. Insufficient blade tension.
14. Operating saw without pressure on
work-piece.
8. Use a finer tooth blade.
9. Try a lower blade speed.
10. Decrease spring tension.
11. Increase the feed pressure (hard
spots). Reduce the blade speed,
increase feed pressure (Scale).
12. Increase the feed pressure by
reducing spring tension.
13. Increase tension to proper level.
14. Do not run blade at idle in/on
material.
Bad Cuts
(crooked)
15. Work-piece not square with blade.
16. Feed pressure too fast.
17. Guide bearings not adjusted
properly.
18. Inadequate blade tension.
19. Span between the two blade
guides too wide.
20. Dull blade.
21. Incorrect blade speed.
22. Blade guide assembly is loose.
23. Blade guide bearing assembly
loose.
24. Blade track too far away from
wheel flanges.
25. Guide bearing worn.
15. Adjust vise so it is square with the
blade. (Always clamp the work-
piece tightly in the vise).
16. Decrease pressure.
17. Adjust guide bearing clearance to
0.001 inch (0.002 inch maximum).
18. Gradually increase blade tension.
19. Move blade guide bracket closer to
work.
20. Replace blade.
21. Check blade speed.
22. Tighten blade guide assembly.
23. Tighten blade guide bearing
assembly.
24. Adjust blade tracking.
25. Replace worn bearing.

15
Troubleshooting
Fault
Probable Cause
Suggested Remedy
Bad Cuts (rough)
26. Blade speed is too high for feeding
pressure.
27. Blade is too coarse.
26. Reduce the blade speed and feed
pressure.
27. Replace with finer blade.
Blade is Twisting
28. Blade is binding in the cut.
29. Blade tension too high
28. Decrease feed pressure.
29. Decrease tension on Blade
Unusual Wear on
Side/Back of Blade
30. Blade guides worn
31. Blade guide bearings not adjusted.
32. Blade guide bearing bracket is
loose.
30. Replace blade guides.
31. Adjust blade guide bearings.
32. Tighten blade guide bearing bracket.

16
Saw Assembly Drawing (1 of 2)

17
Saw Assembly Drawing (2 of 2)

18
Saw Assembly – Parts
Index No. Part No. Description Size Q’ty
1 ...............PM-349001 ..............Motor.................................................................... ....................................1
2 ...............PM-347002 ..............Cable (not show).................................................. ....................................1
3 ...............PM-349003 ..............Screw .................................................................. ....................................4
4 ...............PM-349004 ..............Spring Washer .................................................... ....................................4
5 ...............PM-349005 ..............Washer ................................................................ ....................................4
7 ...............PM-349007 ..............Motor Flywheel .................................................... ....................................1
8 ...............PM-349008 ..............Washer.................................................................M6...............................1
8A ............PM-349008A............Screw .................................................................. ....................................1
9 ...............PM-349009 ..............Shaft Seat ............................................................ ....................................1
10 .............PM-349010 ..............Return Flywheel .................................................. ....................................1
.................51024.......................Saw Blade (not show)..........................................13x0.65x1330 .............1
11 .............855174.....................Bearing ................................................................ ....................................2
12 .............PM-349012 ..............Screw .................................................................. ....................................1
13 .............PM-347013 ..............Body Cover .........................................................black............................1
14 .............PM-349014 ..............Screw .................................................................. ....................................4
15 .............PM-349015 ..............Screw .................................................................. ....................................4
16 .............PM-349016 ..............Washer ................................................................ ....................................4
17 .............PM-349017 ..............Set Screw ............................................................ ....................................1
17A ..........PM-349017A............Blade Tension Sliding Block ............................... ....................................1
17B ..........PM-349017B............Slide .................................................................... ....................................2
18 .............PM-349018 ..............Washer ................................................................ ....................................4
19 .............PM-349019 ..............Spring Washer .................................................... ....................................4
20 .............PM-349020 ..............Screw .................................................................. ....................................4
21 .............HS201402................Head Lever Handgrip (including 21 & 22)............ ....................................1
22 .............PM-349022N............Handle ................................................................. ....................................1
23 .............PM-349023N............Tube .................................................................... ....................................1
24 .............PM-347024 ..............Body Frame .........................................................blue.............................1
25 .............PM-349025 ..............Nut ....................................................................... ....................................2
26 .............PM-349026 ..............Washer ................................................................ ....................................2
27 .............PM-349027 ..............Screw .................................................................. ....................................2
28 .............PM-349028 ..............Washer ................................................................ ....................................2
29 .............PM-349029 ..............Screw .................................................................. ....................................1
30 .............PM-349030 ..............Washer ................................................................ ....................................1
31 .............PM-349031 ..............Chip Fence........................................................... ....................................1
32 .............PM-349032 ..............Fixed Blade Guard Plate...................................... ....................................1
32A...........PM-353016 ..............Bearing ................................................................625..............................1
32B...........PM-349032B............Pin ....................................................................... ....................................1
33 .............PM-349033 ..............Washer ................................................................ ....................................2
34 .............855167.....................Bearing ................................................................ ....................................2
35 .............855167.....................Bearing ................................................................ ....................................2
36 .............PM-349036 ..............Bias Axis ............................................................. ....................................2
37 .............PM-349037 ..............Nut ....................................................................... ....................................2
38 .............PM-349038 ..............Washer ................................................................ ....................................2
39 .............PM-347039 ..............Arm ...................................................................... ....................................1
40 .............PM-353016 ..............Bearing ................................................................625..............................2
41 .............PM-349041 ..............Pin ....................................................................... ....................................2
42 .............PM-349042 ..............Washer ................................................................ ....................................2
43 .............PM-349043 ..............Washer ................................................................ ....................................2
44 .............855167.....................Bearing ................................................................ ....................................2
45 .............855167.....................Bearing ................................................................ ....................................2
46 .............PM-349036 ..............Bias Axis ............................................................. ....................................2
47 .............PM-347047R............L Blade Guard .....................................................red...............................1
48 .............PM-349048 ..............Bolt ...................................................................... ....................................1
49 .............PM-349049 ..............Screw .................................................................. ....................................1
50 .............PM-347050 ..............Vise Plate ............................................................ ....................................1
51 .............PM-349051 ..............Handle Wheel ..................................................... ....................................1

19
Saw Assembly – Parts
Index No. Part No. Description Size Q’ty
52 .............PM-349052 ..............Washer ................................................................ ....................................1
53 .............PM-349053 ..............Washer ................................................................ ....................................8
54 .............PM-349054B............Vise .....................................................................black............................1
54A ..........PM-349054A............Screw .................................................................. ....................................1
55 .............PM-349055 ..............Screw .................................................................. ....................................1
56 .............PM-349056 ..............Bushing ............................................................... ....................................1
56A ..........PM-349056A............Acme Screw ........................................................ ....................................1
57 .............PM-349057 ..............Knob .................................................................... ....................................2
58 .............PM-349058 ..............Shaft Bushing ...................................................... ....................................1
59 .............PM-349059 ..............Handle Rod ......................................................... ....................................1
60 .............PM-349060B............Fence base .........................................................black............................1
61 .............PM-349061 ..............Locking Seat ....................................................... ....................................1
62 .............PM-349062 ..............Screw .................................................................. ....................................1
62(1) ........PM-349062A............Washer ................................................................ ....................................1
63 .............PM-349063 ..............Screw .................................................................. ....................................6
63(1) ........PM-349063A............Washer ................................................................ ....................................1
64 .............PM-349064 ..............Rubber Pad ......................................................... ....................................4
65 .............PM-349065G............Base.....................................................................grey.............................1
66 .............PM-349066 ..............Nut ....................................................................... ....................................1
67 .............PM-349067 ..............Bolt ...................................................................... ....................................1
68 .............PM-349068 ..............Rod Stock Stop.................................................... ....................................1
69 .............PM-349069 ..............Stop Bracket......................................................... ....................................1
70 .............PM-349070 ..............Screw .................................................................. ....................................1
71 .............PM-347071 ..............Scale .................................................................... ....................................1
72 .............PM-349072 ..............Screw .................................................................. ....................................1
73 .............PM-349073 ..............Screw .................................................................. ....................................2
74 .............PM-349074 ..............Washer ................................................................ ....................................2
75 .............PM-349075 ..............Screw .................................................................. ....................................1
75(1) ........PM-349075A............Washer ................................................................ ....................................1
76 .............PM-349076 ..............Nut ....................................................................... ....................................1
76(1) ........PM-349076A............Bushing ............................................................... ....................................1
77 .............PM-349077 ..............Screw .................................................................. ....................................1
78 .............PM-349078 ..............Locking Pin .......................................................... ....................................1
79 .............PM-349079 ..............Nut ....................................................................... ....................................1
80 .............PM-349080 ..............Nut ....................................................................... ....................................1
81 .............PM-349081 ..............Nut ....................................................................... ....................................1
82 .............PM-349082 ..............Bolt ...................................................................... ....................................1
83 .............PM-347083 ..............Spring .................................................................. ....................................1
84 .............PM-347084 ..............Axis ..................................................................... ....................................1
85 .............PM-347085 ..............Miter Plate ...........................................................blue.............................1
86 .............PM-347086 ..............Washer ................................................................ ....................................1
M1 ...........PM-349101K............Main shaft (including M1-M11)............................. ....................................1
M2 ...........PM-347M02 .............Key ...................................................................... ....................................1
M3 ...........PM-347M03 .............Bearing ................................................................607..............................2
M4 ...........PM-347M04 .............C-Ring ................................................................. ....................................1
M5 ...........PM-347M05 .............Gear .................................................................... ....................................1
M6 ...........PM-349101 ..............Key ...................................................................... ....................................1
M7 ...........PM-347M07 .............Gear Shaft ........................................................... ....................................1
M8 ...........PM-347M08 .............Gear Box ............................................................. ....................................1
M9 ...........PM-347M09 .............Bearing ................................................................6202............................2
M10 .........PM-347M10 .............Oil Seal ................................................................ ....................................1
M11 .........PM-347M11 .............Gear .................................................................... ....................................1
M12 .........PM-349112 ..............UP Cover ............................................................. ....................................1
M13 .........PM-349113 ..............Screw ..................................................................M4x8...........................1
M14 .........PM-349114 ..............Nut ....................................................................... ....................................1
M15 .........PM-349115 ..............Fan ...................................................................... ....................................1

20
Saw Assembly – Parts
Index No. Part No. Description Size Q’ty
M16 .........PM-349116 ..............Screw ..................................................................M5x20.........................1
M17 ..........PM-349117 ..............Electrical Board.................................................... ....................................1
M18 ..........PM-349118 ..............Oil Seal................................................................. ....................................1
M19 ..........PM-349119 ..............Motor.................................................................... ....................................1
M20 ..........PM-349120 ..............Switch...................................................................KJD-10........................1
M21 ..........PM-349121 ..............Down Cover ......................................................... ....................................1
M22 ..........200032.....................Plug...................................................................... ....................................1
M23 ..........PM-349123 ..............Handle Wire ......................................................... ....................................1
Table of contents
Other Promac Saw manuals

Promac
Promac SX-824DG User manual

Promac
Promac MBS-910CS User manual

Promac
Promac MBS-56CS-M User manual

Promac
Promac SY-350-ALU Service manual

Promac
Promac SX-821DA User manual

Promac
Promac MCS-275 User manual

Promac
Promac SX-823DGSVI User manual

Promac
Promac SY-315 User manual

Promac
Promac 348C User manual

Promac
Promac SY-350V User manual
Popular Saw manuals by other brands

Evolution
Evolution EVOSAW2301 instructions

Stihl
Stihl FS 500 instruction manual

Clarke
Clarke Metalworker CBS45MD Operation & maintenance instructions

Black & Decker
Black & Decker Powerful Solutions KS1600L Original instructions

McConnel
McConnel 1.5M Operator's manual

Evolution
Evolution R210SMS Original instructions