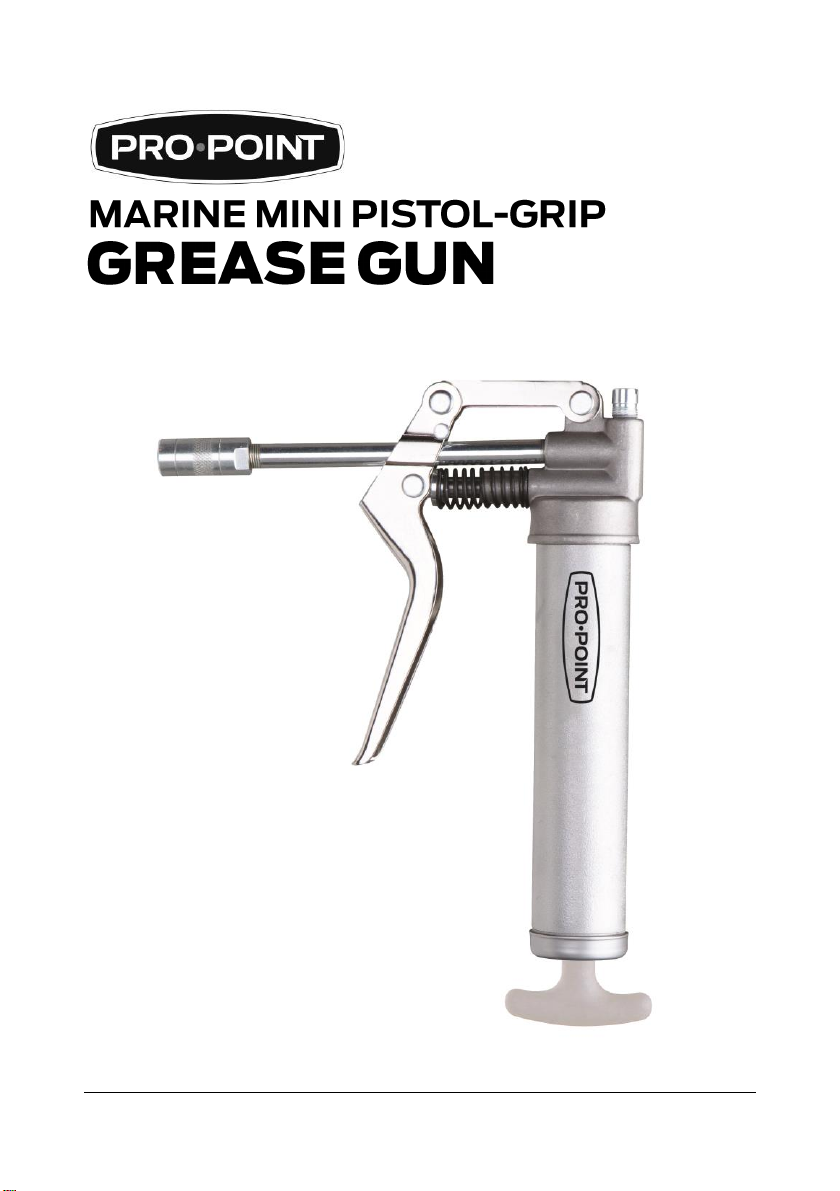
V1.0 Marine Mini Pistol-Grip Grease Gun 9070541
Visit www.princessauto.com for more information 7
3. Slowly pull back the handle to draw grease into the empty barrel and
lock it with the end cap.
4. Once the barrel is full, shake it to allow the grease to settle. If this
creates additional space in the barrel, add more grease to ensure it is
completely full.
5. Screw the grease gun head onto the barrel, stopping 2 or 3 turns
before the head is fully tightened.
6. Prime the grease gun by following the steps in the Priming section
below.
7. Once all air bubbles are removed, fully tighten the grease gun head
onto the barrel.
8. Whether using the pipe and coupler or a flexible hose (not included),
place a thread sealant, such as PTFE tape, on the connection to
ensure it is seal-proof connection. (DO NOT over tighten as this may
fracture the outlet.)
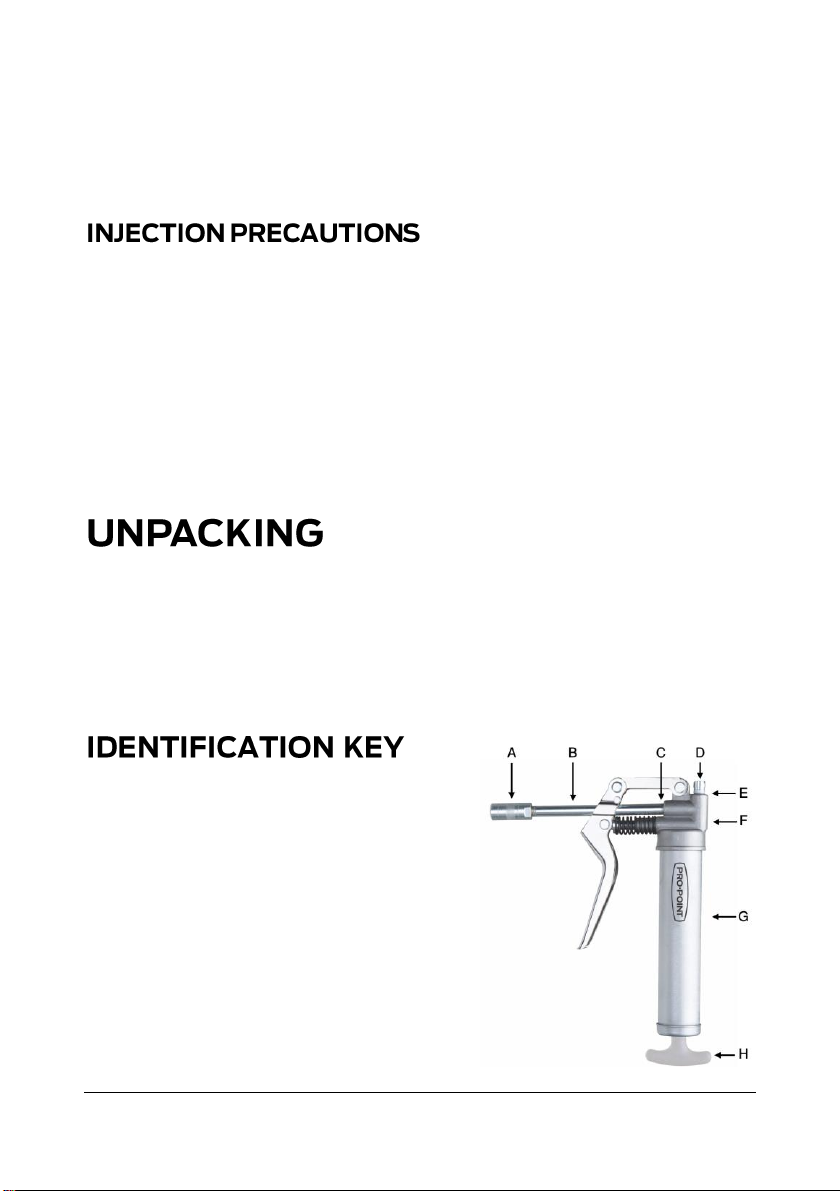
1. Choose either the front port (C) or top port (E) to attach the included
pipe (B) based on the workpiece’s needs.
2. Screw the pipe onto the selected port and tighten.
2.1 Insert the pipe through the trigger mechanism before screwing it
into the front port.
3. Screw the port cap (D) onto the other port.
A common occurrence with all grease equipment is trapped air pockets in
grease. Trapped air causes zero or reduced grease discharge.
Remove air pockets from grease by accomplishing the following:
1. Unscrew the head from the barrel by only 2 or 3 turns.
2. Disconnect the handle and the plunger rod from the end cap.
3. Force the plunger rod in and out a few times to compress the grease
and force out trapped air from the loose connection between the
grease gun barrel and head.
4. Tighten the head fully onto the barrel.