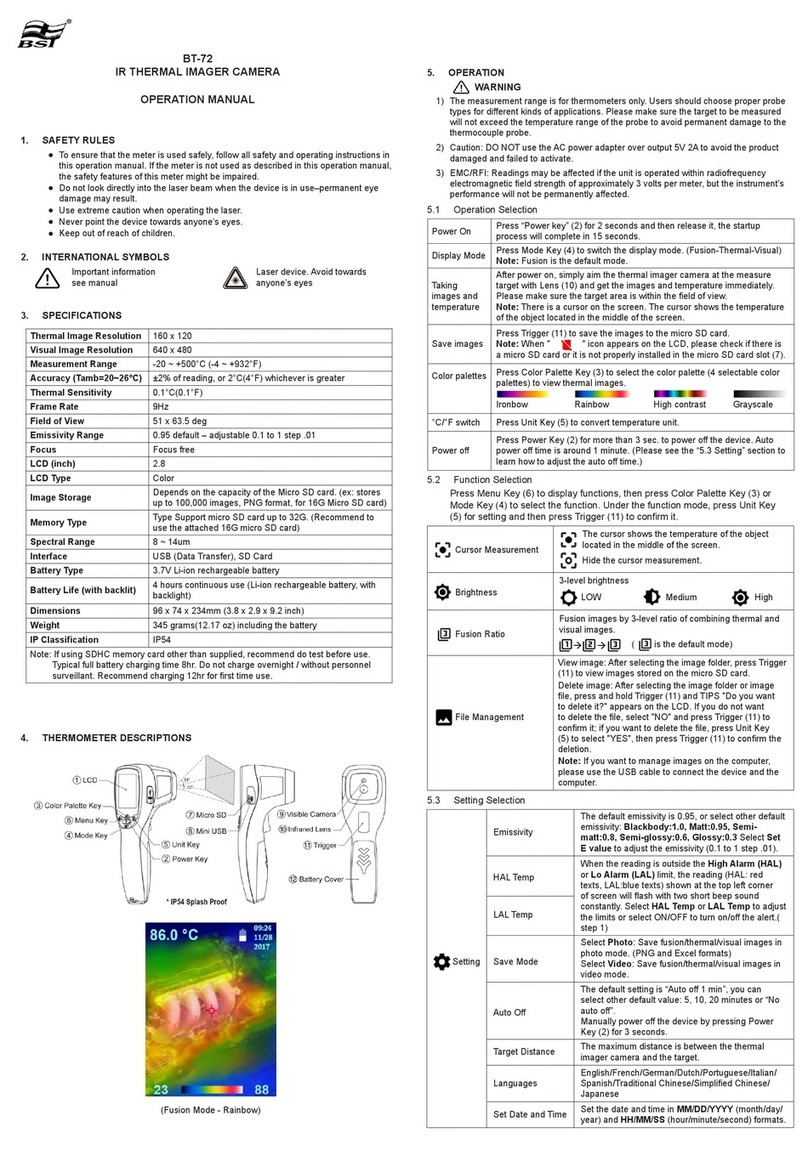
If the device is operated from an external power source and the APS3 battery is not connected, an icon is
displayed .
When the external power supply is disconnected, the device switches to the internal power supply
without the device powering off.
Attention! Charging Power Bank APS3 batteries at air temperatures below 0 °C can result in reduced battery life.
When using external power, connect Power Bank to the switched-on device, which have worked for several
minutes.
OPERATION
ATTENTION! The lens of the device must not be pointed at any sources of intense energy, such as laser-emitting
devices or the sun. This may damage the electronic components in the device. Damage caused by failure to
comply with the operating guidelines is not covered under warranty.
Switching on and adjusting the image
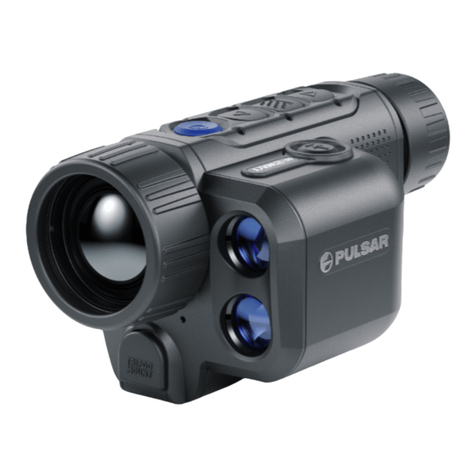
Remove the lens cover (7). Secure the cover to the strap using the magnet built into the cover.
Power up the device by pressing the ON button (5).
Adjust the resolution of the icons on the display by rotating the diopter adjustment ring on the eyepiece
(1). In future, it will not be necessary to rotate the eyepiece diopter adjustment ring, regardless of
distance and other conditions.
Calibrate the image with a short press of the ON/OFF button (5) (where calibration mode SA or M has
been selected). Close the lens cap during manual calibration
Select the required observation mode ("FOREST"/"IDENTIFICATION"/"ROCKS"/"USER") with a short press
of the UP button (4). User mode allows you to configure and save custom brightness and contrast settings.
Adjustment of the display brightness and contrast, as well as turning on the smooth digital zoom, are
described in the QUICK MENU FUNCTIONS section.
Turn the device off after use with a long press of the ON button (5).
CALIBRATING THE MICROBOLOMETER
Calibration enables the microbolometer temperature background to be equalized and defects in the image (such
as vertical lines, phantom images etc.) to be eliminated.
During calibration, the image on the display freezes briefly for up to 1 second.
There are three calibration modes: manual (M), semi-automatic (SA) and automatic (A).
Select the required mode in the CALIBRATION section of the menu .
M mode (manual). Secure the lens cap and briefly press the ON button (5). After completing the
calibration process, remove the lens cap.
SA mode (semi-automatic). Calibration is engaged by a brief press of the ON button (5). The lens cap
does not need to be secured (the microbolometer is closed by an internal shutter).
A mode (automatic). The device is calibrated autonomously, in accordance with the software algorithm.
The lens cap does not need to be secured (the microbolometer is closed by an internal shutter). In this
mode, the device may be calibrated by the user using the ON button (5).
DISCRETE DIGITAL ZOOM
