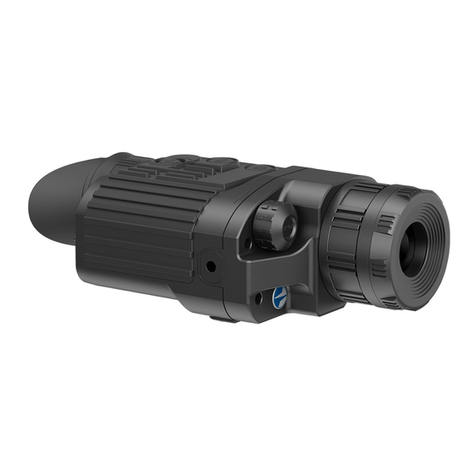
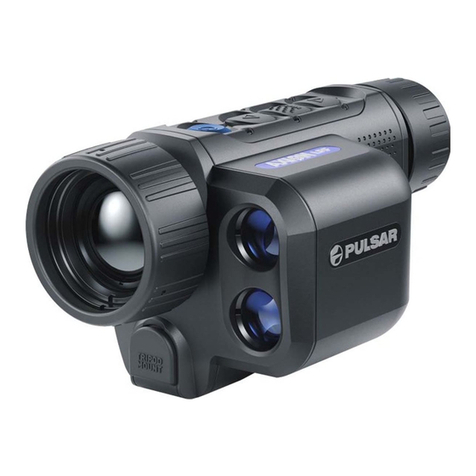
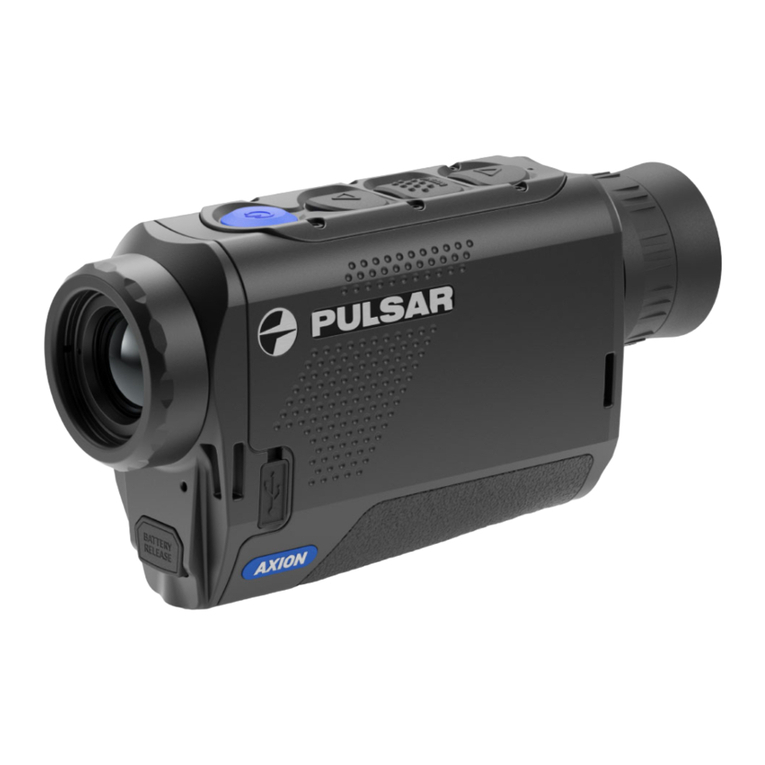
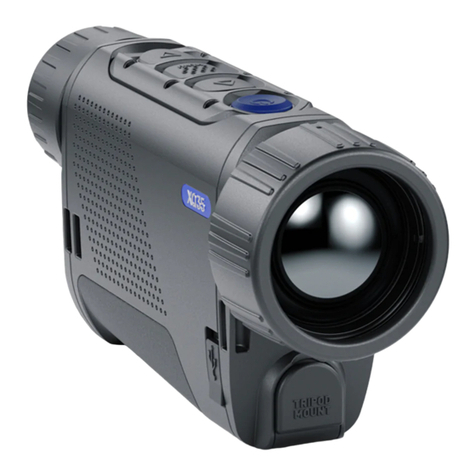
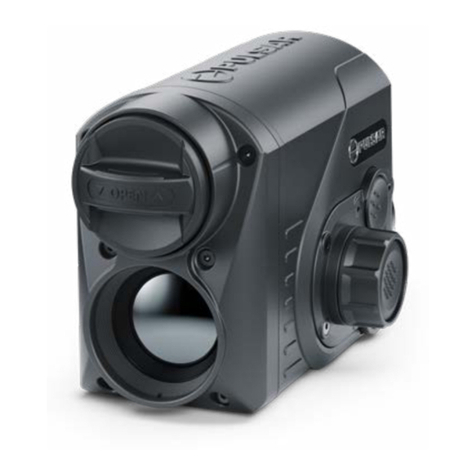
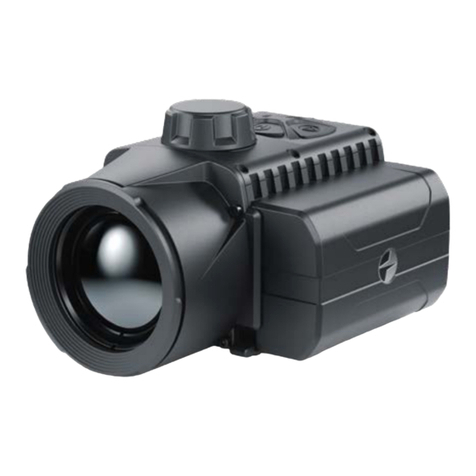
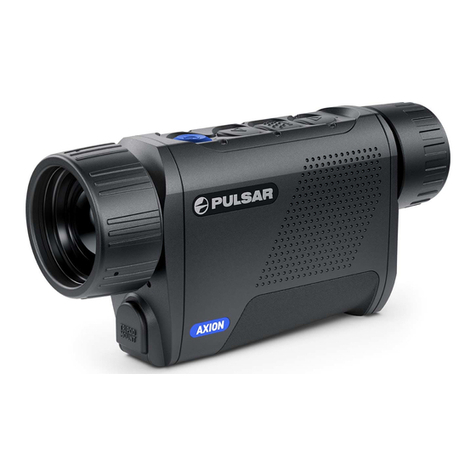
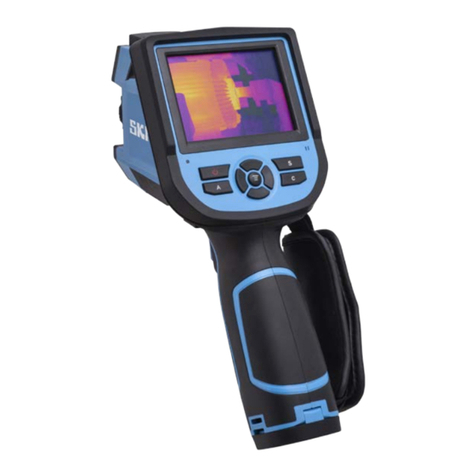
Pulsar TRAIL LRF XQ38 User manual

TRAIL LRF
Thermal
Imaging Sights
Quick Start Guide

For detailed information about the device, please download the
complete user manual:
www.pulsar-nv.com/products/thermal-imaging-scopes
EN
1-6
v.0218
Attention! Trail LRF thermal imaging sights require a license if exported
outside your country.
THERMAL SIGHTS TRAIL LRF

Pic. 1
Laser rangefinder
Button
MENU Eyeshade
Navigation
button
DOWN Recording
button
REC
Dioptre adjustment
ring
Battery Pack
lever
Navigation
button UP/
Rangefinder
Lens focusing ring
Power On/Off
button
Micro-USB port
Lens cover
12
TURNING ON AND IMAGE SETUP
Getting Started
џOpen the lens cover (1).
џTurn the on with a short press of the ON/OFF (11) button.device
џRotate the (7) to see crisp image of the icons on the display.dioptre adjustment ring
џRotate the (2) to see a crisp image of the object observed.lens focusing ring
џSelect a preferable calibration mode - manual (M), semi-automatic (SA) or automatic (A) in
the main menu.
џCalibrate the image with a short press of the 11 button (if calibration ON/OFF ( )
џmode SA or M has been selected). Close the lens cover during manual calibration.
џSet up display brightness, contrast and continuous zoom in the
џQUICK MENU (button MENU - brief press).
џTurn the device off with a long press of the ON/OFF (11) button.
Buttons and Components
Buttons Legend
Power ON/OFF
button (11)
Button MENU (4)
Navigation
button DOWN (5)
Recording
button REC (6)
Brief press:
M
Long press:
Power on sight /
Calibrate sensor
Start video recording /
Take a picture
Change step-up zoom
Power off sight /
Display
Photo mode ON /
Switch to Video mode
Quick menu access /
Confirm selection /
Switch between quick menu items
Main menu access / exit
PiP mode ON/OFF
220V socket
Lever
MicroUSB port
LED Indicator
USB cable
Charger
Continuous green LED - full battery
Continuous red LED - empty battery
џInsert the Battery Pack (12) into the supplied charging base. Close the lever (14).
џConnect one end of the micro USB cable (16) to the microUSB port (15) of the charging
base.
џConnect the other end of the micro USB cable to the charger (17).
џConnect the charger (17) to a 220V socket (18).
Charging the Battery Pack
џLift the lever (14). Remove the
Battery Pack (12) from the
charging base.
џInsert the Battery Pack (12) into
the thermal imager as shown with
F element on the Battery Pack
facing downwards.
џFix the battery by clicking the
lever (13).
Installing The Battery Pack
Navigation
button UP (3)
Select color palette /
Start/stop SCAN mode
Battery Pack
Activate rangefinder /
Measure distance
14
16
12
15 17 18

Stream Vision
Download the Stream Vision application to stream live video from the display of your
TRAIL LRF to a smartphone / tablet PC via Wi-Fi.
Further guidelines online: www.pulsar-nv.com
Installation of mount
Using the integrated laser rangefinder
Unscrew the screws halfway,
apply some thread sealant
onto the thread of the screws
and tighten them fully (do not
overtighten). Let the sealant
dry for a while.
The mounting holes in the base of the riflescope
enable the mount to be installed in one of the multiple
positions. The choice of the mounting position helps
the user to ensure the correct eye relief depending on
the rifle type.
I sightnstall the on the rifle and check if the
position is suitable for you, then remove the
sight. Position 1:
3 screws
Position 2:
2 screws
Position 3:
2 screws
The riflescope is ready to be installed on a rifle and to be zeroed.
Before going to hunt, please follow instructions in the section “Zeroing”.
Please go to the main menu item for additional settings.
џTurn the sight on with a brief press of the button
ON/OFF (11).
џPress briefly the button UP (3) to start the
rangefinder - rangefinding indicator will appear on
the display.
џPoint the rangefinding indicator at an object to
measure.
џPress briefly the button UP (3) to measure
distance.
џDistance value will appear in the top right corner
of the display.
џTurn the sight on with as brief press of the button ON/OFF (11).
џPress briefly the button UP (3) to start the rangefinder - rangefinding indicator will
appear on the display.
џPoint the rangefinding indicator at an object to measure.
џPress and hold down the button UP (3) to continuously measure the distance to
various object or moving objects.
џDistance value will appear in the top right corner of the display.
SCAN mode
PACKAGE CONTENTS
Thermal Imaging Sight
IPS5 Battery Pack
Battery charger with
mains charger
Wireless remote control
Carrying case
MicroUSB cable
Mount (with screws and
hex-nut wrench(-es))*
User manual
Lens cloth
Warranty card
* Mount may not be included for certain orders.
This product is subject to change in line with improvements to its design.
The latest edition of this user manual is available online at www.pulsar-nv.com
Attach the mount to the base of
the riflescope using a hex-nut
wrench and screws.
11
7m
[ ]
43

Li-Ion Battery Pack IPS5 / 5000 mAh /
DC 3.7V
5V (USB)
3 – 4.2V3 – 4.2V3 – 4.2V
5V (USB)
5V (USB)
-25 °С ... +50 °С / -13 °F ... 122 °F-25 °С ... +50 °С / -13 °F ... 122 °F
5 6
287x102x76 285x102x76 292x102x76
22.2 23.6 25
uncooled
(at t=22°C), hours* (at t=22°C), hours*
Degree of protection, IP code Degree of protection, IP code
Operating temperature range Operating temperature range
Dimensions, mm
inch
Dimensions, mm
inch
Weight (without battery/mount), kg
oz
Weight (without battery/mount), kg
oz
uncooled uncooled uncooled
XQ28
76514
SKU#
384x288
F28mm, F/1.2
1.5 2.1
2.1-8.4
2/4
13.3
5
36/36
AMOLED / 640x480
8
6000
0.63
15
15
XQ38
76516
XQ50
76518
2.7
2.7-10.8
50 50
50
17 17
17
1.5-6
±4
88
15
15
Eye relief, mm Eye relief, mm
Click value, mm at 100 m (H/V)
Click range, mm@100m (H/V)
384x288 384x288
F38mm, F/1.2 F50mm, F/1.2
2/4 2/4
50 50 50
9.87.5
23.3 17.213.1
±4 ±4
800 1350 1800
55
27/27 20/20
7200/72005400/5400 4000/4000
6000 6000
12 12 12
IPX7 IPX7 IPX7
11.3x4x3 11.2x4x3 11.5x4x3
0.67 0.71
Rangefinder Rangefinder
Max. measuring range, m** Max. measuring range, m**
Measuring accuracy, m Measuring accuracy, m
1000
1000
+/-1
+/-1
1000
1000
+/-1
+/-1
MODEL TRAIL LRF
Microbolometer: Microbolometer:
Type Type
Resolution, pixels Resolution, pixels
Frame rate, Hz Frame rate, Hz
Pixel size, µm Pixel size, µm
Optical characteristics: Optical characteristics:
Magnification, x Magnification, x
Continuous digital zoom, x Continuous digital zoom, x
Digital zoom Digital zoom
Display: Display:
Type / Resolution, pixels Type / Resolution, pixels
Operational characteristics: Operational characteristics:
Power supply Power supply
Battery type / Capacity / Battery type / Capacity /
Output voltage Output voltage
External power supply External power supply
Operating time on battery pack Operating time on battery pack
Video / photo resolution, pixel Video / photo resolution, pixel
Video / photo format Video / photo format
Built-in memory Built-in memory
Built-in memory capacity Built-in memory capacity
Wi-Fi channel Wi-Fi channel
Frequency Frequency
Line-of-sight reception range, m Line-of-sight reception range, m
Video recorder Video recorder
640x480
640x480
.avi / .jpg
.avi / .jpg
8 Gb
8 Gb
150 min video or ˃10 000 pictures
2.4GHz 802.11 b/g/n
2.4GHz 802.11 b/g/n
640x480
640x480
.avi / .jpg
.avi / .jpg
8 Gb
8 Gb
Objective lens Objective lens
Field of view (H), degree Field of view (H), degree
m@100m m@100m
Dioptre adjustment, D Dioptre adjustment, D
Max. observation range of Max. observation range of
an animal, such as a deer, m/y an animal, such as a deer, m/y
Close-up range, m Close-up range, m
(IEC60529)
This product is subject to change in line with improvements to its design.
The latest edition of this user manual is available online at www.pulsar-nv.com
1.2
1.2-9.6
AMOLED / 640x480
Li-Ion Battery Pack IPS5 / 5000 mAh /
DC 3.7V
17 17
1.6
1.6-12.8
5V (USB)
50
50
88
640x480 640x480
F38mm, F/1.2 F50mm, F/1.2
2/4/8 2/4/8
50 50
16.312.4
28.6 21.8
±4 ±4
1350 1800
55
45/45 34/34
9000/9000 6800/6800
3 – 4.2V3 – 4.2V
5V (USB)
6000 6000
12 12
IPX7 IPX7
285x102x76 292x102x76
0.67 0.71
SKU#
Wavelength, nm Wavelength, nm
XP38
76517
XP50
76519
Reticle Reticle
Max. recoil power on rifled Max. recoil power on rifled
weapon, Joules weapon, Joules
Max. recoil power on Max. recoil power on
smooth-bore weapon, Joules smooth-bore weapon, Joules
905
905 905
905
11.2x4x3 11.5x4x3
23.6 25
640x480
.avi / .jpg
8 Gb
15
1000
+/-1
905
** Depends on the characteristics of the object under observation and environmental conditions.
Click range, mm@100m (H/V)
* Actual operating time depends on the extent of using Wi-Fi, integrated video recorder and rangefinder. * Actual operating time depends on the extent of using Wi-Fi, integrated video recorder and rangefinder.
MODEL TRAIL LRF
uncooled
Other manuals for TRAIL LRF XQ38
1
This manual suits for next models
9
Table of contents
Other Pulsar Thermal Camera manuals

Pulsar
Pulsar TELOS XP50 User manual

Pulsar
Pulsar KRYPTON FXG50 User manual

Pulsar
Pulsar HELION 2 XP Series User manual

Pulsar
Pulsar PROTON FXQ30 User manual

Pulsar
Pulsar HELION XQ28F User manual

Pulsar
Pulsar Axion XM22S User manual

Pulsar
Pulsar Axion 2 XQ35 User manual

Pulsar
Pulsar QUANTUM XD 19S User manual

Pulsar
Pulsar AXION LRF XQ38 User manual

Pulsar
Pulsar QUANTUM LSQ 19 User manual