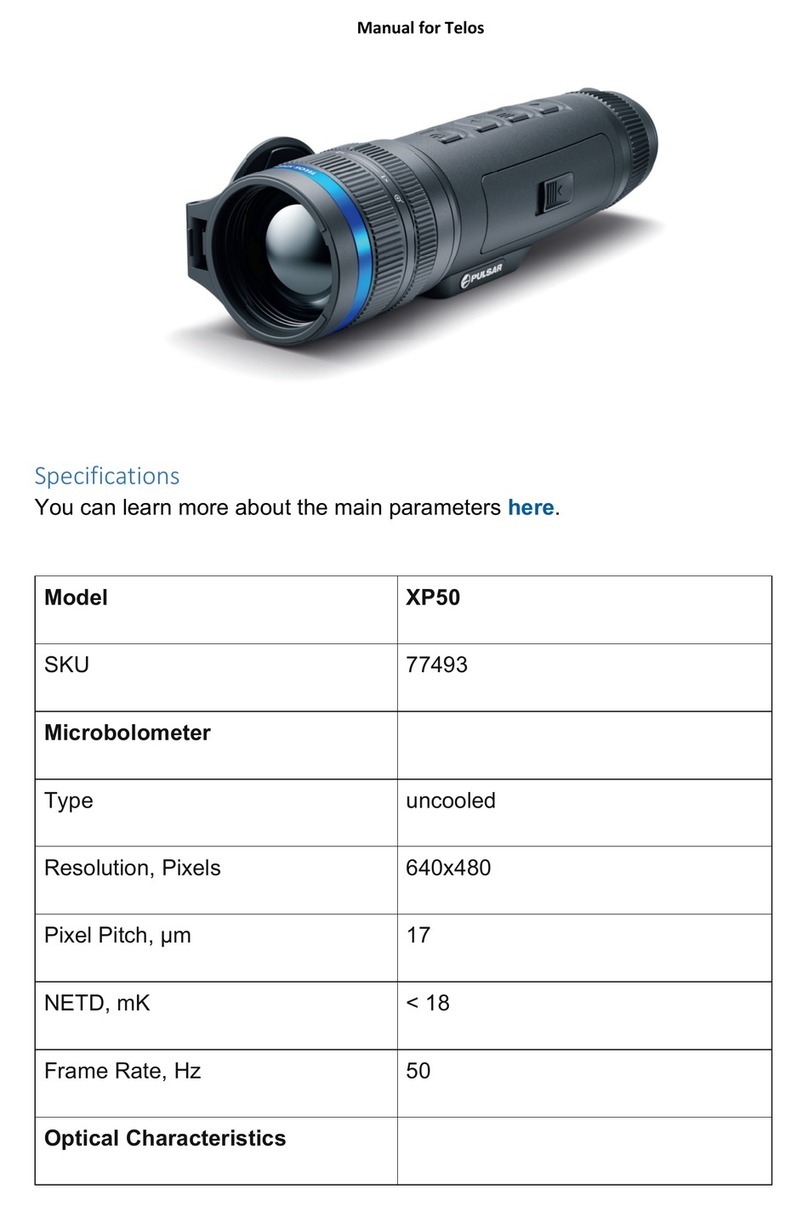
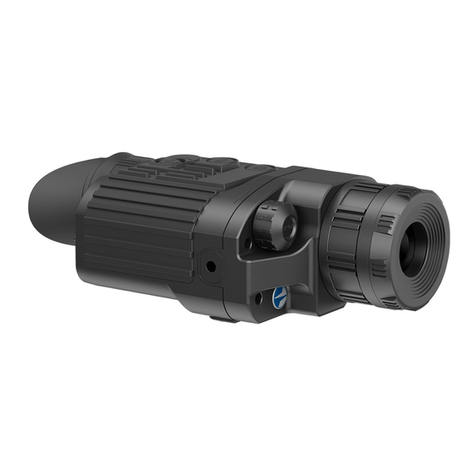
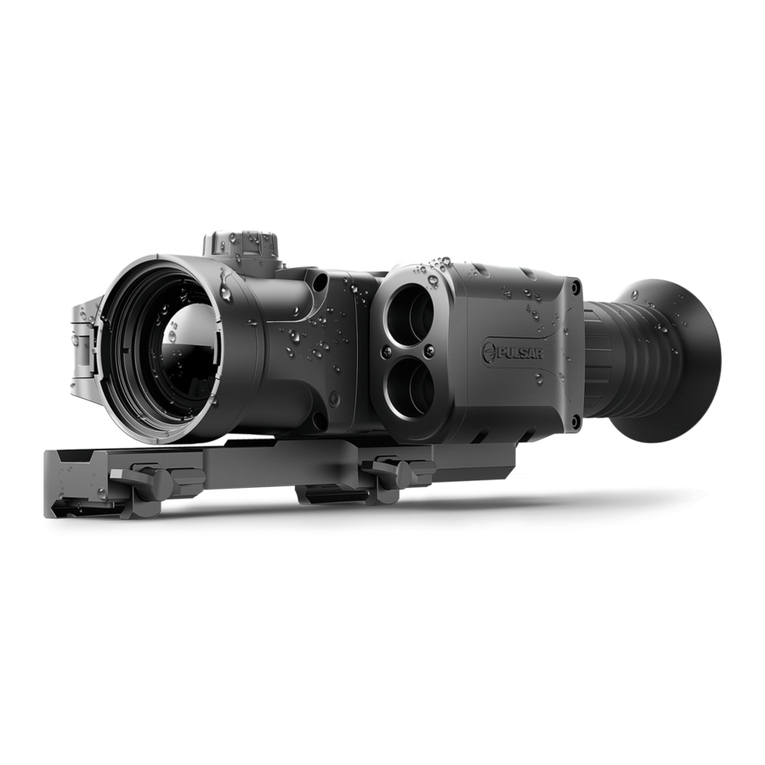
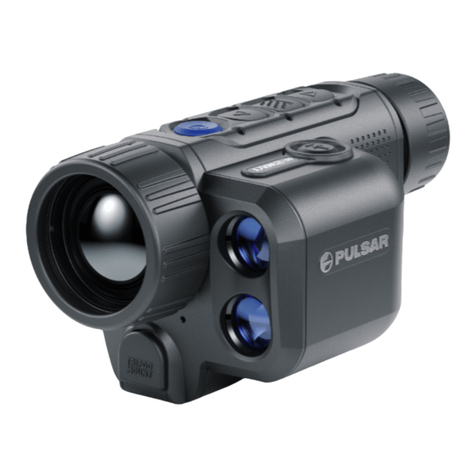
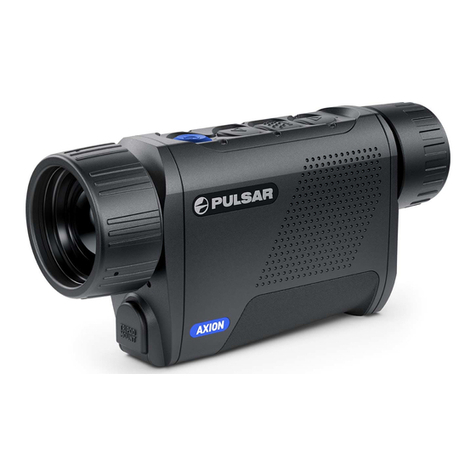
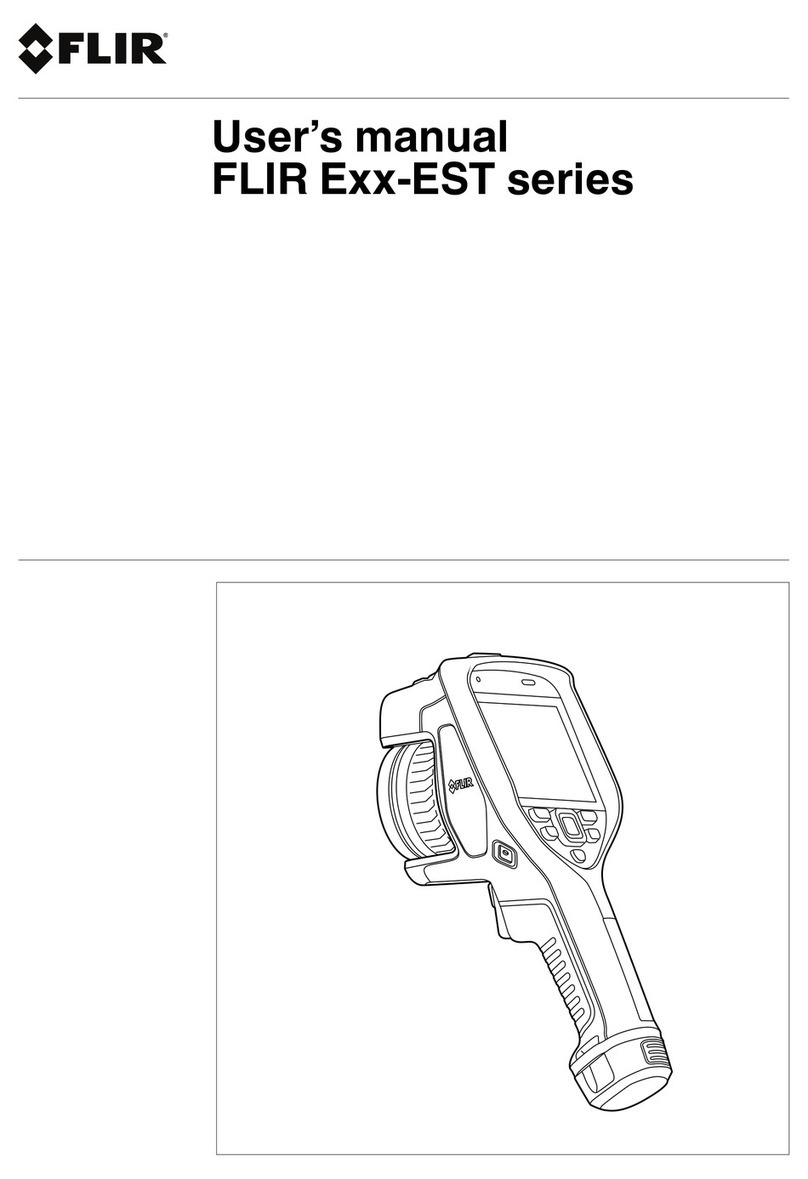
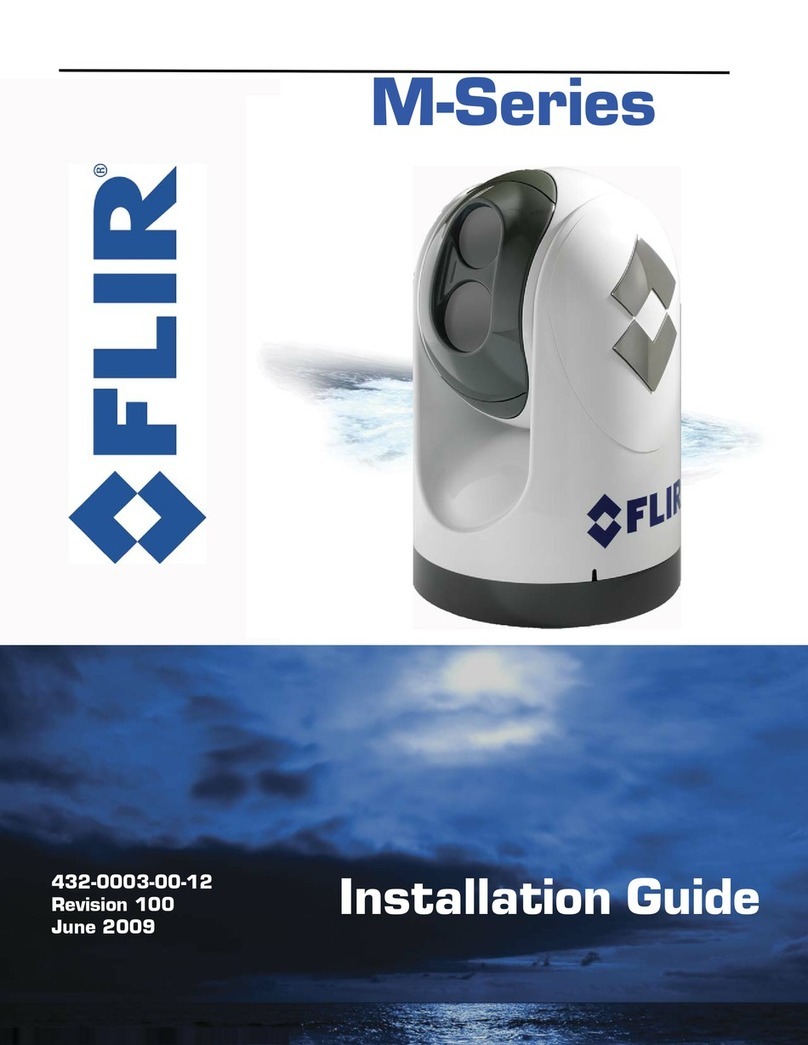
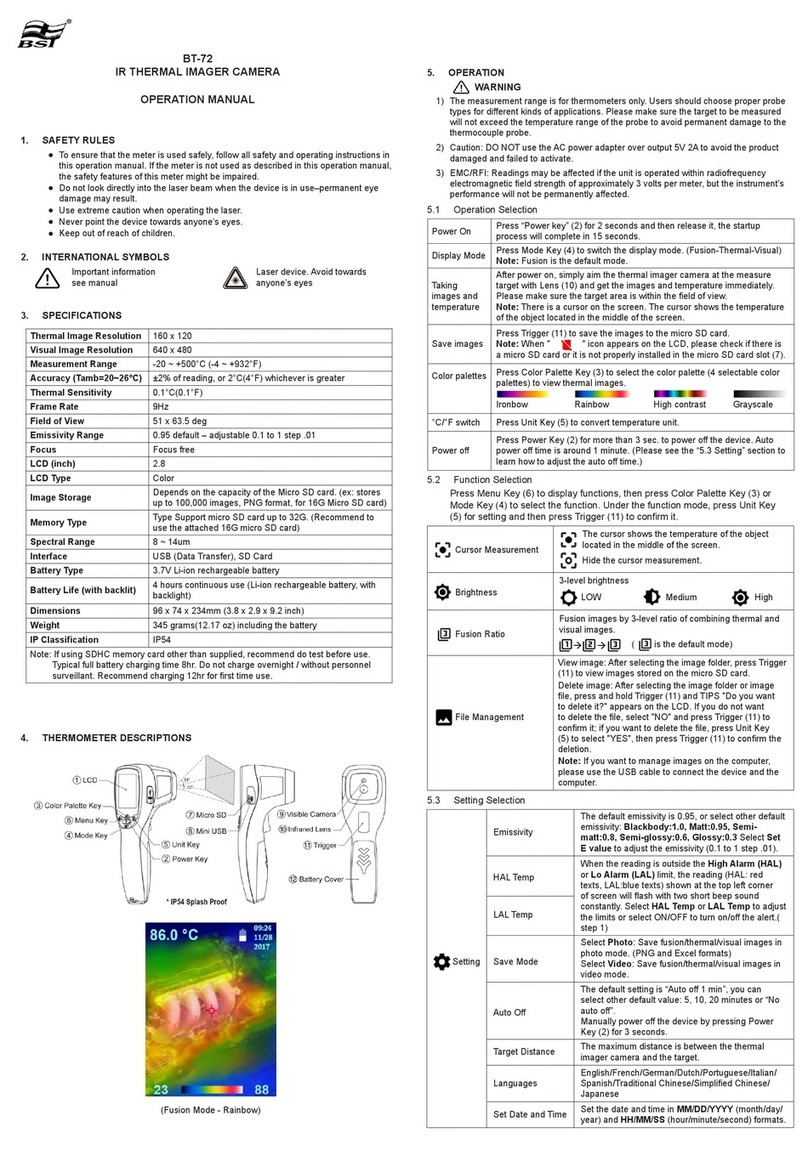
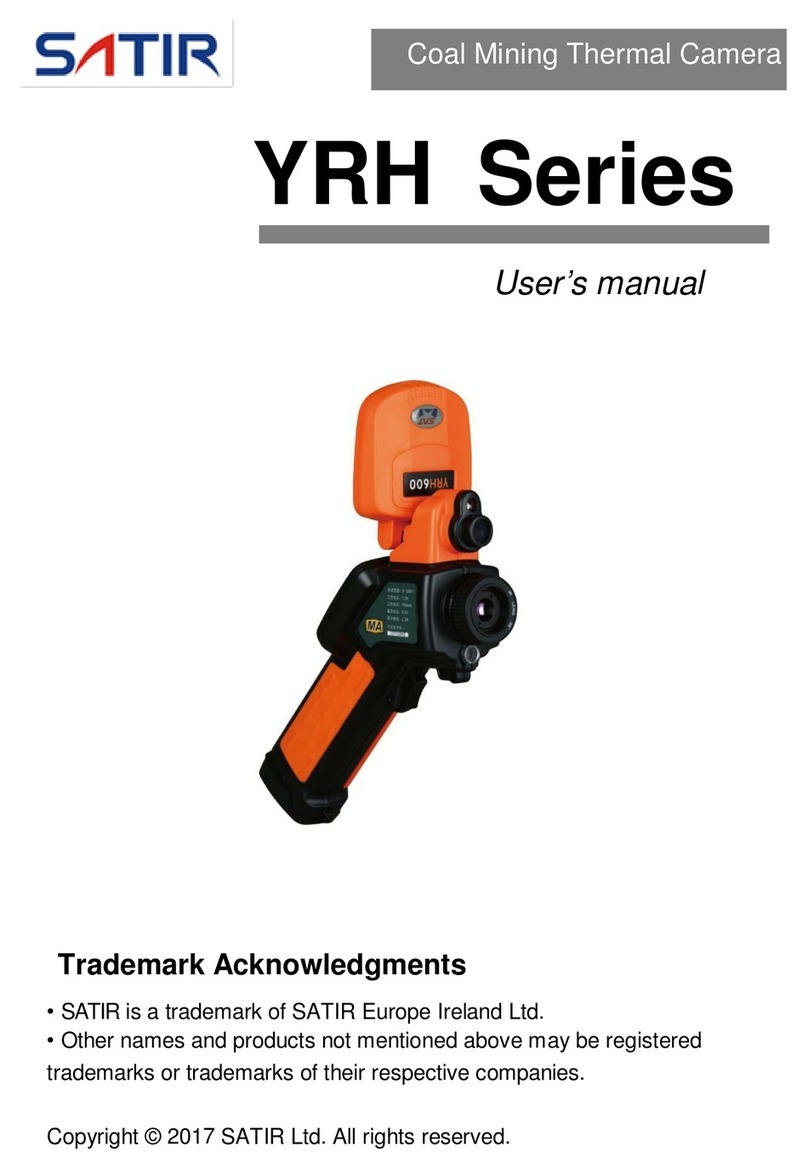
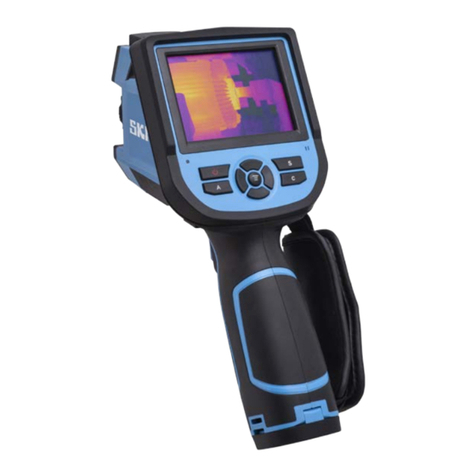
Pulsar AXION LRF XQ38 User manual

Quick Start Guide
AXION LRF XQ38
Thermal Imaging Scope

EN Attention! A license is required for AXION Thermal Imager when exporting outside your country.
Electromagnetic compatibility.
This product complies with the requirements of European standard EN 55032: 2015, Class A.
Caution! Operating this product in a residential area may cause radio interference.
For detailed information on the device, download the complete manual:
https://www.pulsar-nv.com/glo/products/33/thermal-imaging-scopes/axion-xq-lrf/
Caution! Use of controls or adjustments or performance of procedures other than those specied
herein may result in hazardous radiation exposure.
FR Attention! Les imageurs thermiques AXION nécessitent l’obtention d’une licence s’ils sont exportés
hors de votre pays.
Compatibilité électromagnétique.
Ce produit est conforme aux exigences de la norme européenne EN 55032: 2015, classe A.
Attention! L’utilisation de ce produit dans une zone résidentielle peut provoquer des interférences radio.
Pour des informations détaillées sur l’appareil, téléchargez le manuel d’utilisation complet:
https://www.pulsar-nv.com/glo/products/33/thermal-imaging-scopes/axion-xq-lrf/
Attention! L’emploi de commandes, réglages ou performances de procédure autres que ceux
spéciés dans ce manuel peut entrainer une exposition á des rayonnements dangereux.
DE Achtung! Wärmebildgeräte AXION erfordern eine Lizenz, wenn sie über die Grenzen Ihres Landes
exportiert werden.
Elektromagnetische Verträglichkeit.
Dieses Produkt entspricht den Anforderungen der Europäischen Norm EN 55032:2015, Klasse A.
Achtung! Der Betrieb dieses Produktes in Wohngebieten kann Funkstörungen verursachen.
Laden Sie die Vollversion der Bedienungsanleitung für ausführliche Informationen zum Gerät herunter:
https://www.pulsar-nv.com/glo/products/33/thermal-imaging-scopes/axion-xq-lrf/
Vorsicht! Wenn andere als die hier angegebenen Bedienungs- oder Justiereinrichtungen benutzt oder
andere Verfahrensweisen ausgeführt werden, kann dies zu gefährlicher Strahlungsexposition führen.
ES ¡Atención! Los dispositivos de imagen térmica AXION requieren una licencia si se exportan fuera de
su país de usted.
Compatibilidad electromagnética.
Este producto cumple con los requisitos de la norma europea EN 55032:2015, Clase A.
¡Advertencia! El uso de este producto en la zona residencial puede provocar la interferencia de
radiofrecuencia.
Para obtener más información sobre el dispositivo, descargue el manual completo de usuario:
https://www.pulsar-nv.com/glo/products/33/thermal-imaging-scopes/axion-xq-lrf/
Atención! La utilización de controles, ajustes o parámetros de procedimiento distintos de los aqui
indicados puede provocar una exposición a radiaciones peligrosas.
IT Attenzione! I visori termici AXION necessitano di un certicato nel caso in cui vengano esportati.
Compatibilità elettromagnetica.
Questo prodotto è conforme ai requisiti della norma europea EN 55032:2015, Classe A.
Attenzione! L’uso di questo prodotto in un’area residenziale può causare dei radiodisturbi.
Per ulteriori informazioni sul dispositivo, scaricare il manuale d’uso completo:
https://www.pulsar-nv.com/glo/products/33/thermal-imaging-scopes/axion-xq-lrf/
Attenzione! In caso di utilizzo di dispositivi di comando o di regolazione di natura diversa da quelli
riportati in questa sede oppure qualora si seguano procedure diverse vi é il pericolo di provocare
un’esposizione alle radiazioni particolarmente pericolosa.
RU Внимание! Тепловизоры AXION требуют лицензии, если они экспортируются за пределы Вашей страны.
Электромагнитная совместимость.
Данный продукт соответствует требованиям европейского стандарта EN 55032:2015, Класс А.
Внимание! Эксплуатация данного продукта в жилой зоне может создавать радиопомехи.
Для получения подробной информации о приборе скачайте полное руководство по
эксплуатации: https://www.pulsar-nv.com/glo/products/33/thermal-imaging-scopes/axion-xq-lrf/
Внимание! Использование других не упомянутых здесь элементов управления и настройки или
других методов эксплуатации может подвергнуть Вас опасному для здоровья излучению.
LRF Laser
Aperture
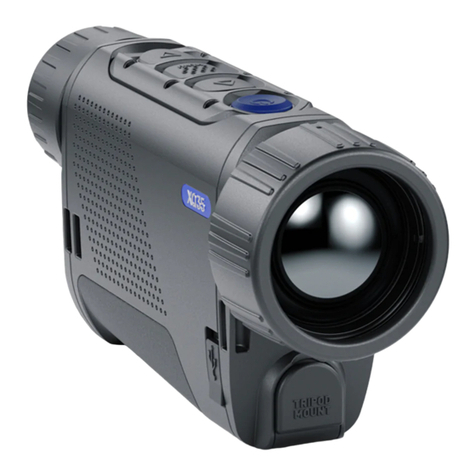
Thermal Imaging Scope AXION LRF
Imageur thermique AXION LRF
Wärmebildgerät AXION LRF
Monocular térmico AXION LRF
Termovisore AXION LRF
Тепловизор AXION LRF
1-6
7-12
13-18
19-24
25-30
21-36
ENGLISH
FRANÇAIS
DEUTSCH
ESPAÑOL
ITALIANO
РУССКИЙ
Quick Start Guide
AXION LRF
v.0121

ENGLISH
Starting Operation
POWERING ON AND IMAGE SETTING
• Open the lens cover (7). Secure the cover with to the strap using the built-in
magnet in the cover.
• Press the ON/OFF button (5) briey to turn on the device.
• Adjust the eyepiece diopter ring (1) until the symbols in the display are
sharp.
• Rotate the lens focus knob (6) to focus on the object being observed.
• Enter the main menu with a long press of the MENU button (3) and select the
desired calibration mode: manual (M), semi-automatic (SA) or automatic (A).
• Calibrate the image by briey pressing the ON/OFF button (5) (if the SA or M
calibration mode has been selected). Close the lens cover when calibrating
manually.
• Select the desired observation mode (“Forest”, “Identication”, “Rocks”,
“User”) by briey pressing the UP button (4). User mode allows you to change
and save user brightness and contrast settings in the quick menu.
• Enter the main menu with a long press of the MENU button (3) and select the
appropriate colour palette (for more details see the Main menu functions
section in the full version of the manual).
• Activate the quick menu by briey pressing the MENU button (3) to adjust the
brightness, contrast and smooth digital zoom of the display (see the Quick
Menu Functions section of the full version manual for details).
• Upon completion of use turn the device off by a long press of the ON button
(5).
Components and controls
1. Eyepiece diopter ring
2. DOWN/LRF button
3. MENU button
4. UP/ZOOM button
5. Power ON/
Calibration button
6. Lens focus knob
7. Lens cover
8. Adaptor mount
for tripod
9. USB Type-C
connector
10.Laser rangender
ENGLISH
1

LED indicator displays the current status of the device:
LED Indicator Operating Mode
Device is turned on
The device is turned on/battery charge < 10%
Buttons Operation
Short press Long press
ON/OFF
button
(5)
Turn on device Turn off device
Turn on display Turn off display
Device calibration
UP/ZOOM
button
(4)
Switch observation modes Zoom
Menu navigation up / right
MENU
button
(3)
Enter quick menu Exit quick menu
Switch between quick menu
items Enter / exit main menu
Conrm selection
DOWN/
LRF
button
(2)
Activate the rangender Quick change of color
palettes
Distance measurement
Deactivate the rangender scan
mode Activate the rangender scan
mode
Menu navigation down / left Deactivate the rangender
Battery Pack Charging
The AXION LRF XQ thermal imagers come with APS
5 rechargeable lithium-ion battery. APS 5 batteries
support USB Power Delivery fast charging technology
when using a standard charging set (Charger, USB
Type-C cable, Power Adapter). Before rst use, the
battery should be charged.
Option 1
• Install the battery (11) in the battery compartment
(19) of the device.
• Connect the USB cable (16) to the USB Type-C
connector (9) of the device.
• Connect the other end of the USB cable (16) to the
Power Adapter (15).
• Plug the Power Adapter (15) into a 100-240 V socket
(17).
Option 2
• Insert the rechargeable battery (11) along the guide
into the APS 5 charger slot (12) as far as it will go (see
Fig.). The APS charger is supplied with your device or
ENGLISH 2

ENGLISH
sold separately.
• Connect the plug of
the USB Type-C cable
(16) to the USB Type-C
connector of the Power
Adapter (15).
• Plug the Power Adapter
(15) into a 100-240 V
socket (17).
• Connect the other end
of the USB Type-C cable
(16) to the USB Type-C
connector (14) of the
charger.
• LED indication (13) will
display battery charge
level (see Table).
• Two batteries can be
charged at the same
time: the second slot is
designed for it.
LED indication (13) in the battery charging mode:
Battery Level
Battery level is from 0% to 25%
Battery level is from 26% to 50%
Battery level is from 51% to 80%
Battery level is from 81% to 99%
The battery is fully charged. It can be disconnected from the charger.
Defective battery. It is forbidden to use the battery.
LED indication (13) in the standby mode*:
Battery Level
Battery level is from 0% to 25%
Battery level is from 26% to 50%
Battery level is from 51% to 80%
Battery level is from 81% to 99%
The battery is fully charged. It can be disconnected from the charger.
Defective battery. It is forbidden to use the battery.
* Standby mode – operating mode when the batteries in the charger, but
the power adapter is not connected. In this mode, the indication is on for 10
seconds.
Attention! When using a power adapter that does not support USB Power
Delivery fast charging technology, the icker frequency of LED indicators
decreases by 3 times and charge time increases.
Attention! The charger heats up during fast charging. Excess heat is removed
through the radiator and does not affect the device operation.
3

ENGLISH
Installing Battery Pack
• Put the lock-cover (18) on the rechargeable battery (11).
• Insert the rechargeable battery (11) along the guide into the battery
compartment (19).
• Lock the battery (11) by turning the lock-cover (18) clockwise until it stops.
• Turn the lock-cover (11) counterclockwise to remove the batteries (18).
Using a built-in laser rangender
The Axion LRF XQ thermal imager is equipped with an integrated laser
rangender.
Single Measurement Mode
• Press the ON/OFF (5) button briey to power the device on.
• Activate the rangender by pressing
the DOWN (2) button briey. A red mark
appears on the display.
• Place the rangender’s reticle on the
target. Press the DOWN (2) button briey to
measure the distance to the object once.
• The measurement results are displayed in
the upper right corner.
• The rangender shuts down after 3 seconds
of inactivity.
Scan Mode
• Press the ON/OFF (5) button briey to power the device on.
• Activate the rangender by pressing the DOWN (2) button briey. A red mark
appears on the display.
• Activate the scan mode by long pressing the DOWN (2) button to continuously
measure the distance to objects.
• The measurement results are displayed in the upper right corner.
• Deactivate the rangender by long pressing the DOWN (2) button.
• Additional rangender settings are available in the LRF section of the main
menu.
4

ENGLISH
Specications
MODEL AXION LRF XQ38
SKU 77428
Microbolometer
Type uncooled
Resolution, Pixels 384x288
Pixel Pitch, µm 17
Frame rate, Hz 50
Optical characteristics
Optical magnication, x 3.5
Smooth digital zoom 3.5-14
Digital Zoom, x 2/4
Lens focus, mm 38
Focal ratio, D/f' 1.2
Minimum Focusing Distance, m 3
Eye relief diameter, mm 3.5
Angular eld of view (HxV), degree 9.8x7.4
Linear eld of view, m per 100 m 17.2
Eyepiece focusing range, Diopter +4/-5
Detection distance for deer-sized objects, (m) 1350
Display
Type AMOLED
Resolution, Pixels 1024x768
Operational characteristics
Power Supply, V 3-4.2 V
Battery Type APS 5 Li-ion Battery Pack
Capacity 4900 mAh
Nominal output voltage DC 3.7 V
External power supply 5-15 V (USB Type-C)
Battery run time at t=22 °C, h 5
Degree of protection, IP code (IEC60529) IPX7
Operating temperature range, °C -25 … +40
Dimensions, mm 167x74x73
Weight (without battery), kg 0.38
Characteristics of the rangender
Wavelength, nm 905
Measurement range, m* 1000
Measurement accuracy, m 1
* Depends on the characteristics of the object under observation and
environmental conditions.
Improvements may be made to the design of this product to enhance its user
features.
The current version of the User’s Manual can be found on the website www.
pulsar-vision.com
5

ENGLISH
Package Contents
• Axion LRF XQ Thermal Imager
• APS 5 rechargeable battery
• 2 lock-cover of APS 5 battery
• Battery Pack Charger
• Power Adapter
• USB Type-C Cable
• Carrying case
• Hand strap
• Quick User Manual
• Lens-cleaning cloth
• Warranty sheet
• Adaptor for mounting the device on a tripod
6
Other manuals for AXION LRF XQ38
1
Table of contents
Other Pulsar Thermal Camera manuals

Pulsar
Pulsar Axion XM22S User manual

Pulsar
Pulsar Axion 2 XQ35 User manual

Pulsar
Pulsar HELION XQ28F User manual

Pulsar
Pulsar AXION XM30S User manual

Pulsar
Pulsar QUANTUM XD 19S User manual

Pulsar
Pulsar KRYPTON FXG50 User manual

Pulsar
Pulsar HELION 2 XP Series User manual

Pulsar
Pulsar PROTON FXQ30 User manual

Pulsar
Pulsar Axion 2 LRF XQ35 User manual

Pulsar
Pulsar AXION XQ38 User manual