PURE HIGHWAY 300DI User manual
Other PURE Radio manuals

PURE
PURE Pop Mini User manual

PURE
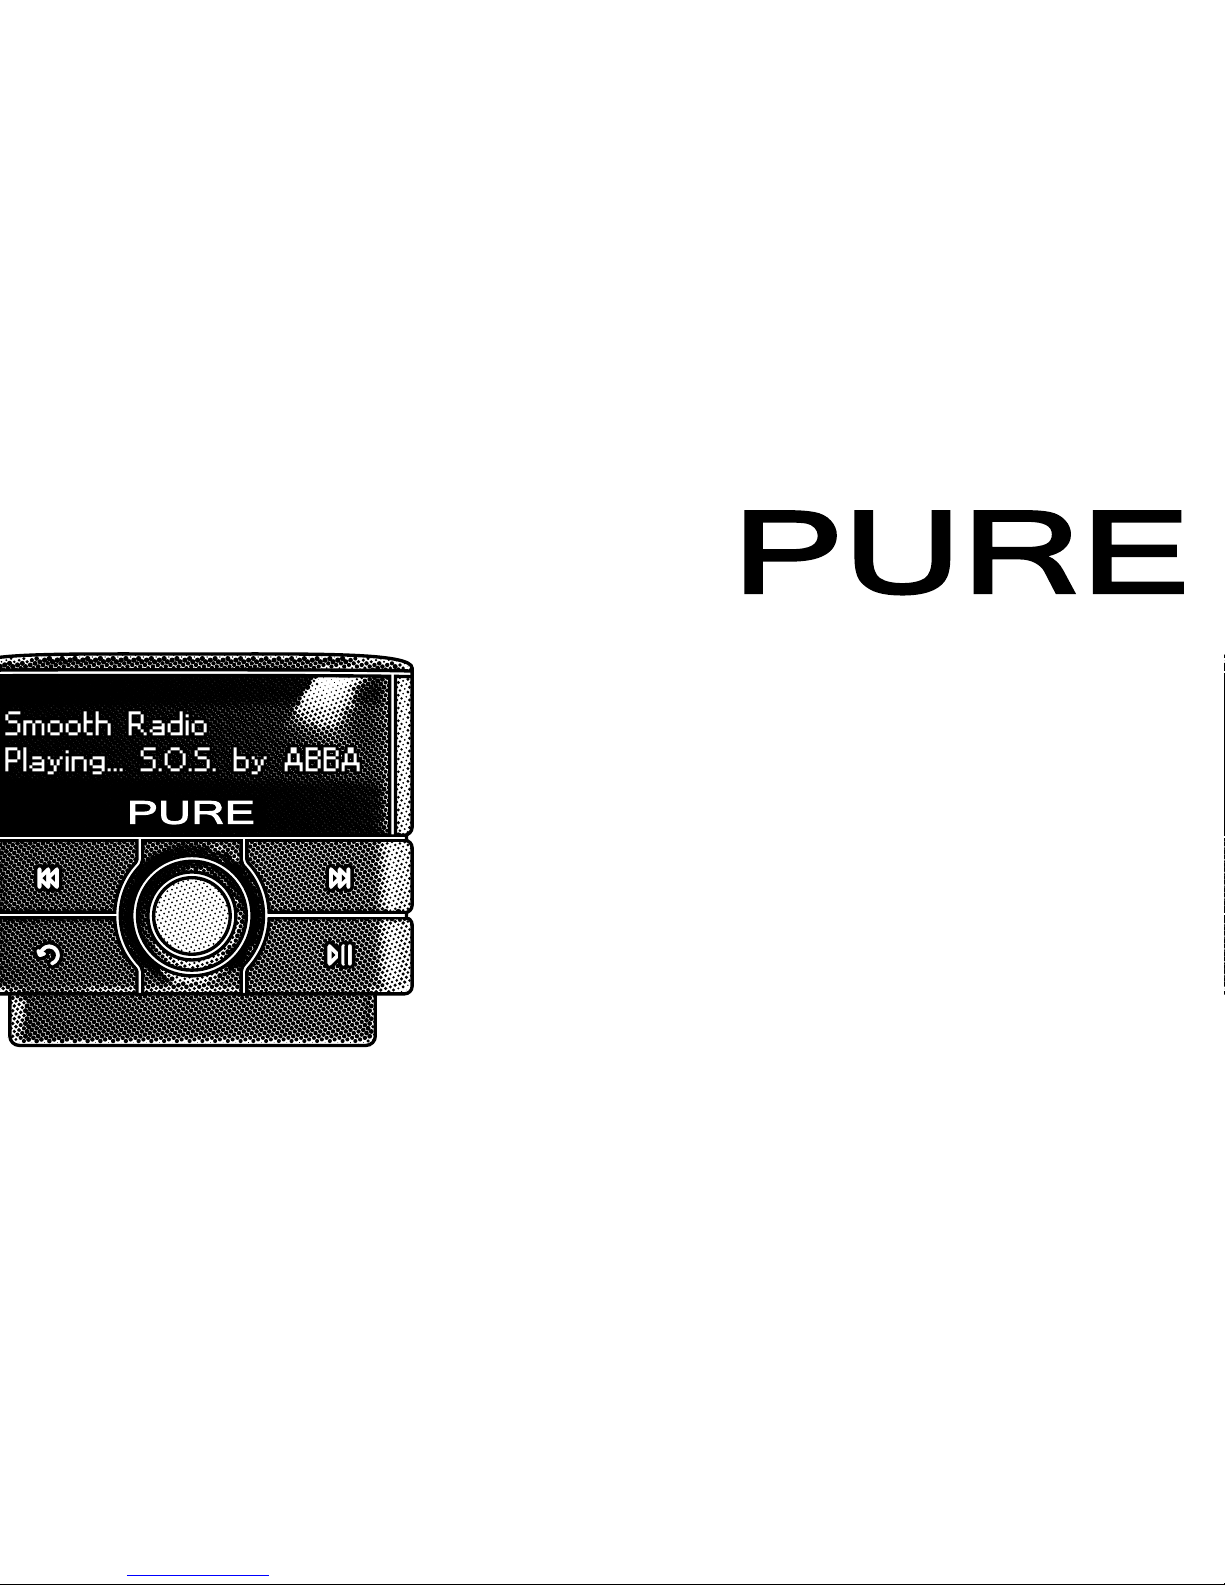
PURE HIGHWAY User manual

PURE
PURE One Mini Series 2 User manual

PURE
PURE Evoke C-D4 User manual

PURE
PURE DRX-601EX User manual

PURE
PURE Evoke H4 User manual

PURE
PURE Evoke-2XT User manual

PURE
PURE Oasis Flow User manual

PURE
PURE Evoke D4BT User manual

PURE
PURE TEMPUS-1 User manual

PURE
PURE SENSIA 200D CONNECT User manual

PURE
PURE TEMPUS-1 User manual

PURE
PURE Evoke F4 User manual

PURE
PURE POCKETDAB 2000 User manual

PURE
PURE Evoke Series User manual

PURE
PURE one Elite series II User manual

PURE
PURE SIESTA FLOW User manual

PURE
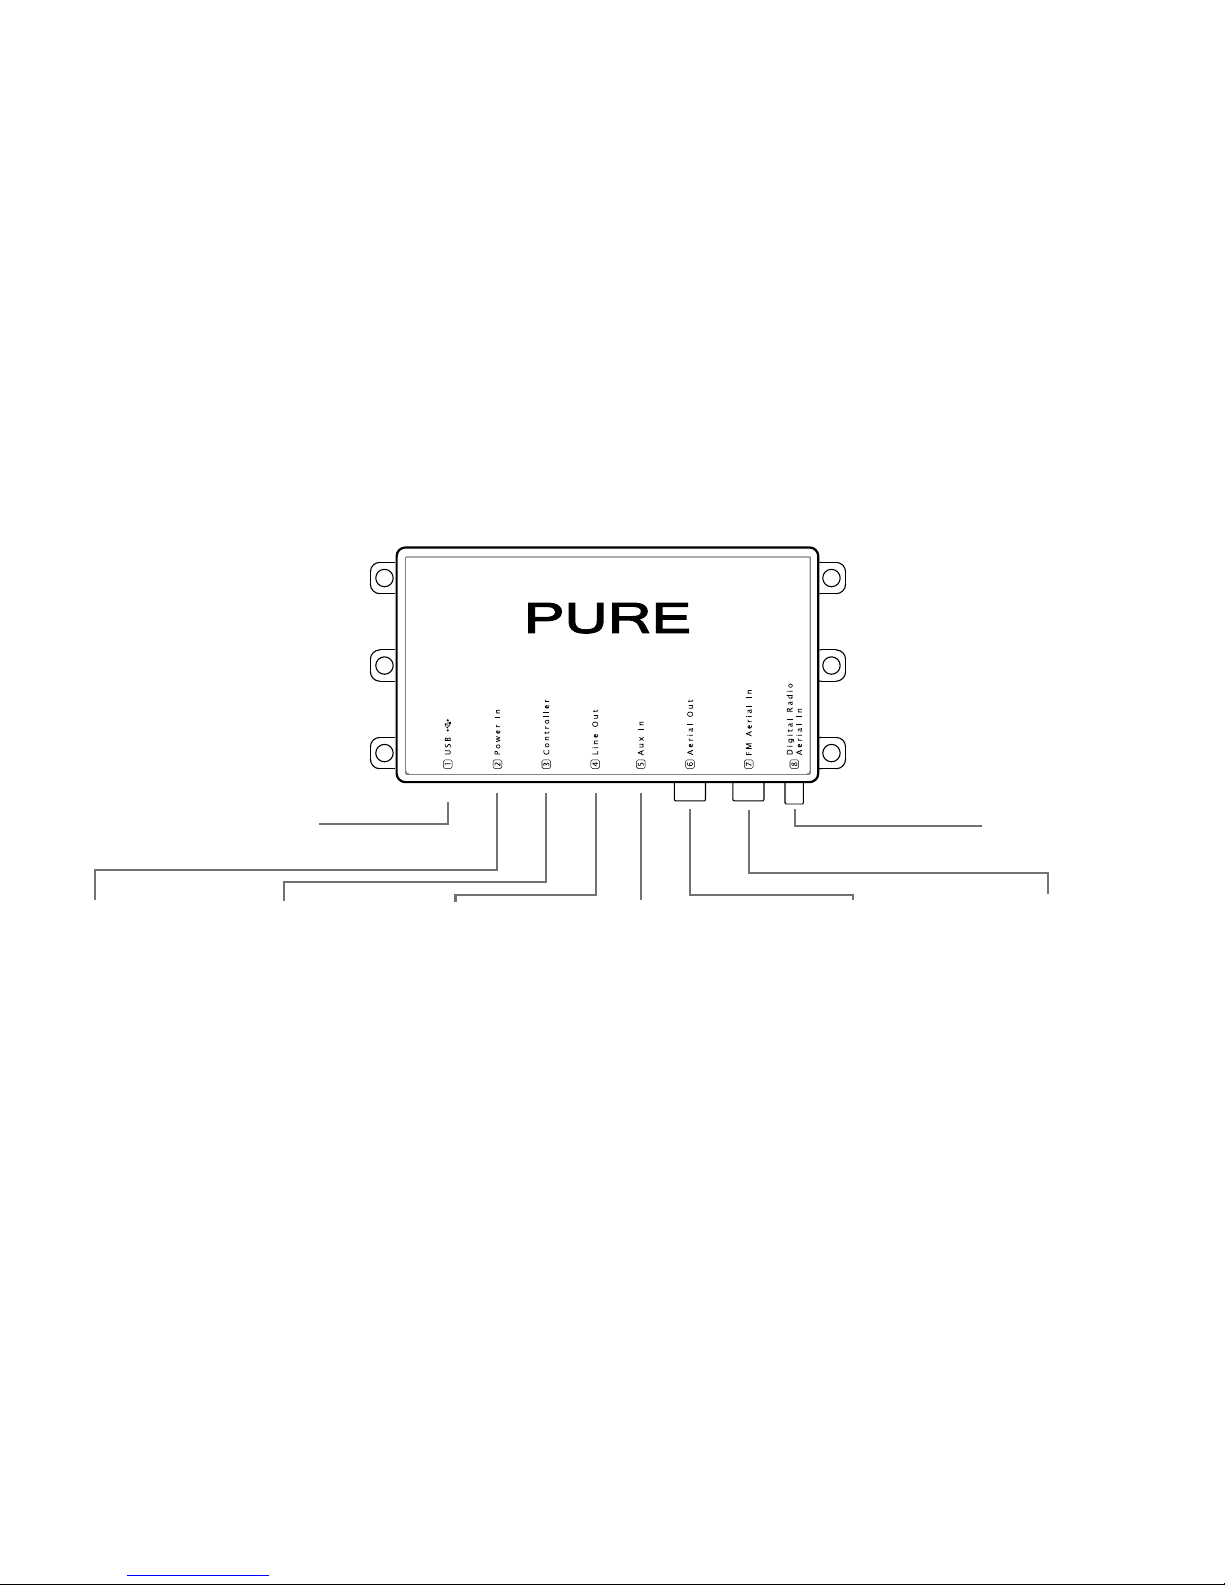
PURE HIGHWAY User manual

PURE
PURE Highway 600P EU User manual

PURE
PURE Evoke F4 User manual