QTX Light Galaxy 152.737 User manual

152.737
Version: 2.0

Laser Show System
1
1. FEATURES
zThis device has been designed to produce decorative effect lighting and is used
light show systems.
zGalaxy Laser is new member of Falling Star series, which is installed with
double rotation burst grating.
zSeveral working modes:
{DMX controlled, 6channels
{Inside 4 in one mode (Pub, Disco, Sound, Mixture)
{Master/Slave mode(automatic & sound)
zDMX-addressing with LED display
zLaser Safety key switch
zComplies to EN/IEC 60825-1 for Laser Safety
2. BEFORE USE
zBefore you start using this unit, please check if there’s no transportation
damage. Should there be any, do not use the device and consult your dealer
first.
zImportant: This device left our factory is in perfect condition and well packaged,
It is absolutely necessary for the user to strictly follow the safety instruction and
warnings in this user manual. Any damage caused by mishandling is not
subject to warranty. The dealer will not accept responsibility for any resulting
defects or problems caused by disregarding this user manual.
Check the contents:
The carton contains the following items:
NAME QTY
Laser Light 1 PCS
KEYS (for key switch) 2 PCS
Mains Cable 1 PCS
USER MANUAL 1 PCS

Laser Show System
2
3. SAFETY INSTRUCTIONS:
Every person involved with installation and maintenance of this device have to:
-be qualilfied
-follow the instructions of this manual
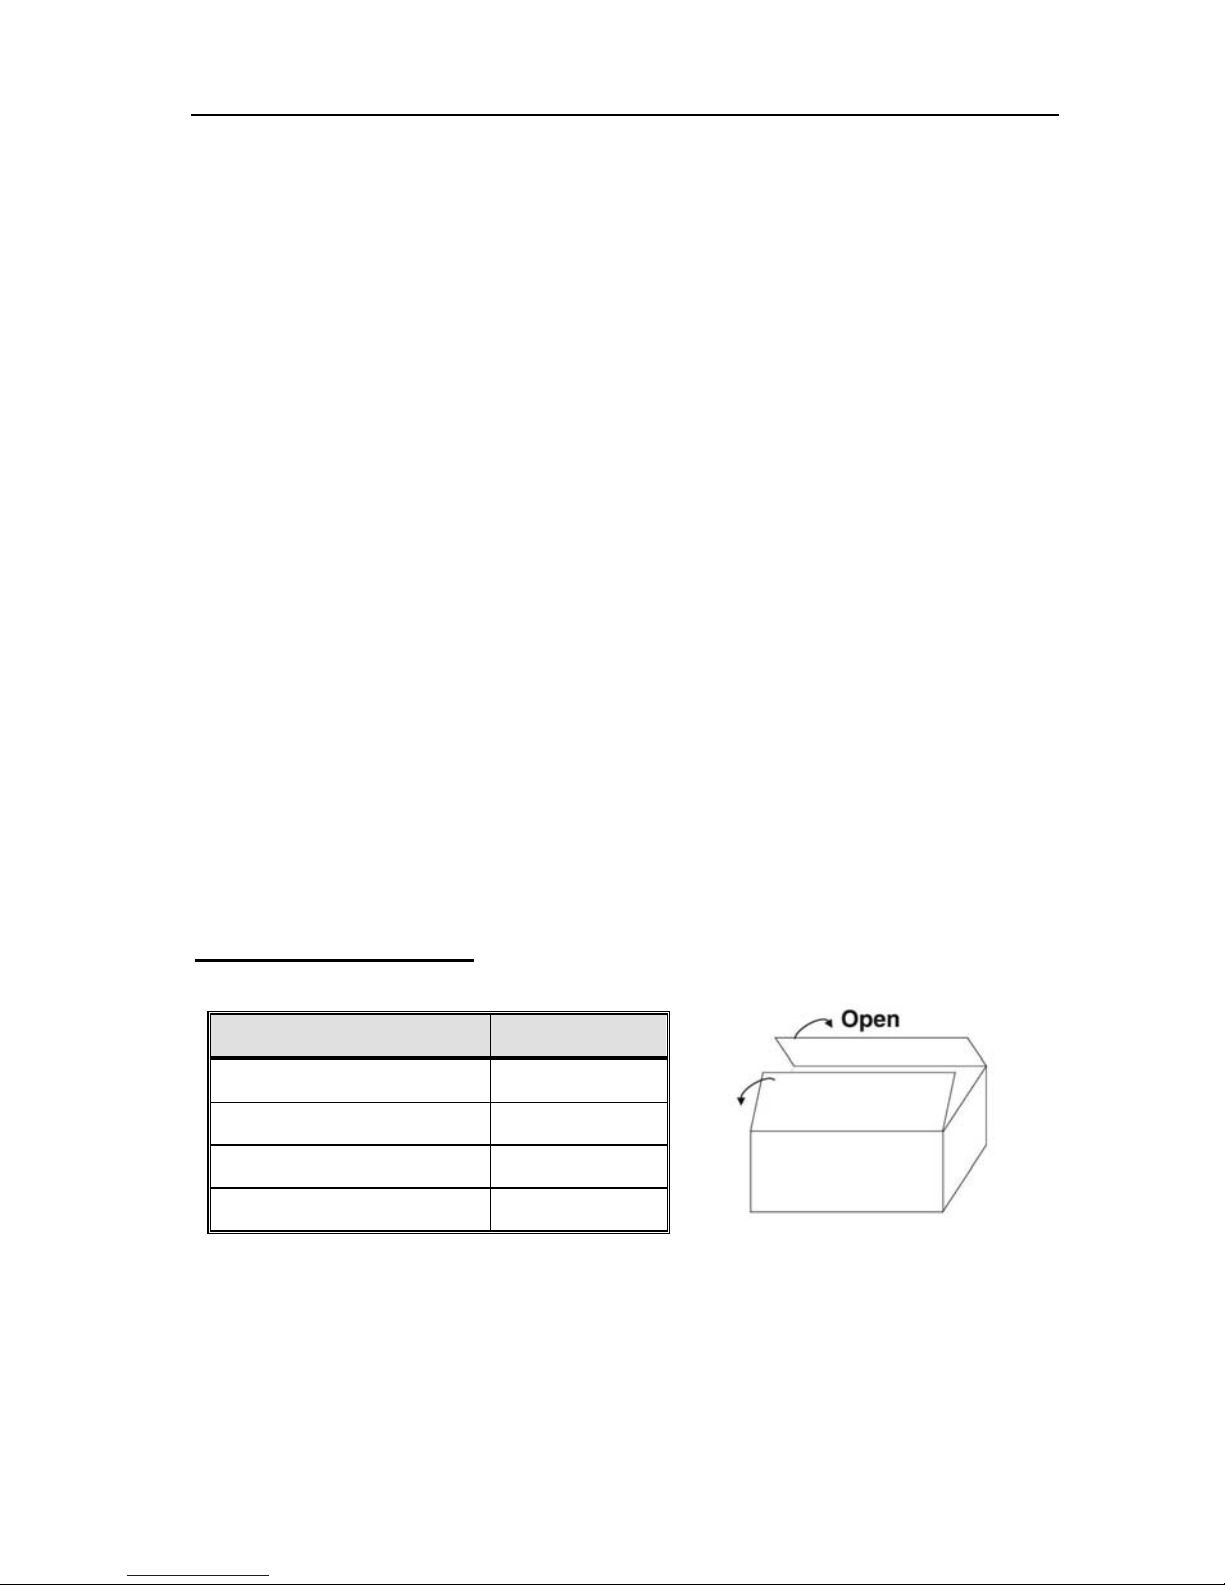
zTo protect the environment, please try to recycle the packing material as much
as possible.
zTo prevent fire or shock hazard, do not expose this appliance to rain or
moisture.
zTo avoid condensation to be formed inside, allow this unit to adapt to the
surrounding temperatures when bringing it into a warm room after transport.
Condense sometimes prevents the unit from working at full performance or may
even cause damages.
zThis unit is for indoor use only.
zDon’t place metal objects or spill liquid inside the unit. Electric shock or
malfunction may result. If a foreign object enters the unit, immediately
disconnect the mains power.
zLocate the fixture in a well ventilated spot, away from any flammable materials
and/or liquids. The fixture must be fixed at least 50cm from surrounding walls
zDon’t cover any ventilation openings as this may result in overheating.
zPrevent use in dusty environments and clean the unit regularly.
zKeep the unit away from children.
zInexperienced persons should not operate this device.
zMaximum save ambient temperature is 45 degree Don’t use this unit at higher
ambient temperatures.
zMake sure the area below the installation place is free from unwanted persons
during rigging, de-rigging and servicing.
zAllow the device about 10 minutes to cool down before replacing the bulb or
start servicing.
zAlways unplug the unit when it is not used for a longer time or before replacing
the bulb or start servicing.
zThe electrical installation should be carried out by qualified personal only,
according to the regulations for electrical and mechanical safety in your country.
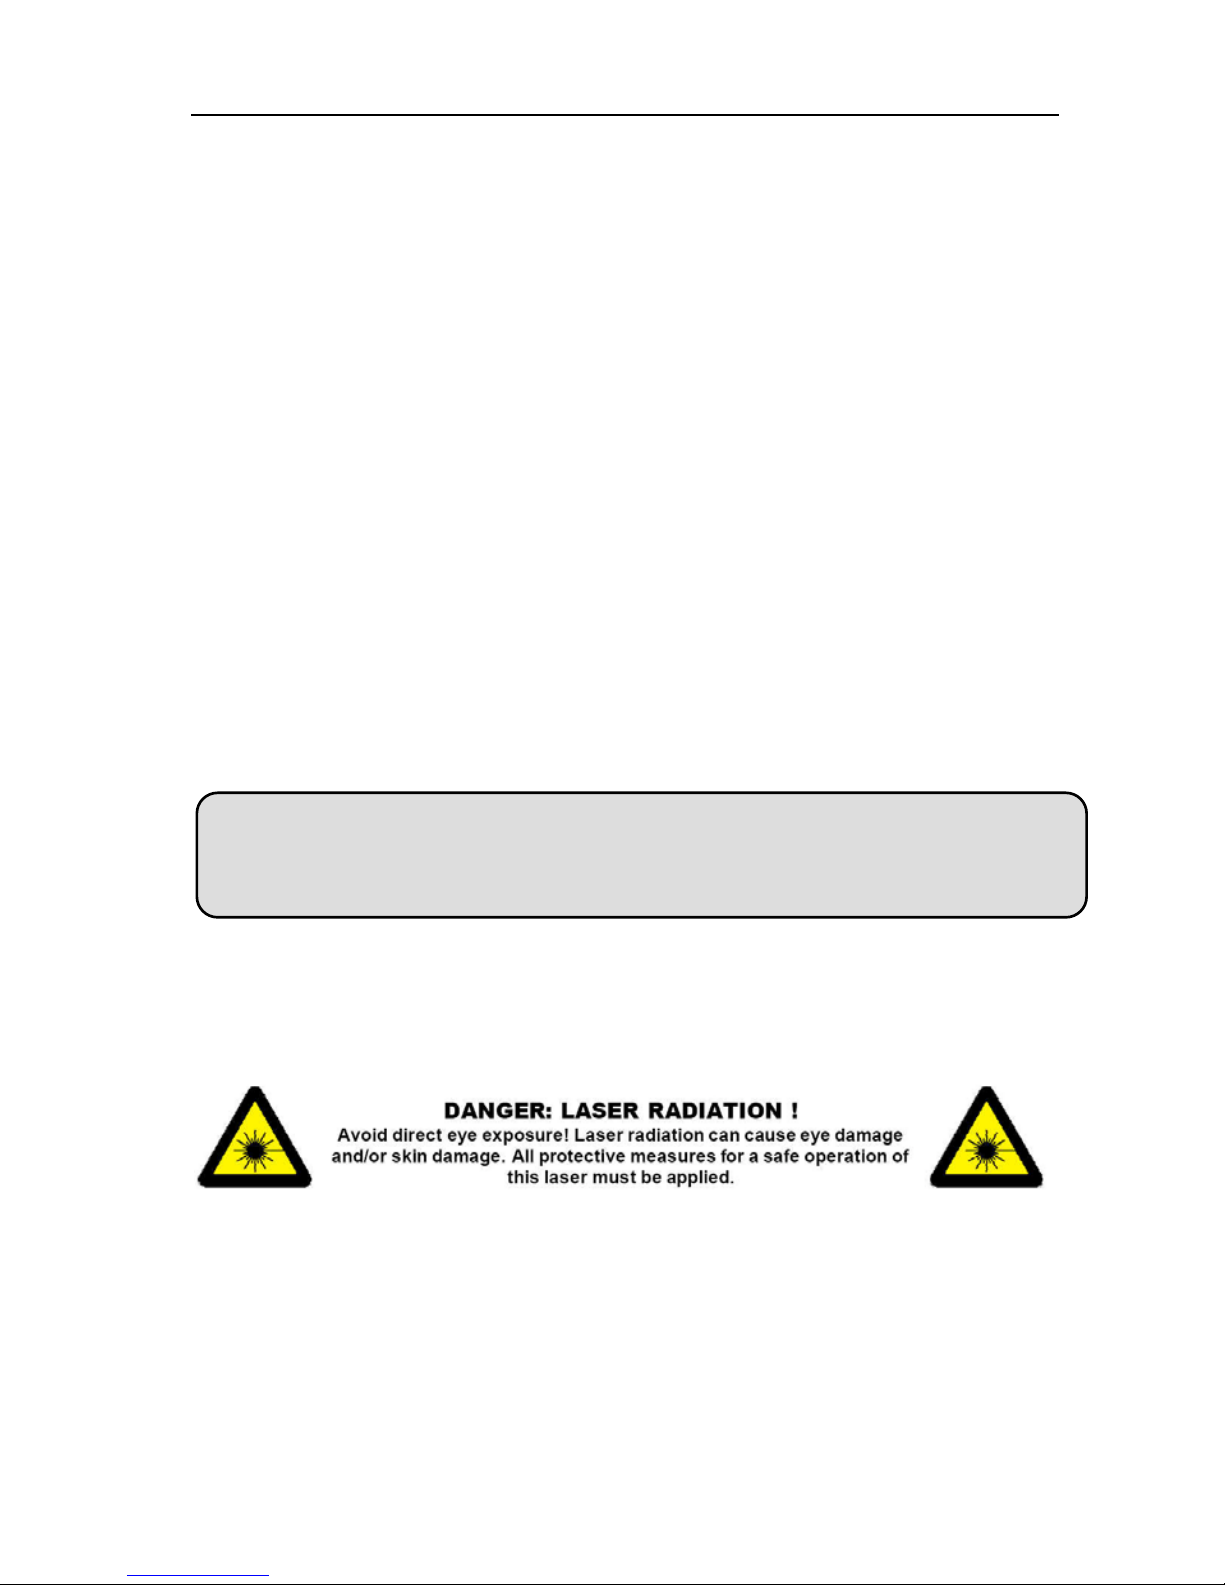
CAUTION! Be careful with your operations. With a high voltage
you can suffer a dangerous electric shock when
touchin
g
th wires
!

Laser Show System
3
zCheck that the available voltage is not higher than the one stated on the rear
panel of the unit.
zThe power cord should always be in perfect condition: switch the unit
immediately off when the power cord is squashed or damaged.
zNever let the power-cord come into contact with other cables.
zThis fixture must be earthed to in order comply with safety regulations.
zDon’t connect the unit to any dimmer pack.
zAlways use an appropriate and certified safety cable when installing the unit.
zIn order to prevent electric shock, do not open the cover, Apart from the lamp
and mains fuse there are no user serviceable parts inside.
zNever repair a fuse or bypass the fuse holder. Always replace a damaged fuse
with a fuse of the same type and electrical specifications!
zIn the event of serious operating problems. stop using the fixture and contact
your dealer immediately
zThe housing and the lenses must be replaced if they are visibly damaged.
zPlease use the original packing when the device is to be transported.
zDue to safety reasons it is prohibited to make unauthorized modifications to the
unit.
4. LASER SAFETY INSTRUCTIONS:
zAccording to the EN 60825-1:1994 + A2:2002 regulations, this laser fall under
the classification 3B.Direct eye exposure can be dangerous.
zThis is so-called show laser, emitting radiation with a wavelength spectrum
between 400 and 700nm and producing lighting effects for shows.
zDue to the instruction of this laser, the beam is moved so fast, that it can only hit
the eye very short. This is why the use of this laser for a laser-light show can be
regarded as save.
zNever direct the laser beam to people or animals and never leave this device
running unattended.
Important: Never look directly into the light source! Don’t use the effect
in the presence of persons suffering from epilepsy.

Laser Show System
4
zThis laser may only be used for shows. The operation of a class 3B show laser
is only allowed if the operation is controlled by a skilled and well-trained
operator.
zDepending on the classification, operating a laser product can produce laser
radiation that may cause permanent eye damage and /or skin damage. The
legal instructions for using a laser product vary from country to country. The
user must always inform himself on the legal instructions valid in his country
and apply them to his situation.
Please note that the laser light can not be made liable for damages caused
by incorrect installations and unskilled operation!
5. OVERHEAD RIGGING
zImportant: The installation must be carried out by qualified service
personal only. Improper installation can result in serious injuries and /or
damage to property. Overhead rigging required extensive experience!
Working load limits should be respected, Certified installation materials
should be used, the installed device should be inspected regularly for
safety.
zMake sure the area below the installation place is free from unwanted persons
during rigging, de-rigging and servicing.
zLocate the fixture in a well ventilated spot, far away from any flammable
materials and /or liquids. The fixture must be fixed at least 50cm from
surrounding walls.
zThe device should be installed out of reach of people and outside areas where
persons may walk by or be seated.

Laser Show System
5
zBefore rigging make sure that the installation area can hold a minimum point
load of 10 times the device’s weight.
zAlways use a certified safety cable that can hold 12 times the weight of the
device when installing the unit. This secondary safety attachment should be
installed in a way that no part of the installation can drop more than 20cm if the
main attachment fails.
zThe device should be well fixed; a free swinging mounting is dangerous and
may not be considered!
zDo not cover any ventilation openings as this may result in overheating.
zThe operator has to make sure that the safety relating and machine technical
installations are approved by an expert before using them for the first time. The
installations should be inspected every year by a skilled person to be sure that
safety is still optimal.
5.1 Connection to the mains
if you wish to change the power supply settings, see the chapter below.
Connect the fixture to mains with the
enclosed power cord and plug.
The earth has to be connected!
The occupation of the connection-cables is as follows:
Cable(EU) Cable(US) Pin International
Brown Black Live L
Light blue White Neutral N
Yellow/Green Green Earth
Verify the power supply settings before applying power!
CAUTION EYEDAMAGE: Always position the laser in a way that
prevents the audience from looking directly into the laser beams. The
installation should assure that the beam will not strike the audience.

Laser Show System
6
5.2 DMX-512 connection/connection between fixtures
zThe fixture is equipped with 3-pin XLR sockets for DMX input and output. The
sockets are wired in parallel. Only use a shielded twisted-pair cable designed
for 3-pin XLR-plugs and connectors in order to connect the controller with the
fixture or one fixture with another.
Occupation of the XLR-connection:
Building a serial DMX-chain:
zIf you are using the standard DMX-controllers, you can connect the DMX-output
of the controller directly with the DMX-input of the first fixture in the DMX-chain.
If you wish to connect DMX-controllers with other XLR-outputs, you need to use
adapter cables.
zConnect the DMX-output of the first fixture in the DMX-chain with the
DMX-input of the next fixture. Always connect output with the input of the next
fixture until all fixtures are connected.
Caution: At the laser fixture, the DMX-cable has to terminated
with a terminator. Solder a 120 Ohm resistor between Signal (-)
and Signal (+) into a 3-pin XLR-plug and plug and plug it in the
DMX-output of the last fixture.

Laser Show System
7
Building a master/slave-chain:
Connect the DMX-output of the master fixture in the data-chain with the
DMX-input of the first slave, Always connect output with the input of the next slave
until all slaves are connected.
Caution: It’s necessary to insert the XLR termination plug (with 120Ohm) into the
input of the master fixture and into the output of the last slave fixture in the link in
order to ensure proper transmission on the data link.
6. DESCRIPTION:
6.1 Back panel of the fixture
1. POWER Switch: Switch on and off the power
2. MAINS INPUT: with IEC socket and integrated fuse holder, connect the
supplied mains cable here.
3. ON/OFF KEY ACTIVATE SWITCH: used to switch the unit on/off. Use the keys
to make sure only a skilled operator is able to switch the laser on.

Laser Show System
8
4. INTERLOCK input: used to connect the optional
emergency stop switch(see picture). When you push
this switch the laser beam will disappear immediately.
IMPORTANT! For your own safety we strongly
recommend to connect this optional switch!
5. DMX INPUT: 3pin male XLR- connector used to connect universal
DMX-cables. This input receives instructions from a DMX-controller.
6. DMX OUTPUT: 3pin female XLR-connector used to connect the space color
laser with the next unit in the DMX chain.
7.CONTROL PANEL: To set the operating mode or DMX address.
8. DISPLAY: Information display, to show the laser operating information.
9.SAFETY EYE: used to attach a safety cable when the unit is rigged (see
paragraph “overhead rigging”)
10. MUSIC INPUT SENSITIVITY: This potentiometer is used to adjust the music
input sensitivity. Turn the potentiometer until the laser works in sync with the
music.
11. INTERNAL MICROPHONE: the built- in microphone is used to synchronize
the laser show to the beast of the music
6.2 Front panel of the fixture

Laser Show System
9
12. POWER LED: indicates that the unit is switched on.
13. MUSIC LED: flashes to the sound of the music detected by the mic.
14. LASER OUTPUT: here the laser beam leaves the enclosure, make sure to
never look inside the unit through this opening while the laser effect is
switched on!
15. HANGING BRACKET: with 2knob on both sides to fasten the unit and a
mounting hole to fix a mounting hook.
16. WARNING LABEL: Caution-Class 3B laser.
17. WARNING LASEL: laser aperture.
18. LASER WARNING SIGN: warns against apotentially dangerous laser when
not used by skilled operators.
19. WARNING LABEL: laser radiation Avoid exposure to beam. Class 3B laser
product.
6. HOW TO SET UP AND CONTROL THE UNIT
zRegular breaks during operation are essential to maximize the life of this device
as it is not designed for continual use.
zDo not switch the unit on and off in short time intervals as this reduces the lamp
life.
zAlways unplug the unit when it is not used for a longer time. Or before replacing
the bulb or star servicing.
zIn the event of serious operating problems, stop using the fixture and contact
your dealer immediately.
zImportant: Never look directly into the laser beam! Don’t use the effect in the
presence of persons suffering from epilepsy.
7. OPERATION MANUAL
Once the laser is powered on, the LED panel will show the operating mode or
DMX address of this laser, which was set and saved in last time before switching
off. With help of CONTROL PANEL, it could be very easily to set the DMX
address and operating mode of the laser.

Laser Show System
10
Mode Option: to set the operating mode.
Confirmation: To confirm and save all setting (operating mode or DMX
address) that you did. At next power on, the laser will do what you
confirm in last time.
To change the DMX address or operation mode.
Press FUNC, the LED panel is flashing to show setting mode. To press FUNC
again enter MODE SETTING. In MODE SETTING, press UP/DOWN to change
value or mode. And then press ENTER to confirm the setting.
CAUTION! Without press ENTER to confirm setting, the system will be
back to last confirmed setting in 10 seconds and never work as you
wanted at next power.
7.1 Preprogramed lasershow mode
7.1.1 SLO “PUB MODE”
zPress FUNC to enter MODE OPTION.
zTill to LED panel shows SLO.
zPress ENTER to confirm the setting.
The laser is working in “PUB MODE”, which is pretty slow and soft style show for
music bar and so on.

Laser Show System
11
7.1.2 FAS “DISCO MODE”
zPress FUNC to enter MODE OPTION
zTill to LED panel shows FAS
zPress ENTER to confirm the setting.
The laser is working in “DISCO MODE”, which is pretty fast and hot style show
for disco and so on.
7.1.3 MUS “MUSIC MODE”
zPress FUNC to enter MODE OPTION
zTill to LED panel shows MUS
zPress ENTER to confirm the setting.
The laser is working in “MUSIC MODE”. The laser show is running based on the
music signal. The laser patterns are picked up with random function which could
do unrepeatable show.
CAUTION
!
The laser will be automatically block out in 5 second if there
is no Music (Sound) signal is detected.

Laser Show System
12
7.1.4 RDM “MIXTURE MODE”
zPress FUNC to enter MODE OPTION
zTill to LED panel shows RDM
zPress ENTER to confirm the setting.
The laser is working in “MIXED MODE”automatically. The laser show is running
with random patterns function which could do unrepeatable show automatically.
7.2 MASTER/SLAVE MODE
zPress FUNC to enter MODE OPTION
zTill to LED panel shows SLA
zPress ENTER to confirm the setting.
The laser is working in “SLAVE MODE”. Connect MASTER laser and SLAVE
lasers with DMX cable, the SLAVE lasers do what exactly MASTER laser does.
Check “5.2 DMX connection”to have more details about laser connection.
7.3 DMX MODE
zPress FUNC to enter MODE OPTION
zTill to LED panel shows 001.
zPress EMTER to confirm the setting.
The laser is working in “DMX MODE”. With help of UP/DOWN button, it could be
easily change the DMX address of the laser.

Laser Show System
13
8. DMX PROTOCOL
CANNEL DMX VALUE DESCRIPTION
1
MODE
000-010 Laser Block Out
011-070 SLO “PUB MODE”
071-130 FAS “DISCO MODE”
131-190 MUS “MUSIC MODE”
191-250 RDM “MIXTURE MODE”
251-255 DMX MODE
2
ROTATE
000-079 Stop
080-160 ClockwiseRotation
161-255 Anti-clockwise Rotation
3
R SPEED 000-255 RotatingSpeed
4
S MODE
000-127 Strobe Mode 1
128-255 Strobe Mode 2
5
Strobe
Speed
000-005 Keep ON
006-249 SlowtoFast
250-255 Strobe to Sound
6
COLOR
000-042 Red & Green
043-085 Green
86-128 Red
129-171 Red On, Strobed Green
172-214 Green On, Strobed Red
215-255 Alternately Strobed Red & Green

Laser Show System
14
9. MAINTENANCE
zMake sure the area below the installation place is free from unwanted persons
during servicing
zSwitch off the unit , unplug the mains cable and wait until the unit has been
cooled down.
During the inspection the following points should be checked:
zAll screws used for installing the device and any of its parts should be tightly
fastened and may not be corroded
zHousings, fixations and installations spots( ceiling, truss, suspensions) should
be totally free from any deformation
zWhen an optical lens is visibly damaged due to cracks or deep scratches, it
must be replaced
zThe mains cables must be in impeccable condition and should be replaced
immediately when even a small problem is detected
zIn order to protect the device from overheat the cooling fans(if any ) and
ventilation openings should be cleaned monthly.
zThe interior of the device should be cleaned annually using a vacuum cleaner
or air-jet.
zThe cleaning of internal and external optical lenses and / or mirrors must be
carried out periodically to optimize light output. Cleaning frequency depends on
the environment in which the fixture operates: damp. smoky or particularly dirty
surroundings can cause greater accumulation of dirt on the unit’s optics
{Clean with a soft cloth using normal glass cleaning products.
{Always dry the parts carefully.
{Clean the external optics at least once every 30 days.
{Clean the internal optics at least very 90 days.
Attention: We strongly recommend internal cleaning to be carried out by
qualified personnel!

Laser Show System
15
10. SPECIFICATIONS
Mains Input:AC100~240V,50/60Hz
Fuse: 250V 1.5A slow blow(20mm glass)
Total power:25W
X/Y axis beam angle:0~±30º
Input signal bandwidth: 0—1000Hz
Laser power: 40mW Green CW laser (λ=532nm)
80mW Red CW laser (λ=650nm)
Laser radiation class: 3B
Condition temperature:10℃~40℃
DMX connections:3pin XLR male/female
Size:160X260X100mm
Weight:2.0kg
Table of contents
Other QTX Light Lighting Equipment manuals

QTX Light
QTX Light 152.740 User manual

QTX Light
QTX Light LS-OPAL User manual

QTX Light
QTX Light LS-Elements Effects Laser User manual

QTX Light
QTX Light Atlantis User manual

QTX Light
QTX Light DM-X3 User manual

QTX Light
QTX Light MW-36W User manual

QTX Light
QTX Light LED Derby User manual

QTX Light
QTX Light 150.484 User manual

QTX Light
QTX Light LS-TOPAZ User manual

QTX Light
QTX Light LUX-LD30W User manual