Quick 862DA+ User manual

862DA+/862DW+
SMD REWORK STATION
Instruction Manual
Thank you for purchasing our products. Please keep the
Instruction manual properly for future reference.

Contents
1. Safety Instruction.........................................................................................................1
2. Product Overview........................................................................................................2
3. Product Features.........................................................................................................2
4. Product Specifications................................................................................................3
5. Display and Function Descriptions...........................................................................3
5.1Dimensions....................................................................................................... 3
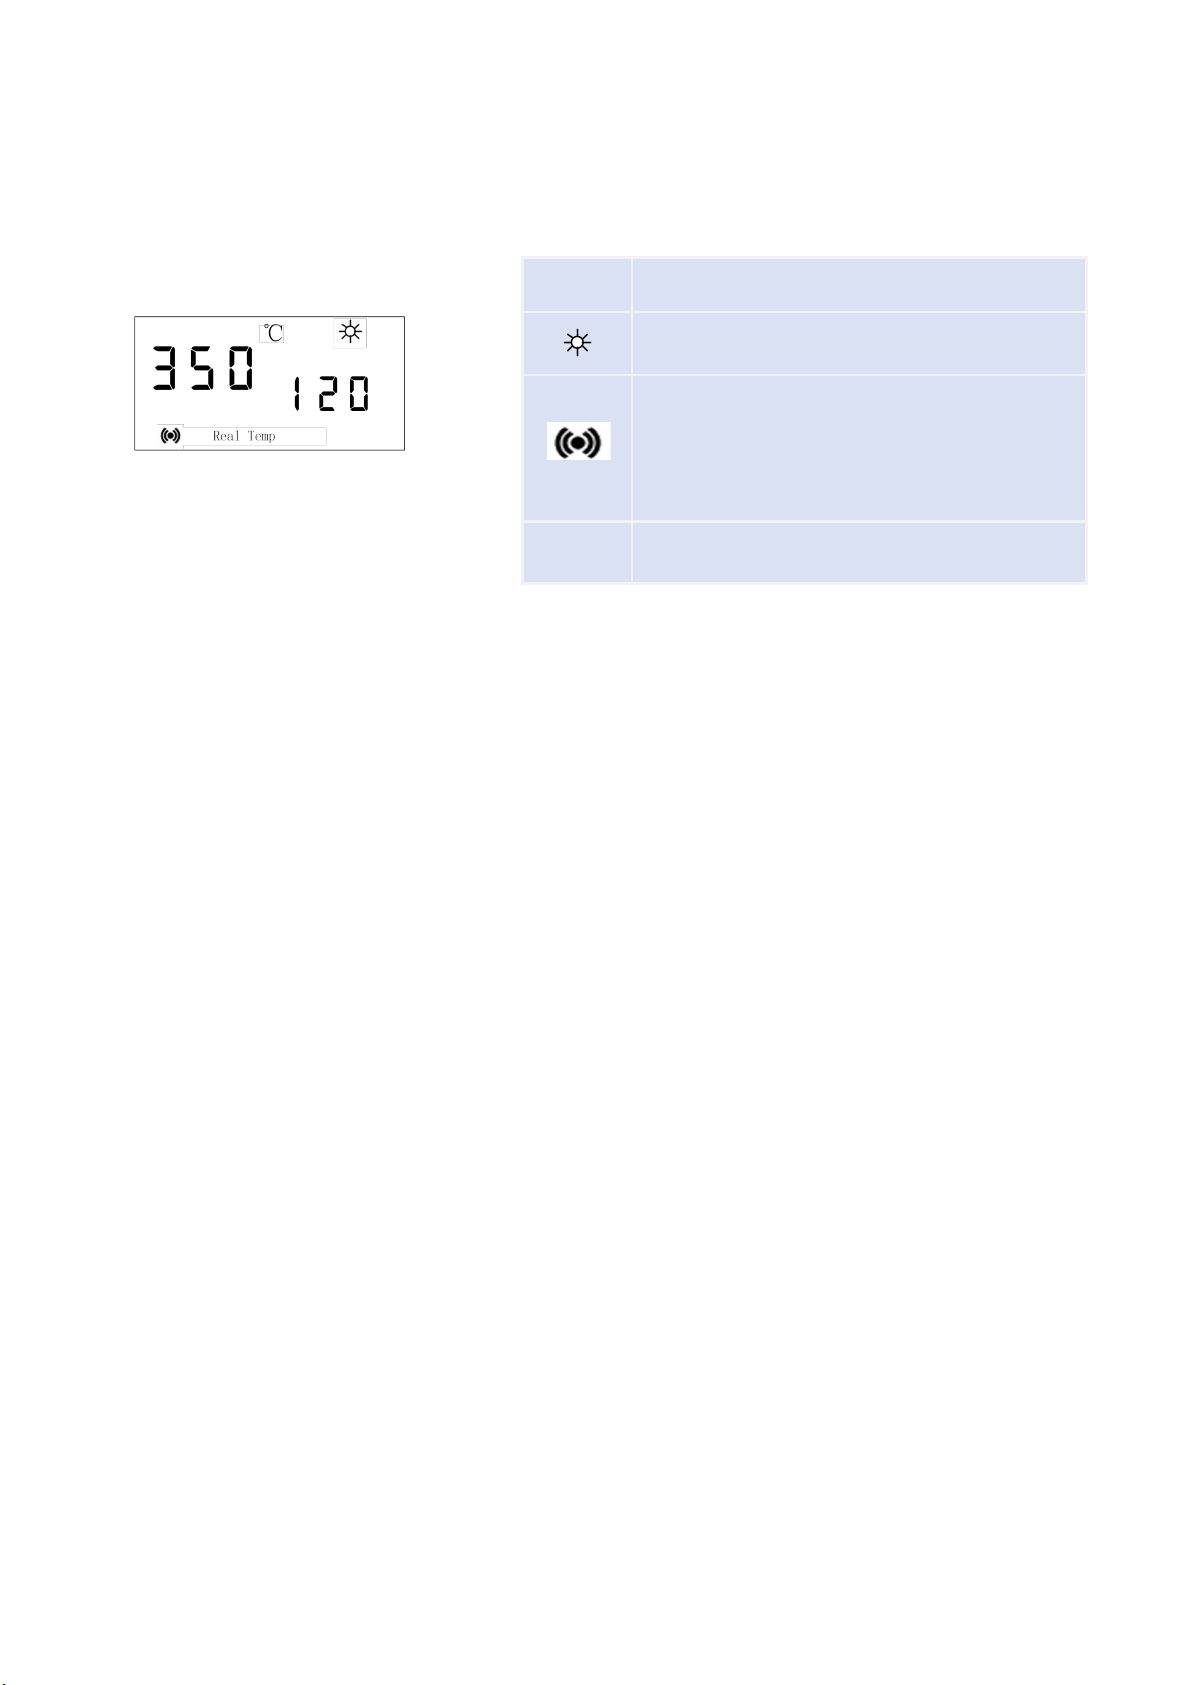
5.2 Part Descriptions............................................................................................ 4
5.3 Button Descriptions........................................................................................ 4
5.4 Main Menu....................................................................................................... 5
6. Installation and Connection.......................................................................................5
6.1 Hot Air Section................................................................................................ 5
6.2 Connection.......................................................................................................6
7. Temperature and Air Volume and Channel Setup.................................................6
7.1 Temperature Setup.........................................................................................6
7.2 Air Volume........................................................................................................6
7.3 Channel............................................................................................................ 6
8. Operation.................................................................................................................... 7
9. Password Setup.......................................................................................................... 7
10. Sound Setup.............................................................................................................. 9
11. Sleeping...................................................................................................................... 9
11.1 How to Enter the Seeping Mode................................................................9
11.2 Wake up sleeping......................................................................................... 9
12. Temperature Calibration.......................................................................................... 9
13. Replacement of the Heater...................................................................................10
13.1 Steps of removing the Heater..................................................................10
13.2 Steps of replacing the Heater.................................................................. 11
14. Troubleshooting.......................................................................................................11
15. Nozzles.....................................................................................................................12
16. Consumable List..................................................................................................... 14

1
1. Safety Instruction
CAUTION
During the installation and use of the product, you need to observe the electrical
safety regulation of location.
Please power off the product during disassembly.
If the product is not working properly, please contact the supplier or manufacture,
do not disassemble or modify without notice. We will not be liable for any problems
caused by unauthorized maintenance or modification of the product.
WARNING
Products should be used away from magnetic field.
Do not place the product where the surface is vibrated or subject to shocks.
Do not install the product where it maybe wet.
Do not use the product near flammable materials.
The product should be keep ventilation during operation. Turn off the product when
resting or after completion..
Do not use the product when it is damaged, inspection and maintenance regularly.
The handle is placed on the holder, the system will sleep automatically when the
temperature is less than 100 ℃.
Please unplug the power cable when the product is not used for a long time.

2
2. Product Overview
This product is suitable for desoldering and soldering of various components, such as
SMD, SOP, SOG, etc. It can be used in many occasions, such as heat shrinkage, drying,
paint removal, adhesive removal, thawing, preheating, disinfection, glue welding,
etc. Adjustable air volume, suitable for small air volume and large air volume heating
occasions.
3. Product Features
CH1, CH2, CH3 three working channel selectable, and can set the air volume and
temperature of each channel.
Password protection and key locking.
Magnetic switch control, convenient and real-time operation.
Auto sleeping, parameters can be set while sleeping.
Closed loop sensor, the microcomputer triggers the temperature control by zero
crossing, large power, the temperature rises quickly, and the temperature is
regulated, convenient, precise and stable.
Brushless vortex fan, adjustable and large range of air flow.
Automatic large-air cooling to extend the heater life and protect the hot air
handle.

3
4. Product Specifications
5. Display and Function Descriptions
5.1Dimensions
Unit: mm
Product model
862DA+
862DW+
Display
LCD
Power
1000W
Working voltage
AC 110V/220V/230V
Steel tube
Direct wind
Cyclone
Temperature range
100℃~500℃/ 212℉ ~932 ℉
Range of air volume
1~120 Class
Airflow
50L/min(Max)
Dimensions(L×W×H)
180*210*130.6mm
Weight
About 2.6Kg

4
5.2 Part Descriptions
5.3 Button Descriptions
Serial
Number
Part Names
1
Main unit
2
Hot air handle
3
Handle holder
4
Power switch
Button
Functions
•
••
•••
1. Press •to ••• to switch to channels 1 to 3.
2. Press • and ••at the same time to set the prompt tone.
3. Press • and ••• at the same time to enter the temperature calibration
mode.
4. Press ••and C•••at the same time to switch between Fahrenheit and
Celsius.4.
+/-
Temperature control
▲/▼
Air volume regulation

5
5.4 Main Menu
6. Installation and Connection
6.1 Hot Air Section
The handle holder must be installed when the machine is used for the first time, as
shown in the picture on the right.
1) Remove the two screws securing the handle holder on the right side of the
machine as shown.
2) Align the mounting hole of the handle holder with the two screw holes on t
he machine and tighten the two screws removed.
3) Install the handle holder, place the air handle, and check whether it is suitabl
e.
Note: the handle holder can be installed on the left or right side of the machine
according to actual needs.
Symbol
Function
Heating state
Display: button tone and alarm prompt ton
e are enabled
No display: button tone and alarm tone ar
e disabled
Real Temp
Real-time temperature

6
6.2 Connection
Connect the external power supply, turn on the station, and it starts to work.
7. Temperature and Air Volume and Channel
Setup
7.1 Temperature Setup
Press + or - to increase or decrease the temperature by 1 ° C, and hold down + or - to
rapidly increase or decrease the temperature.
7.2 Air Volume
Short press "▲" or "▼" key, air volume goes up or down 1, long press "▲" or "▼" key,
the air volume goes up or down quickly.
7.3 Channel
Press •, ••, or •••to select channels 1 to 3. Long press CH1 to CH3ave temperature and
air volume parameters.

7
8. Operation
If the initial password is 000, the system is unlocked, and you can set parameters and
select channels.
1) Place the hot air rework station on the table, select an appropriate air nozzle, and try
to use a large diameter air nozzle (refer to "14.1 Installation and Removal of air
nozzle"), then place the handle on the holder.
2) Connect the power cord and turn on the station.
3) Remove the handle from the holder and the station enters the normal working state.
When the temperature is stable, the temperature window will display "Real Temp".
4) If the password is not locked, you can modify the temperature and air volume
parameters. See 8. Temperature, air volume and channel setting
5) If the password is locked, "No" will be displayed in the window after
startup. Temperature and air volume parameters cannot be modified under operating
conditions.
6) After the work is finished, the handle must be placed on the holder and the station
will automatically enter the cold air cooling stage. When the temperature drops to
100℃, it enters sleep mode.
9. Password Setup
In the initial state (the password is 000) and the password setting steps as follows.
1. Turn off the station, and then press the key “••” and turn on it. Not loosely the “••”
key until the window displays “C”. After that, the window displays “password” and
“SET”, which means the station comes into the password setting state.
2. Hundreds digit blink, enter the first password input interface. Press "+" or "-" to
select the password value, press "▲" and "▼" to select the digits, enter the digits in
sequence, and press “••” to confirm.

8
Note:
1) Enter the password twice
2) If the next password is not the same, the setting of password is not successful and the
window displays “no”. After that, the station comes into work state and the password is
still the former one.
3) If the next password is the same, the setting of password is successful and the unit
displays “SAV_ _ _” and has sound (run sound function). After that, the system comes
into work state.
3. After the password is changed, you must enter the correct password to enter the
password setting. The setting procedure is as follows:
1) Enter the correct password.
2) If the password is not correct: the display shows “no” and then comes into the work
state.
3) If the password is correct, SET will be displayed for about 20 seconds.
When "SET" is displayed in the window, press " • • " to enter the new password
setting (refer to the initial password setting).
If "SET" is displayed in the window, press " •" or " •••" to exit the password
setting and directly enter the working state (the key is locked and cannot be
changed).
When the window displays "SET", do not do any operation, the station directly into
the working state (the key is locked, can not be modified).
4. After setting new password and turn on the station, the display will show “no” and
then comes into the working mode or sleeping mode.
Note:
In the initial state, it can change the password directly and without input the correct
password “000” first. After setting a new password in the initial state, it must turn off
the station and then turn on it, and then the locking function of the parameter setting
comes to run. Or else, it can change the parameter after changing the password.

9
10. Sound Setup
1) Press the “•” and “••” for three seconds at the same time in the working mode or in
the sleeping mode. It can switch on or off the sound.
2) When the LCD displays “ ”, the station has key sound and alarm sound. When not
displaying “ ”, the station hasn’t key sound and alarm sound.
11. Sleeping
11.1 How to enter the sleeping mode
1) Put the handle on the handle holder, the station will enter the sleeping mode
automatically.
2) During the sleeping mode, the window will display “Off”. and then when the
temperature cooling down to 100℃, the unit comes into the sleeping mode. In the
sleeping mode, the LCD will display “Sleep”.
11.2 Wake up sleeping
When the handle is removed from the holder, the station immediately enters the
working mode.
12. Temperature Calibration
It is better to calibrate the temperature after changing the heater The method of
calibrating the temperature is as:
1) In the working mode, set the calibration temperature 300℃ and 500℃ calibrate.
When the temperature is stable and the window displays “Real Temp”, test the outlet
temperature of the handle with thermometer and write down it.

10
2) Enter the calibration mode: When the temperature is stable, press the keys “•” and
“•••” at the same time for 7seconds, and then the LCD will display “cal” about two
seconds and the station will enter the temperature calibrating mode.
Input the testing temperature after the hundreds digit twinkling.
3) Press “TEMP ▲”or “TEMP ▼” key to set the data and press “AIR ▲”or “AIR▼”
key to move the cursor. After inputting the testing result, click the “••” key.
4) If calibration is successful, the LCD respectively displays “C-L/C-H”,if not
successful, the LCD displays “no”.
5) If the temperature still has some differences, you can repeat calibration according to
the above steps.
Note: * Suggest using 191 or 192 thermometer to measure the temperature.
13. Replacement of the Heater
13.1 Steps of removing the Heater
1) Unscrew②four screws;
2) Push the ⑥Handle components out of the ⑦Handle body;
3) Pull out the Steel tube①;
4) Remove and replace the Heater③;
Note: All operation steps are carried out under the condition of power cut off and cool
handle.

11
13.2 Steps of replacing the Heater
1) Install the heater on the ⑥Handle components, and the square column on the
heating body is facing the square hole on the wiring seat;
2) Cover ①Steel tube to ③Heater;
3) Install the ⑥Handle components into the ⑦Handle body, pay attention to the
alignment of the four holes;
4) Turn Four screws②;
5) After replacing the heater, you are advised to perform the following measurements
6) Calibrate the temperature, refer to Soldering temperature calibration.
14. Troubleshooting
NO.
Display Fault
Fault Descriptions
1
H-E
Indicates that there is a problem with the heater and the heater needs
to be checked or replaced.
2
S-E
Indicates that there is a problem with the sensor and the sensor needs
to be checked or replaced.
3
ERR
Indicates that the fan is faulty and needs to be checked or replaced.
The square is opp
osite the terminal bl
ock

12
15. Nozzles
This manual suits for next models
1
Table of contents
Other Quick Rework Station manuals