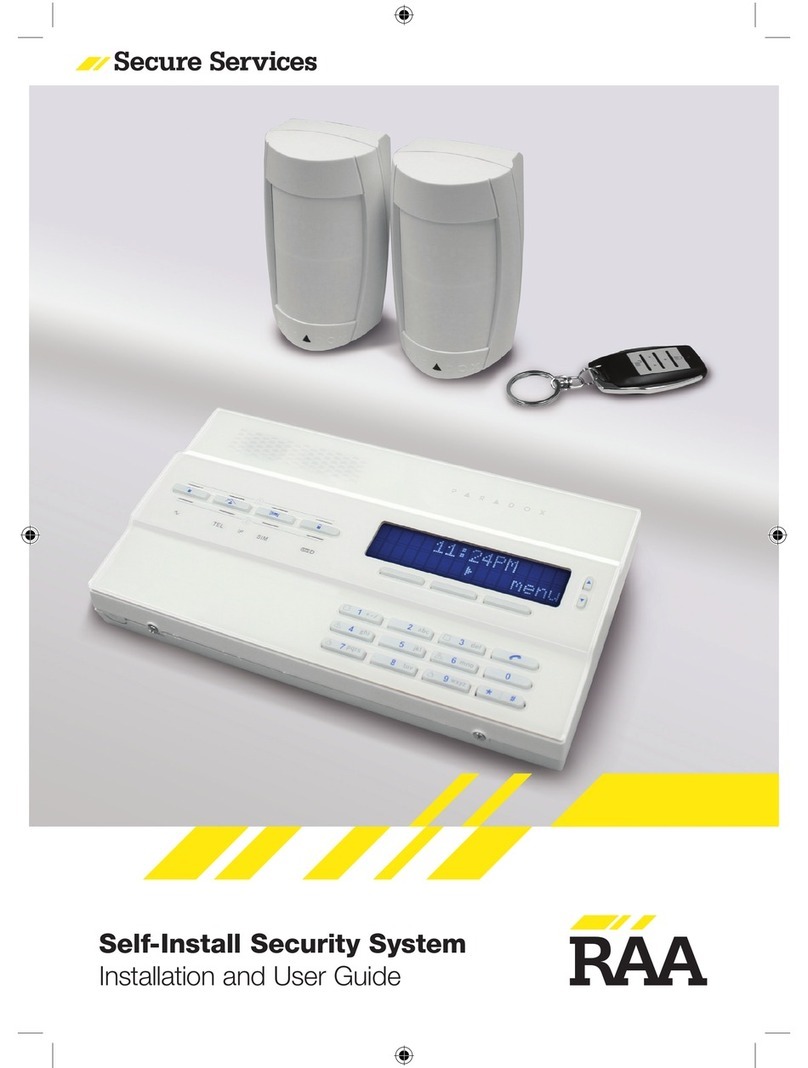
RAA 3G Personal Alert System User manual

3G Personal Alert System
Self Installation Guide
Please read this guide thoroughly before starting the installation
so you understand how your personal alert system works.
RAA recommends that you ask a second person to help you with
this installation. Please follow the instructions in this guide, and if
you have any questions please call:
RAA 1300 767 115

1
Contents
Your Personal Alert System..................................................... 1
Installation ............................................................................. 2
STEP 1: Connecting the Unit 2
STEP 2: Turning it on 3
STEP 3: Checking Cellular Signal Strength 3
STEP 4: Testing your Pendant 4
STEP 5: Making a Test Call and Completing Installation 5
IMPORTANT NOTES ................................................................ 6
Your Personal Alert System
To install your system you will need:
1x Unit
1 x Pendant
1 x Power Pack
1 x User Guide
3G network coverage in your
area.
or

2
RAA recommends you ask a friend or a family
member to help you with this installation. If you
have any questions, please call RAA: 1300 767 115
Installing your Personal Alert System:
STEP 1: Connecting the Unit
a. Remove the unit and pendant from
the packaging.
b. Choose an installation location near
a power point. For best range, a
central location at waist height is
ideal.
c. Plug the blue power wire into the power socket at the back
of the unit.
d. Plug the power pack into the power point at the wall.
Note:
To minmise the risk of damage to the alarm caused
by lighting strikes, we recommend using a surge
protector.
Please ensure the power cord is safely out of the
way to avoid tripping.
e. Ensure the aerial is outstretched
vertically to give the best range.
Do not bend, scrunch, or cut the
aerial, as this will result in reduced
range to the pendant.

3
STEP 2: Turning on the unit
a. Turn on the power at
the wall.
b. The green On light and
the red Check Cellular
light will both turn on.
c. The red Cellular light will turn OFF once the unit has
connected to the network. This will take about 15
seconds.
d. If the red Check Cellular light does not turn off, you may
need to relocate the unit to find a reliable connection.
Moving the unit by as little as half a metre can change the
signal strength.
STEP 3: Checking Cellular Signal Strength
When the red Cellular light turns off this means you are
connected to the cellular network. To check the signal strength:
a. Press and hold the yellow CANCEL
button for three seconds to enter
“Range Test Mode”.
You will hear a single beep and see the
blue Test Pendant light turn on and
flash. Range Test Mode will last for 10
minutes.
b. The lights on the HELP button will display the cellular
signal strength.
Note:
It is recommended that a minimum of 3 lights should be
displayed to indicate a reliable connection to the cellular
network, but 4 lights is optimum.
Due to changes in the cellular signal strength, a low signal
(1-2 lights) may mean that the network becomes
unavailable at certain times.

4
c. When completed, continue to Step 4 to test your pendant
while you are in Range Test Mode.
STEP 4: Testing your Pendant.
RAA recommend this test only if there is another person who is
able to help you.
a. Make sure that you are still in Range Test Mode. If Range
Test Mode has timed out, follow Step 3, a. to re-enter.
b. Press and hold your pendant button for three seconds.
c. The outer edge of the pendant will flash red to indicate a
successful test.
Note: Please ensure that you press and hold the pendant for three
seconds and that the outer edge of the pendant flashes red when
pressed, this indicates that the pendant has successfully tested.
d. Walk around the house and garden, carefully testing the
range of your pendant at waist height and ground level, at
multiple locations. If applicable test from all the following
positions:
Inside:
Sitting on the bed
Favourite chair
Dining table
The base of the shower
or bath
Furthest corner in every
room of the house
Outside:
Washing line
Garage or garden shed
Letterbox
Furthest points in garden

5
e. Check that the outer edge of your pendant
flashes red after each button press.
This indicates that the pendant works at
these locations.
f. When completed, press the
button on the unit once to end the process.
Note: As a safety feature, Test Mode will time out after ten
minutes. To enter back into Test Mode, repeat Step 4, a.
Tips: You can cancel a false alarm by pressing the CANCEL button
within the 10 second pre-alarm stage. Otherwise, wait for the
system to connect you to an RAA operator and communicate with
them by speaking to the base unit.
STEP 5: Making a Test Call and Completing
Installation
a. Press and hold the button on your
pendant for 3 seconds - you will hear
a loud alarm. Do not press the yellow
CANCEL button as this will stop the
alarm connecting to RAA. The loud
alarm will sound for ten seconds and
then you will be connected to an
RAA operator.
b. When you have been connected to
RAA, inform the operator that you are
testing your new Personal Alert
System.
c. Communicate with the operator by speaking to the base
unit.
d. Unless the operator advises you that there is a problem
with the unit, EVE is ready to use.

6
Your Personal Alert System is now ready to use.
IMPORTANT NOTES
Please read these instructions carefully and ensure that you
follow them at all times.
It is possible that in certain circumstances the system may not
operate properly due to factors beyond RAA’s control, such as
the telephone line being unavailable, radio interference,
lightning strikes or telephone network outages.
If you suspect your system is damaged or not functioning
properly, please contact:
1300 767 115
If you are relocating your system to a new or temporary
address, please contact RAA so that we can update your
address details.
Table of contents
Other RAA Security System manuals