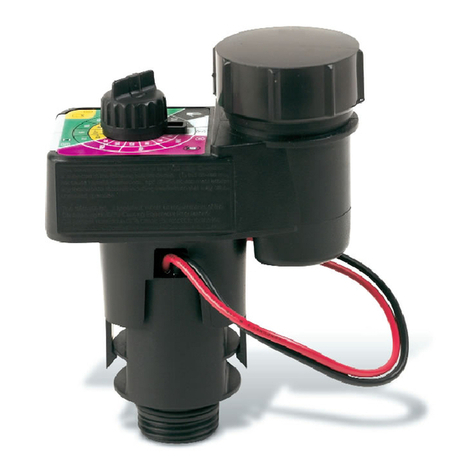
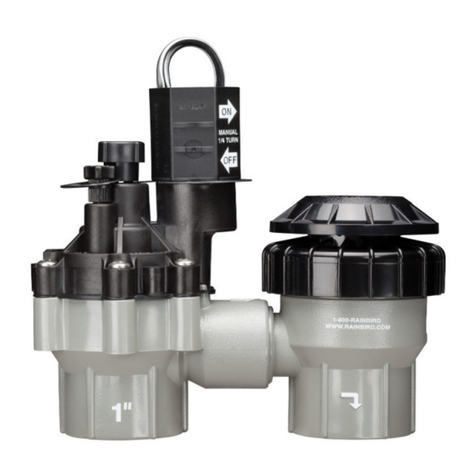
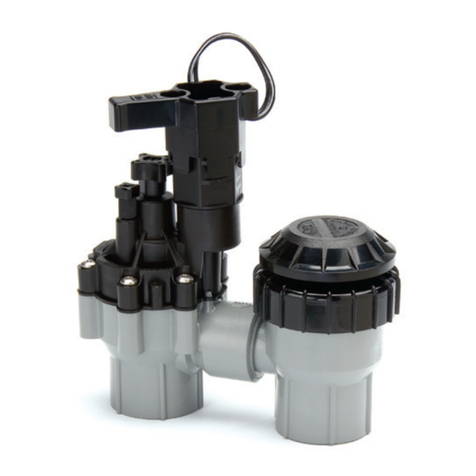
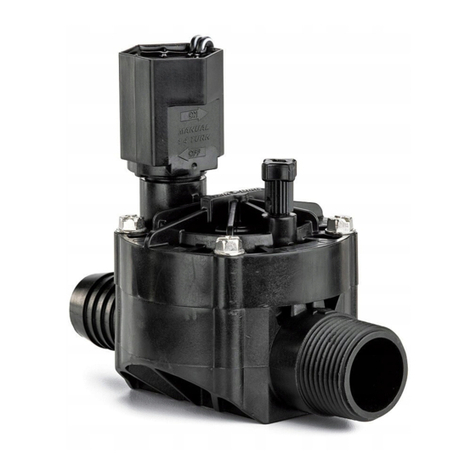
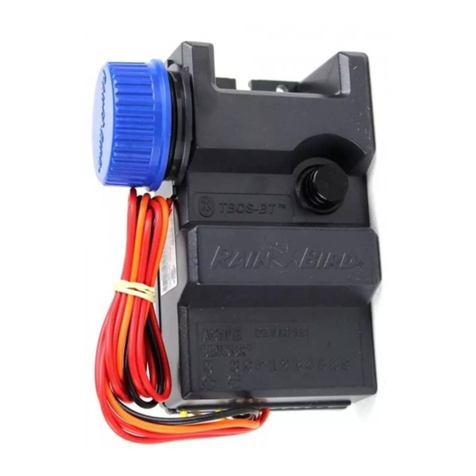
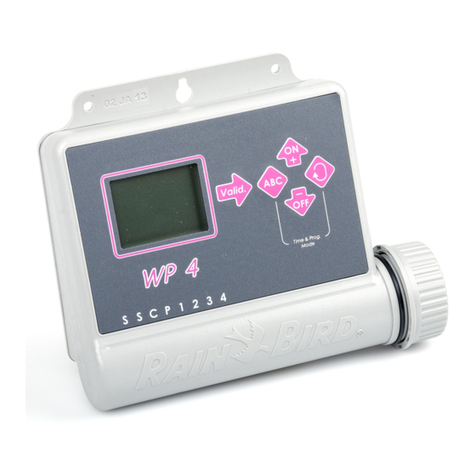
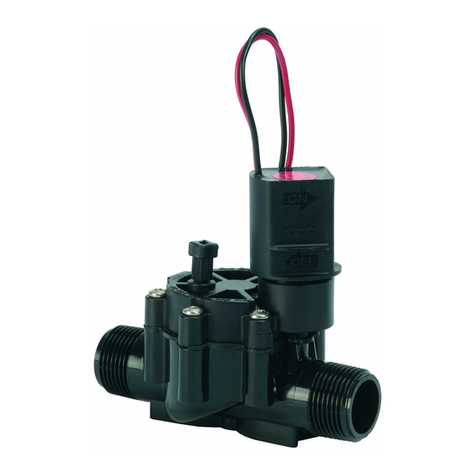
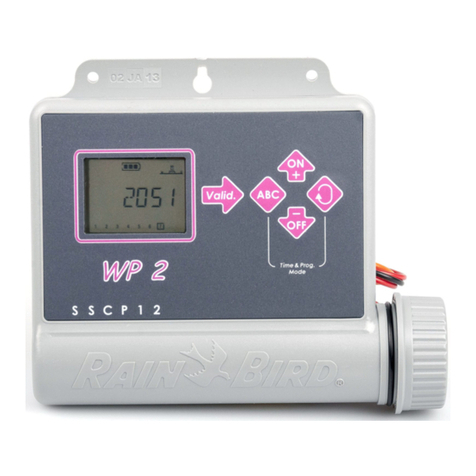
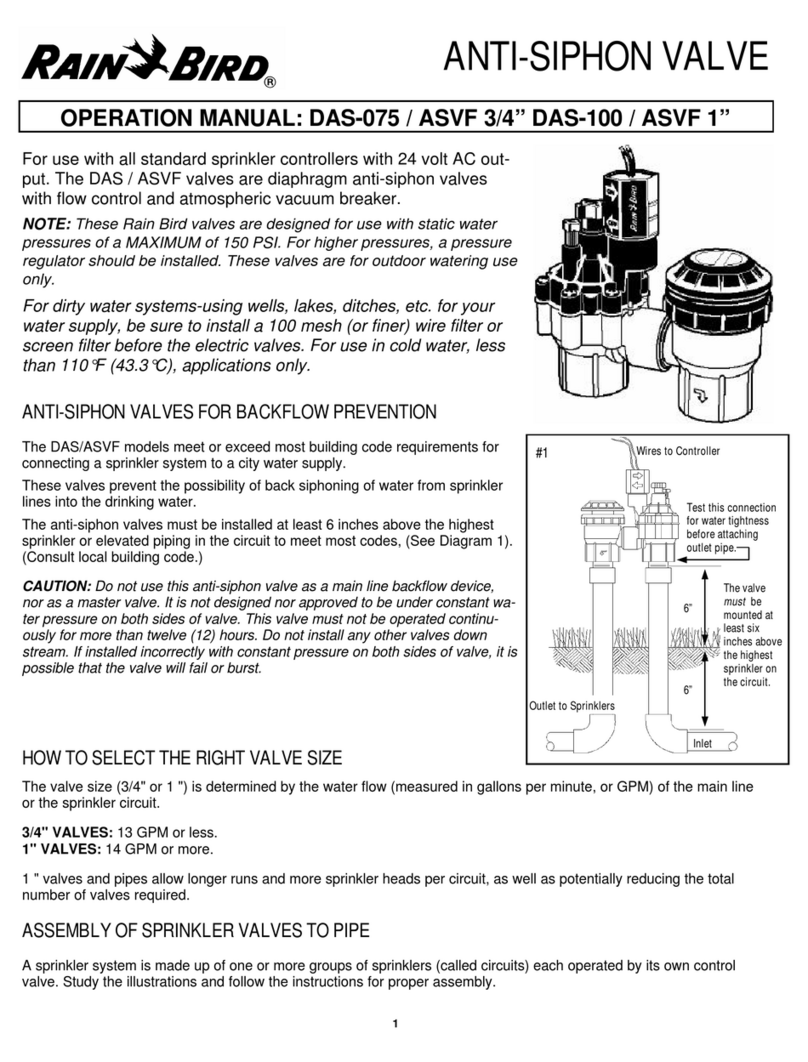
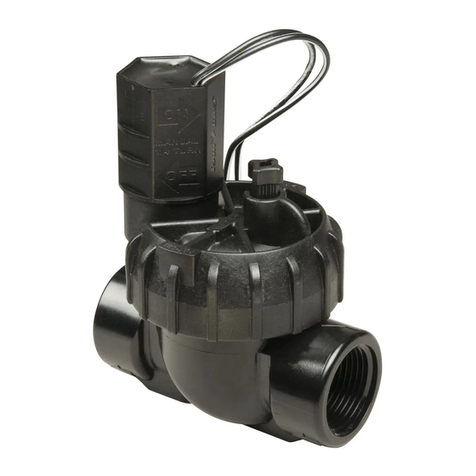
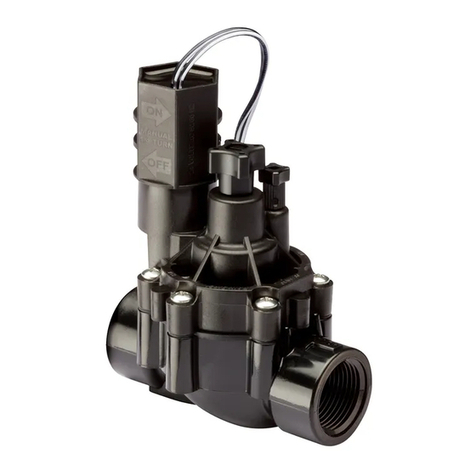
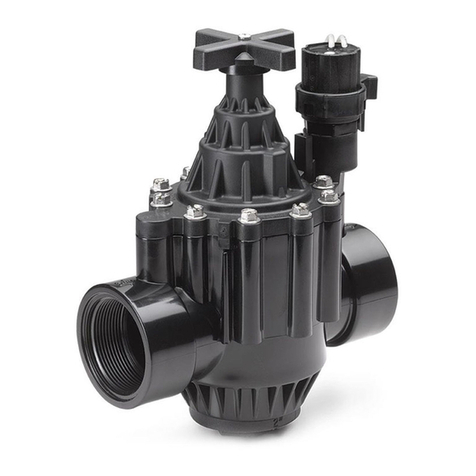
300BPE 300BPES
Bonnet Assembly
1 Bleed screw with o-ring 204152 204152
2 Handle, flow control 231546 231546
NP Handle (sold separately) 240134 240134
3 Bolts (10 each) 231530 231530
4 Stem with o-ring, flow control 232063 232063
5 Solenoid seal 208629 208629
6 Bonnet with solenoid seal 231306 231306
7 Bonnet assembly 231548 231548
Solenoid Assembly
8 U-Frame 210914 210914
9 Rubber retainer 627167 627167
10 Coil 602118 602118
11 Base nut (plastic) 602606 602606
12 Tube, welded 630028 630028
300BPE 300BPES
13 Plunger/spring assembly 629453 629453
14 O-ring 202882 202882
15 Adapter assembly 231985 231985
16 Solenoid assembly (A) B31800 B31800
B Solenoid wrench B33003 B33003
Lower Assembly
17 Diaphragm spring 321545 321545
18 Diaphragm assembly 231543 –
19 Diaphragm assembly – 231542
20 Scrapper – 231544
21 Plug and o-ring (NPT) 231547 231547
Plug and o-ring (BSP) 231307 231307
O-ring kit (1, 12, 13, 16, 17, 19) 231513 231513
(A) This solenoid assembly supercedes all others.
Replacement Parts Refer to F2.
Troubleshooting (cont.)
a) If controller and solenoid power are
detected, there may be debris in the
solenoid assembly. Remove orange
rubber retainer by twisting and pulling
upward. Lift off the U-frame and sole-
noid. Use solenoid wrench (part num-
ber B33003) to counter-clockwise
remove the post assembly, being
careful as internal parts could fall out.
b)Remove plunger assembly and clean
debris on parts and solenoid bowl.
Replace plunger ensuring black
surface faces outward. Clockwise
reinstall the post assembly, solenoid,
U-frame and rubber retainer.
c)Persistent problem may be an
obstruction lodged in main pipe.
d)If power is detected at the controller
and not the solenoid, inspect and
repair damaged lead wires.
Valve will not close
1. Ensure controller is not operating the
valve automatically. Ensure manual
internal bleed is off by clockwise
tightening the solenoid adapter. ●
F
Ensure manual external bleed is off
by clockwise tightening the bleed
screw.●
E
2. Turn off water supply and swap
solenoid ●
Cfrom an operational
valve; replace solenoid if necessary.
3. Turn off water supply and verify that
the solenoid adapter ●
Fo-ring is not
damaged; replace if necessary.
Check for debris in solenoid bowl
preventing plunger from creating a
positive seal.
4. Check overall system water-pressure
requirements and ensure that multiple
zone valves are not operating simul-
taneously. Disallowing one zone
valve to close before another opens
can reduce the amount of backpres-
sure needed to close the diaphragm.
5. Turn off water supply and remove
bonnet ●
Ifor possible debris or
damage causing the diaphragm to
stick open.
Leakage
1. Disassemble parts and inspect o-
rings/sealing surfaces for damage.
Check replacement parts exploded
view for missing or replacement
parts.
Accessories or persistent
problems
1. Refer to the appropriate installation
and operation manual for specific
troubleshooting procedures
2. Inside the US, please call the Rain
Bird Spec Hotline at (800) 458-3005.
3. Outside the US, please refer to the
back page for contact information.
4. Always visit us at www.rainbird.com.
