ratiotec Cash Box Product information sheet

1
Kurz-Bedienungsanleitung Cash Box
Short user manual Cash Box
Cash Box

2
Contents | Inhalt
Bedienungsanleitung Cash Box .............................................
Instructions for use Cash Box ................................................
Istruzioni per l’uso Cash Box ................................................
Instrucciones de uso Cash Box .............................................
3
12
20
28
[DE]
[EN]
[IT]
[ES]

3
Einleitung
Übersicht
[DE]
Sehr geehrte Kundin, sehr geehrter Kunde,
vielen Dank, dass Sie sich für die ratiotec Cash Box entschieden haben.
Für einen störungsfreien und fehlerlosen Betrieb lesen Sie bitte die Be-
dienungsanleitung sorgfältig durch.
Bitte beachten Sie, dass es sich hierbei um eine Kurz-Bedienungs-
sanleitung handelt. Die ausführliche Anleitung nden Sie unter
www.ratio-tec.com/download.
Funktionsbutton
LED grün
Anschluss für seriellen Drucker
Ethernet-
Anschluss
LED rotUSB
Anschluss Netzteil (5V DC/2A)

4
Inbetriebnahme
[DE]
Stellen Sie die Cash Box auf eine ebenmäßige Fläche. Schließen Sie die
Cash Box mit dem Netzteil an die Stromversorgung an. Anfänglich leuch-
tet die grüne LED auf. Die Cash Box ist noch nicht betriebsbereit. Sobald
die grüne LED erlischt, startet das System und Sie können den nächsten
Schritt befolgen (Dauer bis zum Systemstart ca. Minute).
3.1. Verwaltungswebsite
Nachdem Sie die Cash Box ordnungsgemäß angeschlossen haben,
laden Sie sich bitte den Cash Box Finder von unsere Homepage herunter
https://ratio-tec.com/download . Führen Sie diesen aus und starten Sie
die Suche. Klicken Sie auf die gefundene Cash Box. Der Link wird auto-
matisch in Ihrem Browser geönet.
Melden Sie sich mit den folgenden Benutzerinformationen an:
Benutzername: data
Passwort: Ist standardmäßig im Lieferumfang enthalten (kann geändert
werden)
Alle kürzlich empfangenen Abrechnungsdaten werden auf der Dashbo-
ard-Startseite aufgelistet.
Zeitzone einstellen
Sollten Sie die Cash Box in einer anderen Zeitzone als Europa/Berlin
verwenden, befolgen Sie bitte bereits jetzt den Punkt „Local timezone
– Ändern der Zeitzone“ (zu nden in der ausführlichen Bedienungs-
anleitung).
Die erste Inbetriebnahme:
Bei der ersten Inbetriebnahme muss die Cash Box die Uhrzeit beziehen.
Die Zeitsuche wird mit einem dauerhaften Rot-Blinken quittiert.

5
[DE]
Die Einstellung der Uhr kann über Funk oder eine Internetverbindung
erfolgen:
a) Mit integrierter Funkuhr
Die Cash Box verwendet die integrierte Funkuhr und stellt die Uhrzeit
automatisch ein, falls keine Internetverbindung besteht. Die Cash Box
sollte sich in keiner stark abgeschirmten Umgebung oder etwaiger
Strahlung benden (z.B. nicht in Kellergeschossen oder in der Nähe einer
Mikrowelle). Idealerweise stellen Sie die Cash Box hierzu an ein Fenster.
Sobald die rote LED durchgehend leuchtet ist die Uhrzeit empfangen.
b) Mit Internetverbindung
Verbinden Sie die Cash Box über den Ethernet Anschluss mit Ihrem Netz-
werk. Stellen Sie sicher, dass das Netzwerkkabel bereits vor Einschalten
des Geräts verbunden wurde und die Cash Box Zugri zum Internet hat..
Sobald die rote LED durchgehend leuchtet ist die Uhrzeit empfangen.
Hinweis: Im Laufe der Zeit muss die Cash Box die Zeit erneut beziehen.
Sie können auf dem Dashboard der Verwaltungswebsite oben rechts
einsehen, wann das nächste Mal die Zeit bezogen werden muss. Sollten
Sie die Cash Box über Ihr Netzwerk mit dem Internet verbunden haben,
ist kein weiteres Zutun nötig.
3.2. Einrichten von Bluetooth Abrechnungsgeräten und Thermobeleg-
druckern
Die Abrechnungsgeräte, mit denen Sie die Cash Box nutzen möchten,
werden mittels Bluetooth verbunden. Solange kein Abrechnungsgerät
per Bluetooth verbunden wurde, leuchtet die rote LED dauerhaft. Die
Kopplung der Geräte erfolgt über die Verwaltungswebsite.

6
[DE]
Wichtig: Um ein Abrechnungsgerät oder einen Drucker über Bluetooth
verbinden zu können, müssen Sie das Gerät in den „Kopplungsmodus“
versetzen. Um die Abrechnungsgeräte zu verbinden, müssen diese
mittels Bluetooth gekoppelt werden. Die Einrichtung können Sie über das
Menü „Kabellose Geräte > Geldzählgeräte“ vornehmen. Sie können dazu
in Reichweite bendliche Geräte über die Schaltfläche „Suche Geräte“
suchen. Wurde ein Gerät gefunden, können Sie diesem einen benutzerde-
nierten Namen geben, so können Sie den Standort besser bestimmen.
Das Bestätigen der „verbinden“ Schaltfläche verbindet das Gerät. Die
Geräte werden anschließend in einer Liste aufgeführt.
Sobald das Abrechnungsgerät mit der Cash Box verbunden ist, erlischt
die rote LED und die grüne LED leuchtet dauerhaft. Die Box ist nun bereit,
Abrechnungsdaten des verbundenen Geräts zu empfangen.
Sie können optional neben Abrechnungsgeräten auch einen Thermo-
belegdrucker kabellos (via Bluetooth) betreiben (Menü „Kabellose Geräte
> Drucker“). Das Gerät muss dazu die Geräte-Klasse „Bluetooth-Printer“
ausweisen.

7
[DE]
Drucker über Kabelverbindung nutzen
Der Drucker kann alternativ über ein serielles Kabel (RS zu DSUB)
verbunden werden. Wenn kein Bluetooth Drucker eingerichtet wurde,
verwendet die Cash Box automatisch die Kabelverbindung.
Abrechnungsgerät z. B.
RS 2000 Cash Box
Belegdrucker mit seriellem
Kabel e.g. RTP 300
Bluetooth Belegdrucker
oder
Cash Box
Hinweis: Sie können die Cash Box auch ohne einen Belegdrucker verwen-
den. Für die Verwendung der Cash Box ist der Druck nicht obligatorisch.

8
[DE]
Speichern der Abrechnungsdaten
Die Abrechnungsdaten folgender ratiotec Geräte können auf der Cash Box
gespeichert werden:
• Geldwaagen: RS Cash Box
• Münzzählmaschinen: coinsorter CS Cash Box | CS Cash Box
• Banknotenzählmaschinen:
– rapidcount S Cash Box
– rapidcount T-Serie: T Cash Box | T Cash Box
– rapidcount X Cash Box | X Cash Box
Um die Abrechnungsdaten an die verbundene Cash Box zu senden,
drücken Sie nach der Zählung die Drucktaste Ihres Abrechnungsgeräts.
Die Daten werden an die Box übermittelt, gespeichert und falls eine Ver-
bindung zum Drucker besteht, zusätzlich auch ausgedruckt.
Während die Daten empfangen, gespeichert und ggf. gedruckt werden,
blinkt die grüne LED einige Sekunden.

9
[DE]
Zugri auf Abrechnungsdaten
Um auf die Abrechnungsdaten Ihrer Cash Box zugreifen zu können,
haben Sie 4 Möglichkeiten:
5.1 Dashboard der Verwaltungswebsite
Nach erfolgreichem Login (siehe .) gelangen Sie ins Dashboard. Hier
nden Sie eine zentrale Übersicht zu allen durchgeführten Abrechnun-
gen. Die Abrechnungen sind nach der Belegnummer absteigend sortiert.
Die Übersicht verteilt sich dabei auf zwei Bereiche:
1. Einnahmen im Zeitverlauf (letzte Tage, letzte Tage, letztes
Quartal, letzte Monate, alle)
2. Tabelle aller bisher durchgeführten Abrechnungen
Das Einnahmen Chart weißt dabei die Abrechnungen in einer aus-
gewählten Währung aus. Wechseln Sie die aktive Währung oben rechts,
um abweichende Abrechnungsverläufe zu erhalten. Die tabellarische
Darstellung ist deutlich umfangreicher. Hier können Sie zusätzlich neben
der Gesamtsumme auch die einzelnen Stückelungen entnehmen.
Einstellung der automatisch zu beziehenden Uhrzeit
Bei der Erstinbetriebnahme verlangt das Gerät die Einstellung einer
automatisch zu beziehenden Uhrzeit. Der System-Status, in der oberen
rechten Ecke, gibt den Zeitpunkt für eine neue Zeitsynchronisation an.

10
5.2 USB-Stick
Die Abrechnungsdaten können auch über einen USB-Stick bezogen
werden. Mit Hilfe dieser Variante können Sie beispielsweise auch ohne
Netzwerkverbindung Ihre Abrechnungsdaten dem Finanzamt zur Verfü-
gung stellen. Voraussetzung: Dazu muss ein FAT formatierter USB-Stick
angeschlossen werden. Zur Authentizierung wird auf dem USB-Stick
die Datei „data“ erwartet, welche ausschließlich das aktuelle Kennwort
enthält. Wurde der USB-Stick erkannt, überträgt die Cash Box die Abrech-
nungsdaten. Die Daten sind auf dem USB-Stick übertragen, nachdem die
grüne und die rote LED der Cash Box jeweils Mal geblinkt haben.
5.3 Netzwerk
Ist die Cash Box mit dem Netzwerk verbunden, können Abrechnungsda-
ten über die Netzwerkfreigabe „data“ abgeholt werden. Das Verzeichnis
sieht folgende Dateien vor:
• Dateien mit Namensschema print_<Datum>_<Dokumentennummer>.txt
jeweils für einen Abrechnungsbeleg
• Die Datei summary.csv zur tabellarischen Auflistung aller Abrech-
nungen
Beispiel Zugri Windows: \\<IP-Adresse der Cash Box>\data
Benutzername: data
Passwort: Ist standardmäßig im Lieferumfang enthalten (kann geändert
werden)
5.4 REST-API
Auf die Abrechnungsdaten kann auch via REST-API zugegrien werden.
Für weitere Informationen zu dieser Möglichkeit, kontaktieren Sie uns
bitte.
[DE]

11
[DE]
Weitere Informationen, u.a zu den Themen Netzwerkkonguration,
Firmware Updates und Sicherung von Abrechnungsbelegen nden
Sie in unserer ausführlichen Bedienungsanleitung, welche unter
www.ratio-tec.com/download für Sie zum Download zur Verfügung steht.
Wichtig: Ausführliche Bedienungsanleitung zum Download

12
[EN]
Introduction
Overview
Dear customer,
Thank you for deciding on the ratiotecCash Box. For trouble-free and
error-free operation, please read the instruction manual carefully.
Please note: This is a short user manual. The detailed instructions can
be found at www.ratio-tec.com/download.
Function button
LED green
Serial printer port
Ethernet
connection
LED redUSB
Connection power supply (5V DC/2A)

13
[EN]
Operation
Place the Cash Box on a flat surface.
Connect the power supply unit with the Cash Box to the electricity supply.
Initially the green LED lights up. The Cash Box is not ready for operation
yet. As soon as the green LED turns o, the system starts and you can
follow the next step (duration of system start approx. minute).
3.1. Administration Website
After properly connecting your cash box, please download the
cash box nder from our homepage. You will nd it among “cash box”
(https://ratio-tec.com/download) Afterwards run it and start a search.
Click on the located cash box and the link will automatically open in your
browser.
Log in with the following user information:
Username: data
Password: Is included in the scope of delivery (can be changed)
All recently received billing data is listed on the dashboard homepage.
Set time zone
If you are using the Cash Box in a time zone other than Europe/Berlin,
please follow the instructions in the detailed user manual; section:
“Changing the time zone (Local time zone)“.
Initial commissioning:
For the initial commissioning, the Cash Box must obtain the time of day.
The time search is in progress while the red LED is permanently flashing.

14
The clock can be set either via radio or via internet connection:
a) With integrated radio clock
If there is no internet connection, the Cash Box uses the integrated
radio clock and sets the time automatically. The Cash Box should not be
located in a highly shielded environment or any radiation (e.g. not in a
basement or near a microwave oven). For the time setting, ideally place
the device on a window. The time is received as soon as the red LED lights
up continuously.
b) With internet connection
Connect the Cash Box to your network via the Ethernet port. Make sure,
that the network cable was already connected before turning on the
device and that the Cash Box has got access to the internet. As soon as
the red LED lights up, the time is received.
Note: Over time, the Cash Box must retrieve the time. At the top right cor-
ner of the administration website dashboard you can see, when the time
must be obtained. If you have connected the Cash Box to the internet via
your network, no further action is necessary.
3.2. Set up Bluetooth billing devices and thermal receipt printers
The billing devices, which you want to use with the Cash Box, need to be
connected via Bluetooth. As long as no billing device has been connected
via Bluetooth, the red LED lights up permanently. The coupling of devices
is made through the administration website.
[EN]

15
Important: To connect a billing device or printer via Bluetooth, you need
to put it into the “coupling mode“. Please look up the procedure for your
particular device in the operating instructions of the billing device or
the printer.
To connect billing devices, they must be paired via Bluetooth. You can
set it up via the menu “Wireless devices> Counters“. You can search for
devices in range using the “Scan devices in range“ button. If a device was
found, you can give it a custom name. Conrming the „connect“ button
connects the device. This way, you can better determine the location. The
devices will then be listed.
As soon as the billing device is connected to the Cash Box, the red LED
goes out and the green LED lights up permanently. The box is now ready
to receive billing data from the connected device.
Optionally, you can also connect a thermal receipt printer via Bluetooth to
the Cash Box (Menu “Wireless Devices> Printer“). The printer must belong
to the device class “Bluetooth-Printer“.
[EN]

16
Use printer via cable connection
The printer can alternatively be connected to the box via a serial cable
(RS to DSUB). If no Bluetooth printer has been set up, the Cash Box
automatically uses the cable connection.
Billing device e.g.
RS 2000 Cash Box
Receipt printer with serial cable
e.g. RTP 300
Bluetooth receipt printer
or
Cash Box
Note: You can also use the Cash Box without a receipt printer. To use the
Cash Box, printing is not obligatory.
[EN]

17
[EN]
Saving billing data
The billing data of the following ratiotec devices can be stored on the
Cash Box:
• Money scales: RS Cash Box
• Coin counting machines: coinsorter CS Cash Box | CS Cash Box
• Banknote counters:
– rapidcount S Cash Box
– rapidcount T-Series: T Cash Box | T Cash Box
– rapidcount X Cash Box | X Cash Box
To send the billing data to the connected Cash Box, press the print button
on your billing device after counting. The data is transmitted to the box,
stored and – if there is a connection to a printer – also printed. While the
data is being received, stored and possibly printed, the green LED will
flash for a few seconds.

18
[EN]
Access to billing data
5.1 Dashboard of the administration website
After the successful login (see .) you will arrive on the dashboard. Here
you will nd a central overview of all accountings. The accountings are
sorted in descending order according to the document number.
The overview is divided into two areas:
) Revenue over time (last days, last days, last quarter, last
months, all)
) Table of all previous accountings
The revenue chart shows the accountings in a selected currency. You can
change the active currency on the top right. The tabular representation is
much more extensive. Here you can nd the total as well as the individual
denominations.
Setting the automatic time to be obtained
During initial commissioning, the device requires the setting of an auto-
matically obtainable time. The system status, in the upper right corner,
indicates the time for a new time synchronization.
5.2 USB stick
The billing data can also be obtained via USB stick. With the help of this
variant you can, for example, make your billing data available to the tax
oce even without a network connection.
Prerequisite: To do this, a FAT formatted USB stick must be connected.
For authentication, the le “data“ is expected on the USB stick, which
only contains the current password. If the USB stick was recognized, the
Cash Box transmits the billing data. The data is transferred to the USB
stick after the Cash Box‘s green and red LEDs each have flashed times.

19
5.3 Network
If the Cash Box is connected to the network, billing data can be accessed
via the network share “data“. The directory provides the following les:
• Files with naming scheme print_ <date> _ <document number>.txt for a
billing document
• The le summary.csv for the tabular listing of all accountings
Example access Windows: \\<IP address of the Cash Box>\data
Username: data
Password: Is included in the scope of delivery (can be changed)
5.4 REST-API
The billing data can also be accessed via the REST-API. For more informa-
tion about this opportunity, please contact us.
Important: Download our detailed user manual
Please nd further information (e.g. on network conguration, rmware
updates and document backups) in our detailed user manual, which is
available for download at www.ratio-tec.com/download.
[EN]

20
[IT]
Introduzione
Gentile cliente,
Grazie per aver scelto la Cash Box ratiotec. Per un funzionamento privo di
inconvenienti ed errori leggere attentamente le istruzioni per l’uso.
Si noti che si tratta di istruzioni brevi per l’uso. Per istruzioni dettaglia-
te, consultare www.ratio-tec.com/download.
Overview
Function button
LED green
Serial printer port
Ethernet
connection
LED redUSB
Connection power supply (5V DC/2A)
Table of contents
Languages:
Other ratiotec Banknote Counter manuals
ratiotec
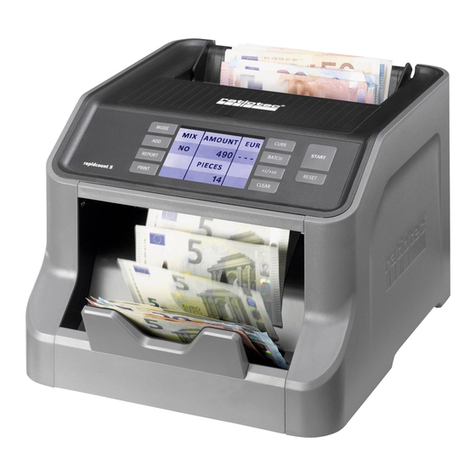
ratiotec Rapidcount S User manual

ratiotec
ratiotec Rapidcount S Series Use and care manual
ratiotec
ratiotec rapidcount T 575 User manual

ratiotec
ratiotec Soldi Smart Plus Use and care manual

ratiotec
ratiotec rapidcount T 575 Use and care manual

ratiotec
ratiotec Rapidcount X 500 Product information sheet

ratiotec
ratiotec S 20 User manual

ratiotec
ratiotec rapidcount X 400 Instruction manual
ratiotec
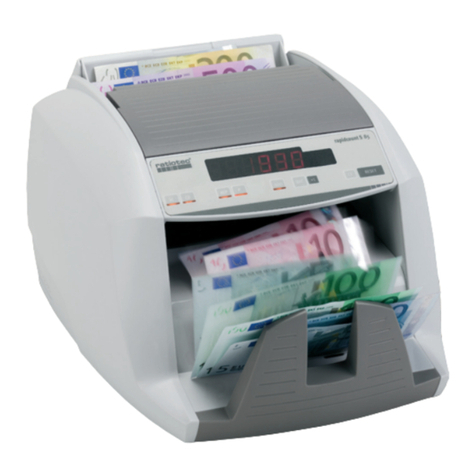
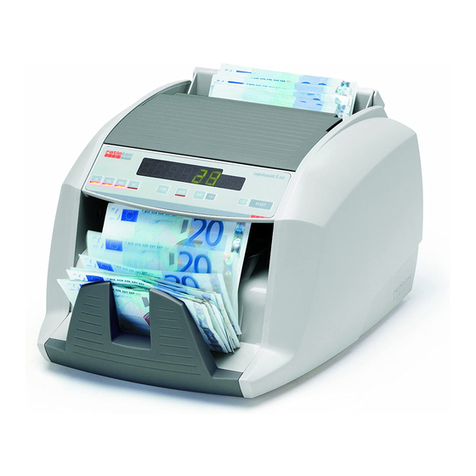
ratiotec Rapidcount V 30 User manual
ratiotec
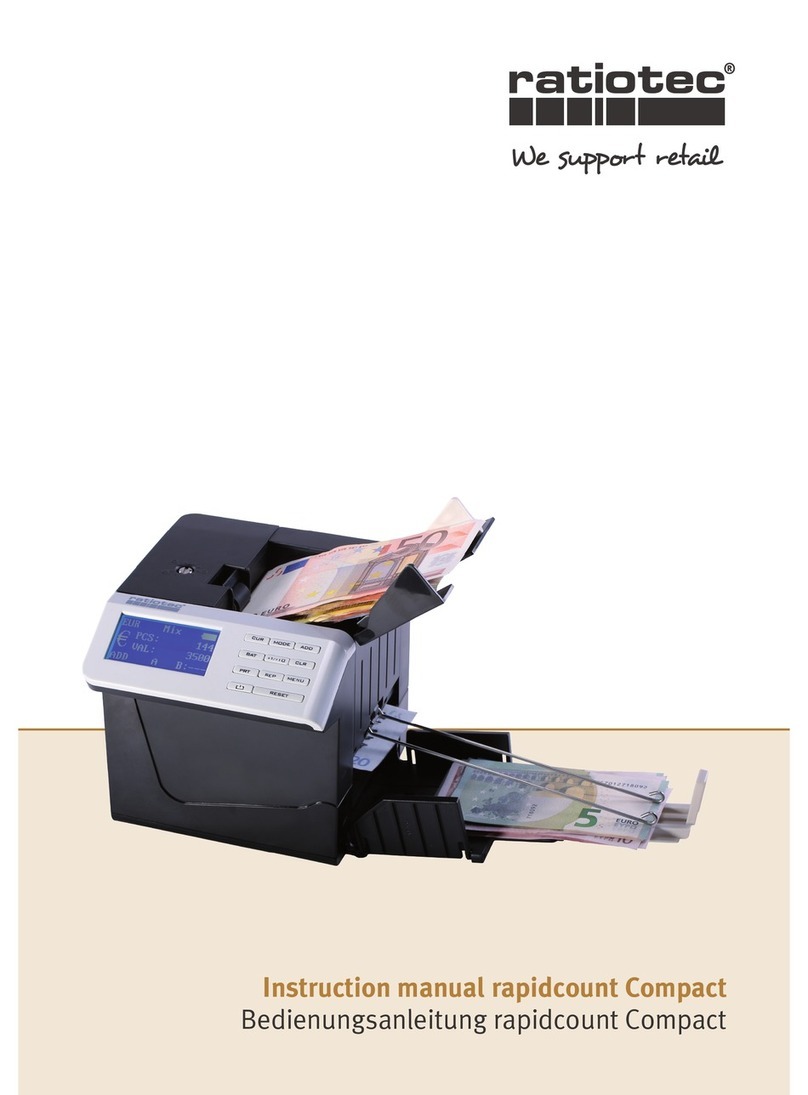
ratiotec Compact User manual