manuals.online logo
Brands
  1. Home
  2. •
  3. Brands
  4. •
  5. Renfert
  6. •
  7. Laboratory Equipment
  8. •
  9. Renfert Silent TS2 User manual

Renfert Silent TS2 User manual

AR
KO
JA
ZH
RU
TR
PT
ES
IT
FR
EN
DE
Quick Start Guide
Made in Germany Ideas for dental technology
SILENT TS2
2930 0050 / 2930 1050
21-6729 11022016 / A
AR
AR
KO
JA
ZH
RU
TR
PT
ES
IT
FR
EN
DE
Fig. 1
17
18
3
7
5
15
8
9
910
16
15
12
EN
Introduction
This Quick Start Guide contains instructions on the operation of the product and relevant safety informa-
tion.
Detailed information on the product can be found in the operating instructions which are available for
download on our website at www.renfert.com.“
Symbols
In the instructions for use and on the unit itself you will nd these symbols with the following meanings:
Danger
This indicates a direct risk of injury. Consult accompanying documents!
Electrical current
This indicates a risk of hazard due to an electrical current
Attention
Disregarding this warning may result in damage to equipment..
Note
This provides the operator with useful information to improve and ease use.
The device complies with the requirements of the applicable EU directives.
The device is subject to the EU directive 2002/96/EG (WEEE directive).
Other symbols are explained as they occur.
Safety
Intended Use
The product is intended for indoor use for the extraction of dry, non-explosive dust particles. The ambient
temperature must be between 5 - 40 °C.
This device is intended solely for commercial use in a dental laboratory.
The intended use also includes compliance with the instructions specied by the manufacturer concerning
operation, servicing and maintenance.
Hazard and Warning Information
General Information
►If the device is not used in compliance with the supplied instructions, the safety of the device can
no longer be guaranteed.
►Only operate the device under supervision.
►The mains plug must be easily accessible.
►Disconnect the device from the mains before carrying out work on the electrical parts.
►The product does not contain any parts inside which require servicing.
►Defective devices must be put out of service immediately. Remove the mains plug and ensure the
device is not used. Send the device for repair!
►The product may not be opened, except as instructed below.
 SpecicInformation
►Please observe the national regulations and permitted exposure to dust in a working environment.
Please ask the “National Institute for Occupational Safety and Health” or other responsible au-
thority
►It is necessary to wear suitable personal protective equipment when emptying the dust drawer or
cleaning, depending on the type of extracted material.
► Donotextractammableorexplosivegasses,fumesordust.
►Do not extract hot materials.
►Do not extract liquids.
►Dispose of extracted material according to local statutory regulations.
- 1 -
EN
Authorized Persons
Operation and maintenance of the device may only be performed by qualied personnel.
Product Description
See Fig. 1 (on inside cover)
3 On / off switch
5 Front panel/ Dust drawer
7 Dust drawer
8 Mains cable
9 Device coupler socket (A, B)
10 Device protection switch
15 Pinch valve with extractor connection tting (rotatable)
16 Suction pipe
17 Connection set
18 Suction hose
The other units are covered in the full set of operating instructions available on the internet.
Scope of Delivery
1 Silent TS2
1 Operating instructions
1 Quick reference card
1 Dust bag (ready for us in the dust drawer)
1 Compressed air tube (sealed)
2 Pinch valves with suction port
1 Connection set
2 Shockproof plug (only for 2930-0050)
1 4 m Suction Hose
4 PVC end bushings
Setting Up
Unpacking
⇒Check the delivery for completeness (refer to the “Scope of Delivery” section).
Setup
If the device is to be installed in a cabinet, an opening for the exhaust air with the following dimensions
must be provided, in addition to the openings for the suction hoses:
• Circular opening: Min. 120 mm diameters.
• Rectangular opening: Min. 170 x 65 mm.
Installing the Pinch Valves
⇒Push the suction pipe (16) onto the suction support on the
extractor and hang the holder (20) onto the holder screws.
⇒Connect the compressed air tubes to the pinch valves:
- Push the compressed air tube onto the pipe connection
in the pinch valve as far as it will go. There will be a slight
resistance to overcome when attaching.
18 15
16
20
- 2 -
EN
Connection
⇒Connect to the compressed air supply system, using a connection kit if necessary (17, Fig. 1).
Observe the minimal / maximum connection pressure, see technical data!
Compressed air should be clean and dry (without condensed water). Wet compressed air can
damage the unit.
⇒Shorten the suction pipes for both extraction points to the required length with a knife.
⇒Screw the PVC end bushings onto the suction pipes (left handed thread).
Caution: risk of injury!
When shortening the suction pipe please ensure to cut at a right angle.
⇒Fit suction hose (18) in intake socket (15) and connect to suction point.
Long suction hoses, tight bends and kinks will considerably reduce the extraction force at the
extraction point.
⇒Electrical appliances can be connected to the coupler sockets (9, Fig. 1) at the back of the unit. Check
the connections are correct - coupler socket (A, B) - suction hose / pinch valve (A, B).
When connecting electrical appliances to the extraction unit, please ensure that the power con-
sumption of all devices connected to the unit power outlet does not exceed the total maximum
power for connected equipment (see “tech. Data”).
⇒Insert the mains cable into the plug socket.
Operation
Switching the Unit On
The extractor is put into operation at the on / off switch (3).
Stand-By
In the stand-by mode the display is dark.
Leave stand-by mode:
• Press any button
• Switch on any electrical appliance connected to the extractor.
Once switched on, the suction hose will open immediately and the extractor turbine will activate.
Select vacuum channel
Start / stop suction turbine and open / close corresponding
pinch valve valve:
• Automatically:
The electrical appliance connected to the coupler socket
(9, Fig. 1) is activated / deactivated.
• Manually:
By pressing a suction hose button (39).
Adjust suction power
Set the extraction force:
• Button (43), increases extraction force.
• Button (41), reduces extraction force.
MENU
A
B
OFF
ON
AB
OFF
ON
resetdefault
3
MENU
A
B
AB
39
MENU
A
B
OFF
ON
AB
43
41
- 3 -
EN
Subject to change
Programming
For the extractor programming instructions, please see enclosed Quick Reference Card and full set of
operating instructions on the internet.
Cleaning / Maintenance
Wipe the product down with a slightly damp cloth.
Replacing the Dust Bag
It is essential to change the dust bag when indicated as follows
on the product display:
The set dust bag ll level has been reached:
♦The dust drawer symbol blinks.
♦An audible signal will be emitted 3 x.
♦The display blinks “Cod01”.
Emptying the dust drawer:
⇒Switch the extractor off.
⇒Pull the front panel forward and off (5, Fig.1).
⇒Pull the dust drawer (7) out towards the front.
⇒Remove the protective lm from the glue ap and use it to cover
the dust bag opening!
⇒Dispose of the dust bag properly.
⇒Insert a new dust bag into the dust drawer. Ensure that the
new dust bag is properly aligned in the guide grooves (21) and
the glue ap faces upwards.
Use only original Renfert dust bags (see spare parts list).
⇒Inspect the dust drawer seal for damage and replace it, as
required (24).
⇒Insert the dust drawer, making sure it is straight, and push it
in as far as it will go. Make sure that the dust drawer is seated
correctly on the guide (23).
⇒Install the front panel on the bottom hooks then push it into the
upper lock bolts, pressing rmly until it locks in place.
Errorcodes
If an error code is displayed during operation or in diagnostic mode, please consult the full set of operat-
ing instructions on the internet for the relevant information on the required course of action.
Spare parts
You can nd components subject to wear and the spare parts on the spare part list in the internet at
www.renfert.com.
The components excluded from the warranty (such as consumables or parts subject to wear and tear)
are marked on the spare part list.
Disposal Information
Within the European Union, units with this symbol should not therefore be disposed of in unsort-
ed domestic waste.
Please contact your local authorities for more information on proper disposal.
22
23
7
21
24
- 4 -
Technical Data
Working Voltage 230 V 120 V
Permissible mains voltage: 220 - 240 V 120 V
Mains frequency: 50 / 60 Hz 60 Hz
Suction turbine power: *) 1400 W 1400 W
max. connecting power: *) 2000 W 360 W
Total connected power: *) 3400 W 1800 W
Mains input fuse: 2 x 15 A (T)
max. connection pressure: 8 bar
[116 psi]
min. connection pressure: 4.5 bar
[65 psi]
LpA **) (at max. volume ow): 59 dB(A)
Number of suction hoses: 2
Volume ow, max per suction hose: 3300 l/min
Vacuum pressure, max.: 200 hPa
[2.9 psi]
Fine particle lter:
Filter surface area, approx.: 0.8 m²
[1240 sq inch]
FIlterquality: Class M according to EN60335-2-69
Fill volume, dust bag, approx.: 7.5 l
[2 US gal]
Dimensions (Width x Height x Depth): 224 x 591 x 584 mm
[8.8 x 23.3 x 23 inch]
Weight (empty), approx.: 27 kg
[59.5 lbs]
Ø Suction ttings:
internal
external
45 mm [1.77 inch]
50 mm [1.97 inch]
*) Working voltage power
**) Sound pressure levels according to EN ISO 11202
Renfert GmbH • Industriegebiet • 78247 Hilzingen/Germany
oder: Postfach 1109 • 78245 Hilzingen/Germany
Tel.: +49 7731 82 08-0 • Fax: +49 7731 82 08-70
www.renfert.com • [email protected]
Renfert USA • 3718 Illinois Avenue • St. Charles IL 60174/USA
Tel.: +1 6307 62 18 03 • Fax: +1 6307 62 97 87
www.renfert.com • [email protected]
USA: Free call 800 336 7422
Hochaktuell und ausführlich auf ...
Up to date and in detail at …
Actualisé et détaillé sous …
Aggiornato e dettagliato su …
La máxima actualidad y detalle en ...
Актуально и подробно на …
www.renfert.com
Ideas for dental technology

Other manuals for Silent TS2

4

This manual suits for next models

2

Other Renfert Laboratory Equipment manuals
Renfert Safety Burner eco Series User manual

Renfert

Renfert Safety Burner eco Series User manual

Renfert Catalyser 2300-0001 User manual

Renfert

Renfert Catalyser 2300-0001 User manual

Renfert Catalyser 2300-0001 User manual

Renfert

Renfert Catalyser 2300-0001 User manual

Renfert MT plus User manual

Renfert

Renfert MT plus User manual

Renfert BASIC eco User manual

Renfert

Renfert BASIC eco User manual

Renfert lay:art Mixing palette crystal User manual

Renfert

Renfert lay:art Mixing palette crystal User manual

Renfert hotty User manual

Renfert

Renfert hotty User manual

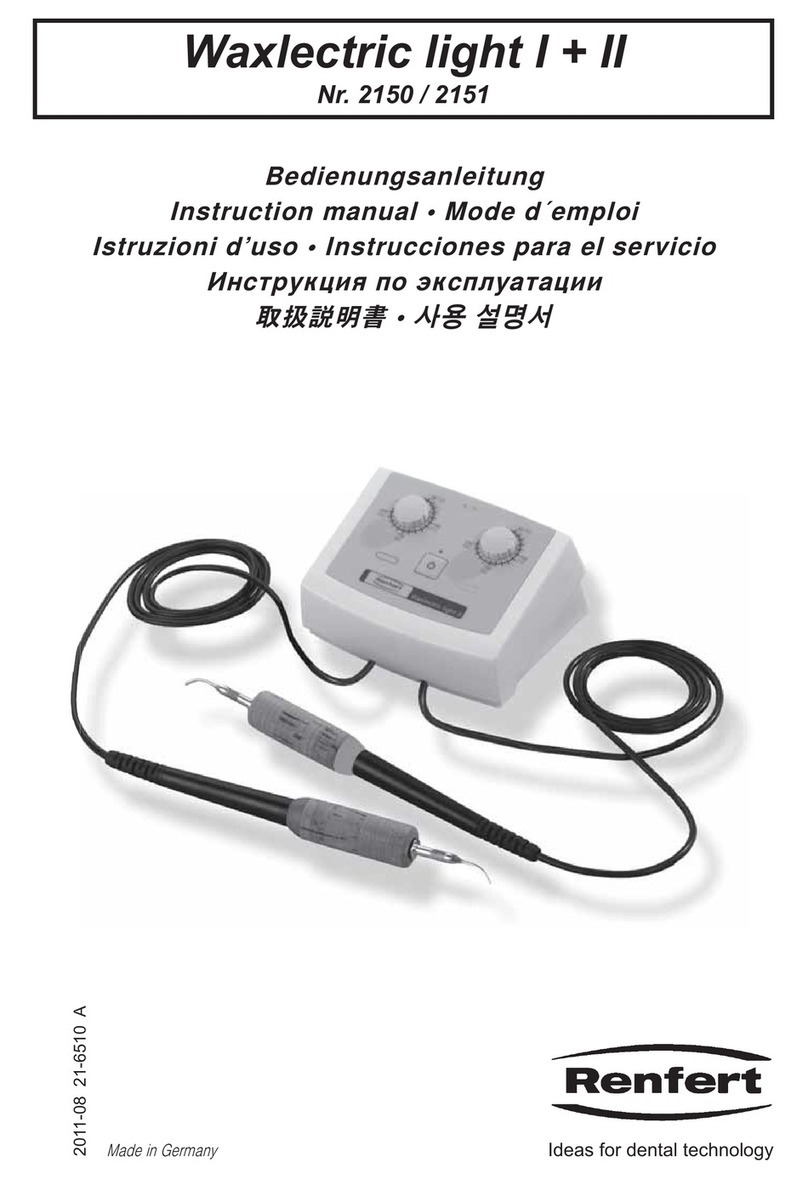
Renfert Waxlectric light I User manual

Renfert

Renfert Waxlectric light I User manual

Renfert 1826 User manual

Renfert

Renfert 1826 User manual

Renfert Klettfix MT2 User manual

Renfert

Renfert Klettfix MT2 User manual

Renfert MT premium User manual

Renfert

Renfert MT premium User manual

Renfert Easyclean TEC Repair manual

Renfert

Renfert Easyclean TEC Repair manual

Renfert Bijou 90 Series User manual

Renfert

Renfert Bijou 90 Series User manual

Renfert SILENT EC2 Installation guide

Renfert

Renfert SILENT EC2 Installation guide

Renfert MT3 User manual

Renfert

Renfert MT3 User manual

Renfert MT premium User manual

Renfert

Renfert MT premium User manual

Renfert Twister pro User manual

Renfert

Renfert Twister pro User manual

Renfert Basic Master Operating and installation instructions
Renfert

Renfert Basic Master Operating and installation instructions

Renfert Magma Installation guide

Renfert

Renfert Magma Installation guide

Renfert Vario 3 User manual

Renfert

Renfert Vario 3 User manual

Renfert Safety Burner eco User manual

Renfert

Renfert Safety Burner eco User manual

Renfert MT3 User manual

Renfert

Renfert MT3 User manual

Renfert MT plus User manual

Renfert

Renfert MT plus User manual
Renfert Twister evolution User manual

Renfert

Renfert Twister evolution User manual

Popular Laboratory Equipment manuals by other brands

OfiTE 175-25 instruction manual

OfiTE

OfiTE 175-25 instruction manual

VWR Signature ME50 manual

VWR

VWR Signature ME50 manual

MVE CryoCube Operating instructions manual

MVE

MVE CryoCube Operating instructions manual

Qiagen Hybrid Capture System Multi-Specimen Tube Vortexer... user manual

Qiagen

Qiagen Hybrid Capture System Multi-Specimen Tube Vortexer... user manual

Andersen Sterilizers Anprolene AN74i Installation guidelines

Andersen Sterilizers

Andersen Sterilizers Anprolene AN74i Installation guidelines

DMT 560TP user guide

DMT

DMT 560TP user guide

BioLAB BIFL-201 Operation manual

BioLAB

BioLAB BIFL-201 Operation manual

Hygiena Dualo 32 Product instructions

Hygiena

Hygiena Dualo 32 Product instructions

VWR UHP Series manual

VWR

VWR UHP Series manual

MELAG Vacuklav 40 B+ Evolution user manual

MELAG

MELAG Vacuklav 40 B+ Evolution user manual

Stuart SBH CONC/1 Instructions for use

Stuart

Stuart SBH CONC/1 Instructions for use

V&P Scientific VP 769-1 Series Care and use

V&P Scientific

V&P Scientific VP 769-1 Series Care and use

Thinky AR-250 Operation manual

Thinky

Thinky AR-250 Operation manual

Thermo Scientific TGA-IR user guide

Thermo Scientific

Thermo Scientific TGA-IR user guide

crest Optics X-Light  V2 TP Installation and user guide

crest Optics

crest Optics X-Light V2 TP Installation and user guide

Showa Denko Shodex IEC SP-825 Operation manual

Showa Denko

Showa Denko Shodex IEC SP-825 Operation manual

Vernier Mini GC Plus manual

Vernier

Vernier Mini GC Plus manual

CertoClav MultiControl 2 user manual

CertoClav

CertoClav MultiControl 2 user manual

manuals.online logo
manuals.online logoBrands
  • About & Mission
  • Contact us
  • Privacy Policy
  • Terms and Conditions

Copyright 2025 Manuals.Online. All Rights Reserved.