manuals.online logo
Brands
  1. Home
  2. •
  3. Brands
  4. •
  5. resideo
  6. •
  7. Water Filtration System
  8. •
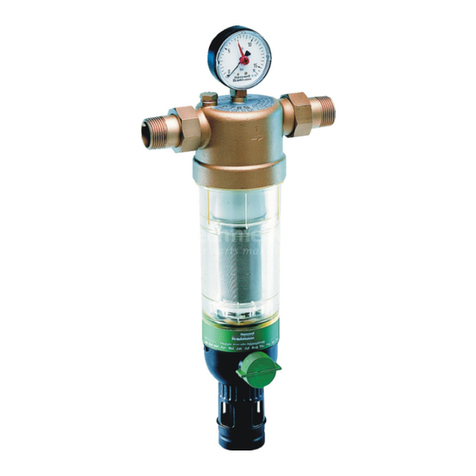
  9. resideo Braukmann F76S User manual

resideo Braukmann F76S User manual

R32345951-001 Rev.A
Br
au
km
a
nn
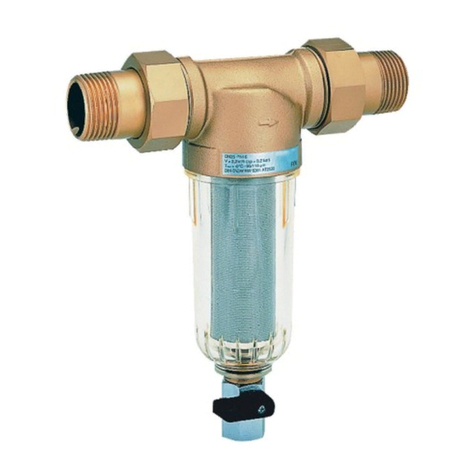
F76S
Installation instructions Einbauanleitung Instructions d'installation Instrucciones de instalación
Installatievoorschrift Istruzioni di montaggio Руководство по установке Návod na montáž
Instrukcja montażu IInstallationsvejledning Instruksjoner for installasjon Monteringsanvisning
Fine Filter Фильтр тонкой очистки
Feinfilter Jemný filtr
Filtre fin Filtr dokładny
Filtro fino Fint filter
Fijnfilter Finfilter
Filtro a maglia fine Finfilter
GB
2 MU1H-1110GE23 R0320
1 Safety Guidelines
1. Follow the installation instructions.
2. Use the appliance
• according to its intended use
• in good condition
• with due regard to safety and risk of danger.
3. Note that the appliance is exclusively for use in the
applications detailed in these installation instructions
(see 2 Technical Data). Any other use will not be
considered to comply with requirements and would
invalidate the warranty.
4. Please take note that any assembly, commissioning,
servicing and adjustment work may only be carried
out by authorized persons.
5. Immediately rectify any malfunctions which may
influence safety.
2 Technical Data
Note: The filter is constructed for drinking water installations. In
case of a process water application the filter has to be
proven individually.
3 Options
For Options visit homecomfort.resideo.com/europe
4 Assembly
4.1 Installation Guidelines
• Install in horizontal pipework with filter bowl
downwards
– This position ensures optimum filter efficiency
• Install shut-off valves
• These filters are armatures which need to be
maintained regularly
• Ensure good access
– Pressure gauge can be read off easily
– Degree of contamination can be easily seen with
clear filter bowl
– Simplifies maintenance and inspection
• The installation location should be protected against
frost
• Related to the EN 806-2 it is recommended to install
the filter immediately after the water meter
• In order to avoid flooding, it is recommended to
arrange a permanent, professionally dimensioned
wastewater connection
4.2 Assembly instructions
CAUTION!
When connecting the solder sockets, do not solder
the sockets together with the filter. High
temperatures destroy internal parts which are
important to the function!
1. Thoroughly flush pipework
2. Install filter
• Note flow direction
• Install without tension or bending stresses
3. Seal in pressure gauges
4.3 Discharge of reverse rinsing water
The reverse rinsing water must be routed to the drain channel
in such a way that no backwater can occur.
To do this there are 3 options:
1. Direct connection:
• Connector DN50/70 as well as the necessary
pipes and siphon (3 elbows 90°) in DN70
2. Discharge into floor drain
3. Drain into open container
*at 4 bar inlet pressure and 3 x 3 seconds reverse rinsing
duration
Media
Medium: Drinking water
Connections/Sizes
Connection sizes: 1/2" - 2"
Pressure values
Max. operating pressure with
clear filter bowl:
1.5 - 16 bar
Max. operating pressure with
red bronze filter bowl:
1.5 - 25 bar
Operating temperatures
Operating temperature range
medium accord. to EN 1567:
5 °C - 30 °C
Max. operating temperature
medium (clear filter bowl):
40 °C
Max. operating temperature
medium (red bronze filter
bowl):
70 °C
Specifications
Installation position: Horizontal, with filter bowl
downwards
Filter size Reverse rinsing volume*
1/2" and 3/4" 12 Liter
1" and 1 1/4" 15 Liter
1 1/2" and 2" 18 Liter
GB
MU1H-1110GE23 R0320 3
5 Commissioning
5.1 Reverse rinsing
During reverse rinsing, an inlet (dynamic) pressure of at least
1.5 bar is required. The reverse rinsing interval depends on
the degree of dirt in the water. At the latest every 6 months,
reverse rinsing should be carried out according to EN 806-5.
Our recommendation at least every 2 months! To ensure
convenient and regular adherence to the reverse rinsing
interval, we recommend installing an automated reverse
rinsing system Z11S.
Filtered water can also be tapped during reverse
rinsing.
5.2 Manual reverse rinsing
If reverse rinsing water is not to be discharged via a direct
connection, a collecting container must be positioned
beneath before reverse rinsing.
1. Open ball valve by turning the reverse rinsing button
to the stop point
• Select bar must be upright
• The patented reverse rinsing system starts
• When filtering with Double Spin Technology, a
visual function check is possible through the
rotating red rotor
2. Close ball valve again after approx. 3 seconds.
Repeat procedure three times
• If the filter is extremely dirty, the procedure may
have to be repeated additional times
With aid of the memory ring, the next deadline for manual
reverse rinsing can be booked.
5.3 Automatic reverse rinsing with the
Z11S
The automated reverse rinsing system Z11S is available as
an accessory. The automated system reliably takes over
reverse rinsing of the filter at intervals which can be set
between 4 minutes and 3 months.
6 Maintenance
In order to comply with EN 806-5, water fixtures must
be inspected and serviced on an annual basis.
As all maintenance work must be carried out by an
installation company, it is recommended that a
servicing contract should be taken out.
In accordance with EN 806-5, the following measures must
be taken:
6.1 Inspection
• The filter must be cleaned by reverse rinsing regularly,
at least every 6 months. (acc. to EN 806-5)
Our recommendation at least every 2 months!
• Non-compliance can lead to the filter becoming
blocked This results in a drop in pressure and
decreased water flow
• The filter meshes are made of stainless steel. A red
coating as a consequence of rust from the pipelines
has no influence on function or the way the filter works
CAUTION!
Do not forget to do a visual check of the ball valve.
Replace if it is dripping!
6.2 Maintenance
If necessary, the outside surface of the filter can be
cleaned.
Use only cold, clear drinking water to clean the
surfaces! Any other cleansers cause damage to the
plastic components!
1. Close shut-off valve on inlet
2. Release pressure on outlet side (e.g. through water
tap)
3. Close shut-off valve on outlet
4. Unscrew filter bowl
• Use double ring wrench ZR10K
5. Remove old filter insert and replace by a new one!
6. Place O-ring onto filter bowl
7. Screw in filter cup hand-tight (up to max. 18Nm)
8. Slowly open shut-off valve on inlet
9. Slowly open shut-off valve on outlet
7 Disposal
Observe the local requirements regarding correct waste
recycling/disposal!
8 Troubleshooting
9 Spare Parts
For Spare Parts visit homecomfort.resideo.com/europe
10 Accessories
For Accessories visit homecomfort.resideo.com/europe
Problem Cause Remedy
Too little or no water pressure Shut-off valves upstream or downstream
from filter not fully open
Open the shut-off valves fully
Filter mesh dirty Reverse rinsing
MU1H-1110GE23 R0320 27
4.2
1.
2.
3.
25 l
4.3
1.
3.
2.
DN70
DN50/70
300
5.1
1. 2.

Other manuals for Braukmann F76S

1

Other resideo Water Filtration System manuals

resideo Braukmann miniplus FK06-AABRU User manual

resideo

resideo Braukmann miniplus FK06-AABRU User manual

resideo Braukmann MiniPlus FF06-AA User manual

resideo

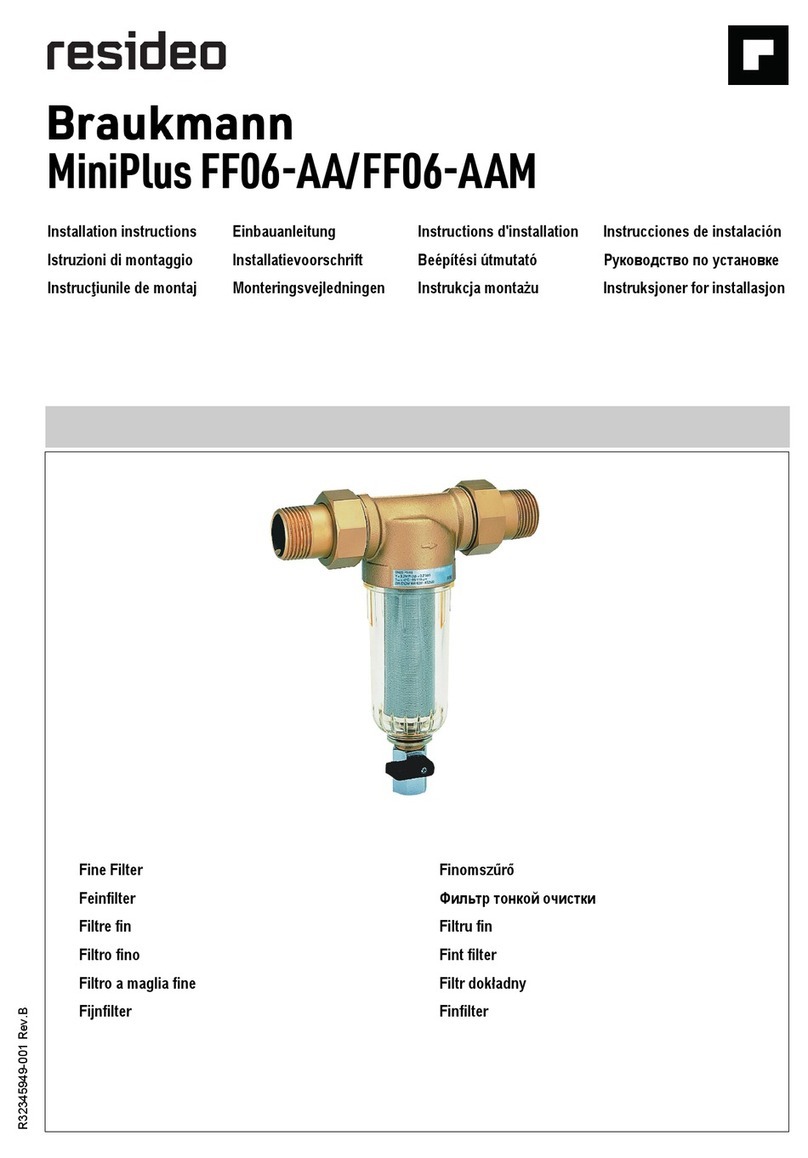
resideo Braukmann MiniPlus FF06-AA User manual

resideo FF40 User manual

resideo

resideo FF40 User manual

resideo Braukmann F78TS User manual

resideo

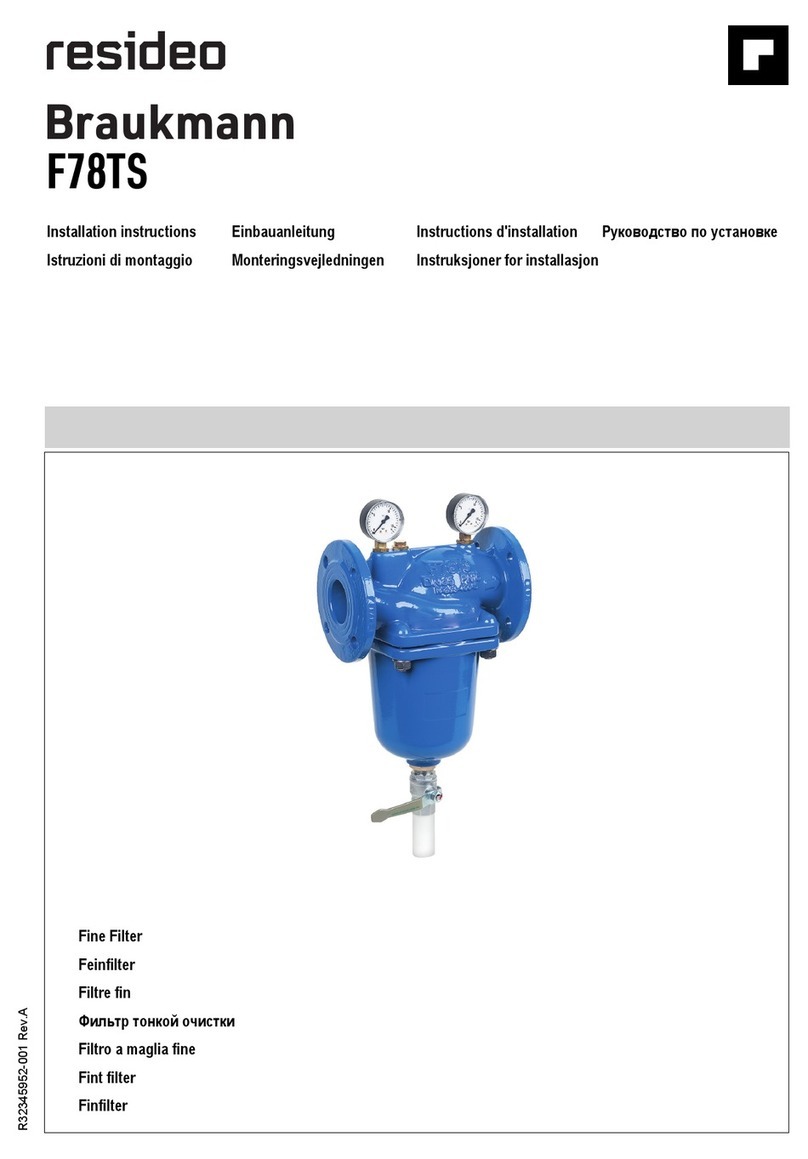
resideo Braukmann F78TS User manual

resideo Braukmann F76CS User manual

resideo

resideo Braukmann F76CS User manual

resideo Braukmann FV300 User manual

resideo

resideo Braukmann FV300 User manual

resideo Braukmann MiniPlus FF06BRU User manual

resideo

resideo Braukmann MiniPlus FF06BRU User manual

resideo Braukmann MiniPlus FF06 User manual

resideo

resideo Braukmann MiniPlus FF06 User manual

resideo Braukmann Miniplus FK06 User manual

resideo

resideo Braukmann Miniplus FK06 User manual

resideo FF20 User manual

resideo

resideo FF20 User manual

resideo Braukmann KF11SB-2A User manual

resideo

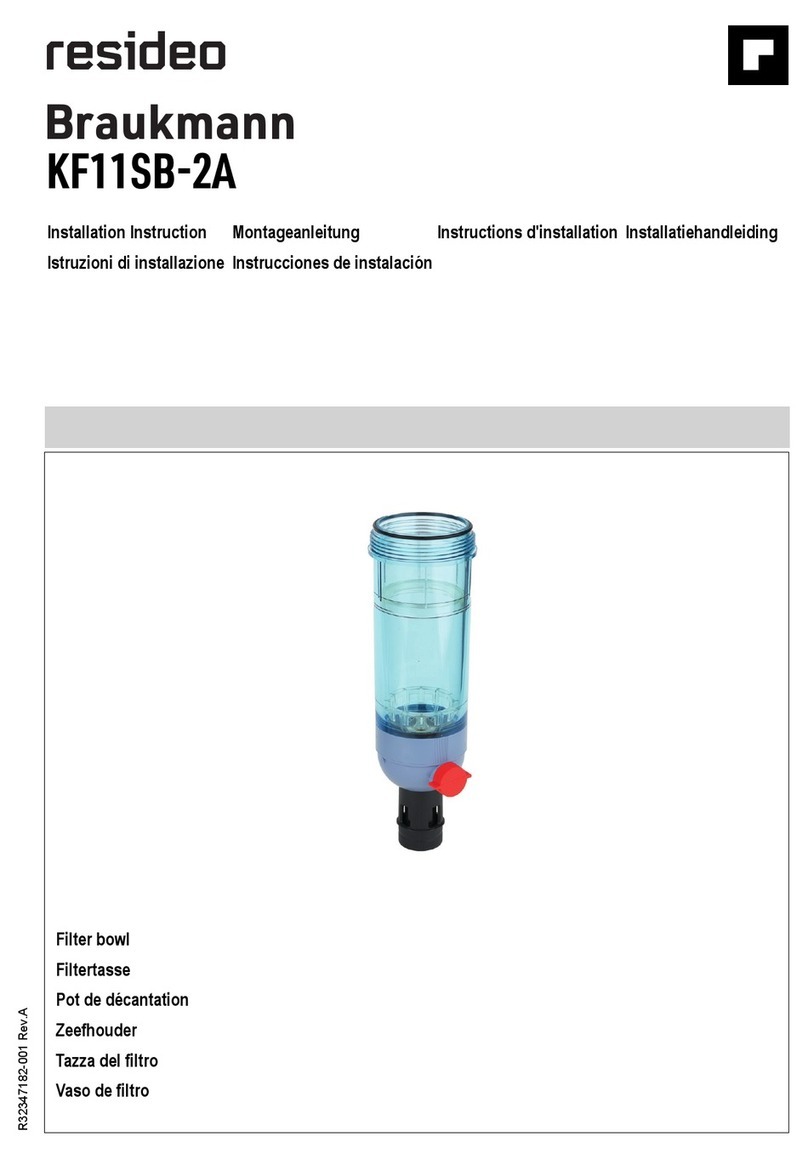
resideo Braukmann KF11SB-2A User manual

resideo Braukmann F76S User manual

resideo

resideo Braukmann F76S User manual

Popular Water Filtration System manuals by other brands

Vision Aqua VA-H-FT-DF-1000-20-1 instruction manual

Vision Aqua

Vision Aqua VA-H-FT-DF-1000-20-1 instruction manual

GE GQ1S50F Owner's Manual & Installation Instructions

GE

GE GQ1S50F Owner's Manual & Installation Instructions

Brita On tap Instructions for use

Brita

Brita On tap Instructions for use

FALMEC KACL.958 Instruction booklet

FALMEC

FALMEC KACL.958 Instruction booklet

Kinetico SuperSoft Installation instructions and user manual

Kinetico

Kinetico SuperSoft Installation instructions and user manual

Evolution Aqua evo15 Installation and operating manual

Evolution Aqua

Evolution Aqua evo15 Installation and operating manual

EHEIM professionel4+ 250 operating instructions

EHEIM

EHEIM professionel4+ 250 operating instructions

Royal Prestige FP6000CT Use & care manual

Royal Prestige

Royal Prestige FP6000CT Use & care manual

Anywire ANF-01 Product guide

Anywire

Anywire ANF-01 Product guide

EHEIM Aquaball 2206 instructions

EHEIM

EHEIM Aquaball 2206 instructions

IAP BOXAIR M1002 user manual

IAP

IAP BOXAIR M1002 user manual

Oneida Air Systems Deluxe Dust Deputy owner's manual

Oneida Air Systems

Oneida Air Systems Deluxe Dust Deputy owner's manual

3M Aqua-Pure AP801B Installation and operating instructions

3M

3M Aqua-Pure AP801B Installation and operating instructions

bluMartin freeAir100 Service

bluMartin

bluMartin freeAir100 Service

GC Water Easy Series Unit Guide

GC Water

GC Water Easy Series Unit Guide

Pentair Fleck 5810 XTR Installer manual

Pentair

Pentair Fleck 5810 XTR Installer manual

ControlOMatic CHLOR MAKER 10 operating instructions

ControlOMatic

ControlOMatic CHLOR MAKER 10 operating instructions

Happet Pond BIOpress user manual

Happet Pond

Happet Pond BIOpress user manual

manuals.online logo
manuals.online logoBrands
  • About & Mission
  • Contact us
  • Privacy Policy
  • Terms and Conditions

Copyright 2025 Manuals.Online. All Rights Reserved.