September 2, 2020 PN 180704 Rev A
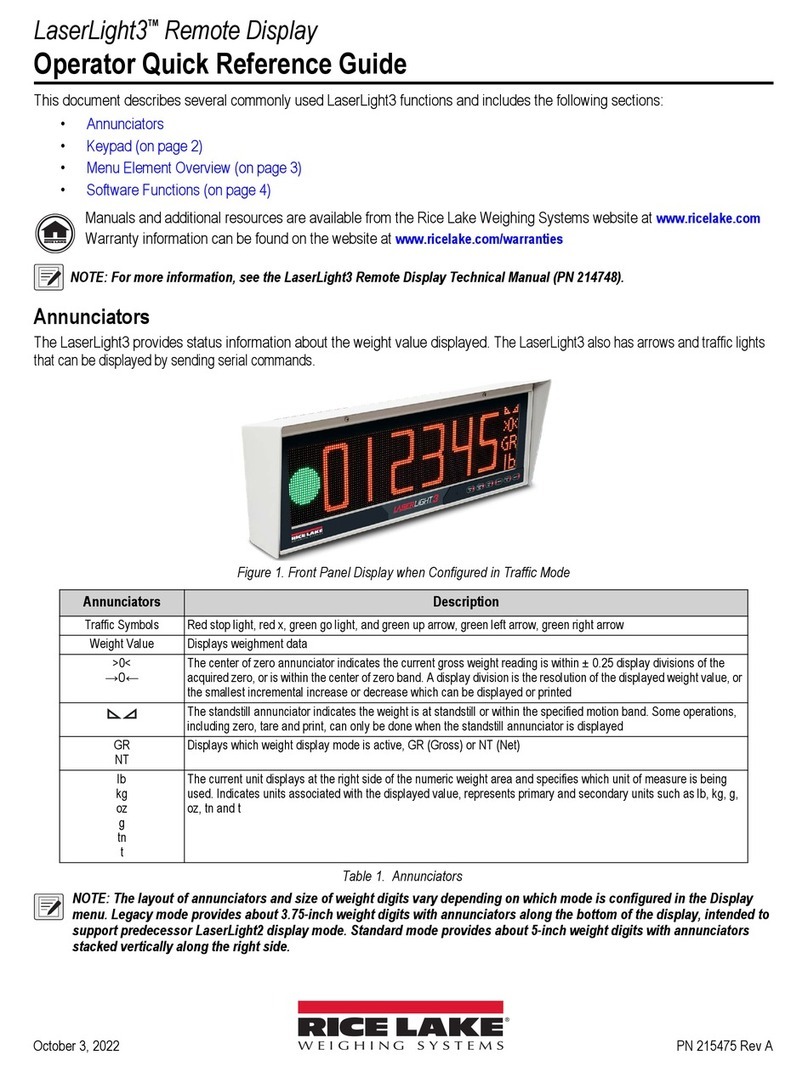
LaserLight2TM Remote Display
ConnexLink™ Wireless Radio 900 MHZ Installation Instructions
Available for PNs 167091, 167092 and 167093
The ConnexLink Wireless Radio allows communication between the LaserLight2 Remote Display and an indicator with
matching radio installed.
See the LaserLight2 Installation Manual, PN 175775, for general installation, configuration and calibration information.
Manuals and additional resources are available from the Rice Lake Weighing Systems website at www.ricelake.com
Warranty information can be found on the website at www.ricelake.com/warranties
The LaserLight2 has no on/off switch. Before opening the unit, ensure the power cord is disconnected from the
power outlet.
Table 1. ConnexLink Wireless Radio Kit (PN 175052) Parts List
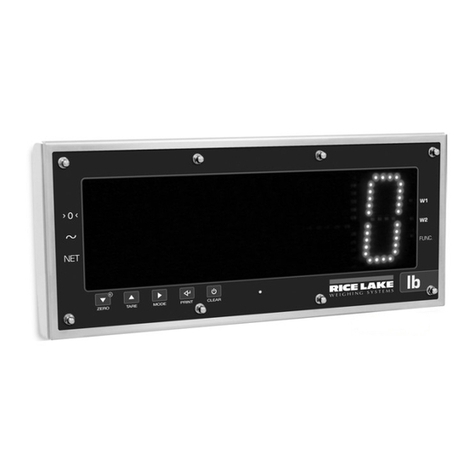
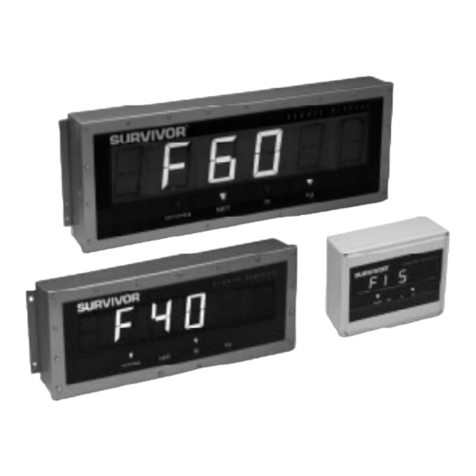
The ConnexLink Wireless Radio can be installed in the 4", 6" or 4-SG LaserLight Remote Display. Use the following steps to
install the ConnxLink Wireless Radio option;
Some procedures described in this manual require accessing the inside of the remote display enclosure.
These procedures are to be performed by qualified service personnel only.
To ensure that the correct radio is installed with the remote display and the indicator, each radio is marked with
either CLIENT and SERVER.
Client is to be installed with the remote display and the Server is to be installed with the indicator.
Item Part No. Description QTY.
175053 Bracket Assembly,
ConnexLink Radio 1
180683 Cable Assembly,
Transceiver RF 1
180684 Cable Assembly,
Power Supply 1
129662 Pair Transceivers,
RF 1
15631 Cable Tie, 3 inch
nylon 1
14839 Screw, Mach 6-
32NCx1/4 6
102131 Antenna 1
166240 Antenna Cable
Extension 1
202131 Bulkhead Adapter 1
30376 1/2 NPT Nylon
Seal Ring 1
15630 1/2 NPT, Black
Locknut 1
Item Part No. Description QTY.
