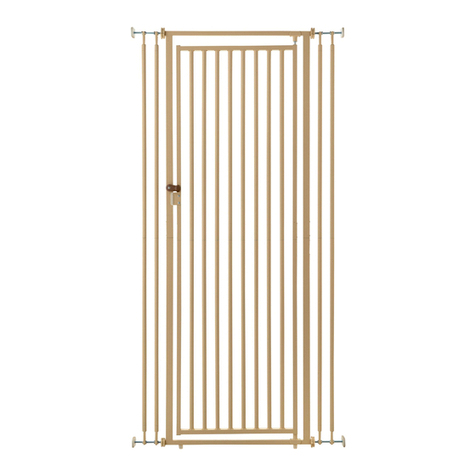
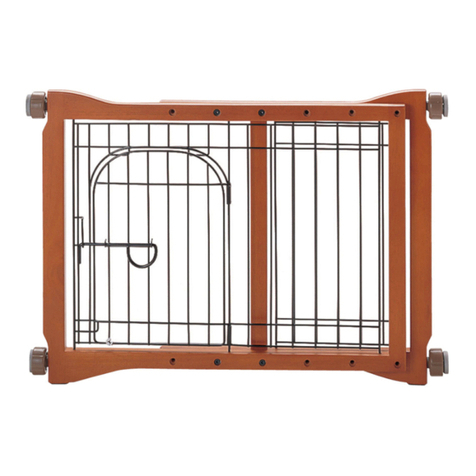
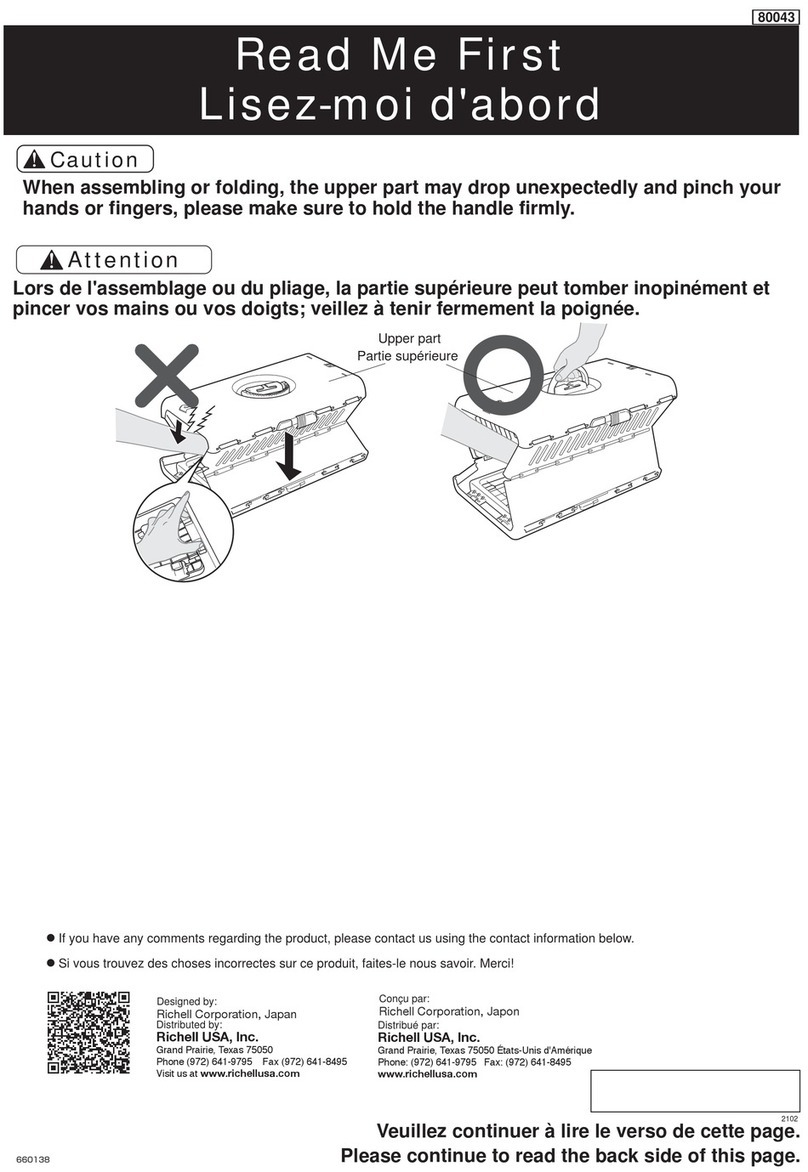
Richell Také One-Touch User manual

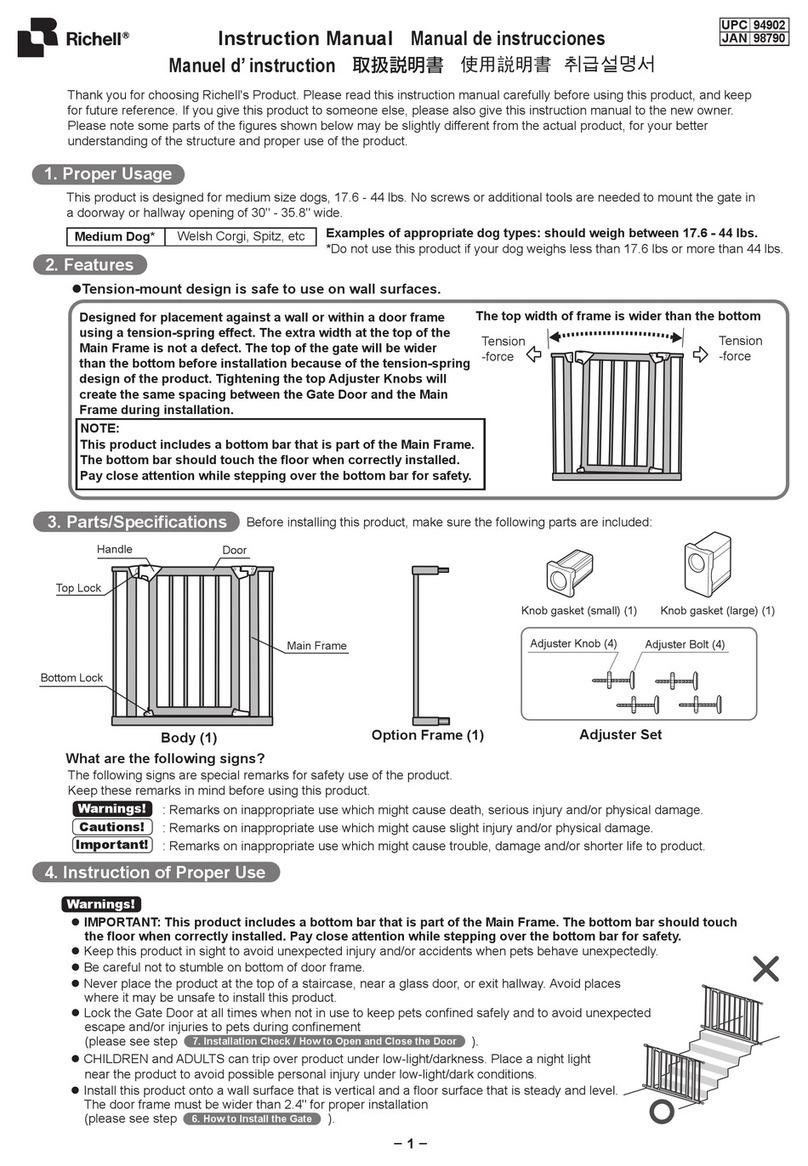
3. Parts/Specifications
1
Také One-Touch Pet Gate
Thank you for choosing Richell's Také One-Touch Pet Gate. Please read this instruction manual carefully before using this product,
and keep for future reference. If you give this product to someone else, please also give this instruction manual to the new owner.
Please note that some parts of the figures shown below may be slightly different from the actual product, for your better
understanding of the structure and proper use of the product.
1. Appropriate Pet Weightfor Proper Usage
This product is designed for small to medium size dogs, 8.8-44lbs (4-20kg). No screws or additional tools are needed to mount
the gate in a doorway or hallway opening of 28.3 - 35.8" wide (72-91cm).
Examples of appropriate dog types: should weigh between 8.8 - 44lbs
*Do not use this product if your dog weighs less than 8.8 lbs or more than 44 lbs.
Medium Dog* Welsh Corgi, Spitz, etc
Small Dog* Shih Tzu, Pomeranian, Miniature Dachshunds, etc.
2. Features
lTension-mount design is safe to use on wall surfaces.
Designed for placement against a wall or within a door frame
using a tension-spring effect. The extra width at the top of the
Main Frame is not a defect. The top of the gate will be wider
than the bottom before installation because of
the tension-spring
design of the product. Tightening the top Adjuster Knobs will
create the same spacing between the Gate Door and the Main
Frame during installation.
Tension-force Tension-force
lSide Frame or Option Frame can be adjusted to
keep pet properly confined.
Adjust the clearance between the slats on the Side Frame
or Option Frame to keep pet properly confined. Adjust the
clearance between the slats on the Side Frame or Option
Frame to keep pet properly confined.
lIMPORTANT: This product includes a bottom bar that is part of the Main Frame. The bottom bar should
touch the floor when correctly installed. Pay close attention while stepping over the bottom bar for safety.
lOption Frame Set (1)
Option Frame
Joint: 2
Option Frame: 1 x 1 set
Side Frames (2)
Short Adjuster
Bolts (2)
Main Frame (1)
Adjuster Knob (1)
Long Adjuster Bolts (1)
lAdjuster Set (1 bag)
Hexagon Nut (2) x 4 set
Joint
Holes
(4)
Lock Bottom
Door Door Handle
Main Frame Door Stopper
Adjuster
Knob Long Adjuster
Bolts
Hexagon Nut
Side Frame
Less than 2"
Less than 2"
Option Frame
*The top width of the frame may be wider than the wall since
the product is designed to be installed using a tension-spring
effect. If necessary, use force to make the top of the gate
narrower to fit between the wall.
Instruction Manual
94181
Important!
Cautions!
Warnings!
Warnings!
The following signs are special remarks for safety use of the product.
Keep these remarks in mind before using this product.
: Remarks on inappropriate use which might cause death, serious injury and/or physical damage.
: Remarks on inappropriate use which might cause slight injury and/or physical damage.
: Remarks on inappropriate use which might cause trouble, damage and/or shorter life to product.
What are the following signs?

4. Instruction of Proper Use
lIMPORTANT: This product includes a bottom bar that is part of the Main Frame.
The bottom bar should touch the floor when correctly installed. Pay close
attention while stepping over the bottom bar for safety.
lNever place the product at the top of a staircase, near a glass door, or exit hallway. Avoid places
where it may be unsafe to install this product.
lLock the Gate Door at all times when not in use to keep pets confined safely and to avoid
unexpected escape and/or injuries to pets during confinement (please see step No.7 ).
lInstall this product onto a wall surface that is vertical and a floor surface that is steady and level.
The door frame must be wider than 2.4" for proper installation (please see step No.6 ).
lThis product is designed to fit openings from 28.3 - 35.8" (expanded up to 38.2" wide using
Option Frames). Do not install this product outside of its range to avoid unexpected
accidents and/or product damage (please see step No.5 ).
lOnly use genuine Richell parts and do not alter the design of the gate to avoid accidents and/or injury.
Richell USA contact information is listed at the bottom of page 4 of this manual.
lThis product is designed for small to medium size dogs and indoor use only. Do not use this product
for anything other than its intended purpose.
lKeep this product away from all heat sources at all times to avoid unexpected product damage or
burn-related injuries to self/pets.
lDo not use this product while your pet is leashed to avoid unexpected accidents/injuries,
such as dog entanglement.
lDo not lean or hang on to this product to avoid unexpected accidents and/or product damage.
lIf you notice anything wrong with product or installation site, discontinue its use at once.
lTighten the Adjuster Knobs equally on both sides to avoid overturning or damaging the product
(please see step No.6 ).
lTighten the Adjuster Knob at the space between the Main Frame and Grip to 0.12" (3mm) so the
tension-spring effect works properly. Not enough tension-force cause unexpected accidents.
lPay special attention to sharp corners and edges while installing this product to avoid personal injury.
lPlease use this product for dogs that weigh 8.8-44lbs. Do not use this product for dogs out this weight range to avoid
unexpected injury and/or escape (please see step No.1 ).
lDo not drop or misuse this product in any way to avoid injuries and/or product damage.
lWhen opening/closing the Door, make sure the area is clear and be careful not to pinch your hands, fingers or pets.
lKeep this product in sight to avoid unexpected injury and/or accidents when pets behave unexpectedly.
lDo not use this product to contain children, toddlers or infants.
lUse the supportive board if the pole or wall surface has unlevel to avoid unexpected accidents and/or product damage.
lThis product is made of natural material. Be careful not to injure self from natural splinters and/or cracks.
lBe sure the product is securely fixed. If not, tighten the bolts as necessary (please see step No. 6 How to Install the Gate).
lThere may be some joints and warpage and each product may experience different coloration in the wood grain of the bamboo
as frames are made of natural material.
2
Important!
5. Preparation for Parts
Option Frame
Side Frame Side Frame
Less than 2" Less than 2"
Less than 2"
Secure Hexagon Nut Secure Hexagon Nut
Necessary Parts are vary depending on desired doorway/hallway opening. Never leave Parts with a child able to reach. Keep all
Parts away from children.
lHaving more than a 2" clearance between each frame
may allow pets to escape and/or get caught in between
the spindles; or, if the Hexagon Nuts are not tightened
properly on each Side Frame(s). Make sure to tighten
Hexagon Nuts securely after adjusting the clearance
between each frame.
For openings from 29.5" - 35.8", adjust the clearance
using Side or Option Frames. Adjust the Hexagon Nut
until the clearance between each frame is set less
than 2", then tighten.
There is the bottom bar which
is part of Main Frames.
*The top width of the frame may be wider than the wall since the product is designed to be installed using a tension-spring effect.
If necessary, use force to make the top of the gate narrower to fit between the wall.
Warnings!
Cautions!
Cautions!

6. How to Install the Gate lThe bottom of the product should contact the floor for safety as shown in Figure 1.
lIf the product has been installed correctly, the top of the gate (while looking down from above the top)
will be as straight as a line with each end aligned at a 90-degree right angle as shown in Figure 2.
*The top width of the frame may be wider than the wall since the product is designed to be installed using a tension-spring effect.
If necessary, use force to make the top of the gate narrower to fit between the wall as shown in Figure 1.
1. Determine the desired direction for the door opening. Set the product against the wall at a perpendicular right angle as shown in Figure 2.
Tighten the upper Adjuster Knob until the rubber of the Adjuster Knob touches the wall surface as shown in Figure 3.
2.
Tighten the upper Adjuster Knobs on each side until clearance between the Gate Door and Main Frame is set to about 1.2"(3mm) as shown in Figure 4.
3.Tighten the lower Adjuster Knobs to give enough tension force. Then install the product against the wall vertically as shown in Figure 5.
For an opening width of 28.3 - 29.6" (72 - 75cm)
For an opening width of 31.1 - 33.5" (79 - 85cm) For an opening width of 33.5 - 35.8" (85 - 91cm)
For an opening width of 29.6 - 31.1" (75 - 79cm)
3
Important! Figure 2
2.4" and above
90° degree 90° degree
Less than 2.4"
Type A Adjuster Knob
Long Adjuster Bolt
Type C
Adjuster Knob Short Adjuster Bolt
Hexagon Nut
Joint
Side Frame Option Frame
Type B
Adjuster Knob
Long Adjuster Bolt
Hexagon Nut
Side Frame
Figure 3
Figure 1
Adjuster Knob
Rubber
Tension force
Use force to make
the top of the gate
narrower.
Make sure the bottom of the Main Frame touches the Floor.
Clockwise
rotation
Insert Insert
Insert Insert
Type AType A
Type A
Body
Long Adjuster Bolts
Adjuster Knobs
(1)
(4)
(4)
Required Parts
Type A
Insert
Insert
Type B
Type B
Insert
Insert
Body (1)
Long Adjuster Bolts (4)
Adjuster Knobs (4)
Side Frame (1)
Hexagon Nut (4)
Required Parts
Type A
Type A
lDo not use 2 Side Frames on the same side.
Type B
Insert
Insert
Insert
Insert
Type B
Type B
Type B
Insert Insert
Insert Insert
Type C
Type B
Type C
Type B
Body (1)
Long Adjuster Bolts (4)
Adjuster Knobs (4)
Side Frames (2)
Hexagon Nut (8)
Required Parts Required Parts
Body (1)
Long Adjuster Bolts (2)
Short Adjuster Bolts (2)
Joints (2)
Adjuster Knobs(4)
Side Frame(2)
Option Frame (1)
Hexagon Nut(8)
Cautions!
Cautions!

7. Installation Check/How to Open and Close the Door
1. When correctly installed, the gate should not feel loose or wobbly when tugged.
2. After assembly, open/close the Door several times to make sure the Door
works properly (please see Figure 6).
3. For the Door to lock properly, the Door Handle must snap into the Upper Door
Stopper when lifted and released. Make sure the Door locks properly.
4. Make sure that Lower Door Stopper is centered over Main Frame's lower bar,
and locks in place securely.
8. How to Disassemble
9. How to Clean
Rotate Adjuster Knobs counterclockwise to loosen and remove.
lBe careful not to drop the product during disassembly.
lMake sure the Door is locked during disassembly.
lPlease note that product specifications and design may change without prior notice for the purpose of quality improvement.
4
Product Name Také One-Touch Pet Gate
Door: XX
Adjuster Knob: XX
Plastic Parts: XX
XX - XX x X x XXH" (XX - XX x X x XXHcm)Product Size
Material XXlbsProduct Weight
Adjuster Bolt Metal Part: XX
Adjuster Bolt Rubber Part: XX
Main Frame, Side Frame, Option Frame: XX
Warnings!
lUse a mild detergent and water and clean with a soft cloth/sponge. Cleaning with a scrub brush and/or using a polishing
powder may cause scratches, rust and/or discolor this product.
lWhen using creosol or other disinfectants, make sure to dilute them, otherwise damage to the bamboo finish or discoloration
may occur.
lDo not use harsh chemicals such as thinner, benzene or alcohol as these may cause damage/discoloration to the bamboo finish.
lAfter cleaning, wipe dry with soft cloth or place in a shaded area to air dry; do not place product in direct sunlight.
1101
If you find something wrong with this product, please let us know. Thank you!
Replacement parts may be purchased by contacting Richell USA directly at the number listed
below or at www.richellusa.com.
Designed by:
Richell Corporation, Japan Distributed by:
Richell USA Inc.
2100 N. Hwy. 360, Suite 1700, Grand Prairie, TX 75050
Phone (972) 641-9795 Fax (972) 641-8495
Visit us at www.richellusa.com
Made in China
660071
lThe width of the Adjuster Bolts on each side must be set equally to avoid
unexpected accidents and/or product damage as shown in Figure 4.
lTighten the Adjuster Knobs until clearance between the Gate Door and
Main Frame is set to 0.12" (3mm). This allows the tension-spring effect
to work properly to avoid unexpected accidents and/or product damage.
Adjuster Bolts on
each side must be
set equally
Figure 5
Side of the Main Frame
should be parallel to the wall. One side of Adjuster Knob
is longer than other side. One side ofAdjuster Knob
is shorter than other side. Side of the Main Frame
should be parallel to the
wall surface.
Figure 4
About 0.12" (3mm)
Door Main Frame
Figure 6
Door Handle
Upper Door Stopper
Lower bar
Main Frame Lower Door
Stopper
Cautions!
10. Specifications
Other Richell Pet Care Product manuals
Richell
Richell 80004 User manual
Richell
Richell 80041 User manual
Richell
Richell 94944 User manual
Richell
Richell 50000 User manual

Richell
Richell 30000 User manual
Richell
Richell 80015-7 User manual
Richell
Richell L4 User manual
Richell
Richell 94948 User manual
Richell
Richell PAW TRAX 60031 User manual
Richell
Richell 803840 94337-3 User manual
Richell
Richell 60025 User manual
Richell
Richell 80037 User manual
Richell
Richell 80019 User manual
Richell
Richell L6 User manual
Richell
Richell 60022 User manual
Richell
Richell 803840 600337 User manual
Richell
Richell 803840 70001-3 User manual
Richell
Richell 3-Step Pet Stool V1 User manual
Richell
Richell 94920 User manual

Richell
Richell 94193 User manual
