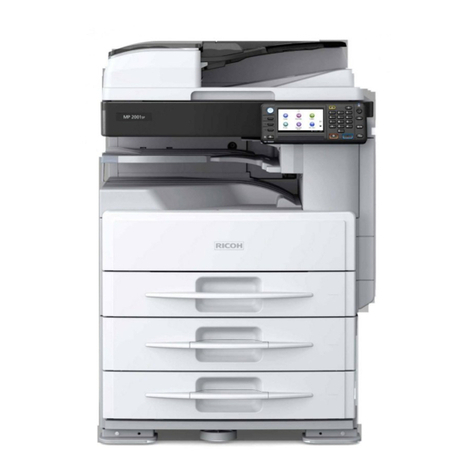
Ricoh Grand Kingfisher FT4018 User manual

INTRODUCTION
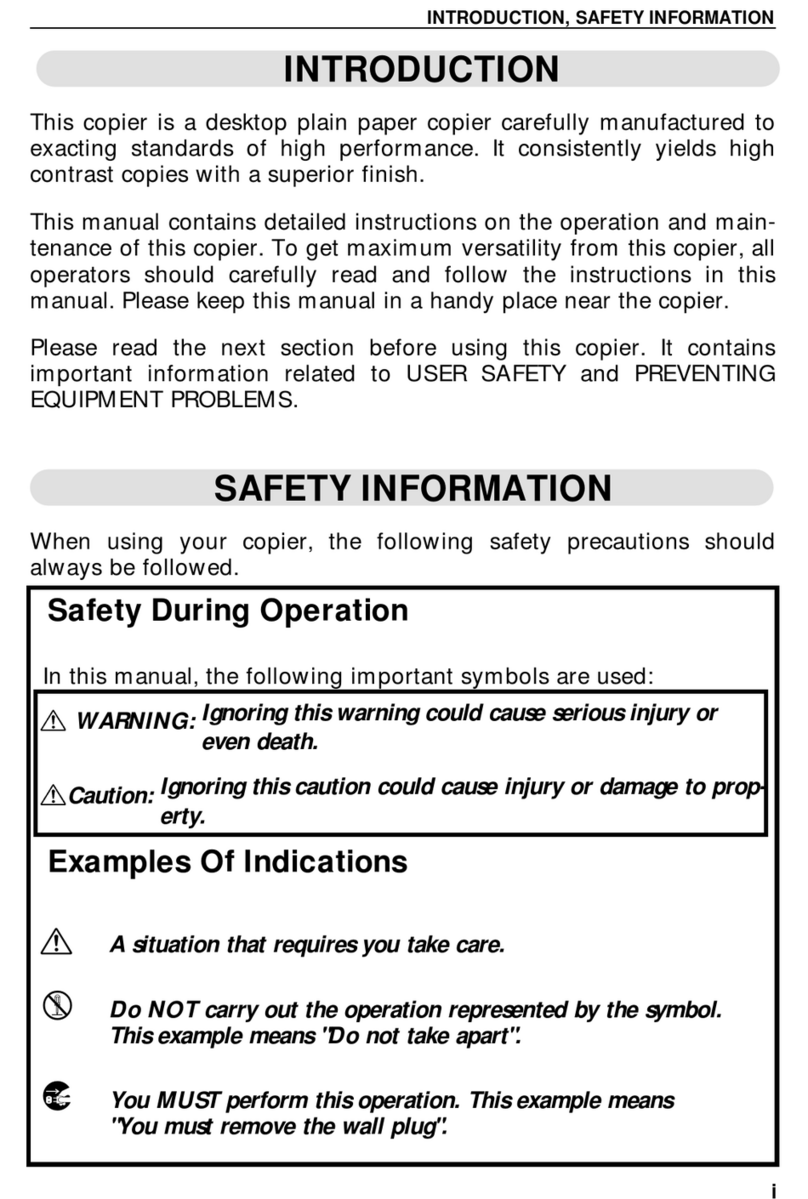
This manual contains detailed instructions on the operation and mainte-
nance of this copier. To get maximum versatility from this copier all
operators should carefully read and follow the instructions in this manual.
Please keep this manual in a handy place near the machine.
Please read the next section before using this copier. It contains important
information related to USER SAFETY and PREVENTING EQUIPMENT
PROBLEMS.
SAFETY INFORMATION
When using your machine, the following safety precautions should always
be followed.
Safety During Operation
In this manual, the following important symbols are used:
$
WARNING:Ignoring this warning could cause serious injury
or even death.
$
CAUTION:Ignoring this caution could cause injury or damage
to property.
Examples Of Indications
$
Symbols
$
means a situation that requires you take care.
G
Symbols
G
means ‘‘Hot surface’’.
B
Do NOT carry out the operation represented by the symbol
>
.
This example means ‘‘Do not take apart’’ .
C
Symbols
●
means you MUST perform this operation. This example
means ‘‘You must remove the wall plug’’.
gkf-ueg-1
INTRODUCTION
i

$WARNINGS:
••Only connect the machine to the power source described on
the inside front cover of this manual.
••Avoid multi-wiring
••Do not damage, break or make any modifications to the power cord.
Do not place heavy objects on it, pull it hard or bend it more than necessary.
These actions could cause an electric shock or fire.
••Do not plug or unplug the power cord with your hands wet.
Otherwise, an electric shock might occur.
••Make sure the wall outlet is near the machine and freely accessible
so that in event of an emergency it can be unplugged easily.
••Do not remove any covers or screws other than those specified in
this manual. Some parts of the machine are at a high voltage and
could give you an electric shock. When the machine needs to be
checked, adjusted, or repaired, contact your service representative.
••Do not take apart or attempt any modifications to this machine. There
is a risk of fire, electric shock, explosion or loss of sight.
••If the machine looks damaged or breaks down, smoke is coming
out, there is a strange smell or anything looks unusual, immedi-
ately turn off the main switch then unplug the power
cord from the wall. Do not continue using the machine in this
condition. Contact your service representative.
••If metal, liquid or foreign matter falls into the machine, turn off
the main switch, and unplug the main power cord.
Contact your service representative. Do not keep using the ma-
chine with a fault or defect.
••Do not put any metal objects or containers holding water
(e.g.vases, flowerpots, glasses) on the machine. If the contents fall
inside the machine, a fire or electric shock could occur.
••Do not incinerate used toner or toner containers. Toner dust might
ignite when exposed to an open flame. Dispose of the used toner
containers according to local regulations for plastics.
>
>
B
@
C
D
gkf-ueg-1
SAFETY INFORMATION
ii
$CAUTIONS:
••Keep the machine away from humidity and dust. A fire or an
electric shock might occur.
••Do not place the machine on an unstable or tilted surface.
If it topples over, it could cause injury.
••After you move the machine, fix it with the caster fixture.
Otherwise, the machine might move or come down to cause
a personal injury.
••When you move the machine, unplug the power cord from
the wall outlet to avoid fire or electric shock.
••When the machine will not be used for a long time, unplug
the power cord.
••When you pull out the plug from the socket, grip the plug
to avoid damaging the cord and causing fire or electric shock.
••If you use the machine in a confined space, make sure there
is a continuous air turnover.
••Do not reuse stapled paper. Do not use aluminum foil, car-
bon-containing paper or other conductive paper. Otherwise,
a fire might occur.
••When removing misfed paper, do not touch the fusing section
because it could be very hot.
>
C
>
@
@
?
E
gkf-ueg-1
SAFETY INFORMATION
iii
••This machine has been tested for safety using this suppliers
parts and consumables. We recommend you only use these
specified supplies.
••Do not eat or swallow toner.
••Keep toner or toner container out of reach of children.
••This equipment is onlyato be installed by a qualified service
personnel
••Deliver to collection point for waste products. Do not be
disposed of via domestic refuse collection.
$
gkf-ueg-1
SAFETY INFORMATION
iv

WHERE IT IS & WHAT IT IS
COPIER EXTERIOR AND INTERIOR
gkf-ueg-2
7
13
8
8
6
4
3
2
1
9
5
12
11
10
14
15
WHERE IT IS & WHAT IT IS
2

1. Left scale Use to align originals on the exposure glass.
2. Main switch Switches the copier between on and stand-by
conditions. ("stand-by" means that the optional
anticondensation heater is on.)
3. Copy tray Completed copies are delivered here.
4. Paper tray1This tray can hold 250 sheets of copy paper.
5. Paper tray2 This tray can hold 250 sheets of copy paper.
6. Platen cover Lower this cover over originals for copying.
7. Exposure glass Position originals here face down for copying.
8. Operation panel Operator controls and indicators are located here.
9. Front cover Open to access the inside of the copier.
10. 10-bin sorter (Option) Completed copies are sorted or stacked here.
11. Document feeder
(Option) Insert a stack of originals here. The originals are
individually fed onto and removed from the expo-
sure glass.
12. Bypass feed table Use to copy onto paper of unusual size or
weight, or color paper.
13. Right Side Cover Open to remove misfed papers.
14. Toner Bottle Replace the toner bottle when the fAdd Toner
indicator is lit.
15. Fusing Unit Fuses the copy image to the paper. When ac-
cessing the inside of the copier, use caution.
This unit may be very hot.
gkf-ueg-2
WHERE IT IS & WHAT IT IS
3

OPERATION PANEL
Keys
gkf-ueg-2
Sorter
Sort
Stack
Zoom Up
Down
5
1
/
2
1
/
2
8
5
1
/
2
1
/
2
8
8
1
/
2
11
8
1
/
2
14
8
1
/
2
14
8
1
/
2
13
8
1
/
2
14
11 17
11 15
11 17
11 17 5
1
/
2
1
/
2
8
8
1
/
2
11
11 17
200%
155
129
121
93
85
77
74
65
50
Create Margin
Reduce Enlarge
11 8
1
/
2
14
8
1
/
2
11 17
%
Bypass
Feed Check
Paper Size
Select Paper Tray
Reduce Enlarge Full Size Lighter Darker
1
2
3
4657
1. Sorter key(option)
☛ See pages 36 ~ 39
2. Zoom Up key
Enlarges in 1% steps. ☛ See
page 35 .
3. Zoom Down key
Reduces in 1% steps. ☛ See
page 35.
4. Reduce and Enlarge keys
☛ See page 34.
5. Full Size key
☛ See page 28.
6. Select Paper Tray key
Press to select a tray for the
paper feed.
7. Lighter and Darker keys
☛ See page 30.
8. Auto Image Density key
☛ See page 30.
9. Number keys
Use to enter the desired num-
ber of copies. They are also
used to enter data.
WHERE IT IS & WHAT IT IS
4

gkf-ueg-2
Auto
Image Density
Wait
Ready
Start
Clear / Stop
Clear Modes/Enetgy Saver
8 9 11
10 12
10. Clear/Stop key
Press to cancel the copy
number entered. While copy-
ing, press to stop copying.
This key is also used to clear
data.
11. Start key
Press to start copying. Use to
set the Auto Start. ☛ See
page 33.
12. Clear Modes/Energy Saver
key
Press to clear the copier of
previously entered settings.
Press this key for more than 1
second to enter/exit the En-
ergy Saver mode. ☛ See
pages 13 and 41.
WHERE IT IS & WHAT IT IS
5

Indicators
gkf-ueg-2
5
1
/
2
1
/
2
8
5
1
/
2
1
/
2
8
8
1
/
2
11
8
1
/
2
14
8
1
/
2
14
8
1
/
2
13
8
1
/
2
14
11 17
11 15
11 17
11 17 5
1
/
2
1
/
2
8
8
1
/
2
11
11 17
200%
155
129
121
93
85
77
74
65
50
Create Margin
Reduce Enlarge
11 8
1
/
2
14
8
1
/
2
11 17
%
Bypass
Feed Check
Paper Size
Select Paper Tray
Reduce Enlarge Full Size Lighter Darker
Auto
Image Density
Wait
Ready
123456789
10
11
12
1314
WHERE IT IS & WHAT IT IS
6

gkf-ueg-2
1. Reduce and Enlarge indicator
☛ See page 34.
2. Bypass Feed indicator
☛ See page 31.
3. Check Paper Size indicator
☛ See pages 45.
4. Add Toner indicator
When it is time to supply toner,it
blinks.When toner bottle is empty,it
is lit.☛ See pages 50.
5. Load Paper indicator
☛ See pages 48 ~ 49.
6. Check Paper Path indicator
If a paper misfeed occurs, it is lit.
☛ See pages 51 ~ 53.
7. Misfeed Location display
It shows the location of misfed
paper . ☛ See pages 51 ~ 53.
8. Ready indicator
When you can make copy, it is lit.
☛ See page 12.
9. Wait indicators
It is lit during the warm-up period.
☛ See page 12.
10. Copy Counter
Indicates the number of copies.
11. Auto Image Density indicator
☛ See page 30.
12. Manual Image Density indicator
☛ See page 30.
13. Paper Size indicator
Show the selected paper tray,
paper size,direction.
14. Three Digit indicator
Data display.
WHERE IT IS & WHAT IT IS
7

WHAT YOU CAN DO WITH THIS COPIER
Auto image density
manual image density
Copying from the bypass feed table
gkf-ueg-2
☛See page 30.
☛See page 31
☛See page 30.
WHAT YOU CAN DO WITH THIS COPIER
8

Reducing and enlarging
Entering copy job settings during the warm-up period
gkf-ueg-2
☛See page 34.
Reducing and enlarging using preset ratios
Reducing and enlarging with the Zoom Up (+) and Zoom Down (-)
☛ See page 35.
☛See page 33.
WHAT YOU CAN DO WITH THIS COPIER
9

Finishing (Option)
gkf-ueg-2
☛See page 36
Sorting into sets (123,123,123)
Stacking together all copies of a page (111, 222, 333)
☛See page 38.
WHAT YOU CAN DO WITH THIS COPIER
10

BASICS
gkf-ueg-3
STARTING THE COPIER .........................................................................................12
When The Main Switch Is In The Stand-by Position...................................................................... 12
When The Energy Saver Indicator Is On ....................................................................................... 13
11

STARTING THE COPIER
When The Main Switch Is In The Stand-by Position
1Turn on the main switch.
2Wait for the copier to warm-up.
During the warm-up period (less
than 35 seconds), the uWait
indicator is on.
3After warm-up, the vReady indi-
cator lights.
gkf-ueg-3
8
1
/
2
14
Check
Paper Size
e
r Tray
Wait
Ready
STARTING THE COPIER
12

When The Energy Saver Indicator Is On
The copier is in the Energy Saver
mode.
Press the Clear Modes/Energy
Saver key to return to the ready
condition.
❐For details about the Energy Saver,
☛ see page 41.
❐The following actions will also return the copier to the ready condition:
•Opening or closing the optional document feeder.
•Setting originals in the optional document feeder.
•Setting copy paper in the bypass feed table.
•Pressing any key except the Start key.
gkf-ueg-3
Start
Clear / Stop
Clear Modes/Enetgy Saver
STARTING THE COPIER
13

king-ueg-4
STARTING THE COPIER
14

COPY PAPER AND
TONER
COPY PAPER.........................................................................................................16
Available Paper Sizes ...................................................................................................................... 16
Non-recommended Copy Paper .................................................................................................. 16
Notes For Copy Paper..................................................................................................................... 17
Paper Storage .................................................................................................................................. 17
TONER.....................................................................................................................18
Notes For Toner................................................................................................................................. 18
Toner Storage ................................................................................................................................... 18
gkf-ueg4
15

COPY PAPER
Available Paper Sizes
Metric Version Inch Version
Paper tray A3 ;, A4 ;:,A5 :,B4 ;,
B5 ;:, F ;
11" x 17" ;, 81/2" x 11 ;:,
81/2" x 14 ;
Bypass feed table Standard sizes
A3 ;, A4 ;:,A5 :,B4 ;, B5 ;:, F ;, 11 " x 17" ;,
81/2" x 11" ;:, 81/2 "x 14 ;,
Non-standard sizes
Vertical 45 mm ~ 308 mm, 1.8" ~ 12"
Horizontal 148 mm ~ 432mm, 5.8" ~ 16.8"
Non-recommended Copy Paper
Copy paper of the types or in the conditions listed below is not recom-
mended for this copier.
•Copy paper thicker than 90 g/m2, 24 lb. (Paper tray)
•Copy paper thinner than 64 g/m2, 17 lb. (Paper tray)
•Copy paper thicker than 157 g/m2, 42 lb. (Bypass feed table)
•Copy paper thinner than 52 g/m2, 14 lb.(Bypass feed table)
•Folded, curled, creased, or damaged paper
•Torn paper
•Damp paper
•Perforated paper
•Paper with conductive or low electrical resistance such as carbon or
silver coating.
•Wavy paper
•Thermal paper, art paper
•Thin paper that has low stiffness
•Adhesive labels
•Stapled paper
gkf-ueg4
COPY PAPER
16

Notes For Copy Paper
❐Load paper with the copy side
down
in the paper tray, and with the copy side
up
in the bypass feed table. If copies are curled, try turning the copy paper over
in the tray or table. If there is no improvement, change to copy paper with less
curl.
❐Correct curls in copy paper before loading.
❐Fan copy paper to get air between the sheets before loading.
❐OHP transparencies, translucent paper, and adhesive labels should be set in
the bypass feed table.
❐OHP transparencies, translucent paper, and adhesive labels should be fanned
to get air between the sheets before loading.
❐Do not touch copy paper if your fingers are wet or oily; finger prints may appear
on the copy.
❐When making two-sided copies,do not load paper in the paper tray for copying
the reverse side. Use the bypass feed table.
Paper Storage
Paper should always be stored properly. Improperly stored paper might
result in poor image reproduction, creased copies, and paper misfeeds.
Generally, avoid curling and absorption of moisture.
❐Avoid storing paper in humid areas. Under high temperature and high humidity,
or low temperature and low humidity conditions, store paper in a vinyl bag.
❐Do not store paper where it will be exposed to heat.
❐Store on a flat surface.
❐Use older stock first.
❐Do not lay heavy objects on paper.
❐Keep open reams of paper in the package, and store as you would unopened
paper.
gkf-ueg4
COPY PAPER
17
This manual suits for next models
5
Table of contents
Other Ricoh Copier manuals

Ricoh
Ricoh FT 1008 User manual

Ricoh
Ricoh TH-C1b User manual

Ricoh
Ricoh FT8680 User manual

Ricoh
Ricoh FW770 User manual

Ricoh
Ricoh FT8880 User manual

Ricoh
Ricoh G176 User manual

Ricoh
Ricoh Pro1106X User manual

Ricoh
Ricoh FW740 User manual

Ricoh
Ricoh Aficio MP C3002 User manual

Ricoh
Ricoh Aficio MP 171 Quick start guide

Ricoh
Ricoh Aficio 1515 User manual

Ricoh
Ricoh MP 1813L User manual

Ricoh
Ricoh Aficio MP 1600L User manual

Ricoh
Ricoh J2SS-C3 User manual

Ricoh
Ricoh FT8982 User manual

Ricoh
Ricoh Aficio MP C3000SPF Service manual

Ricoh
Ricoh FW830 User manual

Ricoh
Ricoh A-C4 User manual

Ricoh
Ricoh MP 2000LE User manual

Ricoh
Ricoh Aficio FT4027 User manual