Ricoh TC-II User manual

TC-II
Operating Instructions
Z
b
r
h
021e.eps
Read this manual carefully before you use this product and keep it handy for future
reference.
For safety, please follow the instructions in this manual.

TC-II Operating Instructions
Printed in Japan
UE USA C593-8602

Introduction
This manual contains detailed instructions on the operation and maintenance of this machine. To get
maximum versatility from this machine all operators should carefully read and follow the instructions in
this manual. Please keep this manual in a handy place near the machine.
Please read the Safety Information before using this machine. It contains important information related
to USER SAFETY and PREVENTING EQUIPMENT PROBLEMS.
Notes:
Some illustrations might be slightly different from your machine.
Certain options might not be available in some countries. For details, please contact your local dealer.
Two kinds of size notation are employed in this manual. With this machine refer to the inch version.
Power Source
120V, 60Hz, 5.5 A or more
Please be sure to connect the power cord to a power source as above. For details about power source,
⇒P.45 “Power Connection”.

Note to users in the United States of America
Notice:
This equipment has been tested and found to comply with the limits for a Class B digital device, pursu-
ant to Part 15 of the FCC Rules. These limits are designed to provide reasonable protection against
harmful interference in a residential installation. This equipment generates, uses and can radiate radio
frequency energy and, if not installed and used in accordance with the instructions, may cause harmful
interference to radio communications. However, there is no guarantee that interference will not occur
in a particular installation. If this equipment does cause harmful interference to radio or television re-
ception, which can be determined by turning the equipment off and on, the user is encouraged to try to
correct the interference by one more of the following measures:
Reorient or relocate the receiving antenna.
Increase the separation between the equipment and receiver.
Connect the equipment into an outlet on a circuit different from that to which the receiver is
connected.
Consult the dealer or an experienced radio /TV technician for help.
Warning
Changes or modifications not expressly approved by the party responsible for compliance could void
the user's authority to operate the equipment.
Note to users in Canada
Note:
This Class B digital apparatus complies with Canadian ICES-003.
Remarque concernant les utilisateurs au Canada
Avertissement:
Cet appareil numérique de la classe B est conforme à la norme NMB-003 du Canada.
In accordance with IEC 60417, this machine uses the following symbols for the main switch:
a
aa
ameans POWER ON.
b
bb
bmeans POWER OFF.

i
Safety Information
When using your equipment, the following safety precautions should always be
followed.
Safety During Operation
In this manual, the following important symbols are used:
RWARNING:
R
WARNING:
Indicates a potentially hazardous situation which, if instructions
are not followed, could result in death or serious injury.
R
CAUTION:
Indicates a potentially hazardous situation which, if instructions are not
followed, may result in minor or moderate injury or damage to property.
•Connect the power cord directly into a wall outlet and never use an ex-
tension cord.
•Disconnect the power plug (by pulling the plug, not the cable) if the
power cable or plug becomes frayed or otherwise damaged.
•To avoid hazardous electric shock, do not remove any covers or
screws other than those specified in this manual.
•To avoid injury, do not touch moving parts or insert your fingers in the
opening during machine operation. To de-energize moving parts,
open the front cover.
•Turn off the power and disconnect the power plug (by pulling the plug,
not the cable) if any of the following conditions exists:
•You spill something into the equipment.
•You suspect that your equipment needs service or repair.
•Your equipment's cover has been damaged.

ii
RCAUTION:
•Protect the equipment from dampness or wet weather, such as rain, snow,
and so on.
•Unplug the power cord from the wall outlet before you move the equipment.
While moving the equipment, you should take care that the power cord will
not be damaged under the equipment.
•When you disconnect the power plug from the wall outlet, always pull the
plug (not the cable).
•Do not allow paper clips, staples, or other small metallic objects to fall inside
the equipment.
•For environmental reasons, do not dispose of the equipment or expended
supply waste at household waste collection points. Disposal can take place
at an authorized dealer or at appropriate collection sites.
•Be careful not to cut yourself on any sharp edges when you reach inside the
machine to remove misfed sheets of paper or masters.
•Our products are engineered to meet high standards of quality and function-
ality, and we recommend that you only use the expendable supplies avail-
able at an authorized dealer.

iii
How to Read This Manual
Symbols
In this manual, the following symbols are used:
R
WARNING:
This symbol indicates a potentially hazardous situation that might result in
death or serious injury when you misuse the machine without following the in-
structions under this symbol. Be sure to read the instructions, all of which are de-
scribed in the Safety Information section.
R
CAUTION:
This symbol indicates a potentially hazardous situation that might result in mi-
nor or moderate injury or property damage that does not involve personal injury
when you misuse the machine without following the instructions under this
symbol. Be sure to read the instructions, all of which are described in the Safety
Information section.
* The statements above are notes for your safety.
Important
If this instruction is not followed, paper might be misfed, originals might be
damaged, or data might be lost. Be sure to read this.
Preparation
This symbol indicates the prior knowledge or preparations required before op-
erating the machine.
Note
This symbol indicates precautions for operation, or actions to take after misop-
eration.
Limitation
This symbol indicates numerical limits, functions that cannot be used together,
or conditions in which a particular function cannot be used.
Reference
This symbol indicates a reference.
[]
Keys that appear on the machine's display panel.
{}
Keys built into the machine's operation panel.

iv
What You Can Do with This Machine
Below is a quick summary of this ma-
chine's features and where to look in
this manual for more information.
❖
❖❖
❖Standard Printing
⇒P.15 “Standard Printing”.
❖
❖❖
❖Adjusting the Print Image Position
⇒P.20 “Adjusting the Position of
Printed Images”.
1: Paper feed direction
2: Image of Drum 2
❖
❖❖
❖Changing the Printing Speed
⇒P.22 “Changing the Printing
Speed”.

v
TABLE OF CONTENTS
Machine Exterior........................................................................................ 1
Machine Interior......................................................................................... 2
Operation Panel......................................................................................... 4
Keys .............................................................................................................. 4
Indicators....................................................................................................... 5
1.Operation
Setting and Changing the Drum Unit....................................................... 7
Setting the Drum Unit.................................................................................... 7
Changing the Drum Unit................................................................................ 9
Printing Preparations.............................................................................. 10
Loading Paper............................................................................................. 10
Setting Up the Paper Delivery Table........................................................... 11
Turning on the Main Power ......................................................................... 12
Print Paper ............................................................................................... 13
Standard Printing .................................................................................... 15
Removing Prints.......................................................................................... 16
Printing onto Various Kinds of Paper.................................................... 17
Printing onto Thick Paper............................................................................ 17
Printing onto Standard Paper...................................................................... 17
Printing onto Special Kinds of Paper........................................................... 17
Paper Supply Adjustment............................................................................ 18
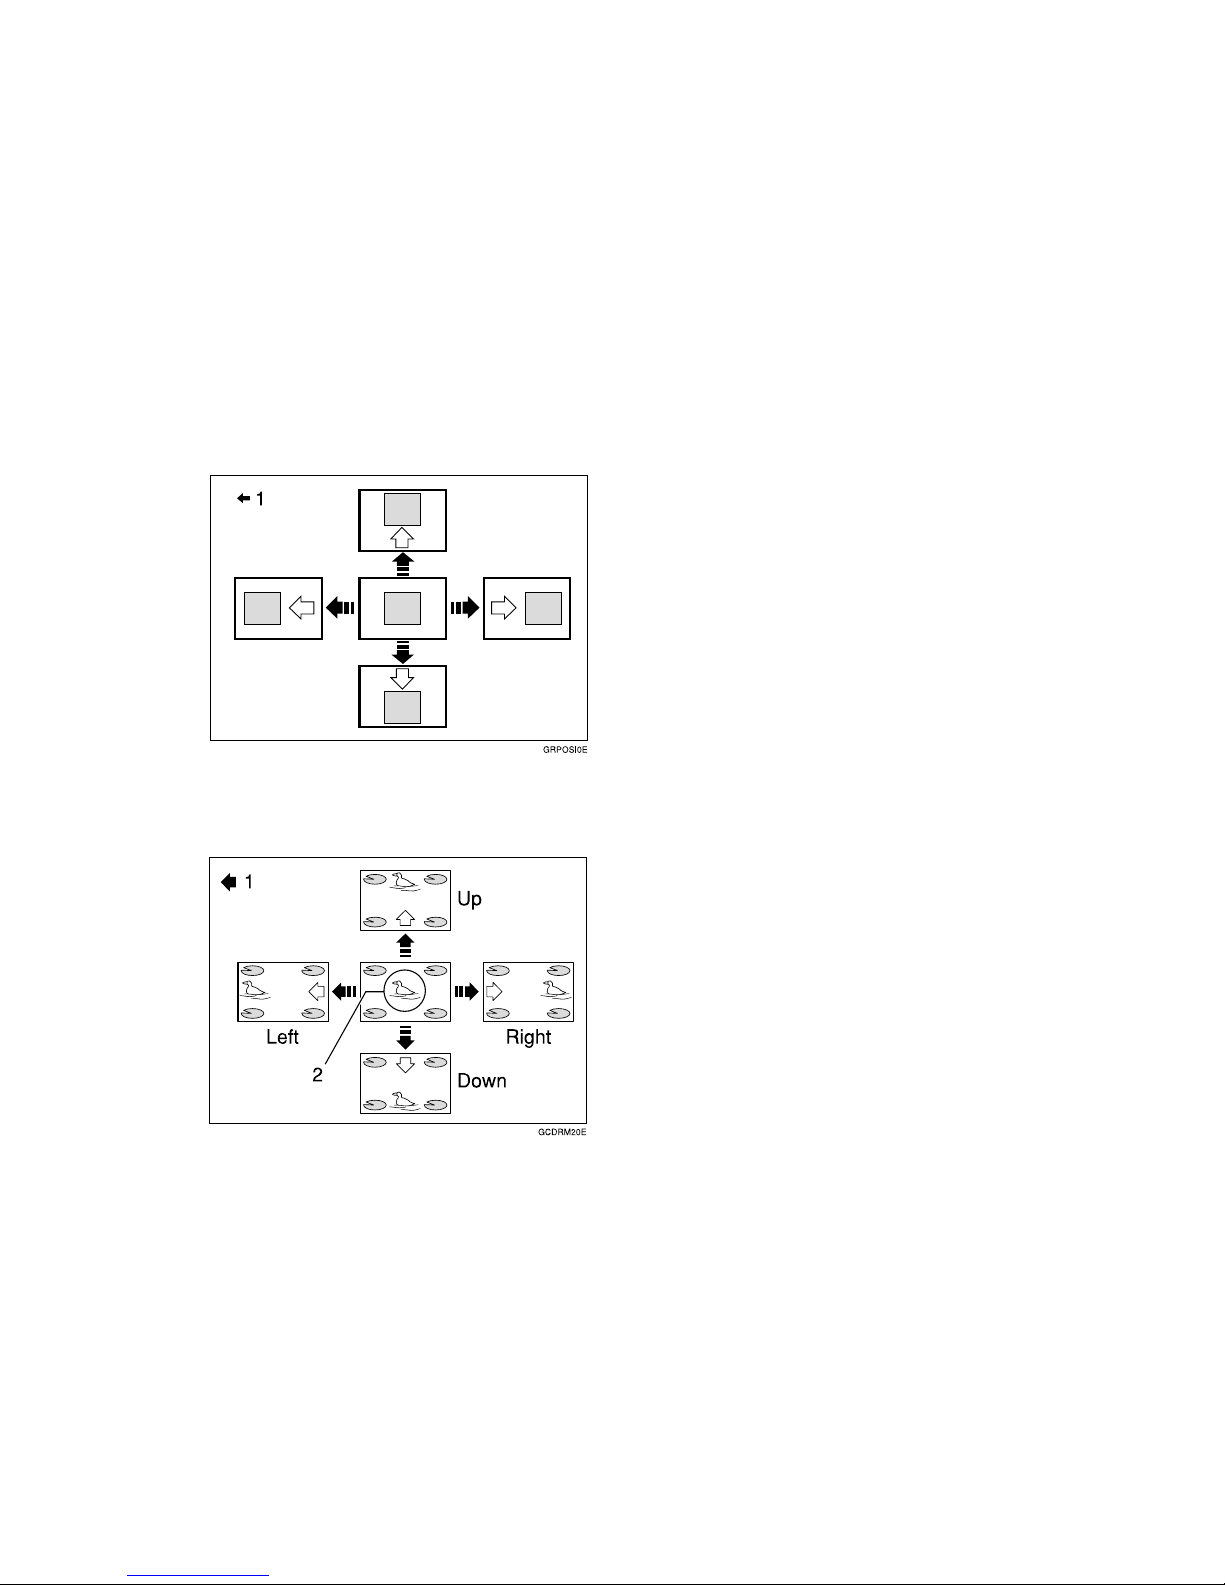
Adjusting the Position of Printed Images ............................................. 20
Changing the Printing Speed ................................................................. 22
Skip Feed Printing................................................................................... 23
2.User Tools
Accessing the User Tools....................................................................... 25
User Tools................................................................................................ 26
1. System .................................................................................................... 26

vi
3.Troubleshooting
If Your Machine Does Not Operate as You Want.................................. 29
If You Cannot Make Prints as You Want ............................................... 30
Loading Paper.......................................................................................... 31
When the Add Ink Indicator (j) Lights................................................. 32
xClearing Misfeeds............................................................................... 34
Paper Misfeed in the Paper Feed Section .................................................. 34
Paper Misfeed in the Paper Feed Section .................................................. 35
Paper Wrapped around the Drum ............................................................... 36
Paper Misfeed in the Paper Exit Section..................................................... 38
Poor Printing............................................................................................ 39
Dirty Background......................................................................................... 39
When the Press Roller is Dirty .................................................................... 41
Faint Prints .................................................................................................. 41
4.Remarks
Do's and Don'ts ....................................................................................... 43
Where to Put Your Machine.................................................................... 44
Environment ................................................................................................ 44
Power Connection....................................................................................... 45
Machine Clearance ..................................................................................... 45
Maintaining Your Machine...................................................................... 46
Cleaning the Main Frame............................................................................ 46
5.Specifications
Main Frame............................................................................................... 47
Consumables........................................................................................... 49
INDEX........................................................................................................ 50

1
Machine Exterior
1. Front door
Open to access the inside of the machine.
2. Operation panel
⇒P.4 “Operation Panel”.
3. Paper feed tray down key
Press to lower the Paper feed tray.
4. Paper feed side plates
Prevent paper being fed skewed.
5. Paper feed tray
Set paper here.
6. Paper feed side plates knob
Use to move the side plates.
7. Paper feed side plates knob lock
lever
Fix to the paper feed side plates knob.

2
Machine Interior
1. Main switch
Use to turn the power on or off.
2. Paper alignment wings
Lift or lower the wings depending on the
type of paper being used.
3. Paper delivery end plate
This plate aligns the leading edge of
prints.
4. Paper delivery end plate knob
Use to move the end plate.
5. Paper delivery tray
Completed prints are delivered here.
6. Paper delivery side plates
These plates align the prints on the paper
delivery tray.
7. Paper delivery side plate knobs
Use to move the side plates.
8. Drum Unit 2
The master is wrapped around this unit.
9. Drum Unit 1
The master is wrapped around this unit.
10. Ink holder
Set the ink cartridge in this holder.
11. Drum unit lock lever B1
Lower to unlock and pull out the drum
unit.

3
12. Trailing edge guides
Swing out these guides when you use
B5Lpaper.

4
Operation Panel
Keys
1. {
{{
{Drum2}
}}
}key
Press when you need to set or change the
Drum 2 ⇒P.7 “Setting the Drum Unit”.
2. {
{{
{Drum1}
}}
}key
Press when you need to set or change the
Drum 1 ⇒P.7 “Setting the Drum Unit”.
3. {
{{
{Ppr.Type}
}}
}key
Press to select the paper type ⇒P.17
“Printing onto Various Kinds of Paper”.
4. {
{{
{Ppr. Supply Adj}
}}
}key
Press to change the paper feeding ratio
and paper separation ratio. ⇒P.18 “Paper
Supply Adjustment”.
5. {
{{
{W
WW
W}
}}
}{
{{
{V
VV
V}
}}
}keys (Speed keys)
Press to adjust the printing speed. ⇒P.4
“Keys”, ⇒P.22 “Changing the Printing
Speed”.
6. {
{{
{Position Adj/Whole}
}}
}key
Press to adjust the mixed image positions
of Drum1 and Drum2 ⇒P.20 “Adjusting
the Position of Printed Images”
7. {
{{
{~
~~
~}
}}
}{
{{
{}
}}
}}
}}
}{
{{
{|
||
|}
}}
}{
{{
{{
{{
{}
}}
}keys
Press to shift the image forward, back-
ward, right, or left. ⇒P.4 “Keys”, ⇒P.20
“Adjusting the Position of Printed Images”.
Also use to highlight items you wish to
select on the panel display.
8. {
{{
{Clear/Stop}
}}
}key
Press to stop printing.
9. {
{{
{#}
}}
}key
Use to enter data in selected modes.
10. {
{{
{Print}
}}
}key
Press to start printing.
11. {
{{
{Proof}
}}
}key
Press to make proof prints.
12. {
{{
{Clear Modes}
}}
}key
Press to clear any previously entered job
settings.
13. Number keys
Press to enter the desired number of
prints and data for selected modes.
14. Counter
Displays the number of prints entered.
While printing, it shows the number of
prints remaining.
15. {
{{
{Position Adj/Drum2}
}}
}key
Press to adjust the image position's of Drum2.
16. {
{{
{Skip Feed}
}}
}key
Press to select skip feed printing. ⇒P.23
“Skip Feed Printing”
17. {
{{
{User Tools}
}}
}key
Press to change the default settings to
meet your requirement.

5
Indicators
1. Error Indicators
These indicators are lit when a non-stan-
dard condition occurs within the ma-
chine.
2. Guidance Display
Display the machine's condition.
3. Counter
Displays the number of prints entered.
While printing, it shows the number of
prints remaining.
4. Speed Indicators
These indicators show the printing speed
that is selected.
5. Drum set indicator
The green indicator lights when the
drum unit is ready to pull out. If not
ready, the red indicator lights.

6

7
1. Operation
Setting and Changing the Drum Unit
Before you start printing, you must
make a master print using the master
making unit. The master print is
wrapped around the drum unit.
Note
❒Color drum units are available as
options in addition to the standard
black unit. For making color prints,
a separate drum unit is necessary
for each color.
❒Insert the same kinds of drum unit
for both Drum 1 and Drum 2.
❒Color Drum Type 50S/80S is not
available for this machine.
❒A4 size master cut drum is not
available for this machine.
Setting the Drum Unit
AMake sure that you select either
{
{{
{Drum1}
}}
}or {
{{
{Drum2}
}}
}before setting
the drum unit.
Note
❒Make sure that the indicator is
lit.
BOpen the Front Door.
CLift upper drum stay B3 a little to
unlock the drum unit, then push
into the drum unit while holding
drum unit handle B2 and upper
drum stay B3.
Note
❒Make sure the green light be-
side the drum unit lock lever is
on.
❒If the red light is on, go back to
step 1.

Operation
8
1
❒Make sure that the drum unit
lock lever B1 is released.
DInsert the drum unit along the
guide rail.
ESlide in the drum unit until it
locks in position.
Note
❒Insert the same kinds of drum
unit for both Drum1 and
Drum2.
FLift drum unit lock lever B1.
GClose the front door.
Note
❒If you want to set another drum
unit, go back to step 1.
❒Make sure that the Open Cover
Indicator turns off.

Setting and Changing the Drum Unit
9
1
Changing the Drum Unit
AMake sure that you select either
{
{{
{Drum1}
}}
}or {
{{
{Drum2}
}}
}before chang-
ing the drum unit.
BOpen the front door.
CMake sure the green light beside
the drum unit lock lever is on be-
fore sliding out the drum. If the
red light is on, go back to step A.
DLower the drum unit lock lever B1.
E
Pull out drum unit handle B2 slowly.
FLift upper drum stay B3 a little to
unlock the drum unit, then pull
out the drum unit while holding
drum unit handle B2 and upper
drum stay B3.
Important
❒Be careful not to let the drum
unit fall.
GInsert the color drum unit along
the guide rail.
HLower drum unit lock lever B1 of
the inserted drum.
ISlide in the drum unit until it
locks in position.
JLift drum unit lock lever B1.
KClose the front door.
Note
❒Make sure that the Open Cover
indicator turns off.

Operation
10
1
Printing Preparations
Loading Paper
ACarefully open the paper feed
tray.
BLift the feed side/end plates.
CMake sure that the lock lever for
the side plate is raised (lock is re-
leased), and then grasp the side
plate knob and adjust the side
plate to match the paper size.
Important
❒Always adjust the position with
the lock lever for the paper feed
side plates in the raised position
(lock released).
DPlace the paper on the paper feed
tray.
Note
❒Correct the paper curl before
loading the paper. If you cannot
do so, stack the paper with the
curl face down.
Reference
⇒P.13 “Print Paper”
EMake sure that the paper feed
side plates are touching both
sides of the paper, and then push
the lock lever for the side plates
down to lock the side plates into
position.
Table of contents
Other Ricoh Printer manuals

Ricoh
Ricoh 2045 - Type Print Server Quick guide

Ricoh
Ricoh Ri 100 Operating manual

Ricoh
Ricoh Aficio 2232C User manual

Ricoh
Ricoh Aficio 2228C User manual

Ricoh
Ricoh Priport HQ7000 Service manual

Ricoh
Ricoh Aficio 1035 Series User manual

Ricoh
Ricoh GX5050N - Aficio Color Inkjet Printer User manual

Ricoh
Ricoh InfoPrint 1985 User manual

Ricoh
Ricoh SP 210 User manual

Ricoh
Ricoh G108 User manual

Ricoh
Ricoh FW770 User manual

Ricoh
Ricoh aficio SG 2100N User manual

Ricoh
Ricoh Ri 100 Original instructions

Ricoh
Ricoh MF4 User manual

Ricoh
Ricoh SP 110 SU User manual

Ricoh
Ricoh Ri 100 User manual

Ricoh
Ricoh DDP 184 User manual

Ricoh
Ricoh M049 Manual

Ricoh
Ricoh CL1000N Use and maintenance manual

Ricoh
Ricoh Aficio GX2500 Manual