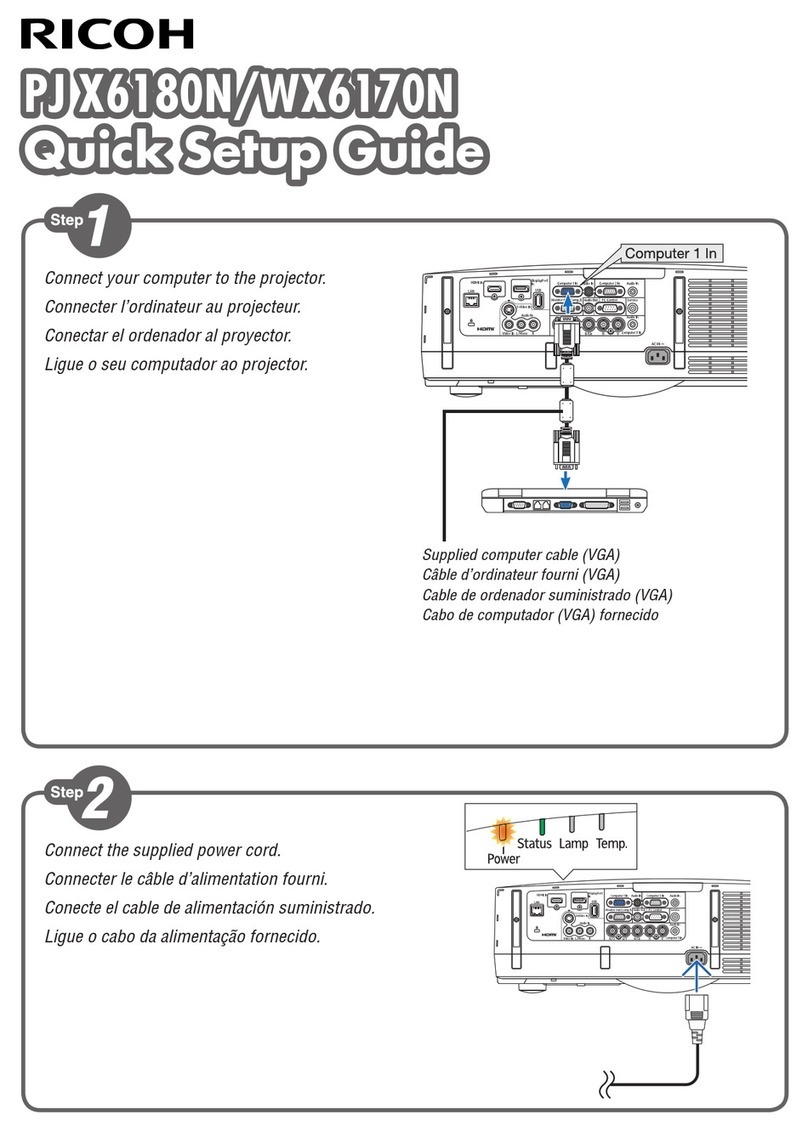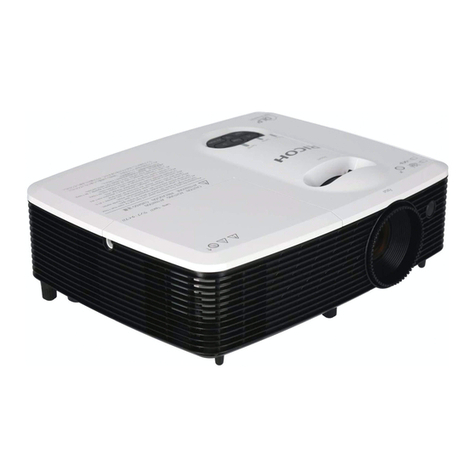
Start Guide
Turn on the equipment that is
connected to the projector.
The input signal is detected automatically
and the image is projected. To project the
image of a video player, press the play
button on the video player. To project a
laptop computer’s screen, switch the
computer’s image output. If the projected
image is not the one that you wanted to
project, press the [Input] button to switch
the input signal.
To change the display language, press the•
[Menu] button, and then select the display
language in [Language / XXX] (XXX indi-
cates the current display language) on the
[ ] tab.
When connecting a laptop computer to the•
projector, switch the computer’s image output.
In Windows operating systems, the image
output can be switched with a function key.
While pressing and holding the [Fn] key, press
the key, the key, or the LCD/VGA
function key.
Computer brand Key
combination
MSI [Fn] + [F2]
Everex, Mitsubishi,
NEC, Panasonic, Sotec [Fn] + [F3]
Gateway, HP [Fn] + [F4]
acer, Sharp, Sotec,
TOSHIBA [Fn] + [F5]
Hitachi, IBM, lenovo,
SONY [Fn] + [F7]
Asus, DELL, Epson,
Hitachi [Fn] + [F8]
FUJITSU [Fn] + [F10]
Adjusting the Focus❖
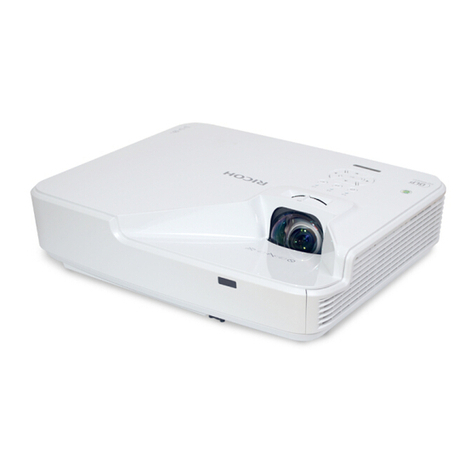
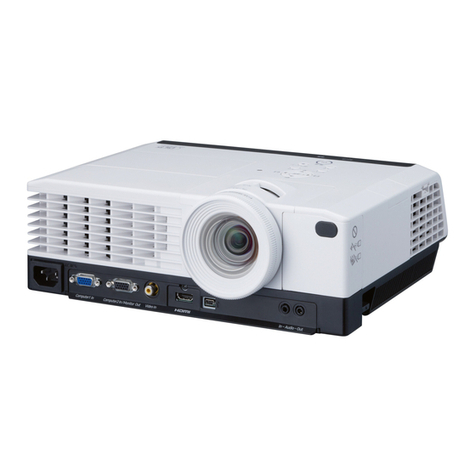
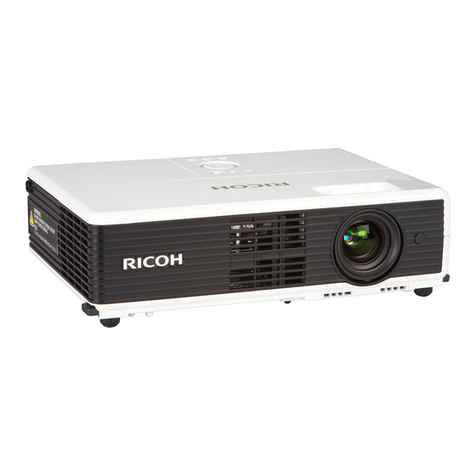
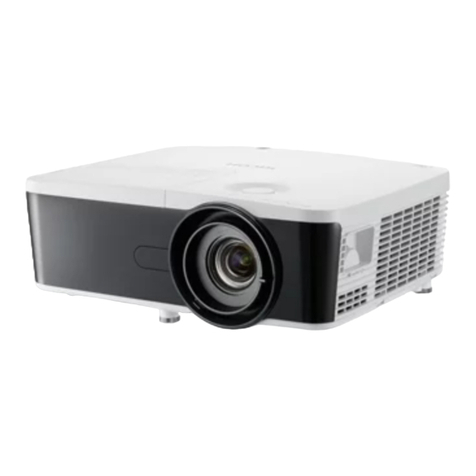
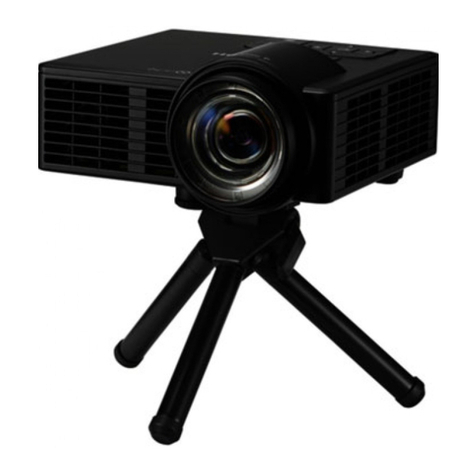
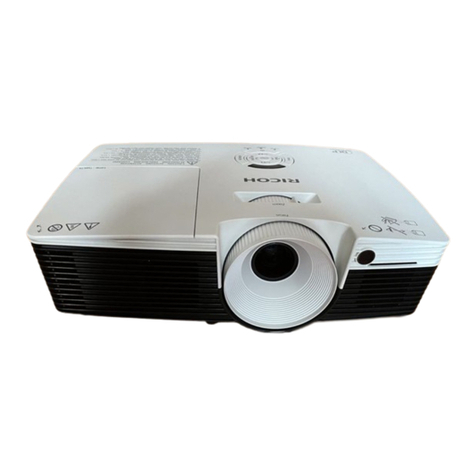
RICOH PJ X3340/WX3340•
RICOH PJ X3340N/WX3340N•
The focus is automatically adjusted by
the automatic focus function. To adjust
the focus manually, press the [Focus]
button, and then press the or
button.
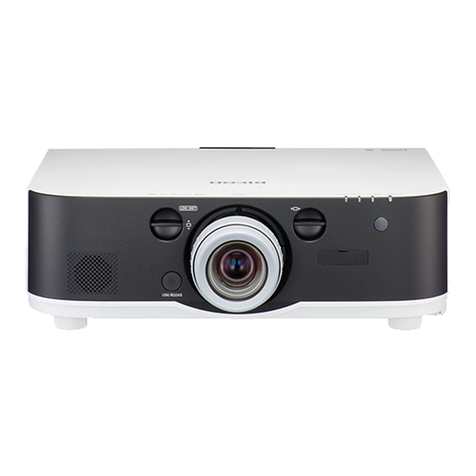
RICOH PJ X4240N/WX4240N•
Adjusting for Keystone Distortion❖
Press the (Keystone)
button.
Adjust the keystone distortion.
Adjusting the Projected
Image
Adjusting the Angle of the Projection❖
Reducing the Size of the Projected❖
Image
The image can be reduced by 80 to 100%
using the digital zoom function.
Press the (Zoom) button.
Adjust the size of the projected
image.
Enlarging the Size of the Projected❖
Image
The image can be enlarged by 100 to 150%
using the optical zoom function.
Move the zoom lever to adjust
the size of the projected image.
The RICOH PJ X4240N/WX4240N do not•
support the optical zoom function.
Projecting an Image
Insert the connector of the
power cord set into the AC In
socket on the projector.
Insert the power plug into a
power outlet.
The projector turns on in this step if
[Power On Method] in [Default Settings
2] on the menu screen is set to [Auto.].
Proceed to step 4.
Press the (Power) button.
Select the display language on the start
menu the first time you turn on the
projector after you purchase it.
RICOH PJ X3340N/WX3340N/•
X4240N/WX4240N
The [Network Setting Wizard] screen
appears after selecting the display
language. To configure the network
settings, see “Connecting the Projector
to a Network”, Operating Instructions
.
Adjustments while
Projecting Images
Adjusting the Volume of the Speaker❖
Press the (Volume)
button.
Adjust the volume.
Enlarging the Image❖
Press the (Magnify)
button.
Adjust the magnification
ratio.
ABCDEFGHIJKL
MNOPQRSTUV
WXYZabcdefghijk
lmnopqrstuvwxyz
123456789
Press the [Enter] button.
Move the display position of
the enlarged image.
ABCDEFGHIJKL
MNOPQRSTUV
WXYZabcdefghijk
lmnopqrstuvwxyz
123456789
10
11
12
13
14
15
16
17
18
YZabcdef
To change the magnification ratio,
press the [Enter] button, and then repeat
step 2.
To cancel this function, press
the [Magnify] button again.
Temporarily Blanking the Image and❖
Muting the Audio
Press the (AV Mute)
button.
The image blanks and the audio
mutes.
To cancel this function, press
the [AV Mute] button again.
Freezing the Image❖
Press the (Freeze) button.
The image freezes.
To unfreeze the image, press
the [Freeze] button again.
Turning Off the Projector
Press the (Power) button.
The confirm screen appears.
Press the [Power] button again.
The projector beeps and the projector
turns off.
© 2012
Printed in China
EN GB EN US EN AU
Y028-7501A
The procedures explained in this manual are for how to use the projector
with a remote control.
