manuals.online logo
Brands
  1. Home
  2. •
  3. Brands
  4. •
  5. Riverside
  6. •
  7. Indoor Furnishing
  8. •
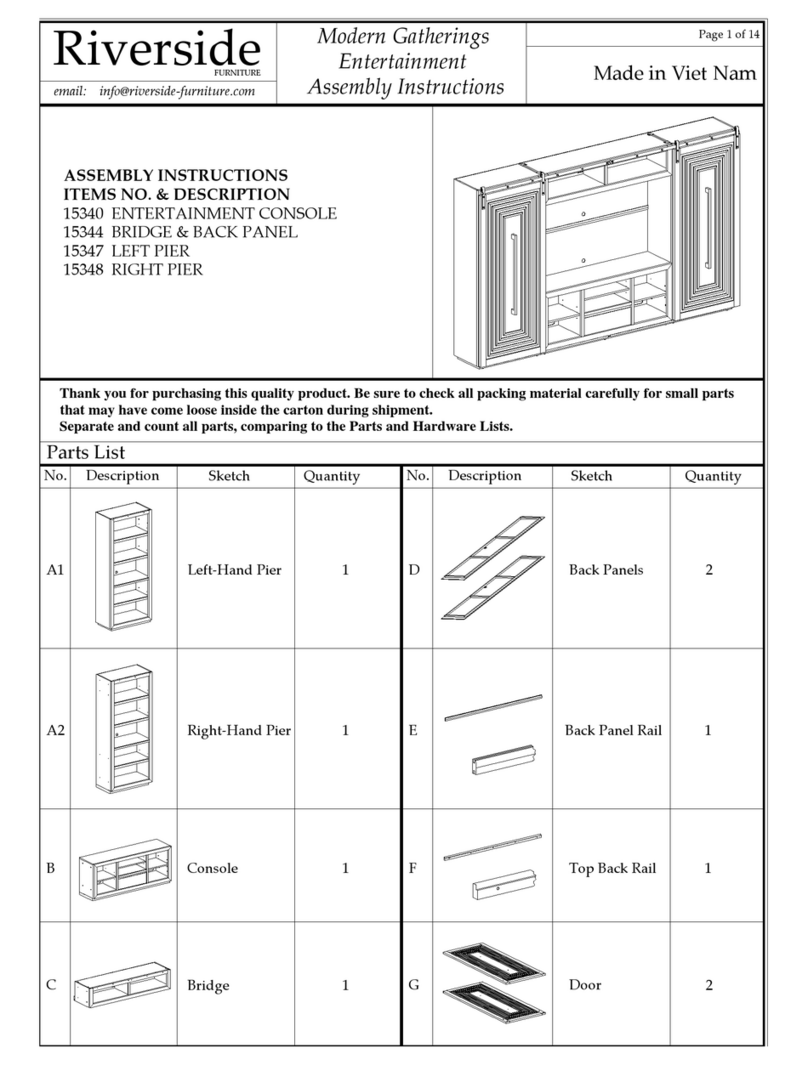
  9. Riverside 65440 User manual

Riverside 65440 User manual

Riverside
FURNITURE
email: info@riverside-furniture.com
Made In Viet Nam
Page 2 of 6
Addison #65440
Richland #65740
Console Assembly Instructions
Shelf Pin
Be sure to check all packIng material carefully
for small parts, which may have come loose
Inside the carton durIng shipment.
Anti-tipping
Restraint
Kit
Please read all instructions before assembling the Bridge and Back Panels.
Refer to the following pages for more detailed instructions.
Step A: Install hardware used to attach the Back Panels before individual
units are moved into final position and assembled.
Step B: Position and connect the Left and Right Piers against TV Console.
Step C: Install Back Panels.
Step D: Install Bridge to top of Piers.
Warning:
To prevent possible personal injury and damage to furniture two people are
required to position, set-up and secure the bridge unit in place.
Riverside
FURNITURE
email: info@riverside-furniture.com
Page 5 of 6
Made In Viet Nam
Addison #65443
Richland #65743
Bridge & Back Panel
Assembly Instructions
Riverside
FURNITURE
email: info@riverside-furniture.com
Made In Viet Nam
Page 6 of 6
Addison #65443
Richland #65743
Bridge & Back Panel
Assembly Instructions
Riverside
FURNITURE
email: info@riverside-furniture.com
Made In Viet Nam
Page 3 of 6
Be sure to check all packIng material carefully
for small parts, which may have come loose
Inside the carton durIng shipment.
Wood shelf
1 pc
Top crown
1 pc
Shelf Glass
2 pcs
Shelf Pin
12 pcs
16 pcs
Screw
1 pc
Top panel
RISK OF FIRE / INJURY / BURN TO PERSONS
/ PROPERTY. KEEP COMBUSTIBLES AWAY
FROM LIGHTING FIXTURE. TURN OFF /
UNPLUG TO CHANGE BULB. DO NOT
TOUCH HOT BULB. DO NOT OPERATE
LIGHT IF DAMAGED.
Use only the same type of replacement bulbs
and with maximum wattage rating as Indicated
In the lighting fixture.
The lights are controlled by a touch button that
is mounted In the top of the Pier Cabinet.
Addison #65448 & 65449
Richland #65748 & 65749
Left & Right Pier
Assembly Instructions
Riverside
FURNITURE
email: info@riverside-furniture.com
Made In Viet Nam
Page 4 of 6
Addison #65448 & 65449
Richland #65748 & 65749
Left & Right Pier
Assembly Instructions
Product No.
65740
65748
65749
65743
Riverside
FURNITURE
email: info@riverside-furniture.com
Made In Viet Nam
Page 1 of 6
Product No.
65440
65448
65449
65443
Addison #65443
Richland #65743
Bridge & Back Panel
Assembly Instructions
A. The button under the top of the Left Hand Pier cabinet is the touch point
that controls the three-stage touch switch for the entire lighting system
for the Left and Right Hand Pier Cabinets. The male standard electrical
plug must be connected to an active (live) wall outlet to supply power to
the entire system. The light in the top of the Right Hand Pier cabinet must
be connected to the light of the Left Hand Pier as shown above to operate.
If either light will not turn on, begin checking all connections.
The halogen bulbs used in these fixtures can become very hot. Because the
halogen lamp operates at very high temperatures, it can pose fire and
burn hazards. Never operate a halogen lamp without the fixture's lens in
place to prevent accidental burns or ignition of flammable objects coming
into contact with the bulb, and to reduce the UV radiation exposure from
the burning lamp.
Refer to following pages for additional troubleshooting instructions.
Riverside
FURNITURE
Made In China
Page 9 of 11
email: info@riverside-furniture.com
Addison & Richland
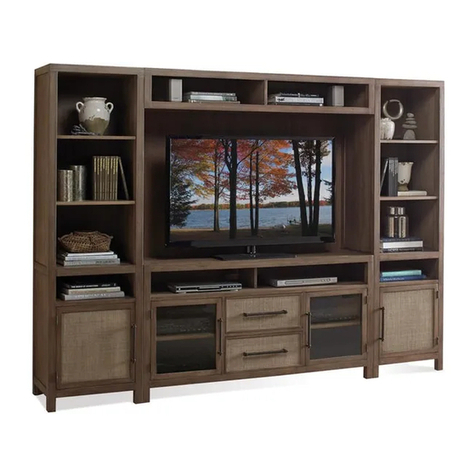
Entertainment Wall System
Assembly Instructions
As the first step in you receiving a quality product, all lighting and electrical products installed in your furniture
are checked at the factory before the furniture is packaged. Occasionally however, some connections do not stay
firmly intact or other problems develop and the lights do fail to operate. To troubleshoot non-functioning
electrical problems follow the steps listed below.
1. Beginning with the most obvious, make sure you have the electrical cord plugged into a working electrical outlet.
If there is a wall switch that controls the electrical outlet the light is plugged into, be sure it is turned on.
2. Do any of the lights in your furniture work?
3. Locate the light switch and make sure it is turned on. We use different types of switches to control the lighting
in our furniture; a push button, twist knob on-off with dimmer, or a touch switch on-off with dimmer.
4. A: If a Push Switch is used, look for a small push button on-off switch, normally extending through the bottom
side of the top panel of the furniture. Push on, Push off.
B: If a Twist Knob Switch is used, look for a small twist knob, normally extending through the bottom side of
the top panel of the furniture. Twist on one direction, Twist the other direction for off.
C: If your cabinet is equipped with a three-stage Touch Switch, there may be a wire attached to a top door
hinge, which is the touch point for the light. There could also be a metal button or other metal object normally
mounted to the bottom side of the top panel, which could be the touch point for the light. The first three
touches
bring the light to low, medium, and high brightness. Touching the fourth time will turn the light off.
5. Be sure the light fixture is plugged into the switch mechanism. Usually this wiring is concealed in the top of the
furniture. On touch dimmers, there is also a wire that goes to the hinge or touch button. Be sure it is connected
to the switch box and to the touch point and if there is a connection between the hinge or touch button and
switch box, make sure it is firmly connected together.
6. If the furniture has more than one light, verify that all the lights are connected.
7. Check sockets for damage and be sure the bulbs are installed properly. Test bulbs to see if they are good. See
the precautions below for Halogen Bulbs. If the bulbs are bad, replace bulbs. Never use a bulb with a higher
wattage than the fixture is designed for as indicated on a label or stamped onto the fixture.
8. In almost all instances if it is not the bulb, the problem is a malfunctioning switch or dimmer. Replace the
switch or dimmer as required by the case.
Some of the lighting in our furniture is “hardwired together” meaning all connections are made at the factory and
enclosed within the light fixture or within the switch box, etc. and are not consumer accessible or repairable.
Sometimes the different components (lights or switches) use insulated connectors that are pushed or plugged
into each other and are consumer accessible and can be checked if needed. If these are not firmly connected
together this could cause a light not to function. All connectors should be checked to verify they are firmly
connected.
Handling Precautions of Halogen Bulbs
Any surface contamination, notably fingerprints, can damage the halogen bulb when it is heated. Contaminants
will create a hot spot on the glass bulb surface when the bulb is turned on. Consequently, manufacturers
recommend that halogen lamps should be handled without touching the clear glass, either by using a clean
paper towel, cotton gloves or carefully holding the porcelain base. If the glass is contaminated in any way, it
must be thoroughly cleaned with rubbing alcohol and dried before use.
Safety of Halogen Bulbs
Halogen lamps get hotter than regular incandescent lamps because the heat is concentrated on a smaller bulb
surface, and because the surface is closer to the filament. This high temperature is essential to their operation.
Because the halogen lamp operates at very high temperatures, it can pose fire and burn hazards. Never operate a
halogen lamp without the fixture's lens in place to prevent accidental burns or ignition of flammable objects
coming into contact with the bulb, and to reduce the UV radiation exposure from the burning lamp.
Replacement bulbs are available at most home improvement or hardware stores.
What to do if the lights in your furniture do not work.
Before replacing halogen puck light bulb,
unplug power cord from wall outlet to
remove power to fixture.
To replace bulb, twist lens cover
counter-clockwise and lift off cover to remove.
Grasp old bulb and pull straight out of socket.
Install new bulb by inserting pins firmly and fully
back into socket. DO NOT TOUCH NEW BULB
WITH BARE FINGERS.
Please see instructions.
Replace lens cover back on fixture and lock in
position by twisting cover clockwise.
Typical steps to replace bulbs in most common
lighting fixtures that use halogen bulbs.
1. Temporarily locate the furniture to near it's final location In the room next to a wall. Locate a
wall stud behind your furniture and also mark the stud's location on the back of your furniture.
2. Firmly attach one bracket to the stud approximately 2" below the top of the furniture with the
Wood Screws provided. It may be necessary to drill 3/32 dia. pilot holes for the screws.
3. Firmly attach the other bracket onto a solid, structural part on the back of the furniture using the
Wood Screws. It may also be necessary to pilot bore for these screws.
4. Move the furniture into its final position, taking care to line up the wall bracket with the furniture
bracket. Thread a strap through the bracket as shown in the illustration. Tighten strap until snug
but do not over tighten.
Caution: Riverside Furniture Corp. assumes no liability for improper installation or excessive
loads placed on screws, brackets or straps. Failure to detach this restraint before moving furniture
may result in personal injury and property damage.
Warning: This tip-over restraint is not to be a substitute for proper adult supervision. Do not allow
children to climb on furniture. Items left on top of the TV and furniture, such as toys, remote
controls and treats might tempt young children to climb. Push the TV as far back as possible from
the front of its stand. Place electrical cords out of a child's reach, and teach children not to play
with the cords.
email: [email protected]
FURNITURE
Riverside
Approximately
2"
Anti-Tip Hardware
Installation Instructions
Install screws
through the small
hole In brackets
Notice: Riverside Furniture Corp. recommends that steps be taken for certain furniture items to
prevent or minimize the risk of tip-over. This furniture is equipped with Tip-over Restraint
Hardware for use to minimize this risk, if used. Please follow below installation steps. Riverside
Furniture Corp. recommends that parents and guardians periodically visit the U.S. Consumer
Product Safety Commission (CPSC) website at http://www.cpsc.gov/ and stay up to date on all
issues related to children's product safety.
Page 8 of 11

This manual suits for next models

3

Other Riverside Indoor Furnishing manuals

Riverside Addison User manual

Riverside

Riverside Addison User manual

Riverside Perspectives 28027 User manual

Riverside

Riverside Perspectives 28027 User manual

Riverside 15340 User manual

Riverside

Riverside 15340 User manual

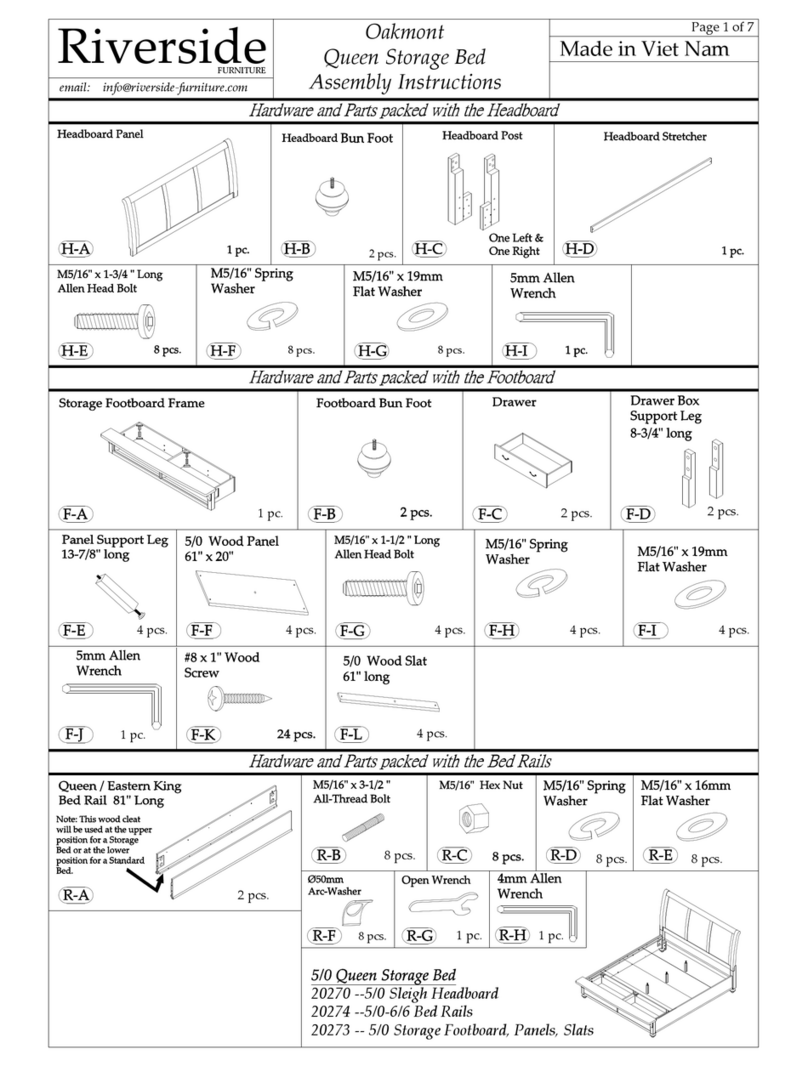
Riverside Oakmont User manual

Riverside

Riverside Oakmont User manual

Riverside Myra 59453 User manual

Riverside

Riverside Myra 59453 User manual

Riverside Belmeade 15832 User manual

Riverside

Riverside Belmeade 15832 User manual

Riverside Credenza Hutch Series User manual

Riverside

Riverside Credenza Hutch Series User manual

Riverside Myra 59347 User manual

Riverside

Riverside Myra 59347 User manual

Riverside Harbor Hill King Storage Bed User manual

Riverside

Riverside Harbor Hill King Storage Bed User manual

Riverside Windward Bay Dining Room 42851 User manual

Riverside

Riverside Windward Bay Dining Room 42851 User manual

Riverside 50554 User manual

Riverside

Riverside 50554 User manual

Riverside Camden Town 23748 User manual

Riverside

Riverside Camden Town 23748 User manual

Riverside Aberdeen Queen Bed User manual

Riverside

Riverside Aberdeen Queen Bed User manual

Riverside Mirabelle User manual

Riverside

Riverside Mirabelle User manual

Riverside Windhaven User manual

Riverside

Riverside Windhaven User manual

Riverside Aberdeen King Bed User manual

Riverside

Riverside Aberdeen King Bed User manual

Riverside AVON User manual

Riverside

Riverside AVON User manual

Riverside Liam 71132 User manual

Riverside

Riverside Liam 71132 User manual

Riverside Mirabelle User manual

Riverside

Riverside Mirabelle User manual

Riverside Double Hang Basic 2 User manual

Riverside

Riverside Double Hang Basic 2 User manual

Riverside Huntleigh King Carved Bed User manual

Riverside

Riverside Huntleigh King Carved Bed User manual

Riverside Windward Bay 42870 User manual

Riverside

Riverside Windward Bay 42870 User manual

Popular Indoor Furnishing manuals by other brands

BROSA Lucille Round Table Assembly guide

BROSA

BROSA Lucille Round Table Assembly guide

Polini kids Simple manual

Polini kids

Polini kids Simple manual

Rauch ME802 Assembly instructions

Rauch

Rauch ME802 Assembly instructions

Rauch AD980.5ZS4 Assembly instructions

Rauch

Rauch AD980.5ZS4 Assembly instructions

Ameriwood HOME 5278196COM manual

Ameriwood HOME

Ameriwood HOME 5278196COM manual

Atlantic Furniture Madison Assembly instructions

Atlantic Furniture

Atlantic Furniture Madison Assembly instructions

Audio Visual Furniture 411 Assembly and setup instructions

Audio Visual Furniture

Audio Visual Furniture 411 Assembly and setup instructions

Kobalt 19137 manual

Kobalt

Kobalt 19137 manual

Sauder Primary Street 418388 quick start guide

Sauder

Sauder Primary Street 418388 quick start guide

Hercke 7EVEN Series Assembly instructions

Hercke

Hercke 7EVEN Series Assembly instructions

NEXERa 221803 Assembly instructions

NEXERa

NEXERa 221803 Assembly instructions

URBAN OUTFITTERS Laney Assembly instructions

URBAN OUTFITTERS

URBAN OUTFITTERS Laney Assembly instructions

Costway TY580402 user manual

Costway

Costway TY580402 user manual

Noble House Home Furnishings Club Chair Assembly instructions

Noble House Home Furnishings

Noble House Home Furnishings Club Chair Assembly instructions

Night & Day Furniture Cinnamon Futon Bunk Bed Assembly instructions

Night & Day Furniture

Night & Day Furniture Cinnamon Futon Bunk Bed Assembly instructions

LPD Furniture STOCKHOLM 1 DRAWER BEDSIDE CABINET Assembly instructions

LPD Furniture

LPD Furniture STOCKHOLM 1 DRAWER BEDSIDE CABINET Assembly instructions

OFM 5100C installation guide

OFM

OFM 5100C installation guide

SEI Thessaly CK391200TX Assembly instructions

SEI

SEI Thessaly CK391200TX Assembly instructions

manuals.online logo
manuals.online logoBrands
  • About & Mission
  • Contact us
  • Privacy Policy
  • Terms and Conditions

Copyright 2025 Manuals.Online. All Rights Reserved.