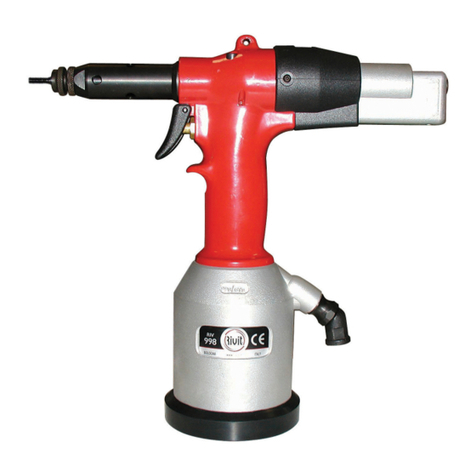
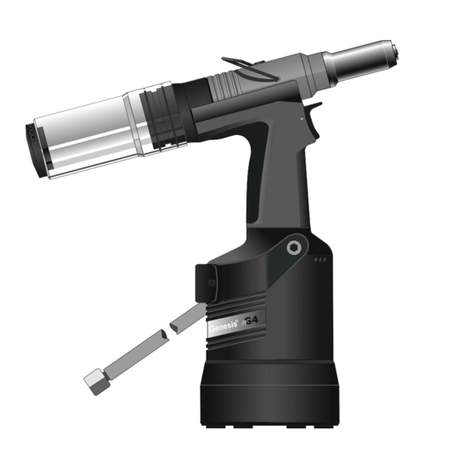
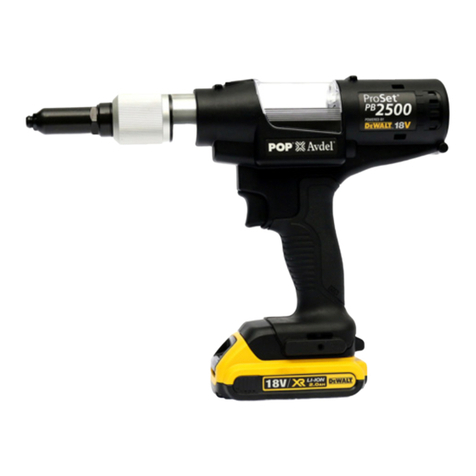
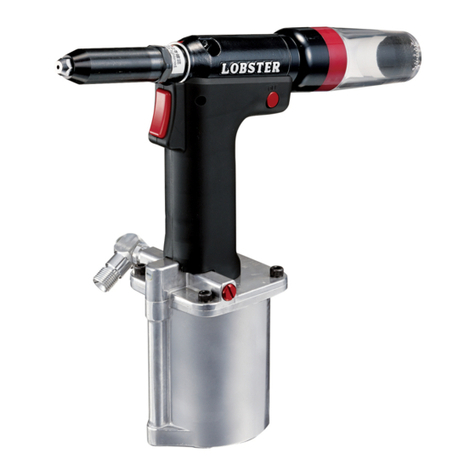
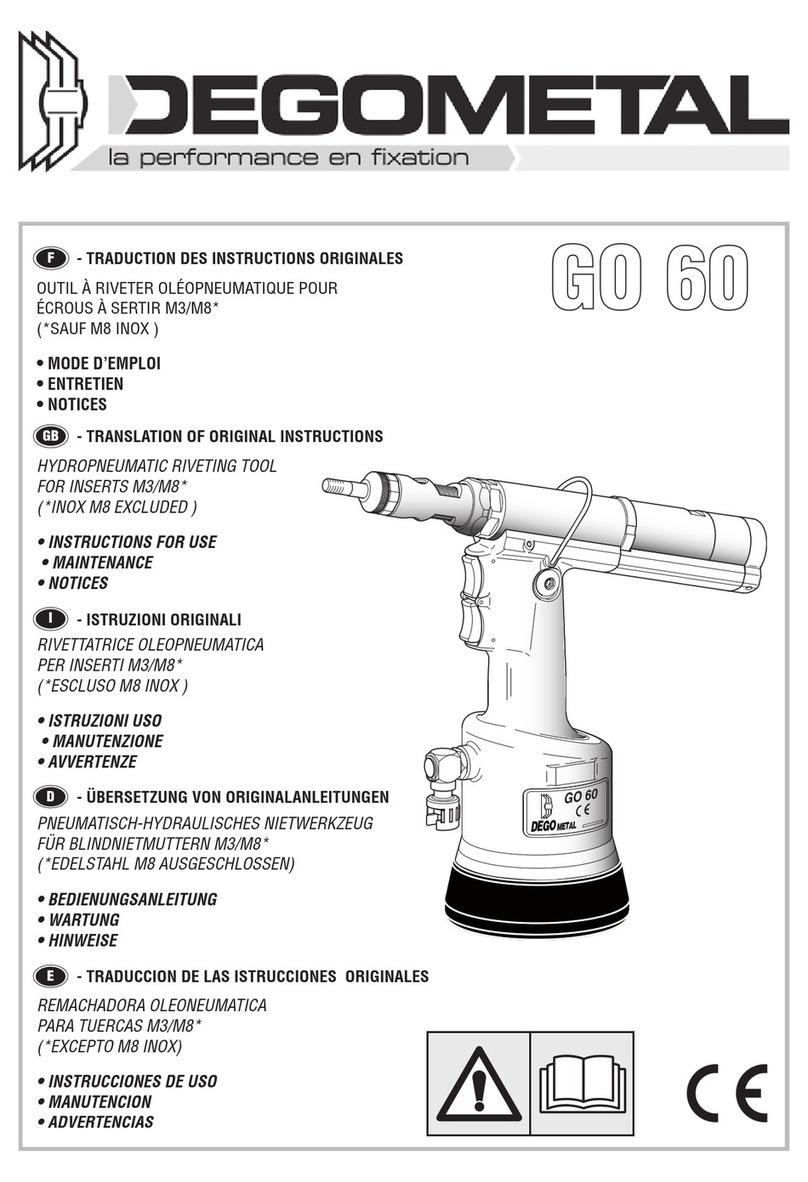
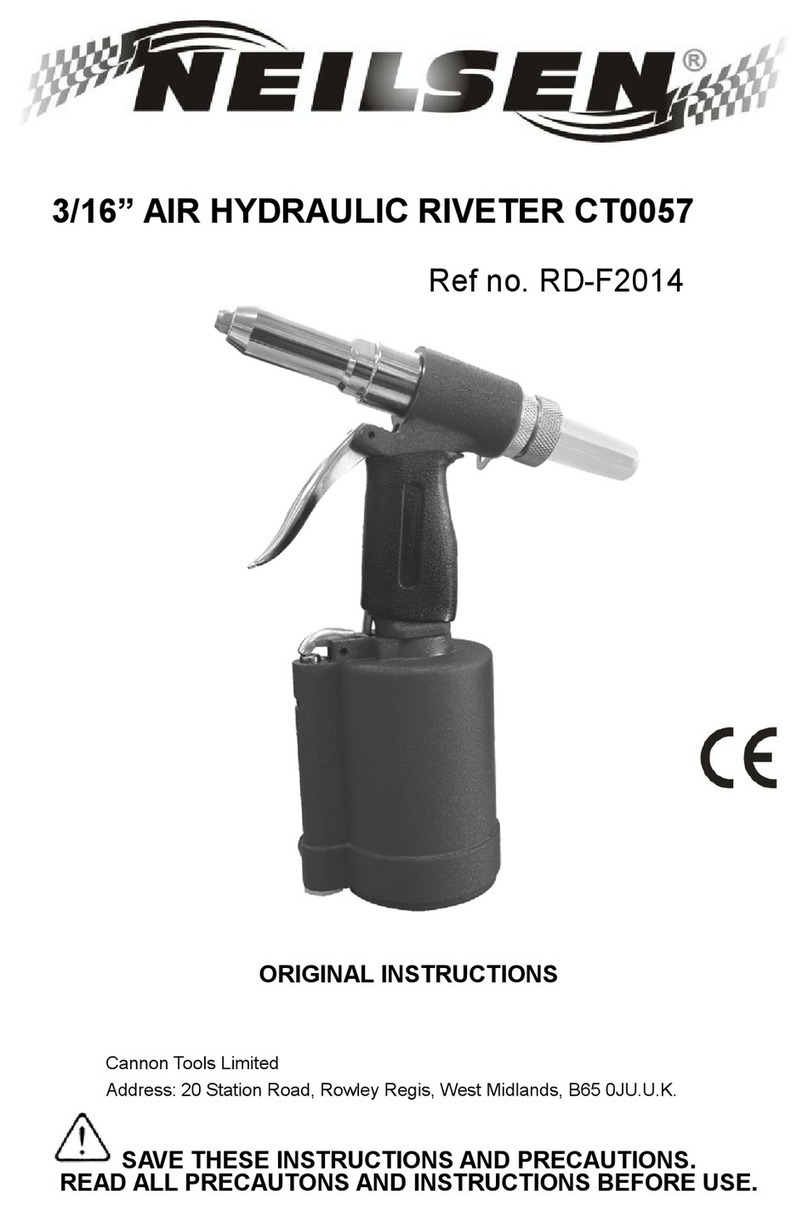
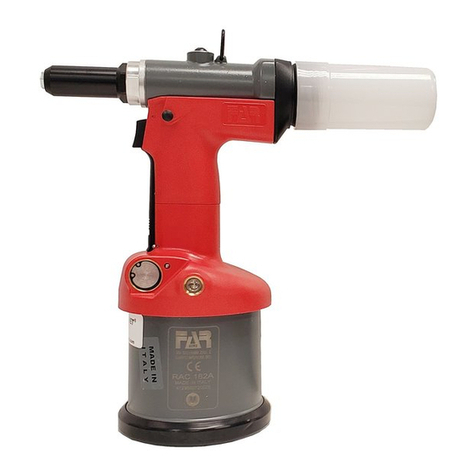
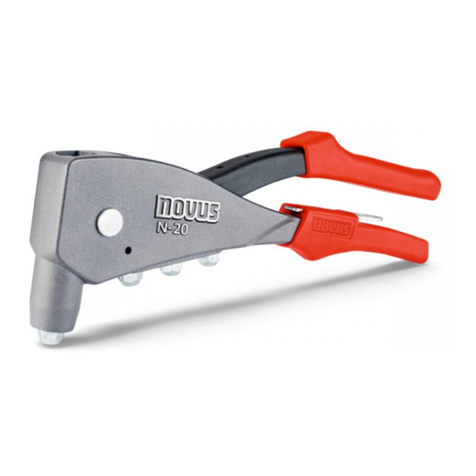
RIVIT RIV938P Instruction Manual

RIV938P/939P
ITEM CODE | 4439600/4843900
PRACTICAL GUIDE TROUBLESHOOTING

RIV938P/939P | PRATICAL GUIDE TROUBLESHOOTING
IT | 2

RIV938P/939P | PRATICAL GUIDE TROUBLESHOOTING
IT | 3
TECHNICAL PROBLEM SOLVING
SYMPTOMS CAUSE REMEDIES
1. Lack
of strength
1.1 Insufficient air Check pressure: 6 to 6.5 bar
1.2 Lack of oil Refilling oil
2. Air leakage
from silencer/
distributor
2.1 OR pistone aria usurato/rotto
o non fa tenuta correttamente Sostituzione OR pistone corpo aria
2.2 Stem (distributor kit) locked
Cleaning of the distributor kit,
adequate lubrication with specific
grease of all o-rings in the distributor
in the distributor kit
2.3 Broken O-rings belonging
to the Distributor Kit
Replacing the entire
Distributor kit/OR kit
3. Air leakage from
pressure switch
3.1 Broken O-rings in the plunger Replacing O-rings
3.2 Broken OR rings on the chamber Replacing O-rings
4. Air/oil leakage
between handle
and air body
4.1
Possible breakage O-ring of the rod
guide. Probable wear of complete
rod guide oil seal
Replacement of guide kit
complete rod
4.2 Broken O-ring on air body.
Flat gasket breakage
Replacement Gasket Kit
flat + OR
5. Air leakage
from button 5.1 Broken O-rings in the cage Replacing O-rings
6. Air leakage
from the back
of the handle
6.1 Probable failure of O-rings
(Rigid pipe kit with grooves)
Replacement Rigid Hose Kit
with grooves
6.2 Possible crushing/breakage O-ring
between motor body and distributor Replacement OR Kit + Screws
6.3 Rod too long Adjust rod length
7. Locked
pivot pin 7.1 Very narrow motor unit Loosen and adjust motor unit
8. Tie rod turns
continuously
in screwing
8.1 Rod too long Adjust rod length

RIV938P/939P | PRATICAL GUIDE TROUBLESHOOTING
IT | 4
TECHNICAL PROBLEM SOLVING
SYMPTOMS CAUSE REMEDIES
9. Tie rod turns
continuously in
unscrewing
9.1 Breakage/Wear O-Rings
(Quick Unscrewing Kit) Replacing O-rings
10. The tool does
not screw the rivet
nut
10.1 Rod too short Replacing the rod
10.2 Ferrule/nut too close to the piston Adjust the ring nut/nut away
from the piston
11. Pressing the
button unscrews
the tool without
making pulling
11.1 Breakage/wear of the O-ring in the
plunger (pressure switch kit) Replacing O-rings
12. The tool does
the pulling but
not unscrewing
12.1 Lack of oil inside the handle Refilling oil
13. Unscrewing
delay after pulling 13.1 Poorly lubricated plunger O-rings
(pressure switch kit)
Lubricate the rings with grease
plunger O-rings
14. The tool pulls
and continues to
unscrew
14.1 Spring break. Wear OR rings both
belonging to the kit distributor Replacing distributor kit
15. Oil leakage
from the rear/front
of the handle
15.1 Worn or broken oil seal Replacing gaskets
16. Lack
of stroke
16.1 Lack of oil Refilling oil
16.2 Air inside the grip chamber Bleeding oil/air
16.3 Dirt on the inside of the quill, inside
diameter of the quill too narrow
Clean the quill internally,
replace the quill

RIV938P/939P | PRATICAL GUIDE TROUBLESHOOTING
IT | 5
1. LACK OF STRENGTH
1.1 Not enough air, check the pressure, it must be between 6 and 6.5 bar.
1.2 Not enough oil, top up by unscrewing the cap on the handle.
Use a 5 mm hexagonal key.

RIV938P/939P | PRATICAL GUIDE TROUBLESHOOTING
IT | 6
FIG.1
2. AIR LEAKS FROM SILENCER/DISTRIBUTOR
2.1 Air body piston OR worn or broken, does not allow correct pneumatic sealing.
Replace O-ring Code 3235600 on air body piston.
2.2
Rod belonging to the distributor kit blocked, due to the presence of impurities/lack of lubrication of the
O-rings. Carefully clean and grease the OR rings present, also remembering to to lubricate the o-ring
on the stem with grease FIG.1
Cleaning and greasing
OR ring
code 3235600

RIV938P/939P | PRATICAL GUIDE TROUBLESHOOTING
IT | 7
2. AIR LEAKS FROM SILENCER/DISTRIBUTOR
2.3
If the O-rings break due to overworking of the machine, completely replace the distributor code 4157100.
If the components (not O-rings) are in good condition, replace only the O-Rings
(O-Ring Kit Code 4155800)
7 7 4 4 3 1 1
9 7 8 7 6 4 5 4 2 3 1 1 10
Distributor kit Code 4157100
OR kit Code 4155800
Assembly sequence
External side
machine
Internal side
machine

RIV938P/939P | PRATICAL GUIDE TROUBLESHOOTING
IT | 8
3. AIR LOSS FROM PRESSURE GAUGE
3.1
3.2
In the event of air leakage from the pressure switch, the most probable cause is broken OR rings,
so check in particular those in the plunger FIG.1 and check that they are not worn or broken, then
check the OR rings in the chamber FIG.2 replace the OR rings belonging to Kit Code 4154400.
FIG.1 FIG.2
OR kit Code 4154400
13 1313
16
15910
Assembly sequence
External side
machine
Internal side
machine

RIV938P/939P | PRATICAL GUIDE TROUBLESHOOTING
IT | 9
4. AIR/OIL LEAKAGE BETWEEN HANDLE AND AIR BODY
4.1
If there is air/oil leakage between the handle and air body, it is likely that the O-ring or oil seal in the
piston rod guide is worn. or the oil seal in the piston rod guide. Replace the stem guide completely
code 4157300 (for RIV938) and code 4647600 (for RIV939).
4.2 If there is air/oil leakage between the handle and air body, it is likely that the O-ring or flat gasket
on the air body is worn. Replace the O-ring and flat gasket completely Kit code 4152300.
OR ring
Flat
gasket
RIV938
Complete rod guide kit
code 4157300
Flat gasket kit + OR
code 4152300
RIV939
Complete rod guide kit
code 4647600

RIV938P/939P | PRATICAL GUIDE TROUBLESHOOTING
IT | 10
5. AIR LEAKAGE FROM BUTTON
5.1
If there is an air leak from the button, it is likely that one of the two OR rings (2) on the cage FIG.1
is worn or broken. two O-rings (2) on the cage FIG.1.
Replace the OR rings of the push-button KIT using the OR rings of KIT code 4151200.
FIG.1
OR kit code 4151200
2
264 2
2
Assembly sequence
External side
machine
Internal side
machine

RIV938P/939P | PRATICAL GUIDE TROUBLESHOOTING
IT | 11
6. AIR LEAKAGE FROM THE BACK OF THE HANDLE
6.1
If there is an air leak from the rear, locate the spot. If the leakage is in the part indicated in the photo,
i.e. from the tubes, it is because one of the O-rings has worn or broken due to continuous sliding during
tool work. Replace the tubes with the air tube KIT with OR Code 4802600
6.2
6.3
If the leakage is in the part indicated in the photo below, i.e. between the distributor and the engine body,
there could be two cases:
Case 1)
Crushing/breakage of the O-rings present between the distributor and the motor body.
Replace the broken or damaged O-rings with distributor kit code 4803100.
Case 2)
The rod may be too long and does not seal the ball correctly, so adapt the rod
until the correct pneumatic seal is achieved without air leaks.
Exit point
of air
Exit point
of air
Pipe kit with OR
code 4802600

RIV938P/939P | PRATICAL GUIDE TROUBLESHOOTING
IT | 12
Caso 1) Caso 2)
O-rings Rod too long, does not allow the ball to close
the air passage..
Lower the rod on the opposite side of the
head until the ball is properly seated.
Head
CASE 1) CASE 2)
5
Distributor kit code 4803100
6 6 6 5 7
4213
7
Assembly sequence
External side
machine
Internal side
machine
6. AIR LEAKAGE FROM THE BACK OF THE HANDLE

RIV938P/939P | PRATICAL GUIDE TROUBLESHOOTING
IT | 13
Locked tie rod
does not rotate
FIG.X
Motor body
Motor body
Part to be beaten very carefully and accurately
to loosen the motor unit.
Motor unit Motor unit
Piston
7. PIVOT PIN LOCKED
7.1
If the tie rod is blocked, it means that the whole assembly is not rotating and not working properly.
The cause could be that the drive unit is too tight.
Pull the piston out of the handle and unscrew the motor body from the piston, pull the motor assembly
from the motor body and tap very carefully on the part indicated in the photo FIG.X, this very delicate step
loosens the motor and makes the correct rotation take place.

RIV938P/939P | PRATICAL GUIDE TROUBLESHOOTING
IT | 14
8. TIE ROD TURNS CONTINUOUSLY IN SCREWING
9. TIE ROD TURNS CONTINUOUSLY IN UNSCREWING
8.1
If, when attaching air, the rod turns continuously in screwing, it means that the rod is too long and
the ball does not close the passage hole properly, so adjust the rod length until the correct
pneumatic seal is achieved, avoiding air leaks.
9.1
If, when air is applied, the tie rod turns continuously in unscrewing, it means that the O-rings
belonging to the Quick Unscrewing Kit are broken or worn.
To solve the problem, completely replace the Quick Unscrewing Kit code 4157000.
If the components (not the O-rings) are in good condition, replace only the O-rings (OR Kit Code 4156600).
Tie rod turns continuously in screwing.
Tie rod turns continuously in unscrewing.
Rod too long, does not allow
the correct sealing of the ball.
Quick unscrewing kit
Code 4157000
OR kit
Code 4156600
Lower the rod in the indicated part until the
ball is properly seated.
Head
4
53
2
2 2
4
2
4
444
1
Assembly sequence
External side
machine
Internal side
machine

RIV938P/939P | PRATICAL GUIDE TROUBLESHOOTING
IT | 15
Lock nut
RIV938
Lock nut
RIV939
Lock nut
Rod too short, does not allow
the screwing of the insert.
Auction code 4426700
10. THE TOOL DOES NOT SCREW THE INSERT
10.1 If the tool does not screw the insert in correctly after inserting the air, it may be due to the short rod.
short, then it is recommended to replace the rod Order code 4426700.
10.2 If the tool after attaching the air does not screw the insert in correctly, adjust the lock nut screwed
on the pivot pin to a distance of about 1.5 mm from the handle as shown in the photo below.

RIV938P/939P | PRATICAL GUIDE TROUBLESHOOTING
IT | 16
11. BY PRESSING THE BUTTON THE TOOL UNSCREWS WITHOUT PULLING
11.1
If pressing the push-button lever (to activate the machine cycle) causes the tool to unscrew without
making a pull, check the pressure switch plunger and check that the OR rings (15, 9, 16) present
are not broken or worn, in particular focus on the OR ring marked number 9.
If they are broken or worn, replace the O-rings with the OR Kit code 4154400.
OR Kit Code 4154400
13 13
131615910
Assembly sequence
Internal side
machine
External side
machine
15 9 16

RIV938P/939P | PRATICAL GUIDE TROUBLESHOOTING
IT | 17
12. THE TOOL DOES THE PULLING BUT NOT THE UNSCREWING
13. UNSCREWING DELAY AFTER PULLING
12.1 If the air inlet is 6 to 6.5 bar and the tool pulls but does not unscrew, top up the oil by unscrewing
the plug on the handle. Use a 5 mm hexagonal key.
13.1 O-rings marked with the number 1, 2, 3of the plunger belonging to the pressure switch assembly
are poorly greased, lubricate them with grease to facilitate sliding inside the chamber.
1 2 3

RIV938P/939P | PRATICAL GUIDE TROUBLESHOOTING
IT | 18
14. THE TOOL PULLS AND CONTINUES TO UNSCREW
14.1
If pressing the push-button lever (to activate the machine cycle) causes the tool to pull and continue
unscrewing, check the distributor spring on the handle and the OR rings in the chamber
(marked by number 6), in particular focus on the spring marked by number 3.
If the spring or OR rings are broken or worn, change them with distributor kit Code 4803100.
Distributor kit code 4803100
Piston gasket kit
code 4151000
Direction orientation
oil pressure
6 6 6 5 7
421
1 2 Pressure
oil
3
Assembly sequence
External side
machine
Internal side
machine
15. OIL LEAKAGE FROM THE REAR/FRONT OF THE HANDLE
15.1
Wear/breakage of the oil seals inside the handle (1) and on the piston (2).
Replace the seals with the Piston Seal Kit
Code 4151000 (pay attention to the orientation of the gasket).

RIV938P/939P | PRATICAL GUIDE TROUBLESHOOTING
IT | 19
FIG.1
Oil bleeder screw
16. LACK OF STROKE
16.1 Not enough oil, top up oil by unscrewing the cap on the handle.
Use a 5 mm hexagonal key.
16.2
Air inside the grip chamber, bleed air/oil by unscrewing the screw at the front of the grip FIG.1.
Use a 5 mm hexagonal key.
When you have finished bleeding, tighten the screw firmly.

RIV938P/939P | PRATICAL GUIDE TROUBLESHOOTING
IT | 20
16. LACK OF STROKE
16.3
Dirt inside the end cone, clean the inner surface FIG.1, test the stroke or check the diameters
if they interfere. If the quick coupling FIG.2 does not pass through the outer cone or enters forcibly,
replace it (Code 3539900).
FIG.1
FIG.2
Clean surface
interior sliding surface
External cone Quick coupling kit
If the quick coupling kit does not fit, replace the outer cone
code 3539900
Control
Ø internal
Control
Ø external
This manual suits for next models
3
Other RIVIT Rivet Tools manuals
