manuals.online logo
Brands
  1. Home
  2. •
  3. Brands
  4. •
  5. Rixson
  6. •
  7. Door Opening System
  8. •
  9. Rixson DE 6 PULL User manual

Rixson DE 6 PULL User manual

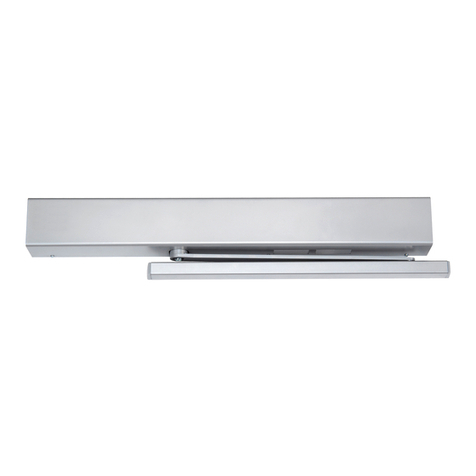
Hinge (pull) side of door mounting
Double Egress Arm
and Slide Track
Master Unit
Models
DE 6 PULL
Selective Multipoint
Hold Open
AN INCORRECTLY INSTALLED OR IMPROPERLY
ADJUSTED DOOR CLOSER CAN CAUSE
PROPERTY DAMAGE OR PERSONAL INJURY.
THESE INSTALLATION INSTRUCTIONS SHOULD
BE FOLLOWED TO AVOID THE POSSIBILITY OF
MISAPPLICATION OR MISADJUSTMENT.
CAUTION
CAUTION
Combination Door Closer-Holder and Releasing
Device With Integral Smoke Detector
All dimensions are in inches and (millimeters) unless otherwise noted.
Backplate
Mtg Screw (5)
Arm Screw
Track Mtg
Screw (3)
Cover
Backplate
Hook-up Board
Main Arm
Slide Track
Concealed Wired Unit Shown
Cover Mtg
Screw (3)
RH - Right Hand Door
LHR - Left Hand Reverse
Left Hand Door - LH
Right Hand Reverse - RHR
Installation Instructions
80-9372-0095-015 (02-09)
Selective Hold Open
Cam & Switch
Assembly
Closer/Holder
Test Switch
Access Tube
Slide Assembly
Smoke Detector
Smoke Detector Reset Button
9/32” (7 mm);
3/8” (9.5 mm) dia. x
3/8” (9.5 mm) deep on
door opposite to closer
Standard
Optional Through-bolts and
grommet-nuts
All
Preparation for Fasteners
Door or Frame
Fasteners Drill-Sizes
1/4” - 20 machine
screw Metal Drill: #7 (0.201” dia.)
Tap: 1/4” - 20
Sleeve nuts and bolts
Hollow
Metal
9/32” (7 mm) through;
3/8” (9.5 mm) door face
opposite to closer
Aluminum
or Wood 3/8” (9.5 mm) through
Use of an auxiliary door stop, by
others, is required.
NOTE: For special applications a separate door and frame preparation template is packed with these
instructions. Use this instruction sheet for installation sequence and closer adjustments only.
For wiring, see “Wiring Instructions” part number .80-9342-0902-015 (02-09)
Requirements:





Units are handed. Hand of unit and hand of door must be the
same.
Door must be hung on butt hinges or ¾” (19) offset pivots.
Door thickness must be 1¾” (44) minimum 2¼” (64) maximum.
Door must swing freely through the entire opening and closing
cycle before beginning the installation procedure.
Frame face must be a minimum of 2” (51).

Ceiling clearance must be a minimum of 4” (102).
Power input to unit must be of the same voltage as that stated
on the unit.
Unit to be mounted on interior of building in dry environment,
maximum humidity of 95%.
See NFPA70 for wiring requirements and NFPA72 for alarm
system requirements.



Ceiling Line
2
(51)
4
(102)
Min
Min
Note:
Only for
hinge side
frame reveals
of 1/8” to 3”
(3mm to
76mm)
3A
For Concealed Wire Only
11
(279)
4
(102)
22
(559)
1-13/16
(46)
CHinge or Pivot
3-1/4
(83)
4
(102)
4-1/8
(105)
11-3/8
(289)
8-11/16
(221)
19-3/16
(487) For Concealed
Wiring Only
7/8
(22)
DIA THRU
1-3/8
(35)
1-1/16
(27)
1
2
Determine Hand
RH - Right Hand Door
LHR - Left Hand Reverse
Left Hand Door - LH
Right Hand Reverse - RHR
5
4
6
7
3B
For Surface Wired Only
Fully close
Latch and
Sweep
Valves with
1/8” wrench
provided.
Page 2


Right hand door shown,
left hand opposite.
All dimensions shown in
inches (mm).
80-9372-0095-015 (02-09)
9
Open Latch
and Sweep
Valves
with 1/8”
wrench
provided.
10
+
12
Product shipped
with closing force
set at the middle of
the power range.
!
11
Caution:
Don't completely
close backcheck valve
++
Closing Force Backcheck
Sweep
13 14 Latch
MAKE ELECTRICAL CONNECTIONS:


Power input to unit must be of the same voltage as
that listed on the label.
All wiring connections use standard wiring practice
15
Slide
Assembly
Arm Stud
75°
5° 5°
95°
75°
Page 3 80-9372-0095-015 (02-09)
R OTAT E
TO HERE,
THEN REMOVE
R OTAT E
TO HERE,
THEN REMOVE
8B
PINION
FLAT
LEFT
HAND
RIGHT
HAND
8C
2
1
1/8” wrench
provided
8A
Main Arm
Arm Washer
Arm Screw
1/8” wrench
provided
1/8” wrench
provided
11/16”
Drive
START
HERE
START
HERE
RE-INSTALL
HERE


Maximum wire size is 18AWG.
Make input power connections to the hook-up board
terminal strip using illustration on Page 4 and wiring
instructions 80-9342-0902-021.
24V AC/DC INPUT CIRCUIT BOARD
(shown without detector wiring harness)
120V AC INPUT CIRCUIT BOARD
(shown without detector wiring harness)
Selective Hold Open Range
These units feature hold open (as shipped) starting at 85°. These units will hold open at virtually any degree of door opening from
85° to 180°. The hold open starting point may be changed (increased or decreased) by loosening the selective hold open cam
screw, rotating the cam to the desired new starting point and re-tightening the cam screw.
Setting
Door
Angle
G H J K L M
15° 30° 45° 60° 90° 135°
16
17
15
cont
Page 4
For complete wiring instructions, refer to
“Wiring Instructions” 80-9342-0902-015.
5/32” wrench
provided
5/32” wrench
provided
120VAC 24VAC 24VDC
Voltage
Current
120V 24V 24V
132V Max
102V Min
26.4V Max
20.4V Min
26.4V Max
20.4V Min
.036 Amps .059 Amps .074 Amps
Detector
26.4V Max
20.4V Min
0.034 Amps
24V
Selective Hold-
Open
Connection
Selective Hold-Open
Connection
Solenoid
Connection
Solenoid
Connection
120V AC
Power Input
Test Switch
Test Switch
Fuse
PTO125V
(125V / 1/2A)
Fuse
PTO125V
(125V / 1/2A)
24V AC/DC
Power Input
4-Pin Connector
Of Detector
Wiring Harness
4-Pin Connector
Of Detector
Wiring Harness
An ASSA ABLOY Group Co.
3000 Highway 74 East • Monroe, NC 28112
Tel:
ww.rixson.com
(800)-457-5670
w
Rixson ® is a registered trademark of Yale Security Inc., an ASSA ABLOY
Group company. Copyright © 2009 Yale Security Inc., an ASSA ABLOY
Group company. All rights reserved. Reproduction in whole or in part
without the express written permission of Yale Security Inc. is prohibited.
80-9372-0095-015 (02-09)

Other Rixson Door Opening System manuals

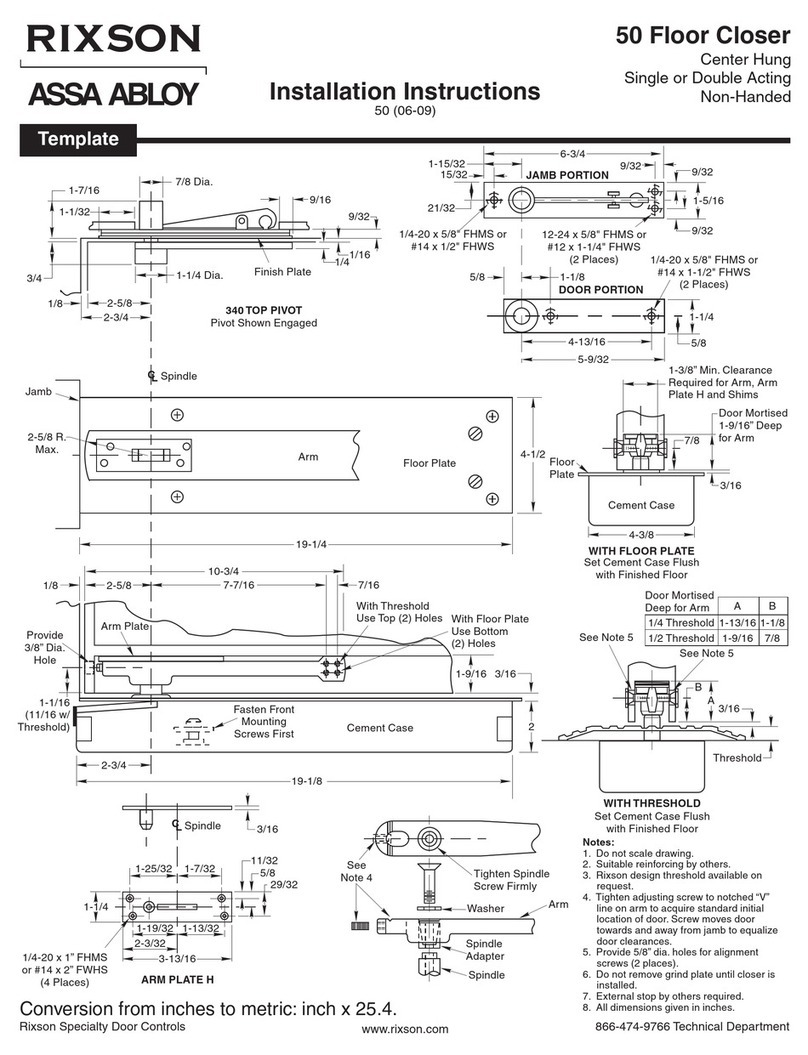
Rixson ASSA ABLOY 50 User manual

Rixson

Rixson ASSA ABLOY 50 User manual

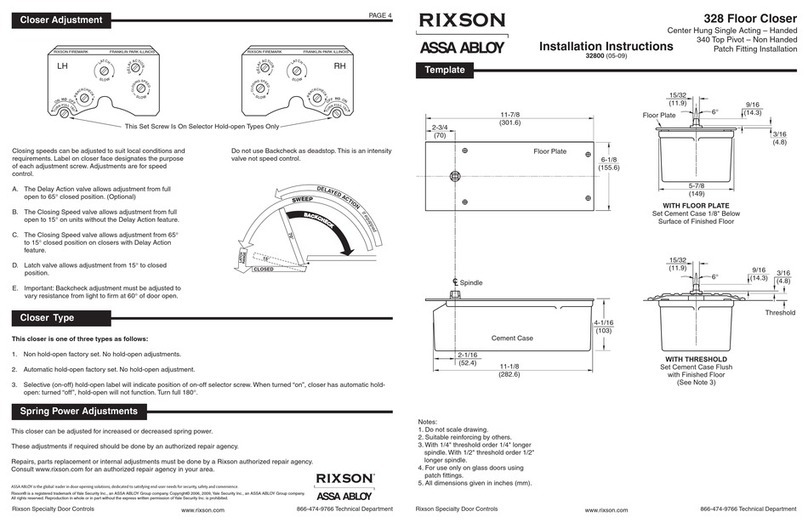
Rixson ASSA ABLOY 328 User manual

Rixson

Rixson ASSA ABLOY 328 User manual

Rixson DE 4 PULL User manual

Rixson

Rixson DE 4 PULL User manual

Popular Door Opening System manuals by other brands

Resolution Products RE102 quick guide

Resolution Products

Resolution Products RE102 quick guide

Dormakaba 8900 TDE installation instructions

Dormakaba

Dormakaba 8900 TDE installation instructions

Dahua Unit VTO6221E-P user manual

Dahua

Dahua Unit VTO6221E-P user manual

Siemens RHFF manual

Siemens

Siemens RHFF manual

Command access SLP-UL-M-KIT installation instructions

Command access

Command access SLP-UL-M-KIT installation instructions

Sesamo smart PRO operating instructions

Sesamo

Sesamo smart PRO operating instructions

Assa Abloy Rixson Smok-Chek VI Installation and instruction manual

Assa Abloy

Assa Abloy Rixson Smok-Chek VI Installation and instruction manual

GEZE TS 4000 R installation instructions

GEZE

GEZE TS 4000 R installation instructions

Aprimatic RAIDER installation instructions

Aprimatic

Aprimatic RAIDER installation instructions

Dormakaba ED50LE owner's manual

Dormakaba

Dormakaba ED50LE owner's manual

Assa Abloy Norton 7700ST installation instructions

Assa Abloy

Assa Abloy Norton 7700ST installation instructions

Fireco Dorgard X2 Fitting and Operating Guide

Fireco

Fireco Dorgard X2 Fitting and Operating Guide

Assa Abloy Corbin Russwin DC8210 Series installation instructions

Assa Abloy

Assa Abloy Corbin Russwin DC8210 Series installation instructions

JCM Technologies KEEROLL user manual

JCM Technologies

JCM Technologies KEEROLL user manual

Siemens 3VA9578-0LB10 operating instructions

Siemens

Siemens 3VA9578-0LB10 operating instructions

Troax POWER DOOR installation instructions

Troax

Troax POWER DOOR installation instructions

Assa Abloy Norton 6300 Series quick start guide

Assa Abloy

Assa Abloy Norton 6300 Series quick start guide

PDQ 3100 instruction sheet

PDQ

PDQ 3100 instruction sheet

manuals.online logo
manuals.online logoBrands
  • About & Mission
  • Contact us
  • Privacy Policy
  • Terms and Conditions

Copyright 2025 Manuals.Online. All Rights Reserved.