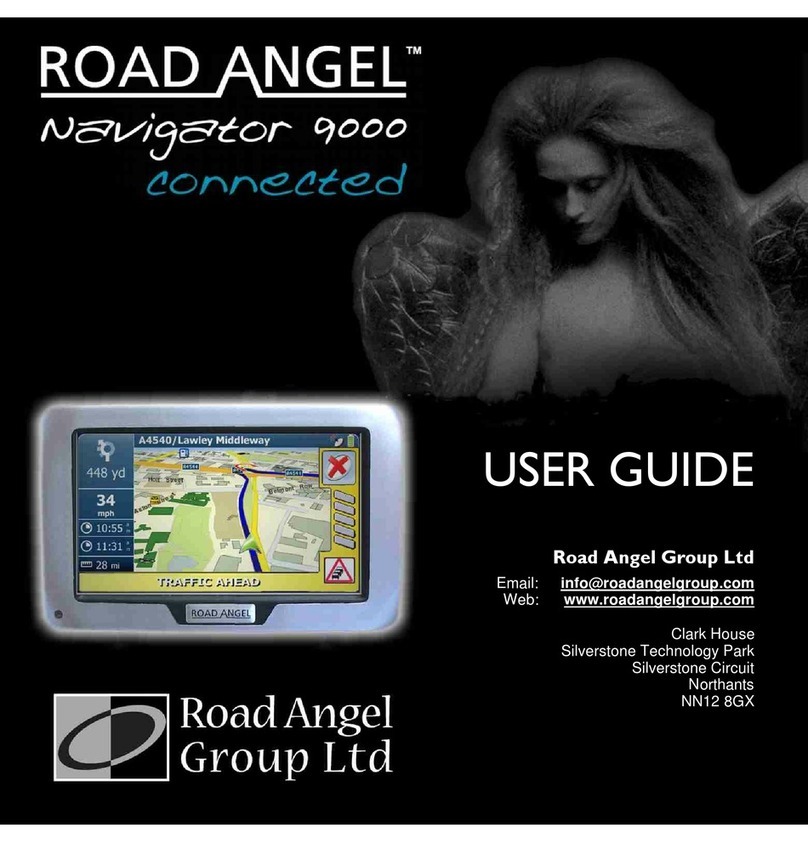
Road Angel Navigator User manual

USER GUIDE
Road Angel Group Ltd
Clark House
Silverstone Technology Park
Silverstone Circuit
Northants
NN12 8GX
Email: [email protected]
Web: www.roadangelgroup.com

Thank you for buying your new ROAD ANGEL Navigator
As our roads beco e busier, ore congested and ore regulated, staying
alert to road and traffic conditions is a challenge to everyone. Even the ost
conscientious driver can have a o entary lapse of concentration that
could easily lead to an accident or a fine and points.
ROAD ANGEL Navigator is specially designed to be a si ple-to-use
addition to any vehicle, to alert and warn you in advance of known danger
areas. In the co prehensive ROAD ANGEL Navigator database are stored
Police, Local Authority and Ministry of Transport designated danger spots,
including accident black spots and safety ca era locations.
Using the latest Global Positioning Satellite (GPS) technology, ROAD
ANGEL Navigator co pares your position with the known danger spot
locations and gives you an audible and visual warning as you approach
the . An accurate GPS speedo eter in the display gives you ti e to adjust
your driving to the approaching danger.
The safety of you and your passengers is our pri e consideration, and we
trust that for all the iles you drive, your ROAD ANGEL Navigator will
enhance the safety and enjoy ent of your journey. Join other ROAD
ANGEL Navigator users in guarding your life and livelihood.
We are pleased to have you as a valued custo er and hope you will be
delighted with your fully integrated ROAD ANGEL Navigator. Having
listened to our custo ers we think the new features will ake this product
your perfect driving co panion.
Dave Clark,
Founder,
Road Angel Group Ltd
The directors of Road Angel Group Ltd sell ROAD ANGEL
Navigator as a road safety enhancement device Driving within
the speed limits at all times and within the limitations of the
road condition and your abilities is paramount The directors of
Road Angel Group Ltd take no responsibility for the use of
ROAD ANGEL Navigator for other purposes than those
stipulated

Table of Contents
1. ntroduction........................................................................1
Subscriptions........................................................................................ 8
Warranty................................................................................................. 8
Security.................................................................................................. 8
Protecting and Cleaning....................................................................... 9
2. Destinations and Routes.................................................10
Getting Started – a Summary............................................................. 10
Home, Work and Favourites............................................................... 12
Points of nterest (PO )....................................................................... 14
Getting to a Road Junction................................................................ 18
Using the Map...................................................................................... 19
Multiple Stops...................................................................................... 20
3. Making a Detour...............................................................22
Automatic Detour................................................................................ 22
Manual Route Editing......................................................................... 23
Using Waypoints................................................................................. 24
4. Navigation Settings..........................................................25
Other Guidance Modes....................................................................... 25
Navigation Options............................................................................. 26
5. Road Hazard Settings......................................................34
Navigating the Menus......................................................................... 35
Alerts.................................................................................................... 36
Distances............................................................................................. 37
Unit Settings........................................................................................ 37
i

6. Adding and Deleting Danger Zones................................38
Deleting zones..................................................................................... 38
Adding new locations......................................................................... 38
Adding an Average Speed monitoring section (SPECS zone).........39
7. Updating the Database....................................................40
8. Troubleshooting...............................................................42
9. Background nformation..................................................45
About Global Positioning Satellites (GPS)........................................ 45
GPS Status........................................................................................... 45
Speed Cameras and Blackspots........................................................ 47
10. Accessories....................................................................50
11. End User License Agreements......................................51
NAVTEQ European Data for Portable Navigation Device
Applications......................................................................................... 51
Software............................................................................................... 53
ii

1. ntroduction
ROAD ANGEL Navigator uses the latest global positioning satellite (GPS –
see page 45) technology to give you step-by-step navigation infor ation
co bined with audible and visible alerts as you approach hazardous
sections of road:
•Accident black spots (as designated by the Police and Local Authorities)
•Safety ca era locations
•Average speed onitoring zones
•Pri ary schools
•Congestion charging zones
ROAD ANGEL Navigator displays a constantly updated and accurate speed
reading. Should you break down, ROAD ANGEL Navigator allows you to
pinpoint your location and direct rescue services to your vehicle.
IMPORTANT SAFETY INFORMATION!
Never attempt to alter settings while you are driving; ask a
passenger to make any changes or find a suitable and safe
place to pull over and park your vehicle
ROAD ANGEL Navigator is designed as an aid to safe driving
and route navigation; always drive within the speed limits and
traffic regulations, taking account of the road conditions and
your own abilities
ROAD ANGEL Navigator should not be used in any way that
may interfere with the safe operation of your vehicle Ensure
that your ROAD ANGEL Navigator and its associated equipment
and cables are securely and correctly mounted within the
vehicle
Road Angel Group Ltd assumes no responsibility for any
damage or injury resulting from the use of this product
1

Front View
2
Zoom n/Out
Use to change
ap agnification.
Power LEDOn/
Suspend
Store Button
Press to enter new zones
(see page 38)
Delete Button
Press to re ove alert
zone fro database
(see page 38).
Display
Shows speed, satellite
reception and indicates
type of hazard.
Volume UP
Volume DOWN
Night Mode
Day Mode
M - Hazard Menu

Back View
3
nternal Speaker
Used by ROAD
ANGEL Navigator
when the unit is not in
its cradle.
Registration
information
See page 7)
Mounting catch
Locates and secures
ROAD ANGEL
Navigator in its cradle.
Reset button
GPS Receiver
Before use, raise the antennae and ensure it
has a clear view of the sky. Note: The Unit
cannot be inserted into its cradle unless
the antennae is raised.

Left Side View
Lower Side View
4
USB Port
Used by ROAD ANGEL
Navigator when the unit
is not in its cradle.
GPS Antennae socket
Use to connect external
GPS antennae –
required in vehicles with
UV windscreens.
SD Card Slot
Contains all software -
do not re ove.
Power switch
Slide switch to turn unit On/Off.
Note: Unit is supplied with
power switched off.
Cradle connector
Extends sound and
power connectivity to
cradle.

Cradle – Front View
Cradle – Back View
5
Power indicator
Blue LED indicates
power on.
Release Lock
Press, and hold down,
to release ROAD Angel
Navigator fro the
cradle.
Volume
Adjusts volu e of
sound fro cradle's
internal speaker.
USB/Power Connector
Connects to cigar lighter
socket using supplied
cable.
Mounting Arm Connector
Speaker
Used by unit when in
cradle.

Cradle Mounting Arm
6
Suction Cup
Press against windscreen then lift
Suction Lever to fasten ar in place.
Suction Lever
Applies or releases
suction to fix to
windscreen.
Vertical Adjuster
Use to adjust angle of
cradle to windscreen and
dashboard.
Horizontal Adjuster
Use to adjust
horizontal position of
cradle: e.g. to face
driver or passenger.
Cradle Flange
Slides into slot on
rear of cradle.

Register Now!
Register your ROAD ANGEL Navigator i ediately after purchase. This is
i portant for two reasons:
•You cannot update the unit until it has been registered. Database
infor ation will be significantly out-of-date at the ti e of purchase and
should be updated as soon as possible (see page 40).
•Without registration, we cannot resolve warranty issues, log queries or
solve proble s with your ROAD ANGEL Navigator.
REGISTER your unit online:
1. Go to www.blackspot.co
2. Click on the Product Registration link. The Product Registration for is
displayed.
3. Enter your ROAD ANGEL Navigator's serial nu ber. You can find this
on the base of the unit. Confir the nu ber by typing it again in the
second box.
4. Click on the Next button. Once your details have been entered, you will
be pro pted to download the update software directly to your PC. The
registration process nor ally takes one full working day – you can then
use the software to update your ROAD ANGEL Navigator (see page 40).
7

Subscriptions
Your ROAD ANGEL Navigator co es with a free subscription for six
onths of database updates and product support. It is critical to the
operation of your ROAD ANGEL Navigator that you update the unit regularly
and so continued subscription is essential. With constant additions to the
ROAD ANGEL Navigator database (1000+ sites per year), the benefit of
your ROAD ANGEL Navigator and the protection it provides will be
dra atically reduced if you fail to aintain the database.
In order to receive free access to updates for the first six onths, you will
be asked to co plete an online Direct Debit for after registration. If you
prefer, you ay print the for and post it to us (our address is on the front
of this anual). There are two subscription options: onthly or yearly.
Current subscription rates can be found at http://www.blackspot.co /. We
will not debit your account until the first 6- onth period has elapsed.
Warranty
Your ROAD ANGEL Navigator is guaranteed for one year fro the date of
purchase fro all defects that occur with nor al use. If your unit fails to
perfor as specified in these instructions, please visit:
http://www.blackspot.co /warranty
Security
Owing to the high nu ber of thefts, we strongly suggest you re ove your
ROAD ANGEL Navigator and its bracket fro view when you leave your
vehicle.
Please contact Road Angel Group Ltd if your unit is stolen or lost. Each
ROAD ANGEL Navigator is identified by a unique serial nu ber on the
base. We can use this nu ber to block the unit fro being updated. Any
atte pt to do so re oves all the data fro the device and renders it
useless. We can also detect any atte pt to re-register it. This has
frequently resulted in the safe return of a ROAD ANGEL Navigator to its
rightful owner.
8

Protecting and Cleaning
Cleaning the case
Your unit is ade fro tough polycarbonate oulded plastic and is
designed to withstand nor al daily handling. Only clean with a dry or slightly
da p cloth. Do not use solvents or a wet cloth.
Cleaning the screen
When cleaning the LCD display, avoid pressing too hard as this ay
da age the display.
General precautions
Avoid water or very da p conditions, extre es of heat (60ºC) or cold
(-10ºC) and dropping the unit. We reco end re oving ROAD ANGEL
Navigator and its bracket fro the dashboard if the vehicle is parked for
long periods in direct sunlight.
9

2. Destinations and Routes
ROAD ANGEL Navigator knows where you are fro its GPS data; to
calculate your route, it only needs you to specify the destination. It can then
use its ap data and your preferences (see page 27) to calculate the ost
efficient route for your journey.
For ore co plicated journeys, you can specify ultiple destinations.
ROAD ANGEL Navigator works out the best route between each stop and
can even opti ize their order.
If you encounter any traffic proble s on your journey, ROAD ANGEL
Navigator can calculate a detour for you. Waypoints allow you to tailor
routes to avoid known black spots or use preferred roads.
Getting Started – a Summary
This section gives a quick recap on the start up procedure; please refer to
the Getting Started guide for ore infor ation about how to install your
ROAD ANGEL Navigator, switch it on for the first ti e and use it for si ple
journeys.
When you first switch it on, ROAD ANGEL Navigator displays the Welcome
screen (unless you have previously deselected the Show this screen at
start up option).
To identify your destination so that ROAD ANGEL Navigator can create a
route for your journey, tap on the Going To button.
10

ROAD ANGEL Navigator displays the Going To screen:
You can also get here fro the Driving screen by tapping on
the Flag button.
On the Going To screen, tap the Enter Destination button. The Select
Stop screen is displayed.
This offers you a nu ber of different ways to specify the destination:
Address Enter a new address.
Home Enter your ho e address.
Work Enter your work address.
Favourite Select a previously visited destination.
Junction Enter the na e of a road junction.
Postcode Enter your destination's postcode.
PO Search for a Point of Interest.
Pick From Map Identify destination by tapping on a ap
location.
11

The Getting Started guide explains how you can define your destination by
entering a postcode or address. This section describes ore advanced
ethods:
•Entering Home/Work or Favourite destinations
•Navigating to a Point of Interest (PO ), Road Junction or a point on a
ap (Pick from Map)
•Making a route with ultiple stops
Later sections describe how to:
•Take a detour (see page 22).
•Use ROAD ANGEL Navigator for planning or walking (see page 25).
Home, Work and Favourites
Favourites
ROAD ANGEL Navigator auto acally adds each destination you enter
through the Select Stop screen to your Favourites list.
If you want to go to a destination you have visited previously, tap on the
Favourites button.
Tap on the arrow buttons to scroll through the list and tap on a destination
to select it. ROAD ANGEL Navigator then displays the Going To screen.
12

Home and Work
The Home and Work buttons provide shortcuts to your ost co only
used destinations. any two destinations on your Favourites list. You can
assign a destination to either button in two ways:
Setting up Home/Work buttons for the first time
1. The first ti e you travel to your ho e or your work-place, tap on the
Home or Work button on the Select Stop screen.
2. ROAD ANGEL Navigator pro pts you to enter the address as described
in the Getting Started guide.
3. When you co plete the procedure, the destination will be assigned to
the Home or Work button.
4. The next ti e you want to travel to ho e or work, tap on the appropriate
button. ROAD ANGEL Navigator i ediately displays the Going To
screen with your ho e/work address listed as the destination. Si ply
tap on the Start Driving button to co ence your journey.
This procedure only works if you have not yet assigned
destinations to the buttons or if you have deleted the Home/Work
destinations from the Favourites list (see page 32).
Editing the Home/Work destinations
ROAD ANGEL Navigator stores your ho e and work destinations as
special types of 'favourite' destinations. Through the Favourites enu, you
can:
•Assign any favourite destination to your Home or Work buttons (if a
destination is already assigned to the Ho e/Work button, it is
'downgraded' to a si ple favourite and re ains in the list.
•Delete any ho e, work or favourite destination
These options are discussed fully on page 32.
13

Points of Interest (POI)
ROAD ANGEL Navigator contains a database of infor ation about
a enities and attractions in the following categories:
•Airport
•Auto otive & Maintenance
•Custo
•Education Institution
•E ergency & Medical
•Facilities and Buildings
•Filling Stations
•Hotels
•Restaurants
•Retail Outlets
•Sports & Recreation
•Travel & Transportation
•Visitor Attractions
These are collectively called Points of nterest (POI). You can use this
feature to identify destinations. For exa ple, you could use the POI
database to find the nearest garage or identify a restaurant close to your
route.
14

Getting to a PO
1. At the Select Stop screen (see page 10) tap on the PO button. The Find
a PO screen is displayed.
2. Tap on the arrow buttons to find the appropriate POI category (Cat.).
3. In so e categories, you can tap on the arrows alongside the Type box
to fine-tune your selection. For exa ple, in the Sports and Recreation
category, you can select fro a ore detailed list of sports venues
including golf courses and ice skating rinks.
4. If you know the na e of the POI, use the keyboard to enter the first few
letters in the Starting With: Name box. When you have finished, tap on
Next.
15

5. Choose how ROAD ANGEL Navigator searches for the POI:
•Along current route (available only if you are already travelling)
•Near current location
•Near a city (tap on Next and then enter the city/postcode when
pro pted)
6. Tap on Next. ROAD ANGEL Navigator searches its database and
displays a list of the best atches to the criteria you have entered.
16
Table of contents
Other Road Angel GPS manuals

Road Angel
Road Angel 6000 User manual

Road Angel
Road Angel Pure User manual

Road Angel
Road Angel Gem+ User manual
Road Angel
Road Angel Navigator 9000 User manual

Road Angel
Road Angel Pure User manual

Road Angel
Road Angel HALO VISION User manual

Road Angel
Road Angel Pure User manual

Road Angel
Road Angel Trac-it User manual

