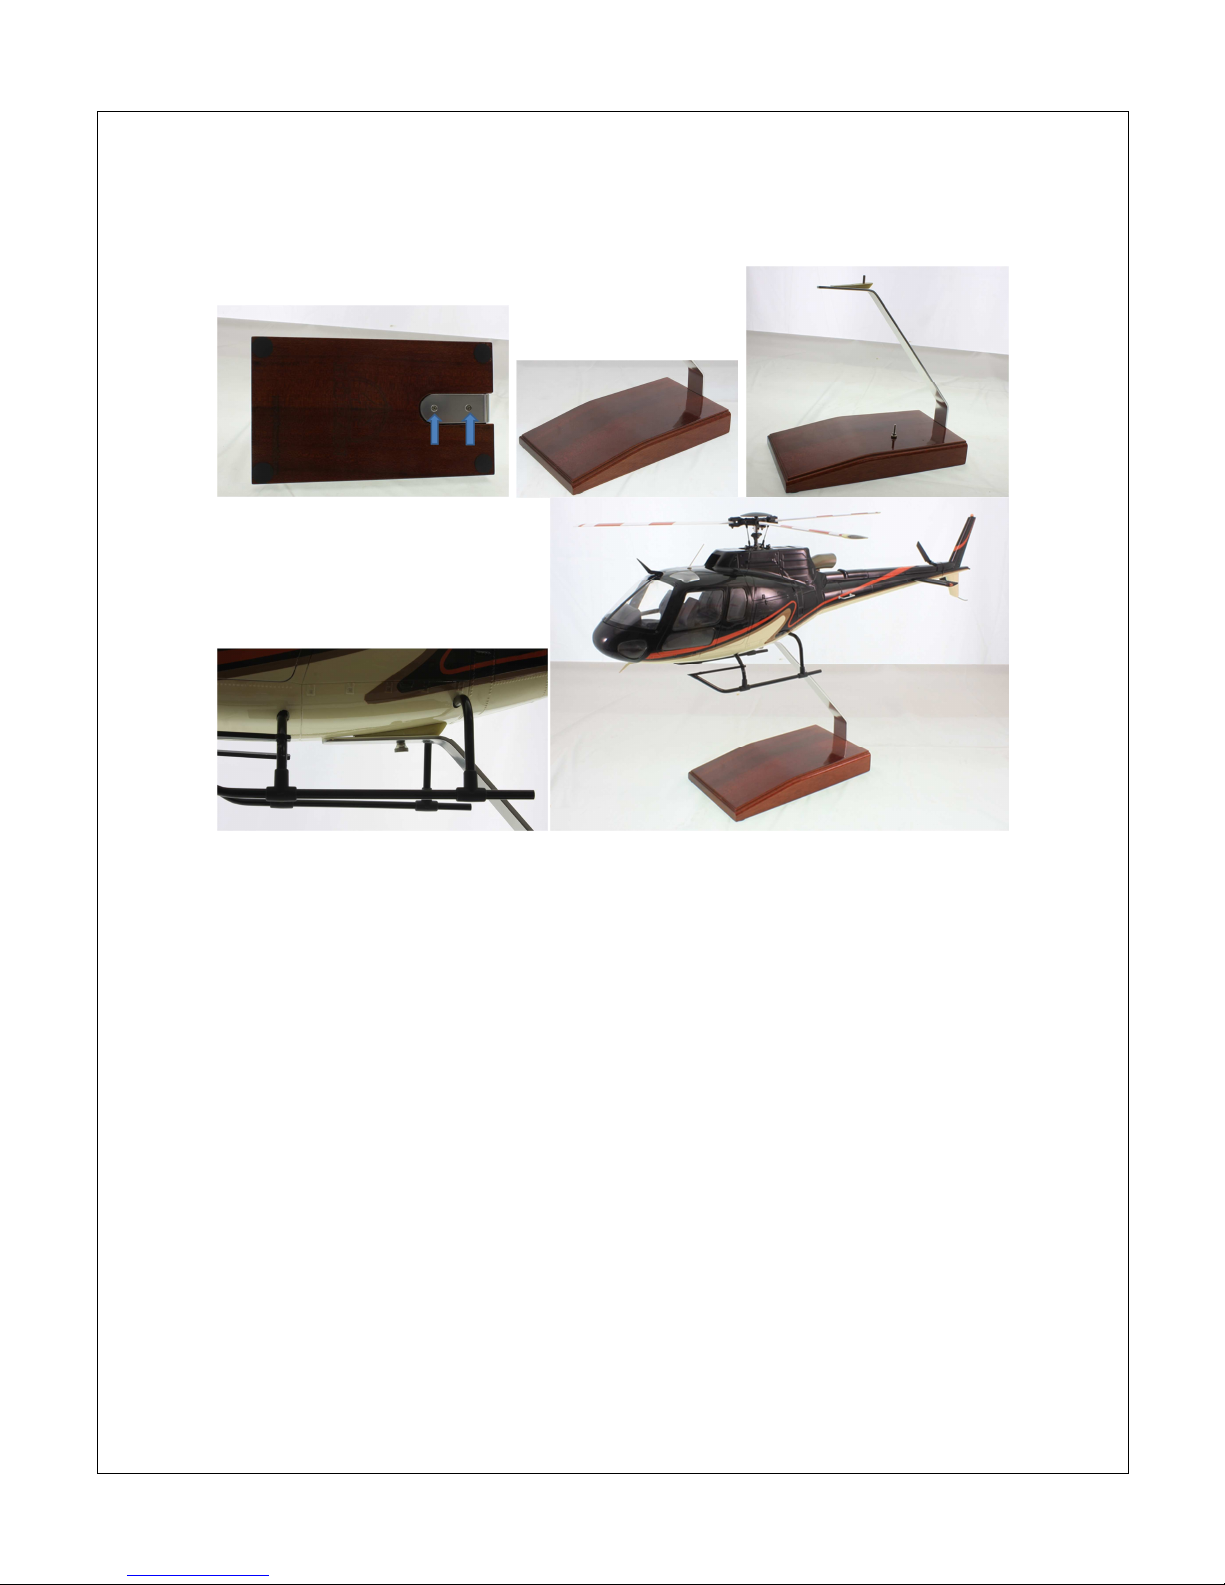
True Scale AS 350 Instruction Manual
6
b) Connect the motor to the ESC
c) Connect ESC to RX.
d) The ESC will have to be di connected from the motor and RX before in talling the
mechanic . Do not fix it with tape or zip tie for now.
SECTION C – ADJUSTMENTS AND ELECTRONIC SETUP
NOTE: The main rotor blade are matched by weight and marked a matched pair with ticker
A and B in order to di tingui h them. Plea e neither remove the ticker nor the balancing tape
tripe on the rotor blade . Plea e do not mount the rotor blade before you reach the according
tep in the a embly manual. Mount the rotor head and the ervo rod a hown in Exhibit A-5.
1) Servo Setup
a) Make ure that all ervo lever are mounted o that the ervo lever i rectangular to the
ervo hou ing while centered. You might have to power up the ervo to determine thi
po ition.
b) For the three cyclic ervo , it i important to match that when all three ervo are in their
center po ition , the wa h plate mu t be leveled and at it 0 degree CP po ition. Thi
equal a di tance between the lower edge of the wa hplate to the upper end of the
ervo upport of 10.5mm. Depending on the ervo you are u ing, the length of the
pu hrod might differ lightly from the ugge ted length below: ervo to L-lever
51.5mm, L-lever to wa hplate 34mm, wa hplate to blade grip 45mm, mea ured ball
link center to center.
c) Fir t of all, mount the tail rotor frame again which you di mounted in Section A-1 and
connect the tail ervo linkage. For the tail ervo, make ure that the ervo i producing 0
degree pitch on the tail rotor blade once in centered po ition.
2) Te t Motor
a) Di mount the rotor blade , if you have mounted them already. Plea e turn the motor
with your hand and check if the gear me hing between motor pinion and main gear i
appropriate. Make ure that the tail belt i ten ioned properly. The main rotor ha to pin
counter clockwi e if viewed from above the helicopter, the tail rotor blade have to pin
clockwi e if the viewed from the left ide. Then power up the motor via ESC and verify
that the motor doe pin in the proper direction (nothing will happen if it pin in the
wrong direction), eventually correct the direction.
3) Te t Gyro / RX Setup
a) In order to te t your gyro, plea e follow your gyro in truction manual. Gyro gain etting
and fine tuning ha to be done after the helicopter i in talled into the fu elage. Plea e
be advi ed that the wa h plate i a 140deg and not a 120deg CCPM.
b) If u ing the Roban 3 axi gyro, plea e u e the following parameter (online)
4) Te t TX
a) In order to te t your TX and the proper etup, plea e follow your radio control u er
manual. Fine tuning and trimming can be adju ted once the helicopter i in talled into
the fu elage. For now a mere reaction to your control input doe uffice.
SECTION D – INSTALLATION INTO THE FUSELAGE
1) Mechanic
a) Di mount the tail frame, a in Section A-1. If you in talled rotor blade and or rotor head,
remove them.
b) The ervo, ESC and and motor wiring area will be inacce ible once the mechanic are
in talled. Make ure you ecure all wire fir t. Then in tall the mechanic into the fu elage